What’s in My Camera Bag? Glacier National Park
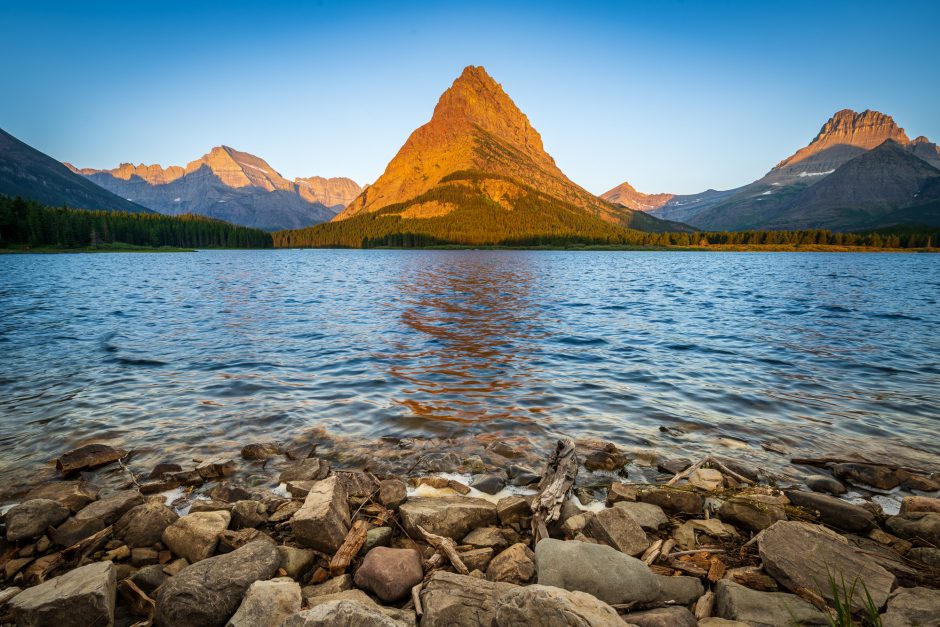
My typical summer day in Glacier National Park goes something like this: wake up well before sunrise, dump coffee into a travel mug, cram something that will pass for breakfast into my jacket pocket and begin the drive up Going-to-the-Sun Road in the cool night air. After a morning of hiking, exploring photo opportunities, and basking in the natural beauty that is the Crown of the Continent, it’s time for a proper breakfast, a siesta, and then probably another breakfast. Afternoons are often spent communing with squirrels among the shady cedar tree trunks, or along the rocky banks of McDonald Creek. By late afternoon, it is prime time to head into the field again in search of glorious evening light, glacier lily foregrounds, and just maybe, a wolverine. After dark, dinner is quickly followed by the kind of pillow-drooling slumber that comes after a day of overdosing on nature with dreams of boulder hopping over snowmelt creeks, bear grass, chirping marmots, and repeating it all over again in just a few hours.
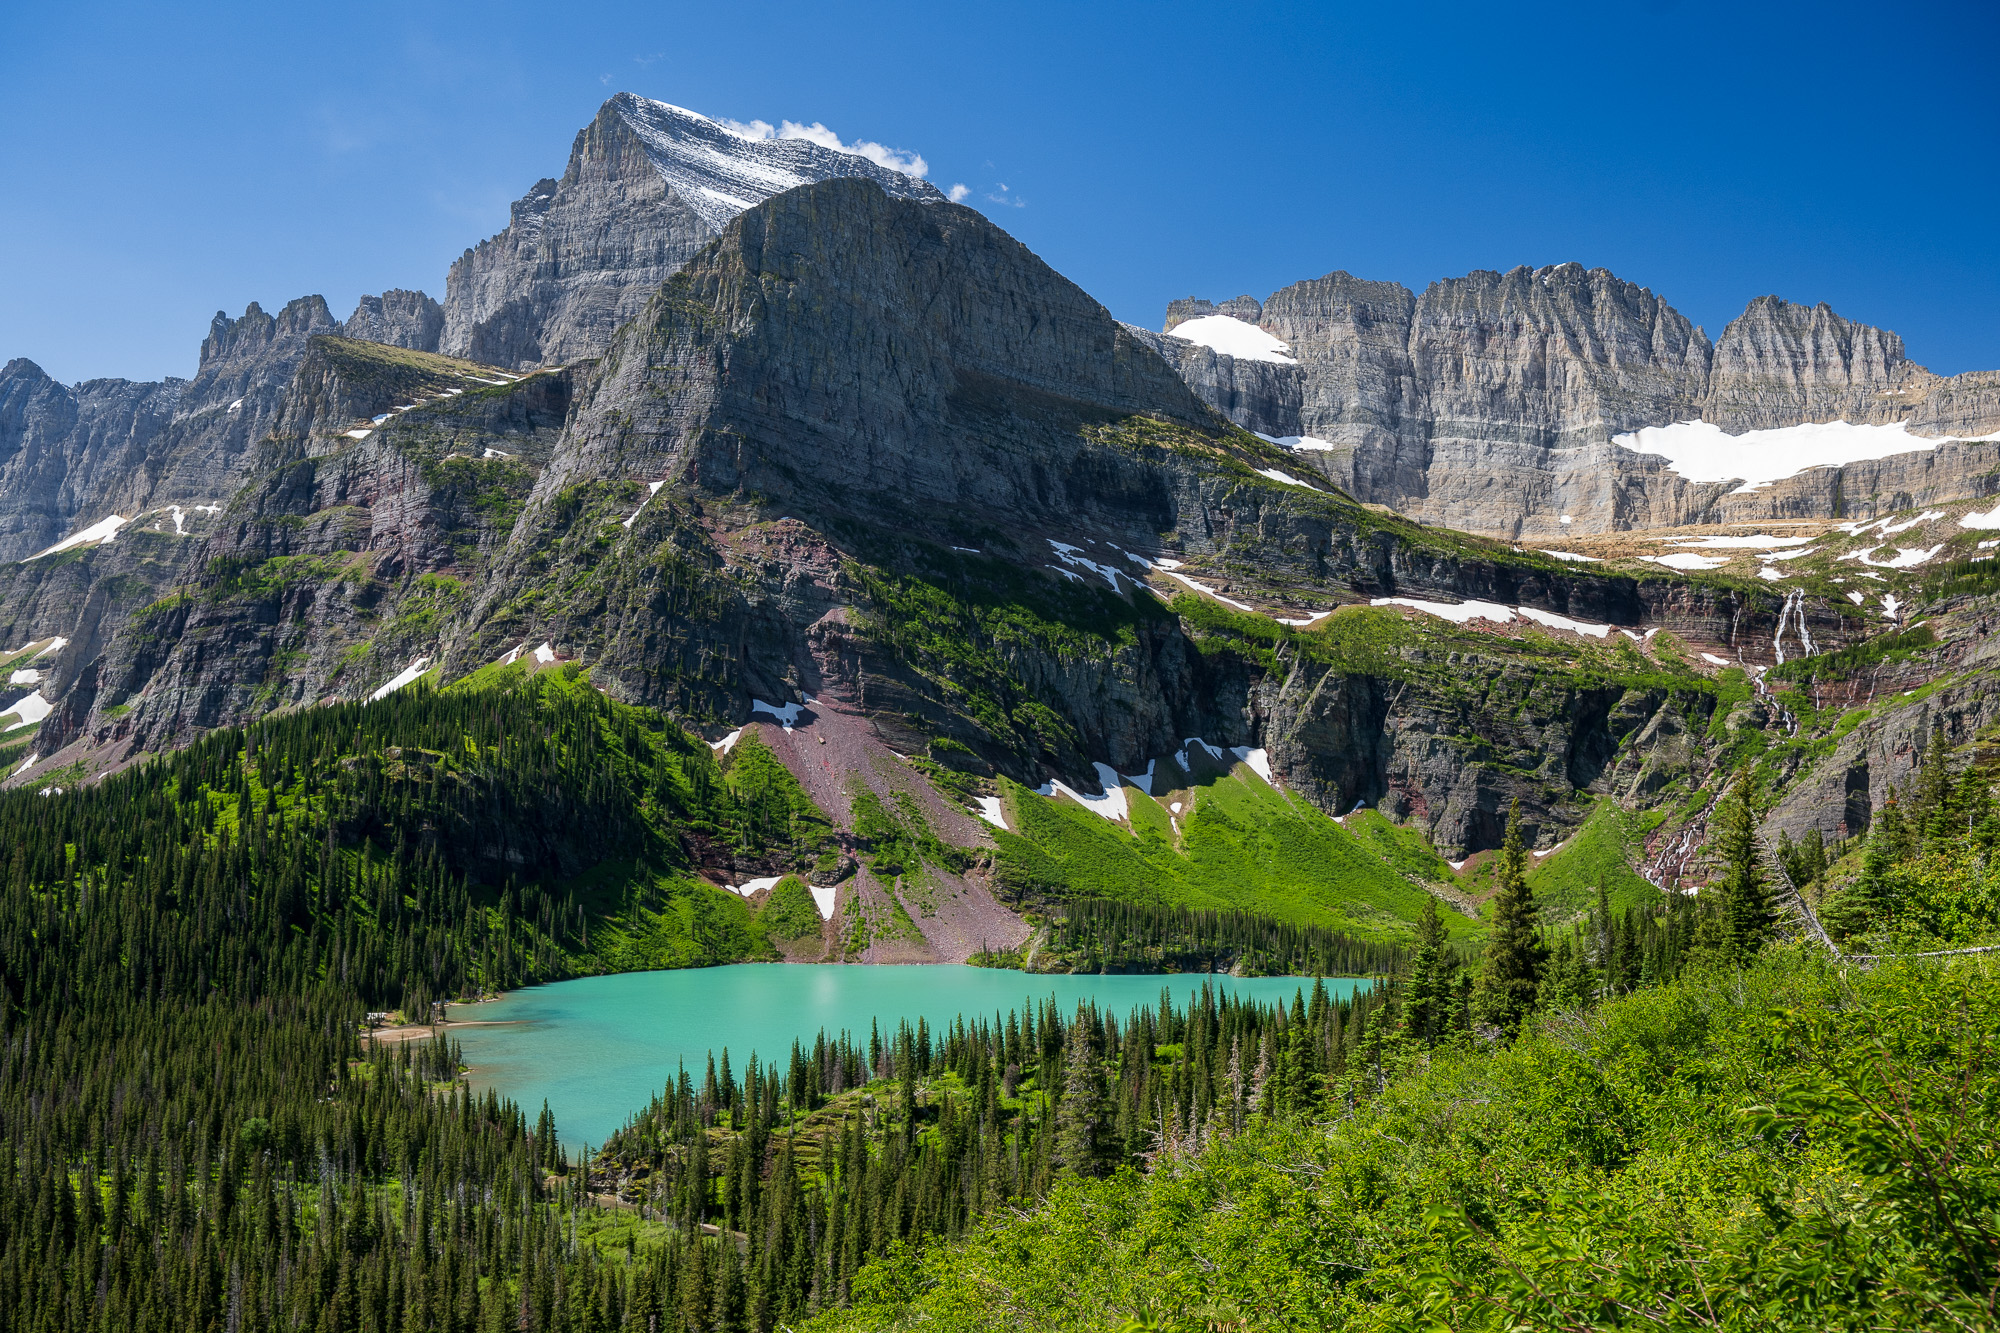
Glacier is a place best explored on foot, and I know to travel light to be able to cover the most ground. Not only do my high-milage knees demand it, but to experience this ancient and sacred land it is important to be free from distractions. I almost always bring two cameras. One is set for wildlife, which could appear anytime, anywhere. A second camera is for candid shots, landscape photography, and everything else. Often, depending on priorities and how much hiking I plan to do, that second camera is simply my iPhone. Two cameras, two lenses. No lens changing. No fussing with settings. No more decisions to make.
For the most part, I don’t bother with lens caps in the field. Nearly all my lenses have protective filters, and I rarely have to replace them. Some photographers may cringe at this, but my camera might be in and out of my bag dozens of times a day. These little actions can add up. The same is true for lens hoods unless they can be stored in the shooting position. I keep my equipment in well-padded, and most importantly, clean compartments.
Wildlife Photography Camera
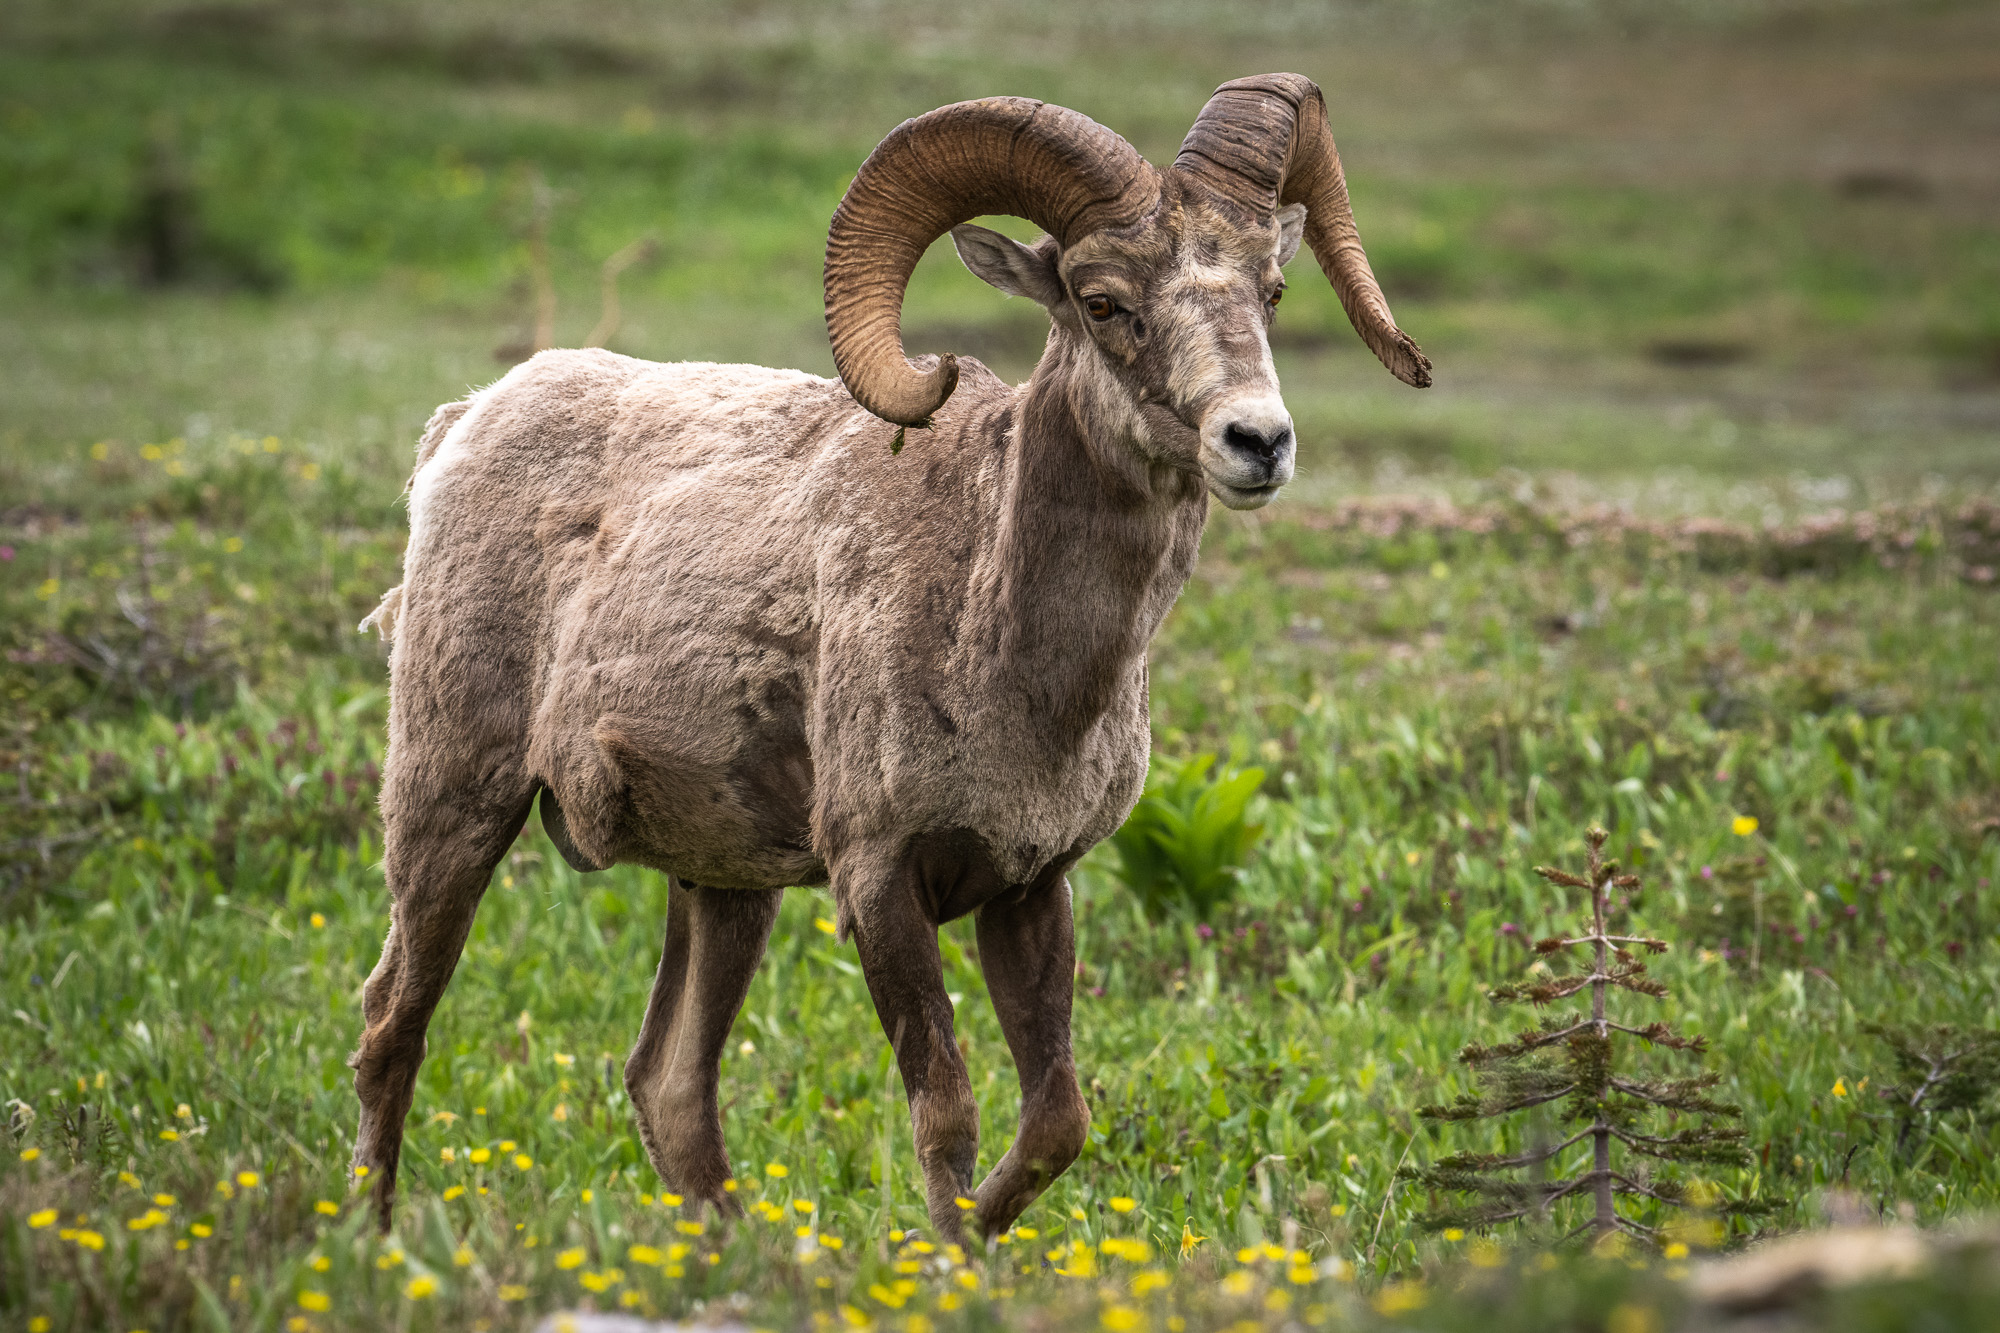
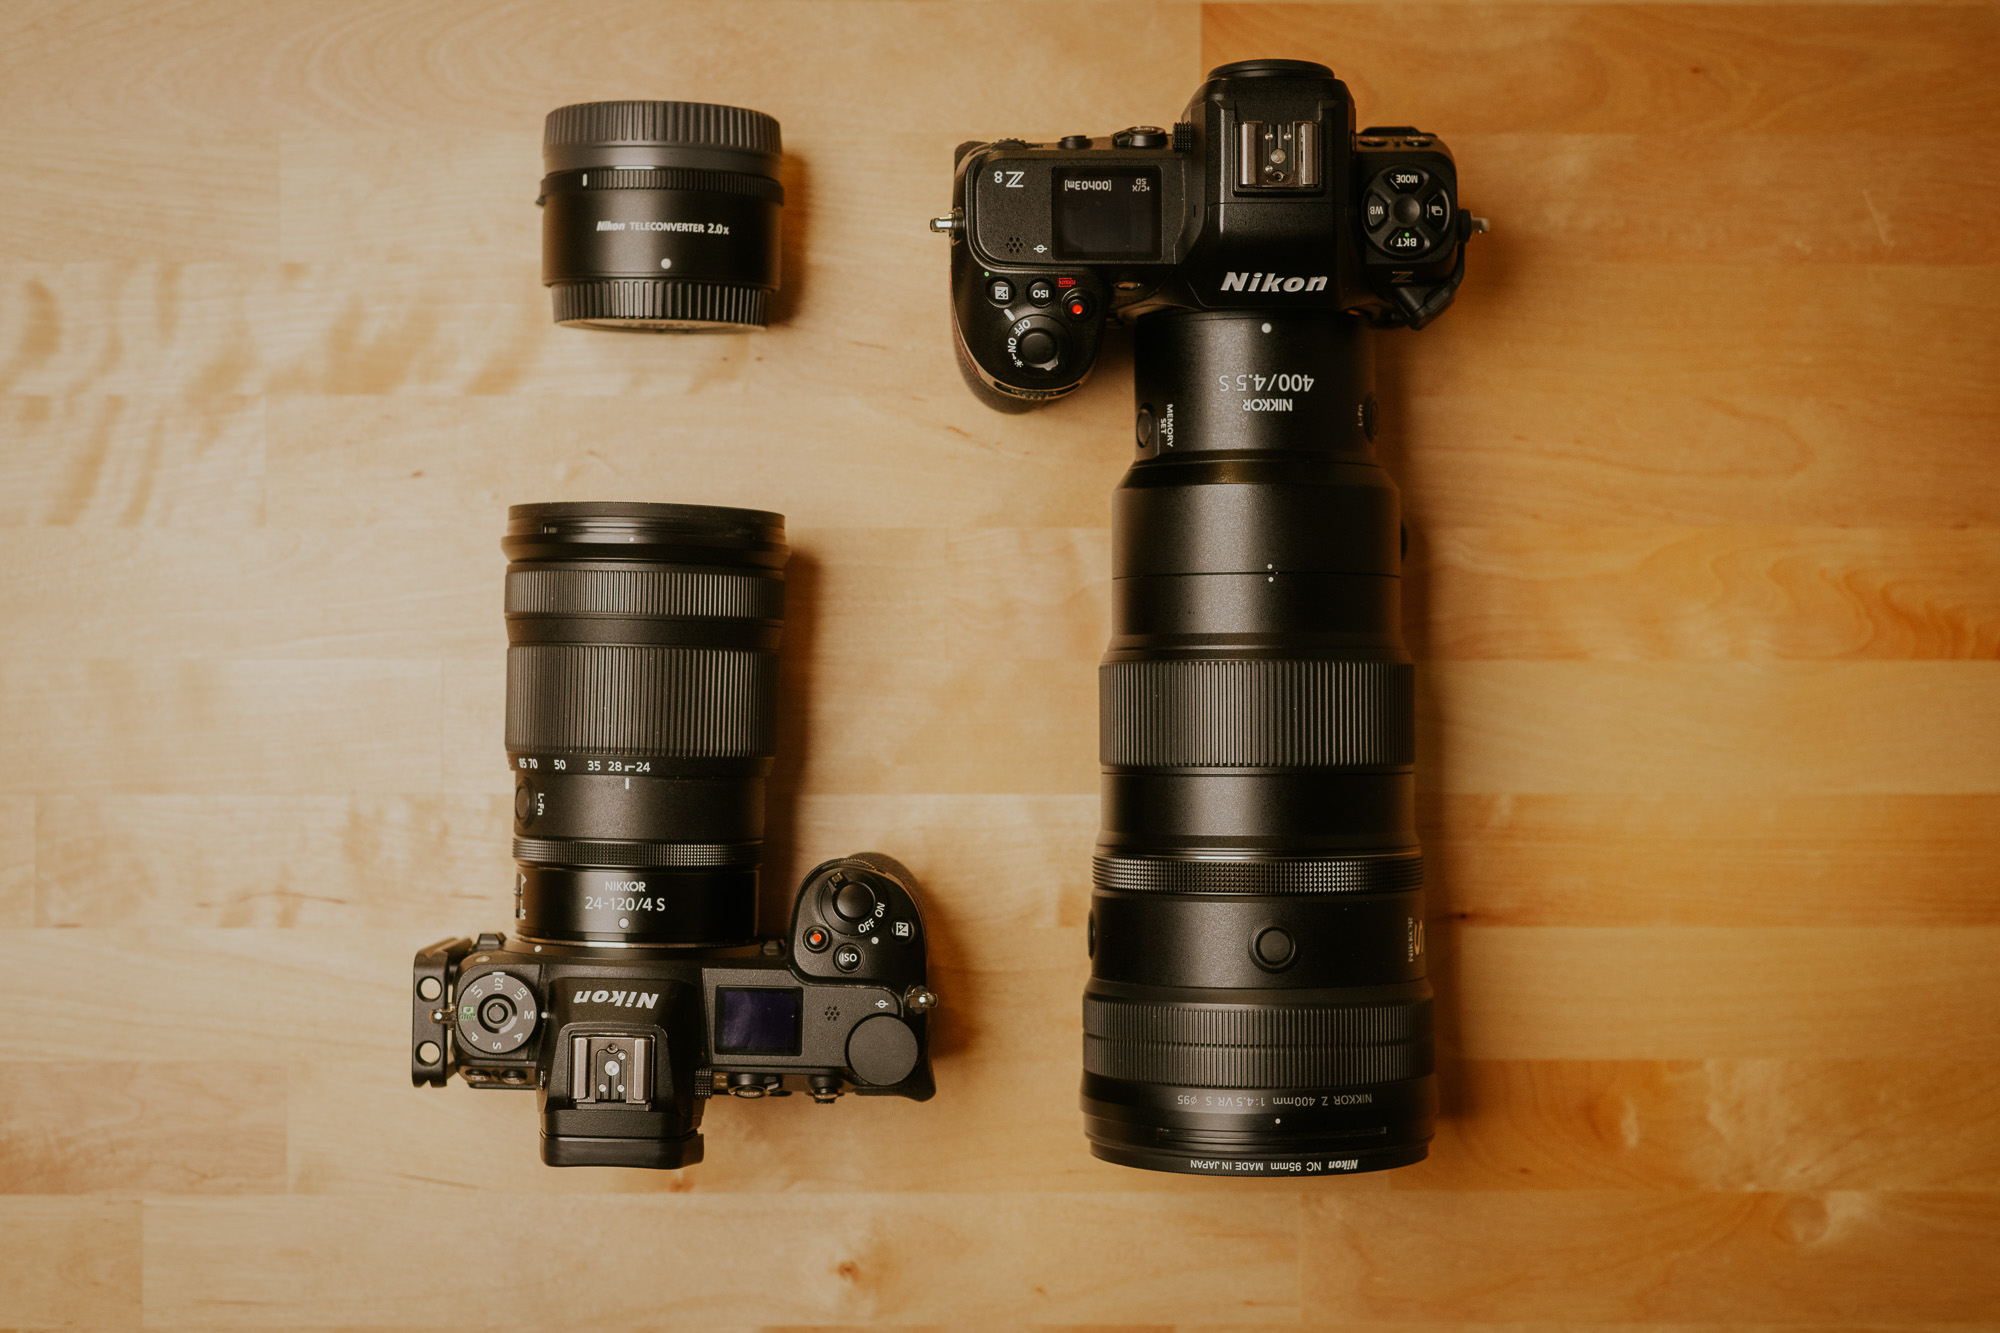
My primary camera for hiking is the Nikon Z8 with a 400mm f/4.5 telephoto lens. This is my run and gun wildlife photography rig, and it is always set up to shoot wide open with a fast shutter speed – at least 1/500th. The Nikon Z8 has fantastic autofocus and a high frame rate, so it does great for everything from fast moving mammals to birds in flight, and the 400mm f/4.5 lens weighs next to nothing, but still has a fast aperture. It works great with a 2x teleconverter to get you to 800mm at f/9 with reasonable autofocus performance. I prefer the prime lens over a zoom when I am out on foot. Unlike when photographing wildlife from a vehicle or a blind, most of the time you can use your feet to zoom out when wildlife is too close. Or maybe it is you that is too close! While we are on the topic, even 800mm is not enough reach to capture frame-filling photograph of bears in Glacier while maintaining a respectful, safe, and legal distance. Glacier is a great place to see wildlife, but if bears are what you crave, I highly recommend a trip to Alaska!
Landscape Photography Camera
My secondary camera is a Nikon Z7ii with a 24-120mm f/4 zoom. I don’t need fast autofocus here, so a lighter camera body will do the trick. I still like a camera with high resolution so I have the option of making big prints. The 24-120mm is a fantastic “walk around” lens to capture everything from scenic landscapes, flowers, candid shots of your companions, and even close up wildlife. Any midrange zoom that gets decently wide will do, and sometimes I will cut weight by taking a compact 24-50mm zoom instead.
Wide Angle Zoom
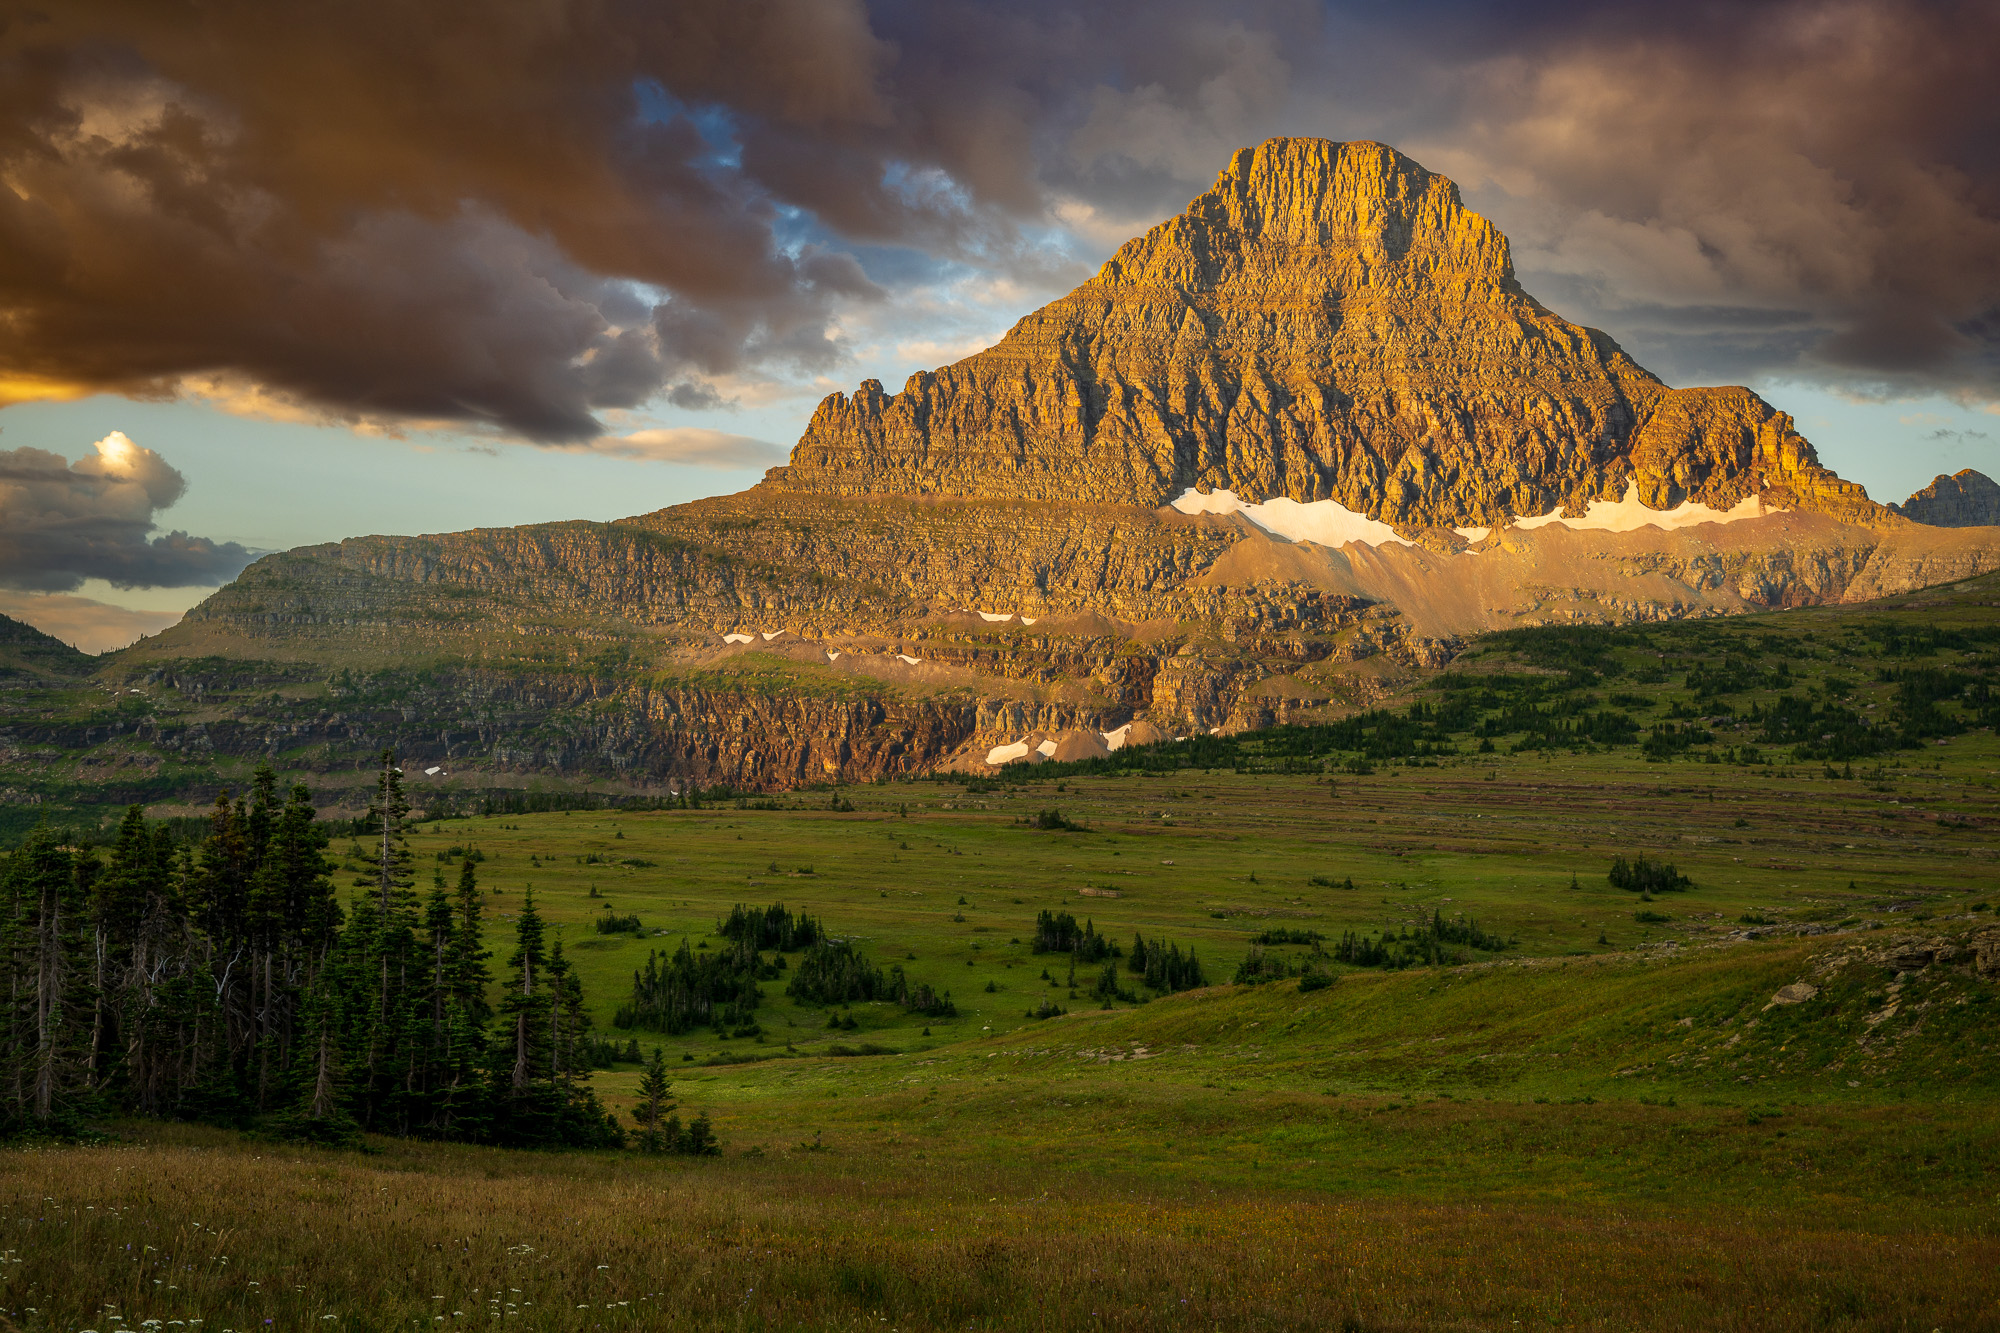
If I am going out to primarily for landscape photography, I will often bring a 14-24mm f/2.8 zoom. I prefer the fast aperture of the 14-24 because it is also a great lens for photographing stars under the dark skies of Glacier National Park. There are lots of options here, including prime lenses and lighter wide angle zooms that work better with screw in filters.
Creative Photo Filters
The only filter I regularly use for landscape photography is a circular polarizer which provides more saturated colors and cutting glare in reflection shots. It also serves double duty to cut light so I can use slow shutter speeds to capture silky smooth waterfalls. For macro photography, you might consider a close-up filter, which you can attach to a telephoto lens to allow you to increase the magnification of subjects like flowers and insects.
Tripod – Love it or Leave It
When hiking, I often leave my tripod behind and either shoot handheld or improvise camera supports. You can almost always find a flat-topped rock, a railing, or a backpack to use to steady a camera. When I am going out for a dedicated landscape photography session, I will be sure to bring a good tripod. I prefer carbon fiber models with a solid ballhead. As the saying goes: sturdy, light, and cheap – you can pick two.
Camera Bag
For travel and exploring the front country of Glacier National Park, my currently reigning favorite camera bag is the Mindshift Backlight 18L. You want something that is compact for travel and carrying in vehicles and boats, while still having enough room for the essentials. I like that I can store both of my cameras in the bag with lenses mounted, and still have room for an extra lens or more snacks. It is small enough that I can always find a place for it on boats and planes, where it often fits under the seat, allowing me to bring a rollaboard for the overhead compartment. While it doesn’t have lots of room for extra clothing, the front pocket will hold a rain jacket and a few snacks. The waistbelt has attachment points to mount my bear spray holster as well as a Cotton Carrier. Don’t forget the rain cover!
My Glacier National Park Camera Bag Contents
- Mindshift Backlight 18L Backpack
- Nikon Z8 + Nikon 400mm f/4.5 Telephoto Lens
- Nikon Z7ii + Nikon 24-120mm f/4 Mid-Range Zoom Lens
- Nikon 14-24mm f/2.8 Wide Angle Zoom
- Nikon TC20 Teleconverter
- B+W 77mm Circular Polarizer
- Backpack Rain Cover
- Bear Spray, Snacks, Water, Extra Layers, and Hiking Essentials
As always, there is no right or wrong photography equipment – it just comes down to what works for you. I always suggest keeping it simple. The most important thing is to be familiar with the equipment in your bag and get out there. Glacier National Park is one of the most magnificent settings on the continent, and one that every photographer should make a point to visit. If you aren’t sure where to start, join me for an epic trip through Glacier and Waterton National Parks this summer. I can’t wait to see you out there!
Cheers,
JB
Leave a reply