
Tips on Photographing Brilliant Skies around the World
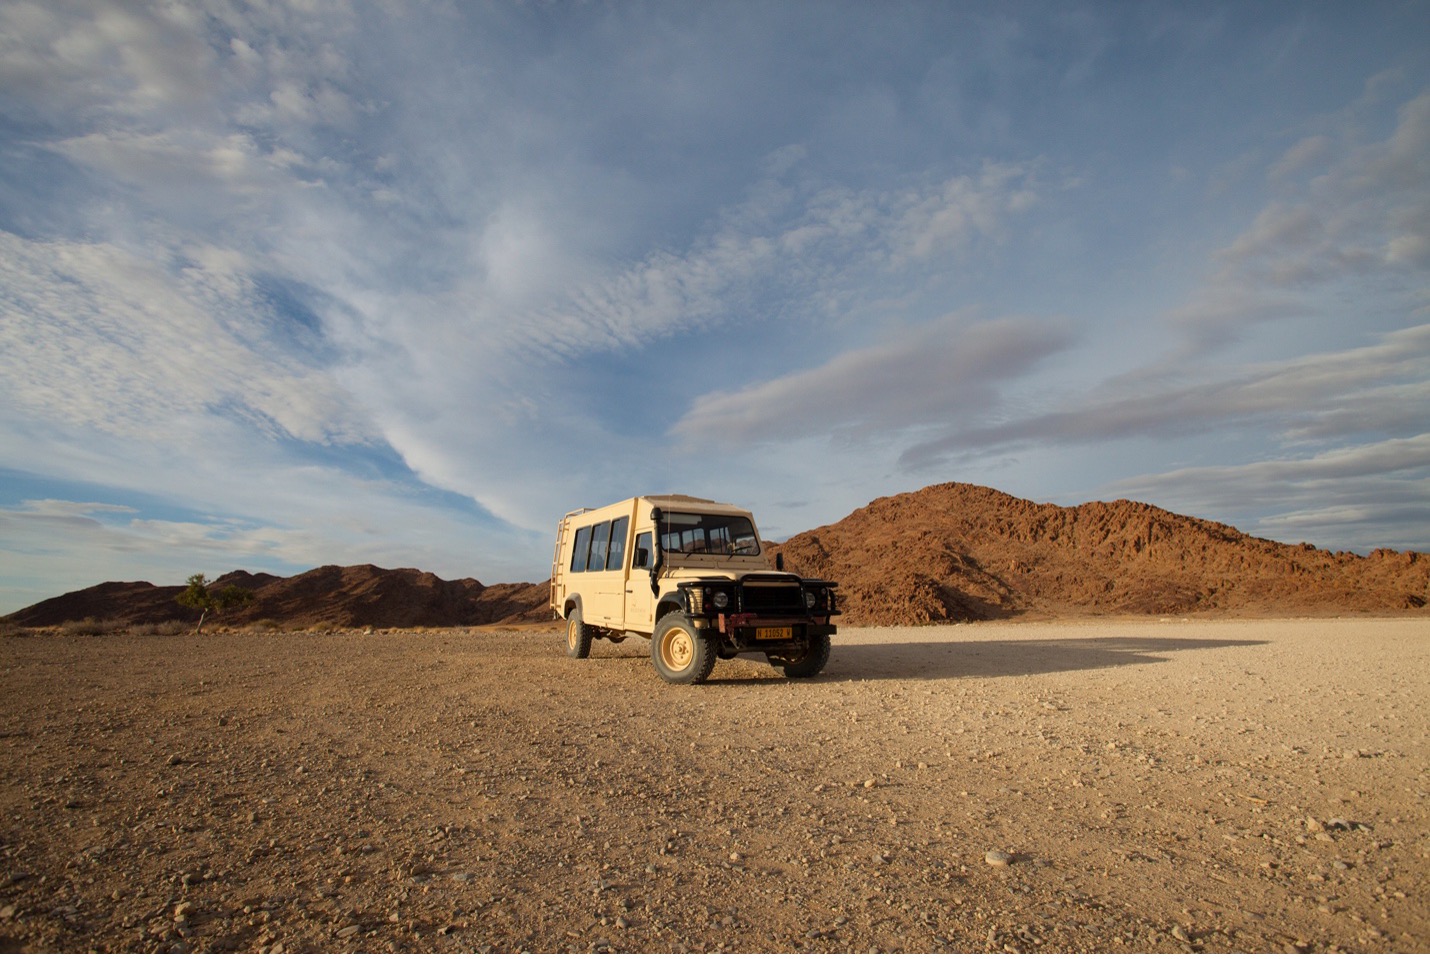
Spectacular skies provide a photography feature by themselves or as part of a captivating landscape. While nearly any region on any content is fair game, some of the places with the biggest skies come to mind for this lesson—places like Namibia, the Canyons of US, and Baja California have that special combination where you never know exactly what you’re going to get, but you know you’re going to get some sensational sky photos!
Whether they exhibit interesting colors, textures from clouds, or simply a stunning accent to a lovely landscape photo, they could be considered the most widely photographed landscape feature on earth (or maybe not on earth, but you get what I mean).
However, no matter how ubiquitous the sky is, capturing its beauty isn’t entirely straightforward. To put it another way, it takes certain considerations to showcase a stunning sky and turn a photo from good to great.
Follow these tips to elevate your sky photography no matter what your next outdoor adventure may be!
Using an Ultra-wide Angle Lens
One of the most powerful tools in showcasing the awesomeness of a sky-scene is an ultra-wide angle perspective. This comes in the form of an ultra-wide angle lens, which would be a 10-22mm on a crop frame or a 16-35mm on a full frame. While these may not seem like wildly different numbers than your “kit lens” that goes from, say, 18-55mm or 24-105mm, those extra millimeters of focal range make a world of difference.
If you don’t have an ultra-wide angle lens, or if you simply prefer using a smartphone for landscape photography (they’re getting very good at landscape photos today!), switch to your ultra-wide angle lens if your smartphone has that capability. It’s usually denoted by a small 0.5 next to the “normal” 1.0 lens setting on the phone camera screen.
Whether using a special lens or simply changing things over on your smartphone, you’ll instantly notice the much wider perspective. This is important for sky photography in that it allows you to get much more of the sky both left to right and top to bottom. And with the lens being so wide, you can still get some foreground in your photo, like a meadow, beach, or other landscape feature, which is important to providing a bit of context to the photo (we’ll dive more into that later).
Showcasing Clouds and Weather
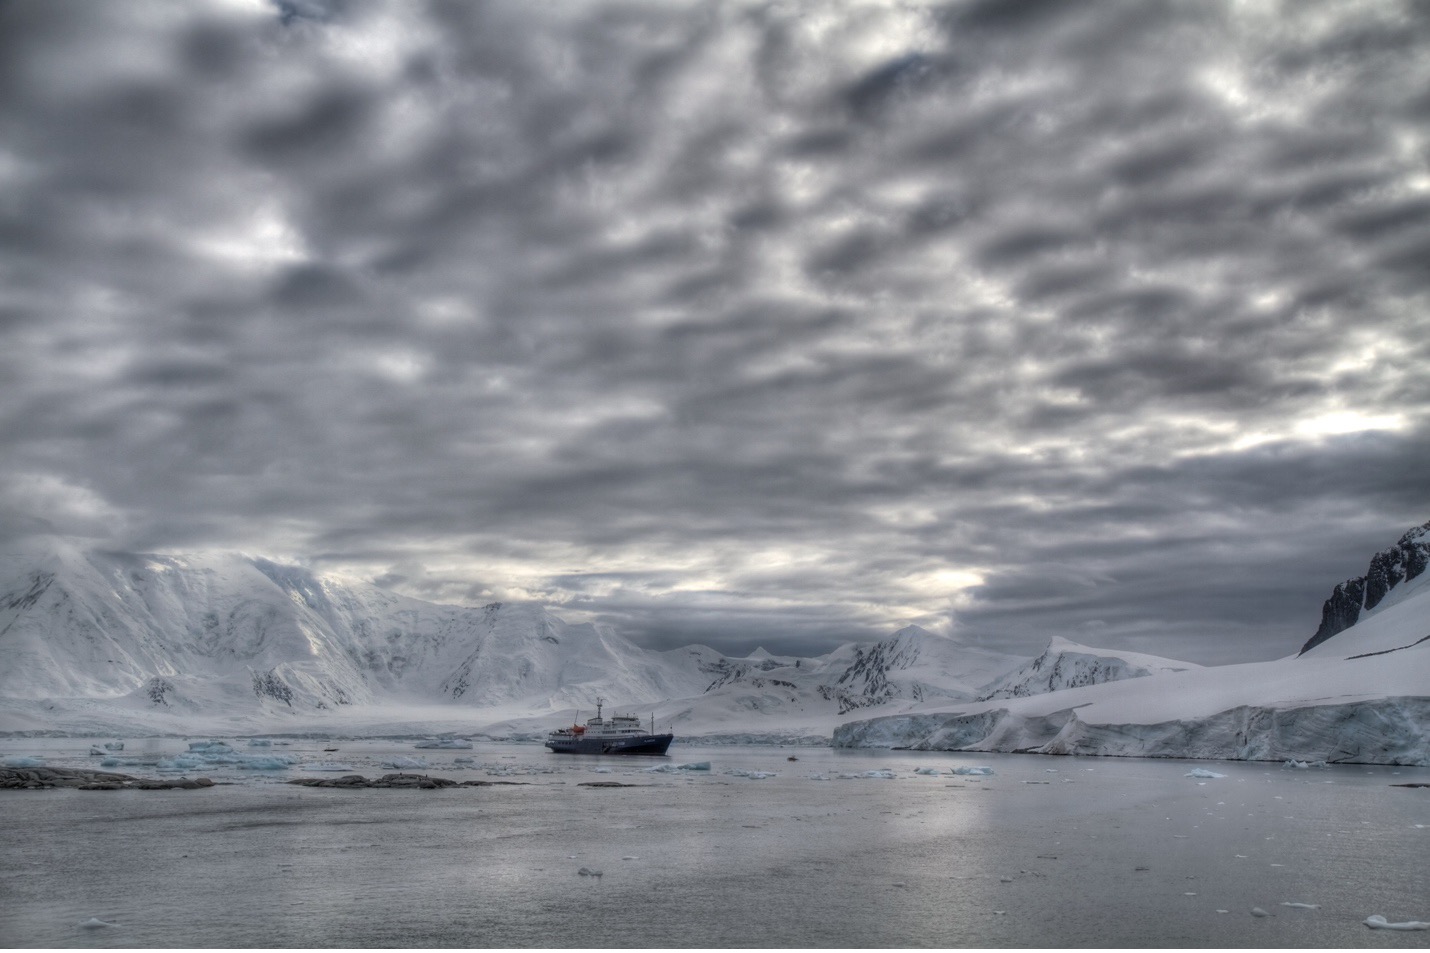
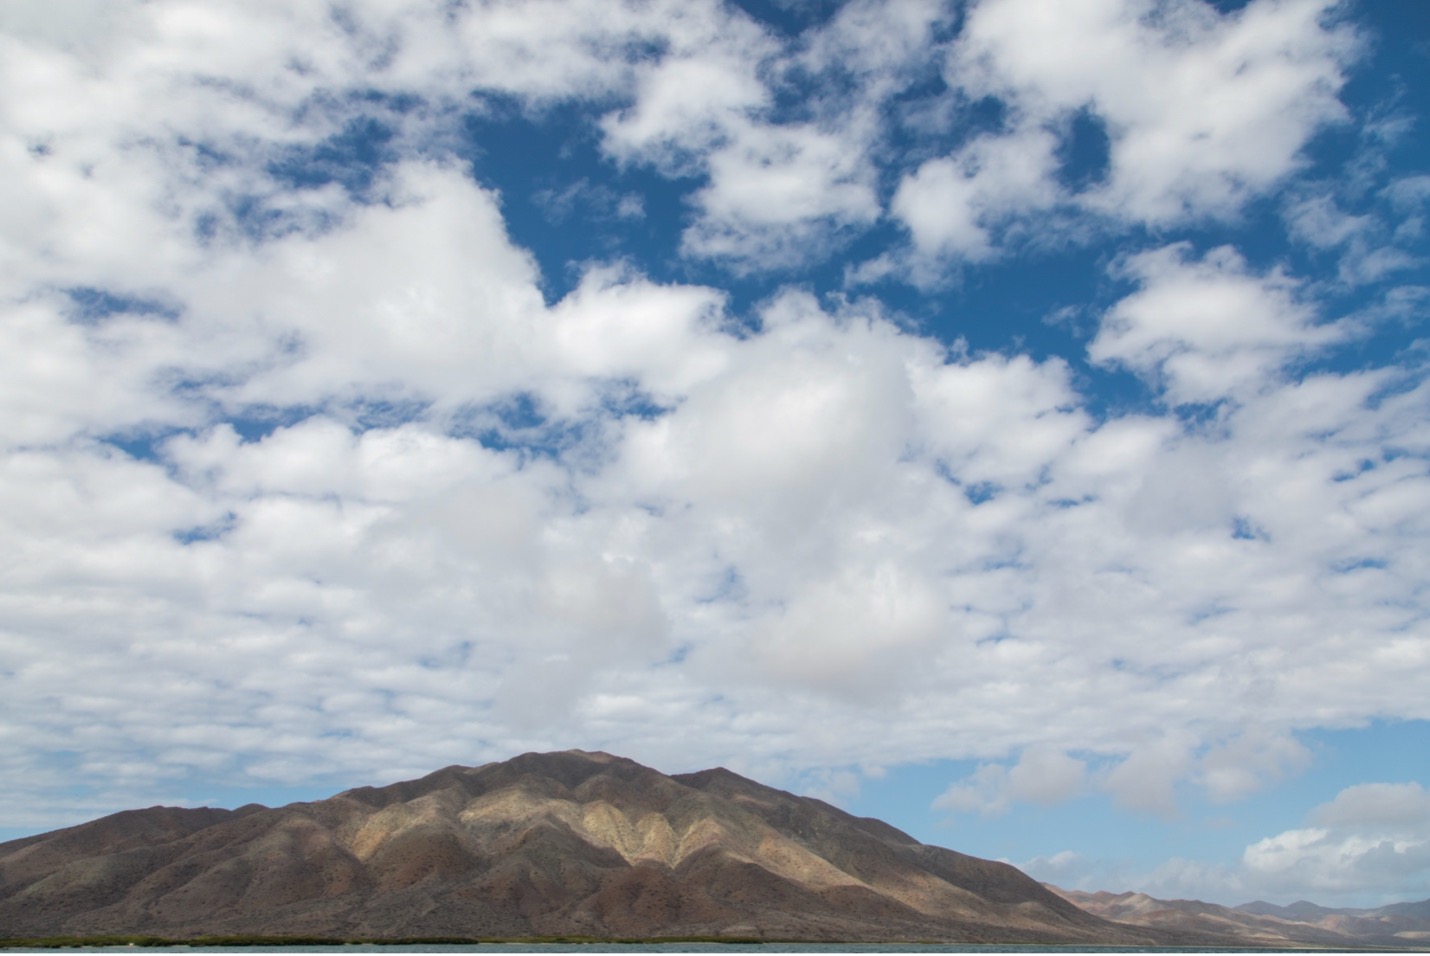
A blue sky is a thing of beauty, but the contrast, colors, and moodiness of clouds really make for dramatic sky photography.
When the clouds do something interesting, that’s when you want to have your camera ready. To really make clouds pop you’ll want to do a couple of things.
First, you’ll want to pay special attention to your exposure. How much light you let into your camera is going to change the photo dramatically when it comes to clouds, and there is no perfect setting—it’s really a case-by-case thing.
Generally speaking, whether you’re photographing glorious sunsets, moody weather, or wispy high-altitude paintbrush strokes, darkening the exposure a little typically helps make the photo, and the clouds, pop. That certainly goes with color, but it also goes with the texture and contrast of mostly gray or white clouds, too.
By going to the negative side of your exposure meter, you are letting less light into your scene. This forcibly darkens the bright spots in your photo, which in this case are your clouds.
The other thing you can do is to throw on a polarizing filter. This isn’t something I usually default to for general landscape photography, but if one of your primary goals is to make clouds pop, a polarizer is fantastic.
How to Compose your Sky Photo
When lining up your sky photo for maximum viewer impact and for the sky to appear in photos as stunning as it was in real life, you can’t ignore the rules of aesthetics and primarily the rule of thirds. In fact, the rule of thirds was virtually written for photos where horizons appear, as that is one of the hardest lines in nature and can be exceedingly prominent.
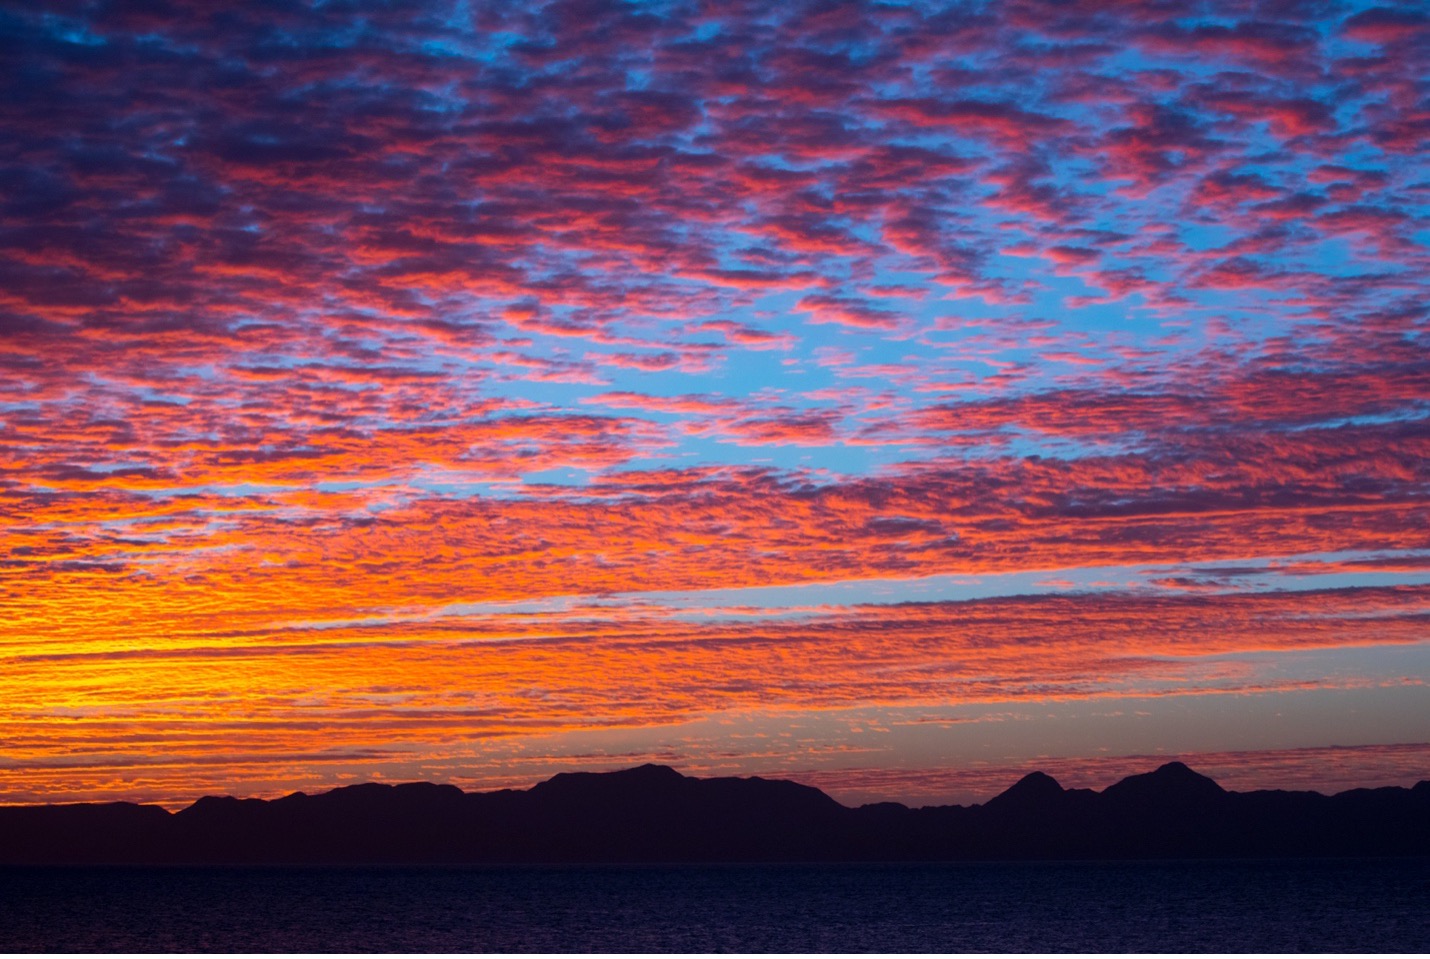
Generally speaking, it’s best to divide your scene into thirds, and for sky photos you’ll natural want the sky to be in the upper two thirds (vs. upper one thirds, with the land or ocean being on the lower).
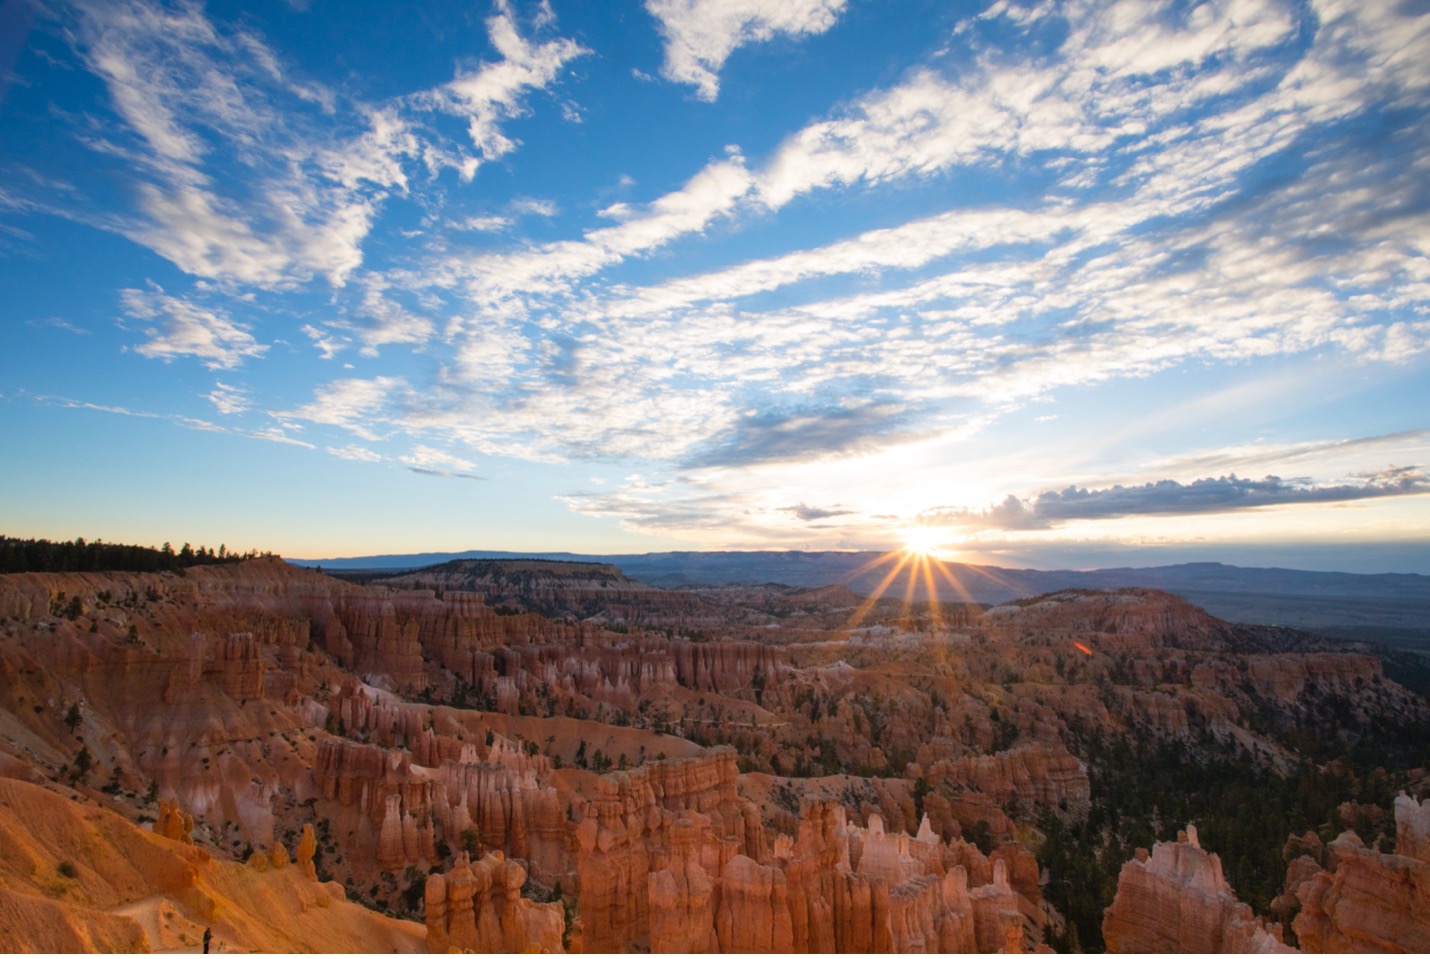
However, there is a specific opportunity here to break the rule of thirds with what I call an exaggerated composition. Essentially, you are showcasing just how big the sky is by making it appear as the vast majority of the scene. Check out the below.
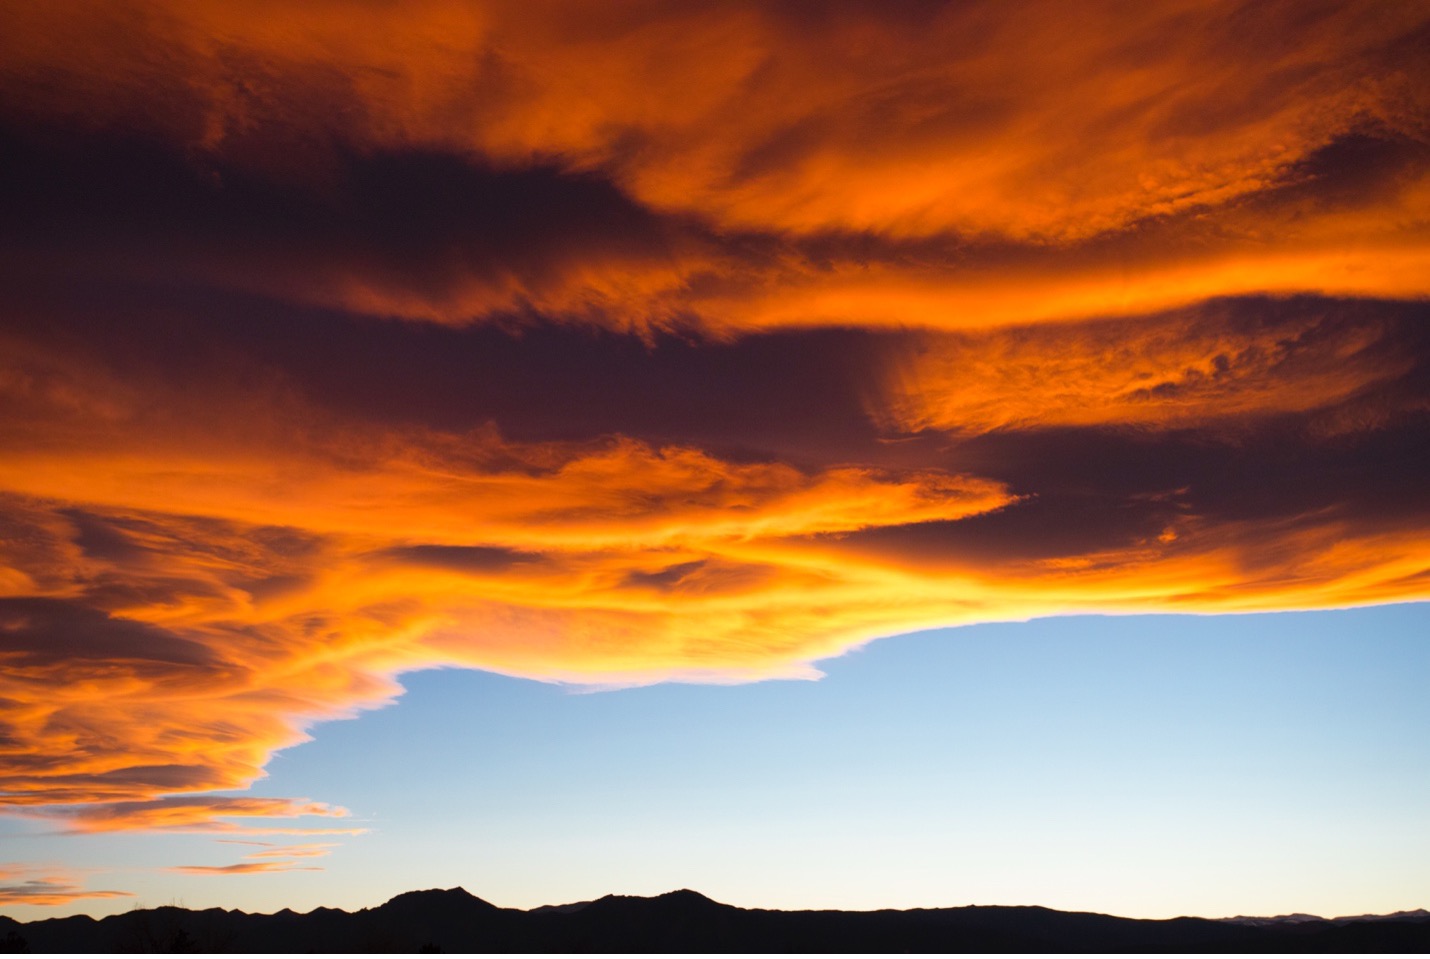
Notice how in the above photo, the mighty peaks surrounding Boulder, Colorado are just a sliver of the scene? That adds powerful emphasis to those amazing clouds and colors at dusk. This is certainly less than one third of the scene, so it breaks the rule of thirds, but we do so intentionally and get great results.
Editing for Maximum Impact
Sky photos lend themselves very well to post-processing techniques. In addition to all of the other settings I normally tinker with, like exposure, contrast, vibrance, and shadows, I look at two others when processing sky photos. These are the blue luminance slider and the dehaze feature.
The dehaze filter is a “smart” filter, in that it adjusts for several things all at once…like midtones, black tones, contrast, and more. It’s worth experimenting with this slider if you haven’t ever done so before, as it can really make landscape photos dramatically better.
Blue luminance is an interesting one and I’ve actually found it to replicate much of what a polarizing filter can physically do for your photos. That is, if you get used to playing around with the blue luminance, you can re-create what a polarizer would do for your sky and cloud photos.
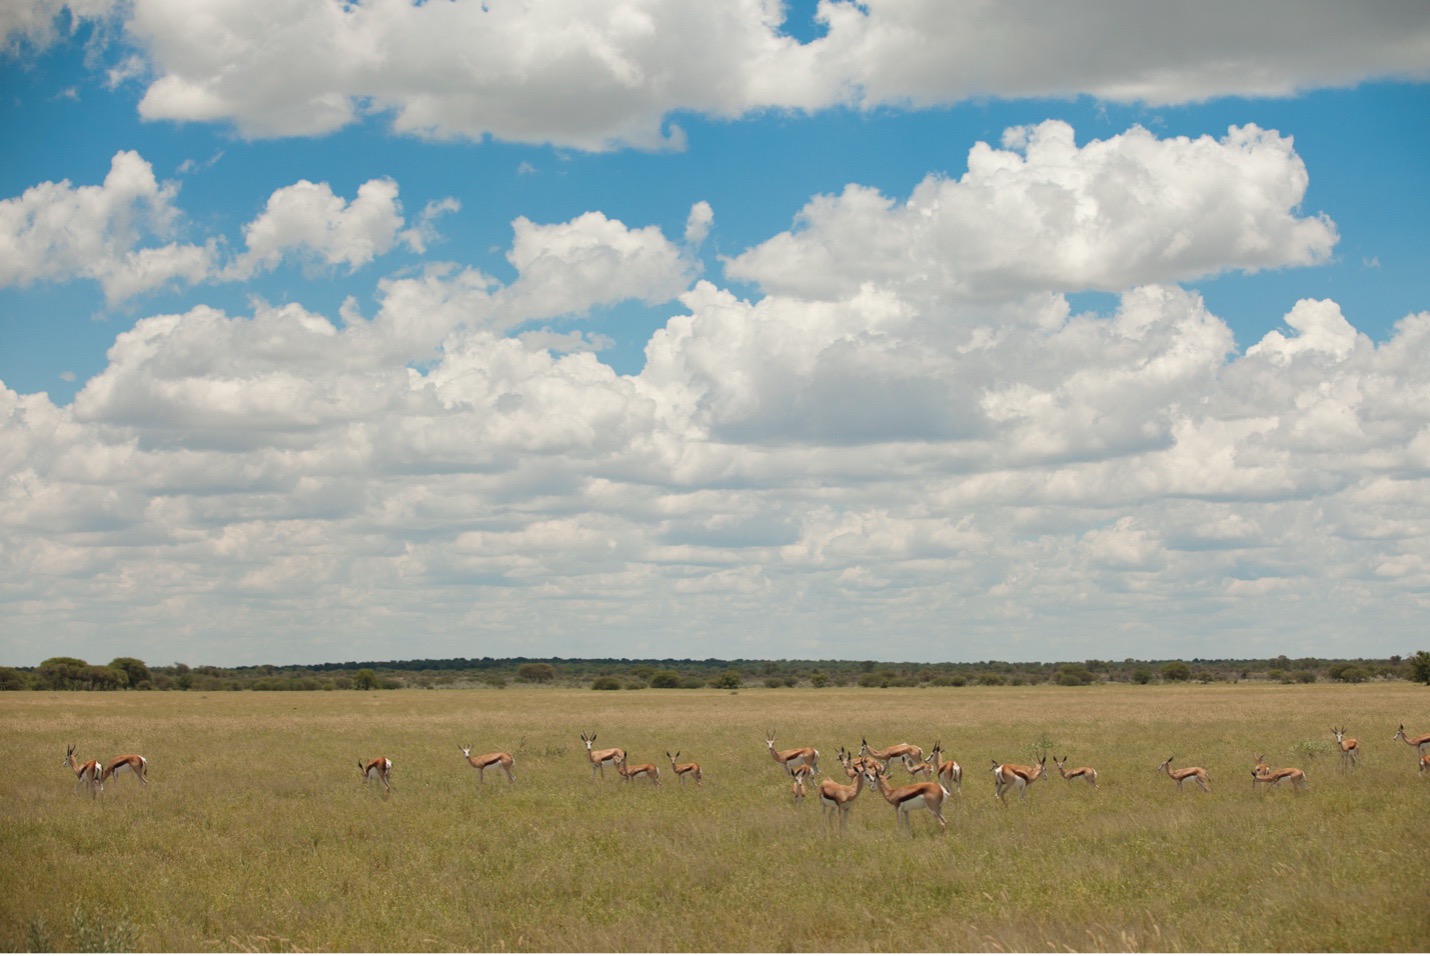
Take a look at the below two photos…one without touching the blue luminance and the other decreasing blue luminance by about 50 units.
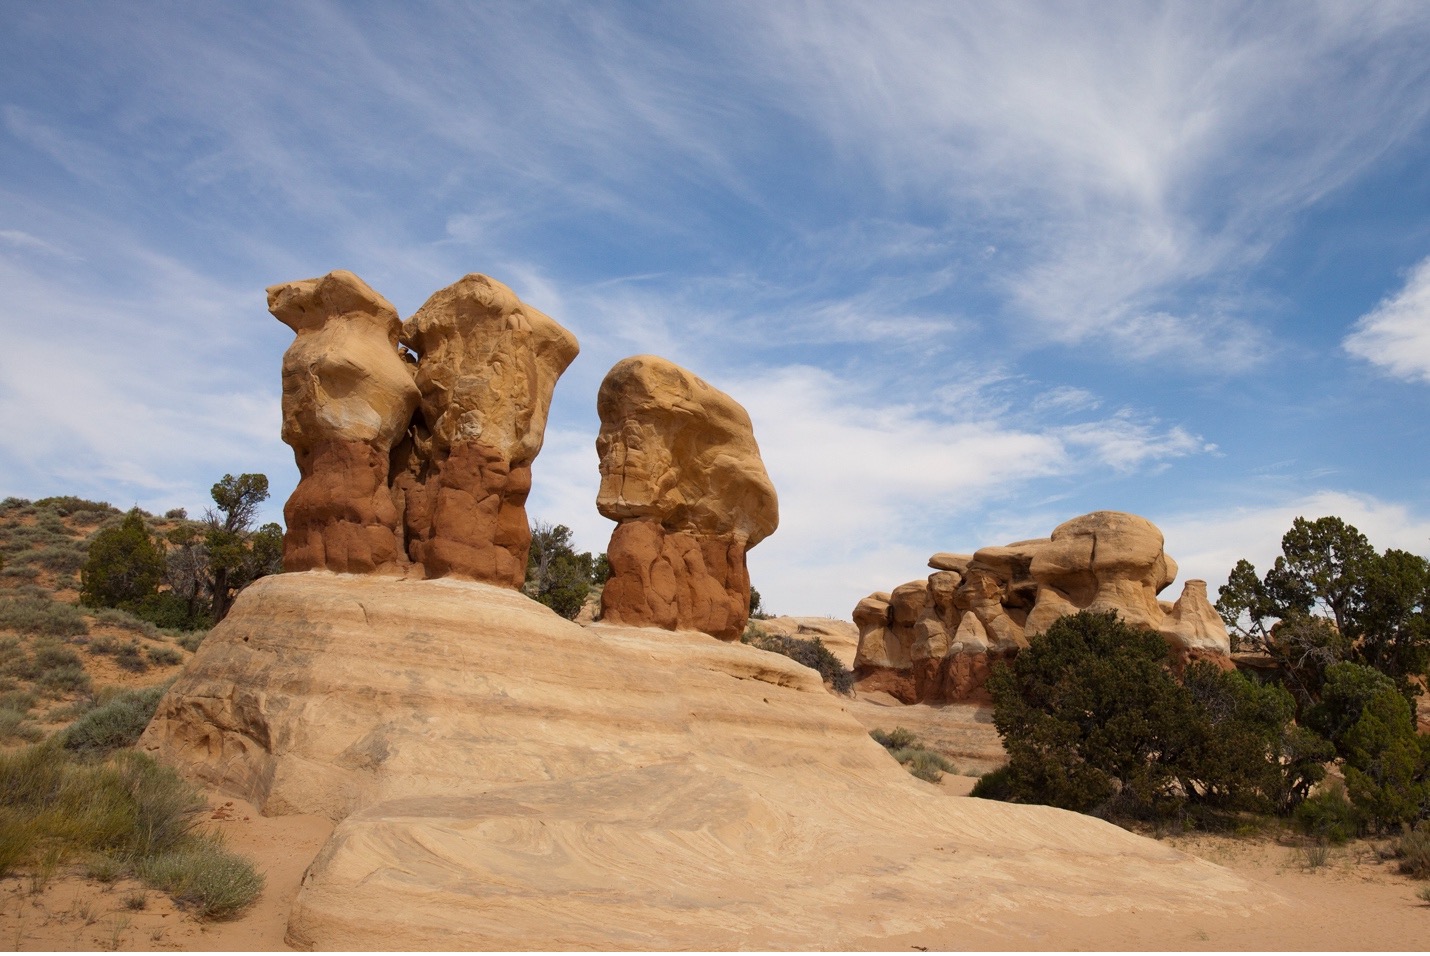
Above we see a nice blue sky with wispy clouds—all accenting the rocks and foreground nicely.
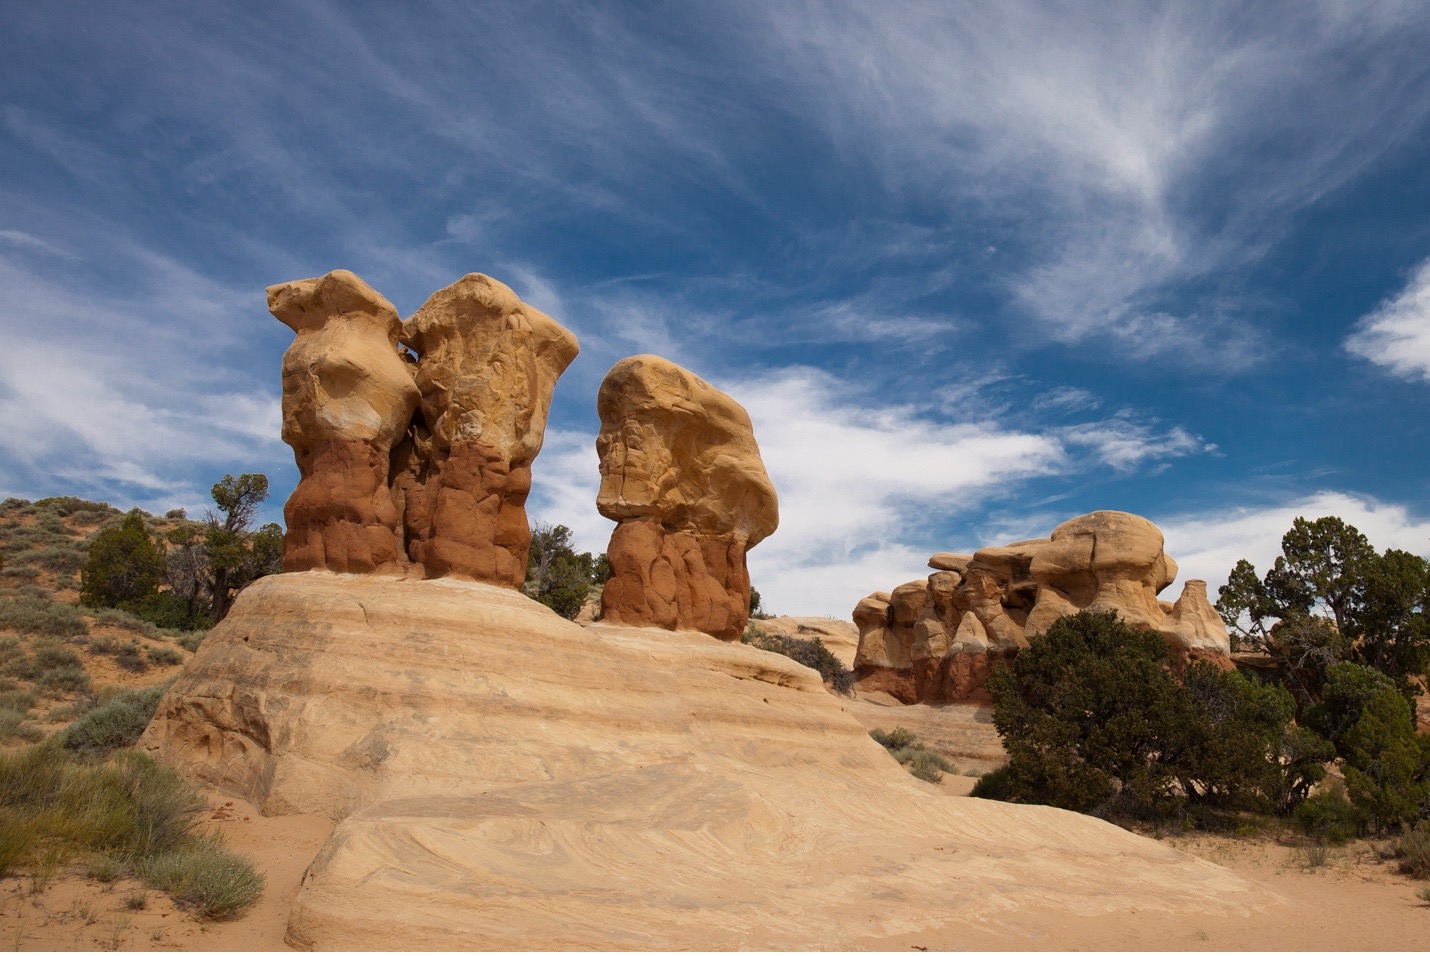
However, when we decrease the blue luminance, as in the above, notice how the blue becomes much richer thus making the white clouds pop out of the scene much more. While this blue richness may not be for everyone and for every shot, it’s an arrow to have in your quiver.
Careful Selection of a Foreground Element
Foreground elements can add wonderful context and beauty to any sky photo, but sometimes they can also steal the spotlight. If a foreground element is too strong, it becomes the subject, which might take away from the sky you’re trying to showcase front and center.
There is no perfect rulebook on this balance, but I can indeed say that having some context via a foreground element is usually better than just pure sky. Thus, it’s up to you to strike that balance.
Even skies with the most glorious colors seem to need something besides just sky. Otherwise the sky tends to look disconnected and somewhat abstract. It’s the earth, mountains, ocean, or really any foreground element that seems to bring it all together.
If there is one thing I can guarantee you’ll see on any nature and wildlife adventure, it’s the sky. Thus, it’s always a good idea to photograph it in a way that’s going to make it look as good as possible, right!?
Use darkness to your advantage in bringing out the contrast and moodiness of the sky, think about tools like a polarizer and post-processing software to enhance what you have, set up your photo for a unique composition to emphasize grandeur, and consider adding something from the earth or ocean as a subtle foreground element to bring the photo together.
Do all this, in an amazing corner of our wild world, and you’re going to get some extraordinary photos.
Enjoy it out there!

Court
Leave a reply