Three Steps to Improve your Night Photography
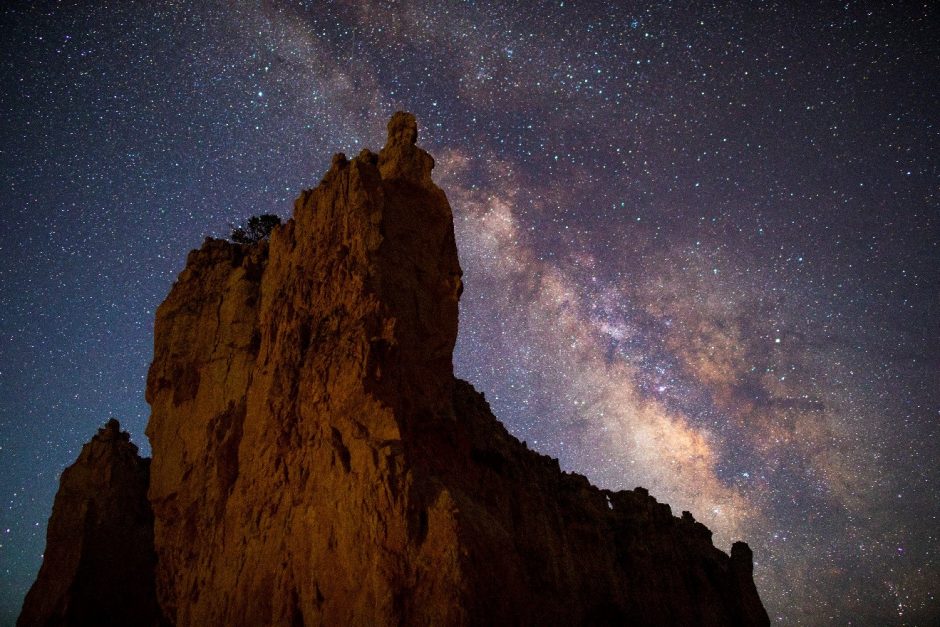
The long nights of winter provide a great testing ground to practice and up your game with night photography. While summer months often have the biggest draw for milky way photos, there is a virtually endless list of other night photo opportunities in other times of year–winter is no exception.
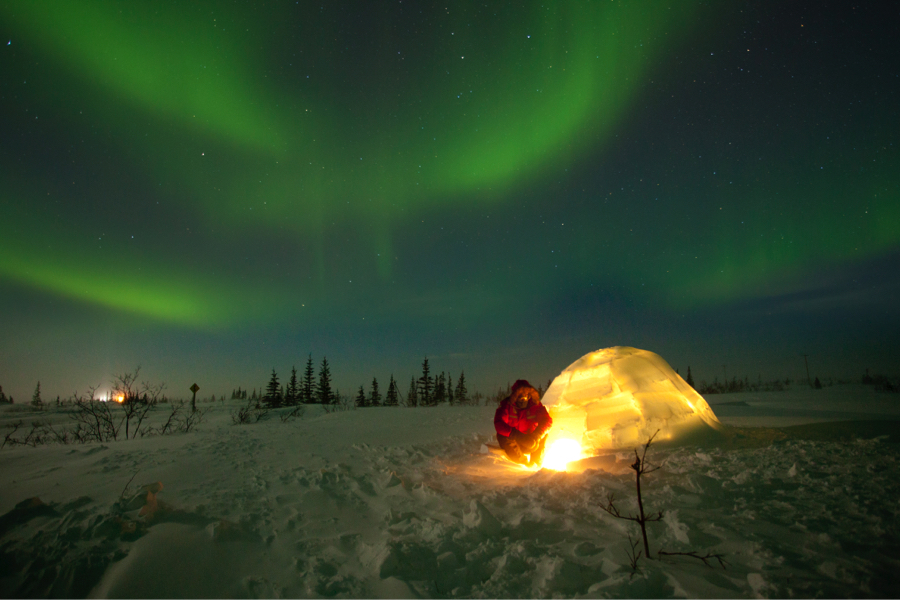
From aurora borealis opportunities at northern latitudes to star photography in remote locales to dazzling lights in urban areas, night photography isn’t just fun. It adds significant depth to your photographic skills, portfolio if you keep one, and opens the door to interesting travel photo opportunities like the Northern Lights in Arctic Canada.
Simply put, there’s no time like the present to take inventory of your night photography gear and skills and get out there in your own backyard (metaphorical or literal) and capture some amazing moments.
Get used to Manual Mode and Night Photo Settings
Night photography is both the easiest and hardest type of photography out there. Hardest because it goes far beyond so many classic photo settings and demands a lot from your camera. However, once you understand the basic settings, it quickly becomes one of the easiest. Essentially, you don’t stray too far from the below when it comes to capturing low light images…
f/3.5 (or f/2.8 or lowest your lens will let you go); 20″ shutter speed; ISO 1600; White Balance Auto
Basically what you’re aiming to do is to let in AS MUCH light as you possibly can, hence these somewhat atypical settings.
Usually you don’t shoot landscape-style shots “wide open” at f/3.5. Usually you don’t have a 20 second exposure. And usually you don’t use such a high ISO. However, again, low light photography does demand a lot from your camera, and you’re indeed pushing it here. If you find that you’re still not getting enough light you may even need to go to ISO 3200.
Another way to let in more light is to get a lower f/number. Specialty lenses out there will sometimes let you go to even f/1.4 or f/2, which increases light transmission greatly. But, you also contend with a very shallow depth of field, which can make focusing difficult.
Again, the great thing is that you really won’t stray much from these settings…start with these and keep on practicing.
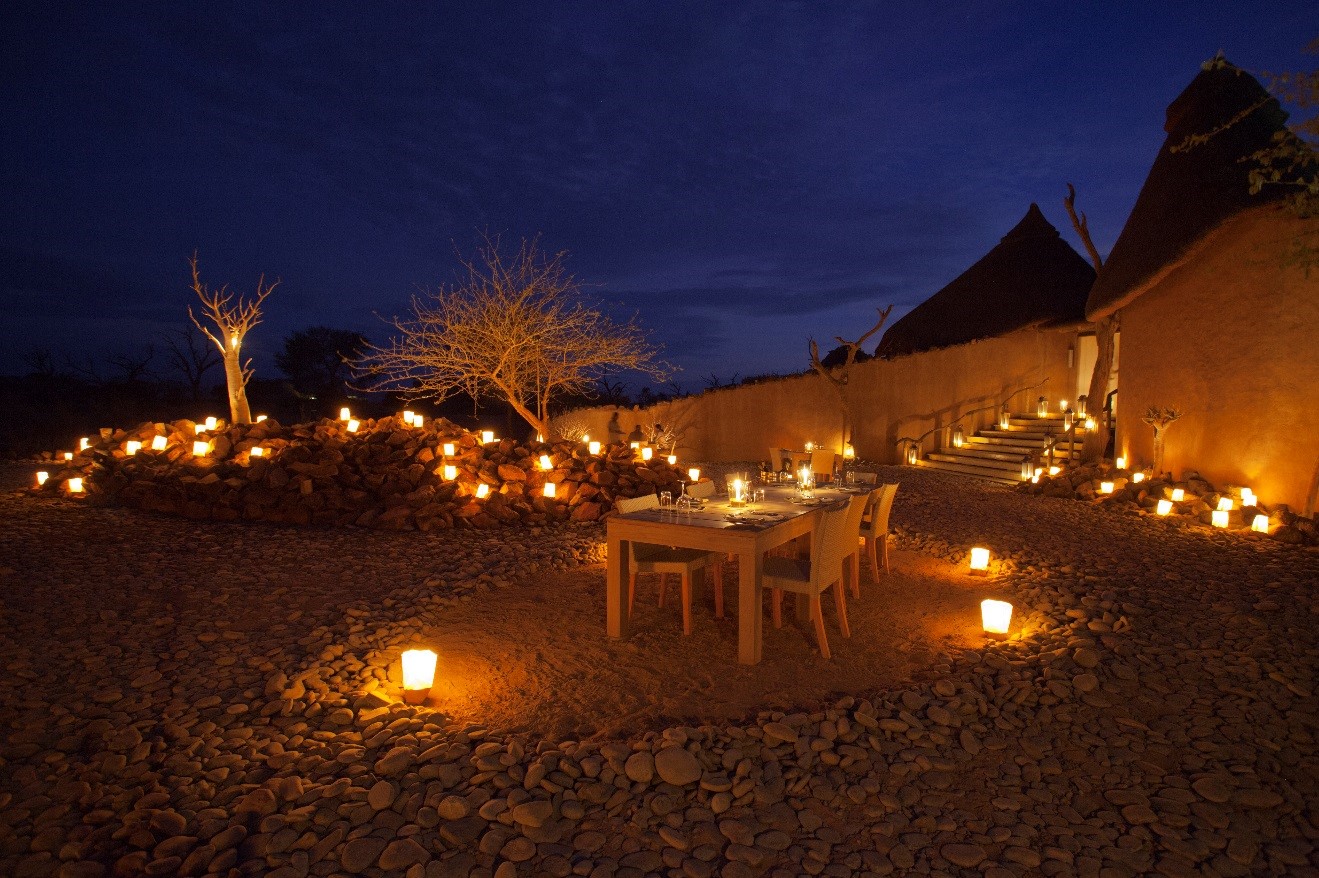
Finally, the auto white balance is really just a good starting point. A “cloudy” white balance setting will make the photo look more yellow, which is sometimes good with slightly yellow light from candlelight, streetlamps and the like. A daylight white balance setting will add more blue to the shot, which I find is nice for aurora borealis, stars, and wintery night scenes. Auto usually falls somewhere in between, allowing you to them tweak after an initial practice shot or two.
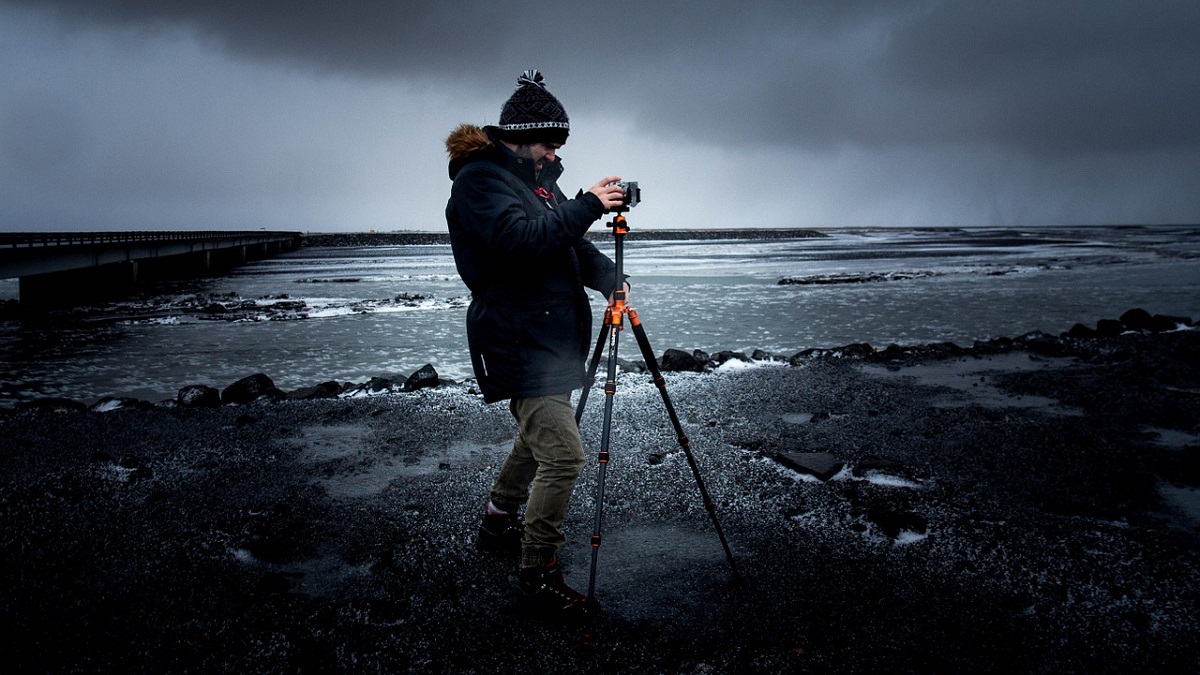
Get Steady
Stabilization for your camera is critical. A big, sturdy tripod is choice #1, as smaller travel or tabletop tripods can sometimes be flimsy or move slightly at the slightest breeze.
If you are in the market to purchase a tripod, I recommend getting the absolute highest quality you can afford, and when in doubt err on the slightly bigger/more stable models vs. the smaller more travel-friendly tripods. The truth is that most of the time you don’t need a tripod for travel and nature photography. Nice to have, but not critical in case it needs to be left home. But for night photography it’s a must, and having something reliable, solid, and easy to use is worth more than having something that can fit inside your small travel pack.
This is one of those things that you really should try out before buying. You’ll be surprised at how easy or difficult some models are to use.
For instance, extending tripod legs works in several different ways…until you try each way you really won’t know what works best for your style. Same thing goes for tripod heads. Oftentimes those tripod heads that come with the tripod aren’t necessarily the best for you.
Do whatever you can to find a camera store, try out a friend’s fancy tripod and you’ll no doubt get more, and better, night photographs.
Know how to Edit your Night Photos
Photo editing has been huge for night photography. Being able to slightly increase the exposure or add clarity to a hazy sky can turn a decent photo into an award-winning one.
While I don’t necessarily recommend adding colors or going wild with photoshopping, I do feel that the ability to make slight tweaks gives you more leeway when actually taking the shot. For instance, let’s say that it was just an extremely dark night, and you don’t have a lens that can go below f/4. You may need to increase the exposure of your shot in lightroom or photoshop to make it salvageable.
Or, let’s say that a plane flew across the sky right when you were taking your photos. Now there is a little red line going across your shot. You may want to take an editing tool (clone stamp or blemish removal) and remove that. Photo saved!
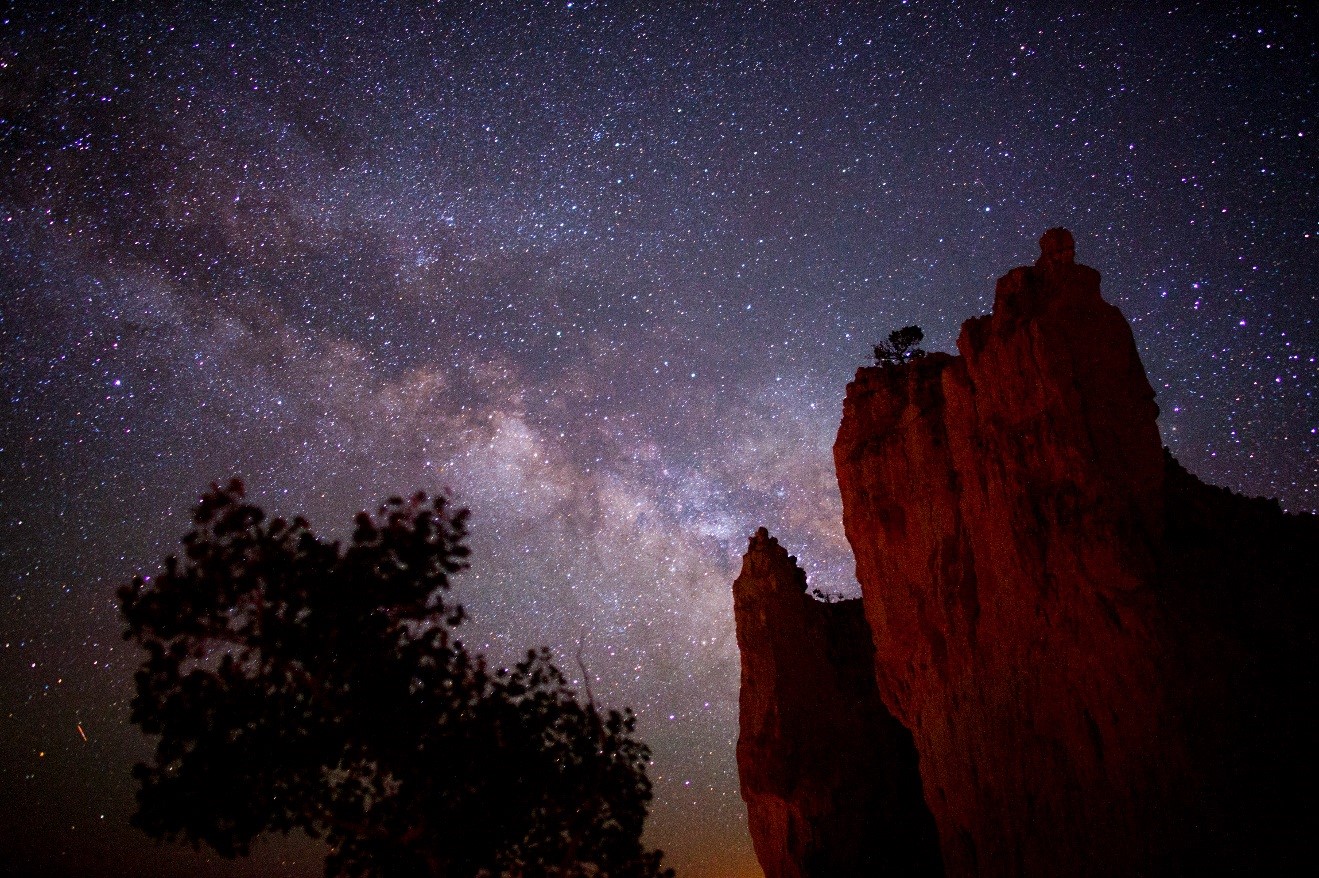
If you have some photos of the milky way that look, well, just too milky, you can add a little saturation, add clarity, and a bit of contrast to have it more well-defined.
Or, perhaps you forgot to experiment with your white balance settings and your shots are just too yellow (or blue)…with a click of a button you can change that with absolute minimal degradation to the image.
Finally, if you are forced to use a very high ISO, like ISO 6400, you may want to use the “noise reduction” tool to soften some of that grain in your shot.
With a little practice, you’ll develop your own “go to” techniques for night photo editing and greatly improve your end product.
And there you have it! These three key steps will have you out there taking great photos in no time. You of course must practice, and it might take a few sessions before you feel comfortable with the techniques. However, whether you’re a beginner or more advanced photographer, adding in these skills, as well as some night photos into your repertoire, is a sure way to have a lot more fun when the moment strikes and you can capture something beautiful at night.
Cheers, and Happy Holidays!

Court
2 Comments

Richard Howe
January 31, 2021 at 9:34 am

Court Whelan, Ph.D.
February 2, 2021 at 7:16 am
Assuming they have similar low f-stops, what type of lens works best for night photographs of the stars/milkyway?
Great question, Richard. If the f-stops are equal, I would go for the widest lens possible (in the ultra-wide category). If you are shooting on a crop-frame camera, that would be something in the 10-22mm. If you’re on full frame, that would be something like 16-35mm.
Hope this helps!