How to get this shot – Golden Arctic
There’s something immensely captivating about the arctic landscape. I’m not sure if it’s the stark barrenness, how remarkably flat the tundra is, the unique look the wind-battered spruce trees give, or that amazing golden light so typical of arctic sunrises. Like many things of beauty, it’s probably a combination of all these.
When thinking about where in the arctic to plan your next photo adventure, you no doubt have lots of choices. Not only are there lots of countries to choose from, but many cities, towns, and regions within each arctic country to further choose from.
While I think I’d be a happy camper in pretty much any quaint, charming, remote arctic community, I’m drawn to Churchill, Canada time and time again. Not only does it have that combination above that I find so captivating, but there is just enough infrastructure in this 400 person town to make it relatively straightforward to get around, find the best landscapes, and come back after a day of photography to a nice meal and a warm bed.
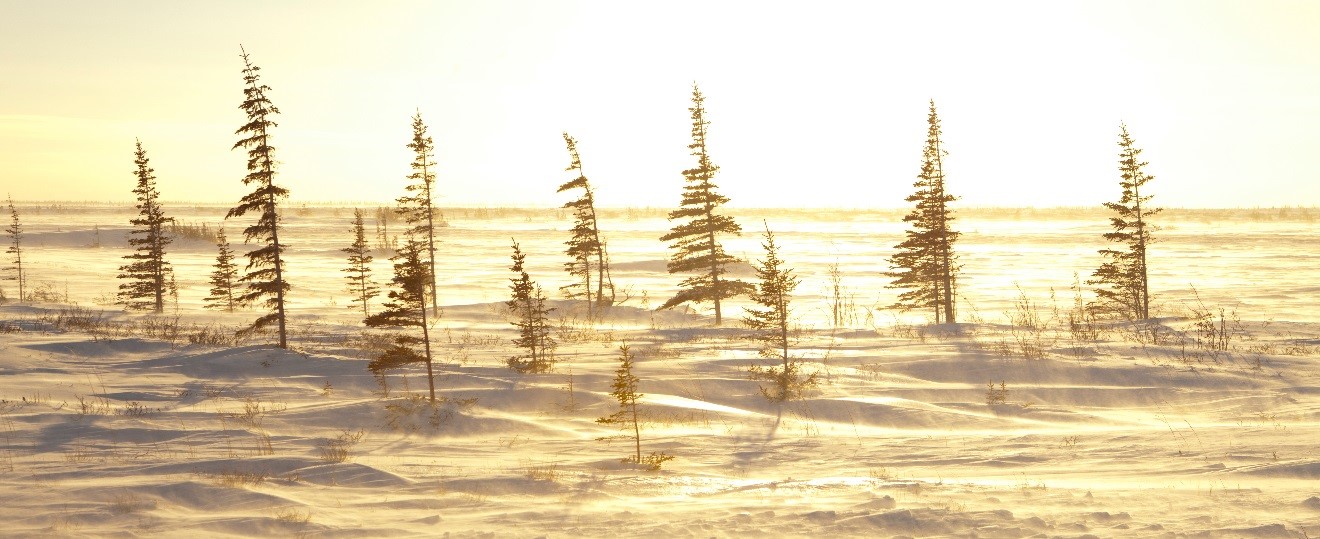
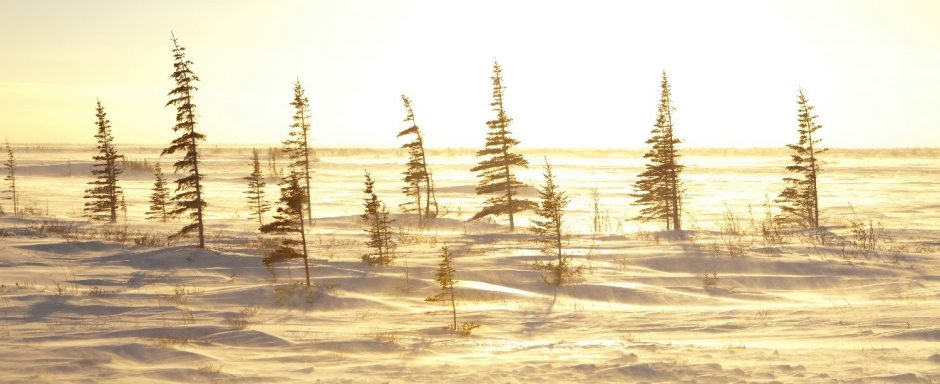
No matter where in the arctic you are considering, you’ll likely see scenes like this one. Follow these steps below to ensure you come away with some wall-hanging-worthy shots of the iconic arctic landscape
- If you are indeed headed to Churchill, this scene is fairly typical as you head east from town towards the Northern Studies Center. There is about a 20 minute stretch of roadside you’ll pass dotted with these white and black spruce trees. You can basically take your pick as to where you’d like to stop on the road and set up for the shot.
- The trick to setting up a scene like this is that you want a nice balance of subject materials (i.e., the trees) but also a demonstrable openness and starkness present in the scene…that’s what I believe gives it a good starting point for intrigue and composition.
- Once you find your spot, it helps to be facing into the sun. This is something that you don’t normally want to do, as it throws your camera haywire when it comes to focusing, and demands some extra attention to your settings. However, with landscape photography, you can afford the extra time it’ll take to get it right. The arctic is especially good for shooting into the sun, as it’s usually a very low arc above the horizon, and it’s often obscured slightly by clouds or general atmosphere. Thus, it’s not at “100% intensity” which makes it easier to balance the tremendous amount of light coming from it.
- As with all landscape photography, a tripod helps, but isn’t necessary. I was able to shoot this at f/8 and 1/400th of a second at ISO 200 handheld. This is plenty of speed, plenty of depth, and a nice, low ISO.
- Once you have your settings something like the above (or perhaps using aperture priority mode and dialing in f/8 and ISO 200–letting the camera choose the shutter speed), I recommend taking a test shot by focusing on the trees with your exposure compensation at zero.
- Depending on exactly where you focused, you may get lucky and nail the shot, and primarily the exposure, right off the bat. However, there is a decent chance you’ll need to adjust your exposure settings to get that “glowing” look. Most likely this will require you to adjust your exposure meter to the positive side, letting in more light. But again depending on where you focused (and thus where your camera is metering from) you may need to darken the shot…this is why test shots…many test shots…are so important. Thank goodness for digital cameras.
- In barren scenes like this, I like to be deliberate about my white balance settings. If you like the warm yellow glow like this shot, you may wish to set your white balance on cloudy or shady. If you would prefer more of a blue cast to the photo, switch to a daylight white balance. Auto white balance tends to be in the middle, and I usually find it less beautiful of a photo.
- White balance adjustments can be made on the computer after the fact, particularly if you are shooting in RAW file format (recommended). The other thing that you may wish to consider, depending on the composition of your scene, is a “free form” crop. That is, you do not have your cropping tool set to a specific aspect ratio but rather you just crop it left to right and top to bottom how you feel the scene will look best…largely based on the placement of the trees. Free form crops are wonderful in today’s world, especially with sharing and showcasing on the internet. However, photo printing companies are equally versatile and can print nowadays in any aspect ratio you’d like.
And that’s about it! The key takeaway here is that in scenes with a dominant light source, and sharp contrast between the subject and the environment (e.g. dark trees and bright white snow), you may need to play around with your exposure compensation quite a bit before you get the shot you want.
Don’t be afraid to take your first couple of shots with minimal tinkering. You don’t have to nail the shot perfectly each and every time with landscape photography. The important point is that you end up with the shot in-camera as close to your own perfect as possible. Then, when making edits on the computer you need only make minimal changes to take it from a great shot to a perfect one.
Cheers, and happy new year!

Court
Leave a reply