Photographing India’s Wild Landscapes
India may be known as a premier wildlife safari destination, what with its spectacular tigers and all, but the natural landscapes are equally captivating and worth every effort to capture and showcase.
However there are facets to the India landscape that make classic landscape photography challenging to conceptualize.
Read on to learn my top tips for turning these challenges into opportunities and come away with stunning landscape photos on your next India nature adventure.
Embrace the Harshness
When on safari in India, the harshness of this environment is all around you. Whether it’s the harsh contrasting light, or simply the harsh desert conditions in certain parks. No matter the case, rather than avoid the harsh scenes in favor of the verdant riverbanks that are also common, embrace the harshness with creative photo techniques.
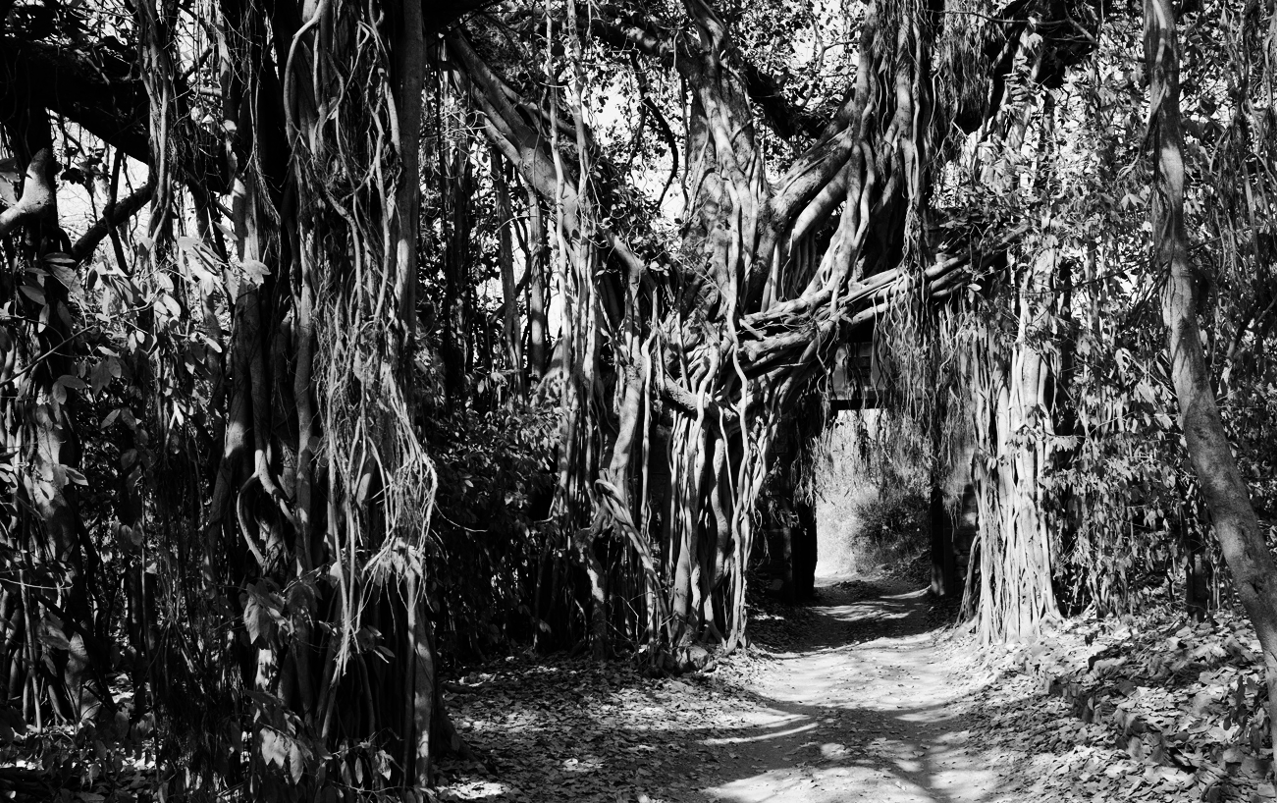
If presented with difficult contrasting light, photograph in a way to emphasize this contrast and exaggerate it. In addition to traditional high contrast color photography, consider photographing (or editing) in black and white to showcase the environment in a striking and unique way.
The below photo was turned into black and white in post-processing, while also boosting the contrast up past “normal” levels—a technique that works particularly well for black and white photography. And when light is challenging like in the above photo, transitioning to black and white photography can be a great solution.
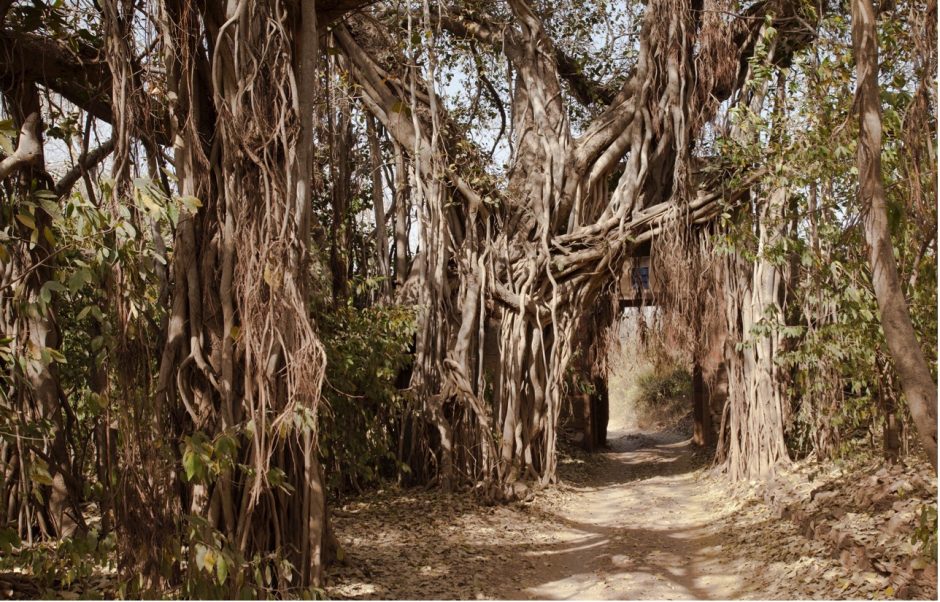
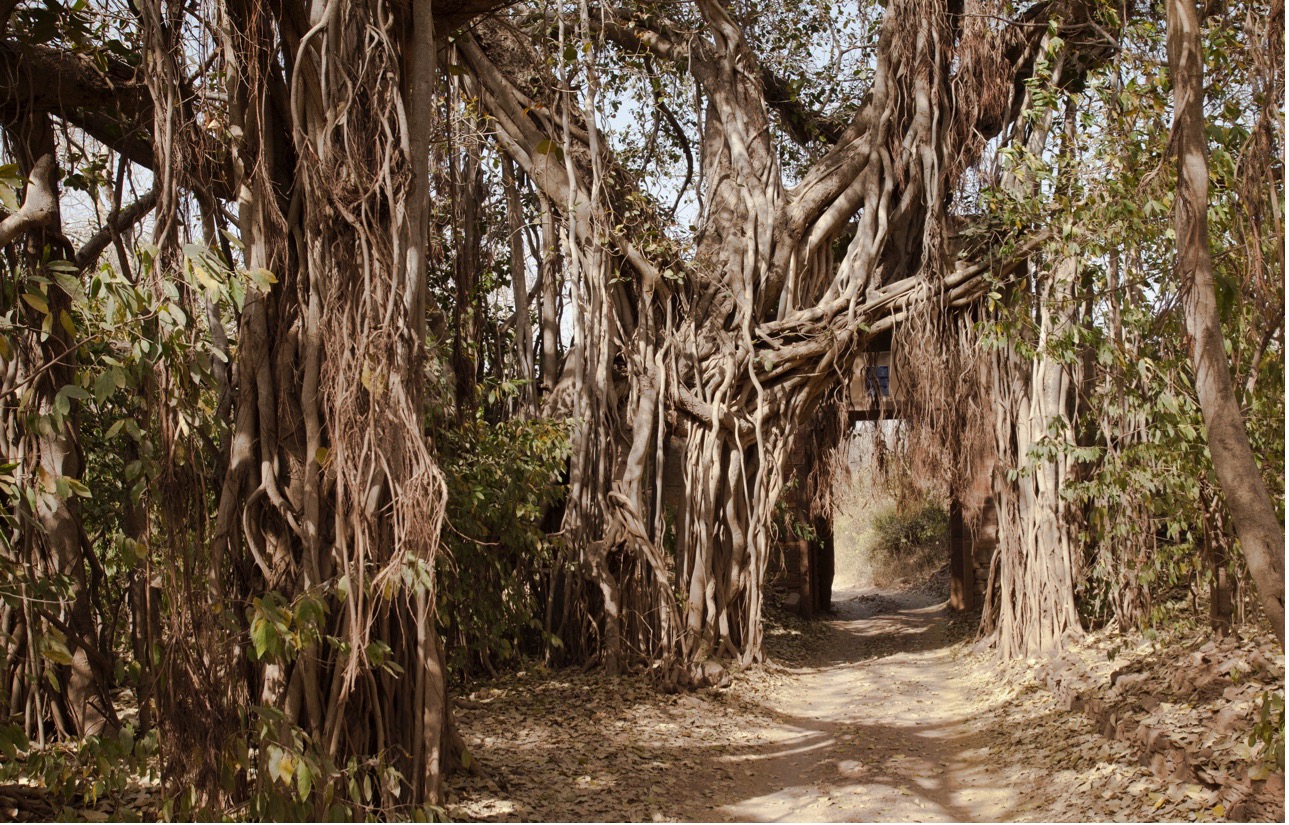
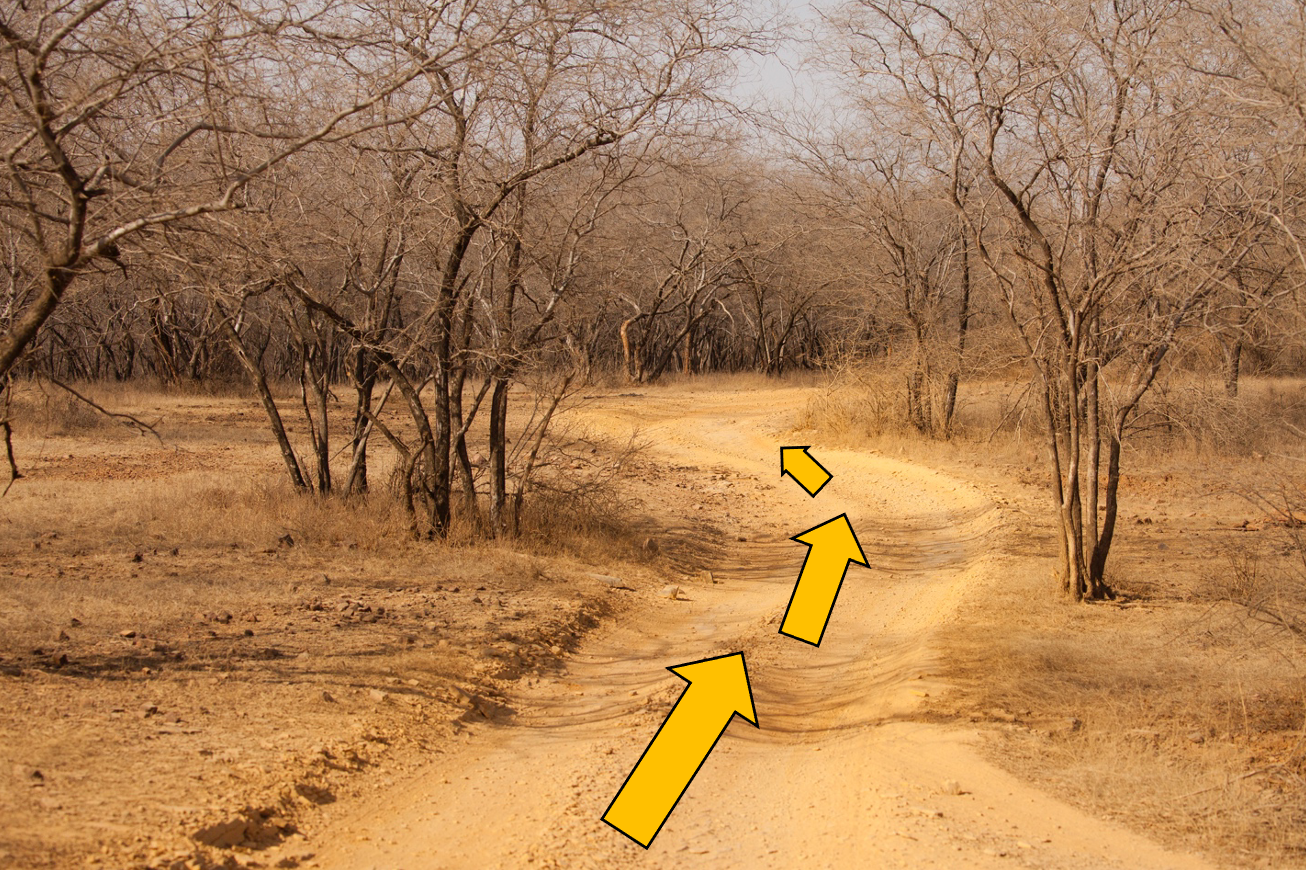
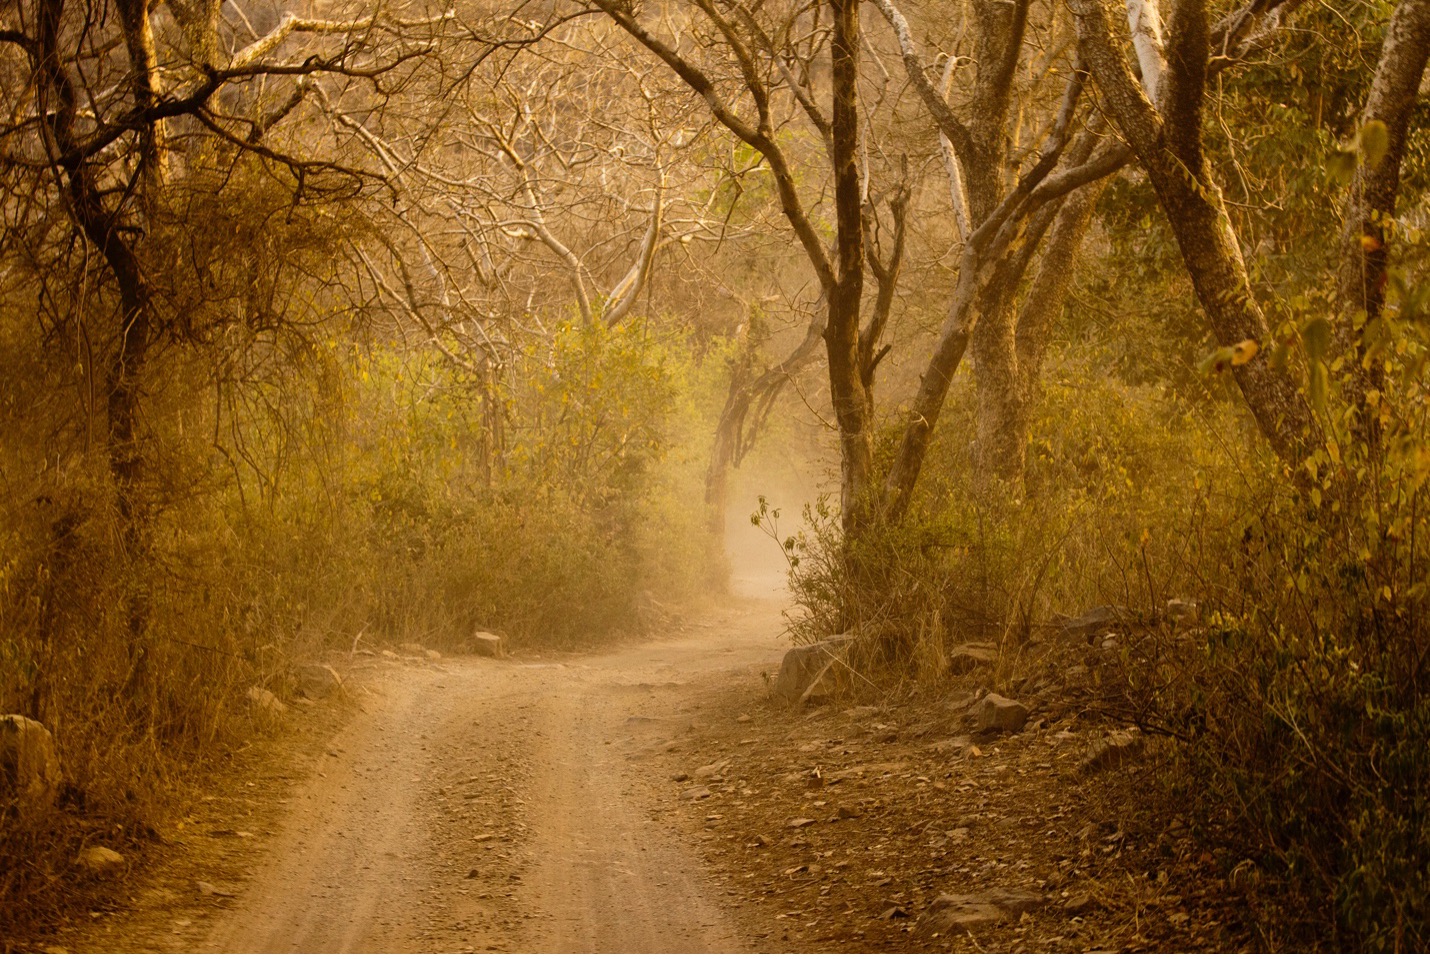
When presented with the harshness of arid conditions, use traditional compositional tools like leading lines to accelerate the viewers’ eyes into the frame and into the harshness. Below, a safari trail helps direct the eyes into the landscape.

This technique also works well when photographing dense thickets of vegetation. While they are quite uniform and by themselves rather difficult to photograph, the safari jeep road you are driving on makes for an excellent leading line and foreground subject of your photo.
Use these elements to add context, direction, composition, and beauty to your landscape photos.
The Silhouette Technique
Although these tend to work best at the start and end of each day, such that the rising or setting sun on a distant hill provides for some lovely color gradient, you can use this technique at mid-day, too…just with a tad less pizzaz.
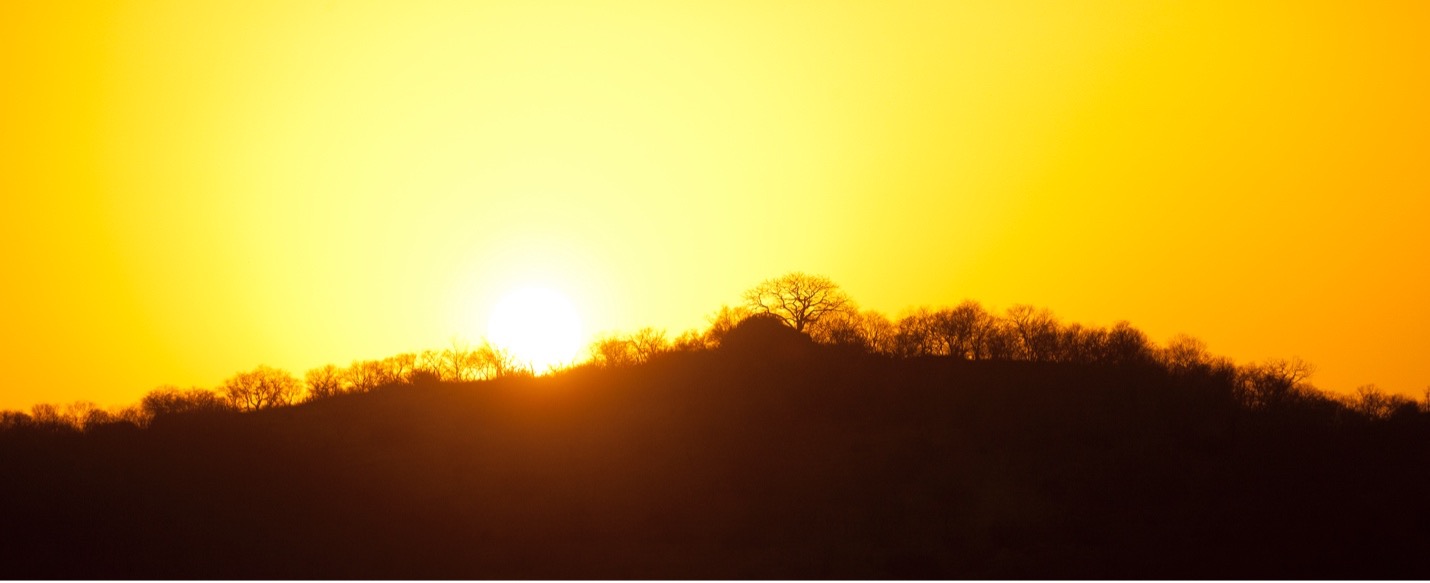
In order to photograph into the sun while not getting an overly bright photo (aka, blowing out the highlights, as we call it) you must underexpose your shot considerably. If you are using exposure compensation this is best done by getting to -3 or stronger in the underexposure side of the meter.

Next, you’ll want to have your telephoto lens on your camera so that you can zero in on a somewhat distant hillside. Using your telephoto allows you to frame the shot nicely and avoid other distractions in the landscape which could be in between you and the rising or setting sun.
The telephoto technique also allows you to increase the size of both the sun and the trees. The trees being so distant will just increase them to “normal” tree size, but the sun, as it’s enlarged, becomes overemphasized in a way that makes it really pop. You can read more about this technique specifically in my Zoom Compression article.
As long as the sun is behind the hillside, such that the hillside is shaded, this can work at other times of day, too…not just at the extremes of morning and evening. But of course to get the sun in this exact position, you’ll need to aim for sunrise or sunset.
If you want to really make the photo pop, you can edit in a way that darkens shadows and perhaps even adjust the white balance to emphasize the golden colors of the photo.
Feature Wildlife in the Landscape
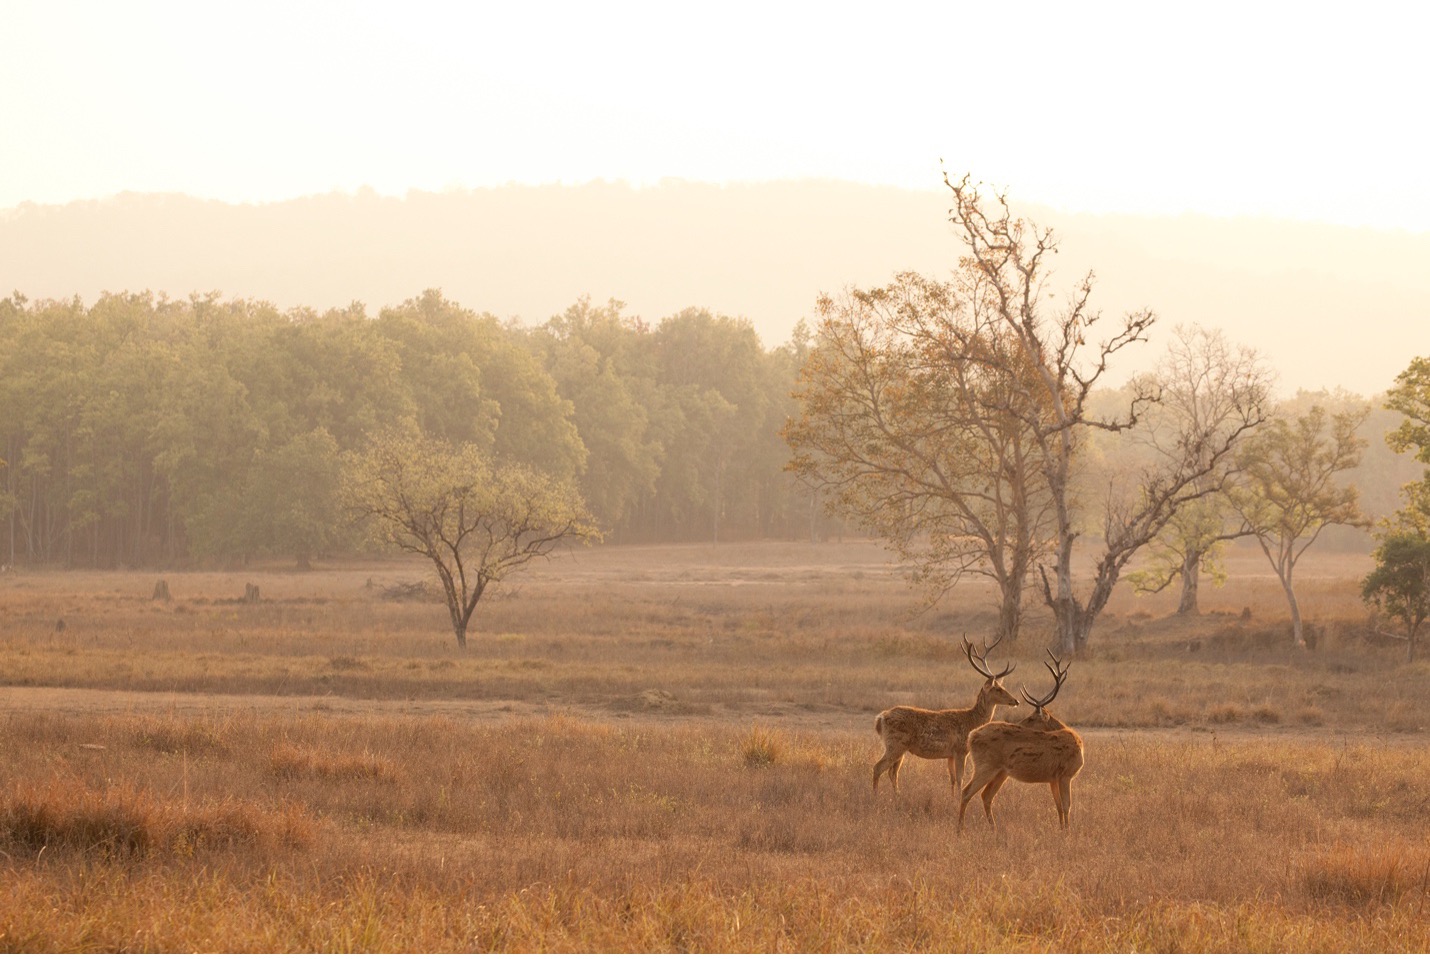
Taking photos of wildlife may be on the front of your mind, but doing so in a way that emphasizes the landscape is a slightly different technique.
In the below shot, you’ll see that I started with a nice landscape, employed the rule of thirds with the background, and put the deer slightly outside of the bottom right thirds intersection.
Although this positioning is a small change, it helps exaggerate composition slightly to provide a tad more emphasis on the landscape vs. the wildlife. Thus, this is a landscape photo with wildlife, vs. a wildlife shot. (as you can tell, this is up to artistic interpretation, but you get the idea)
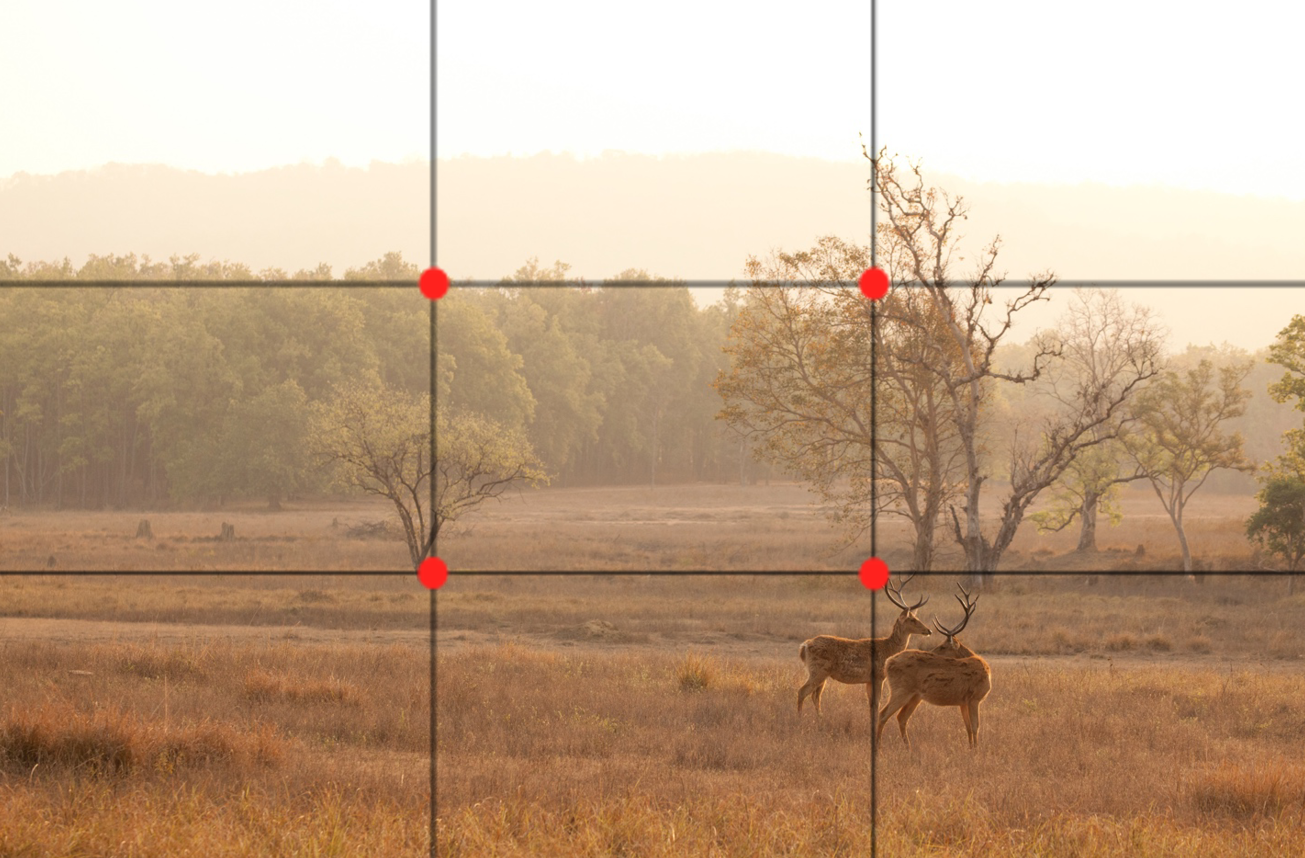
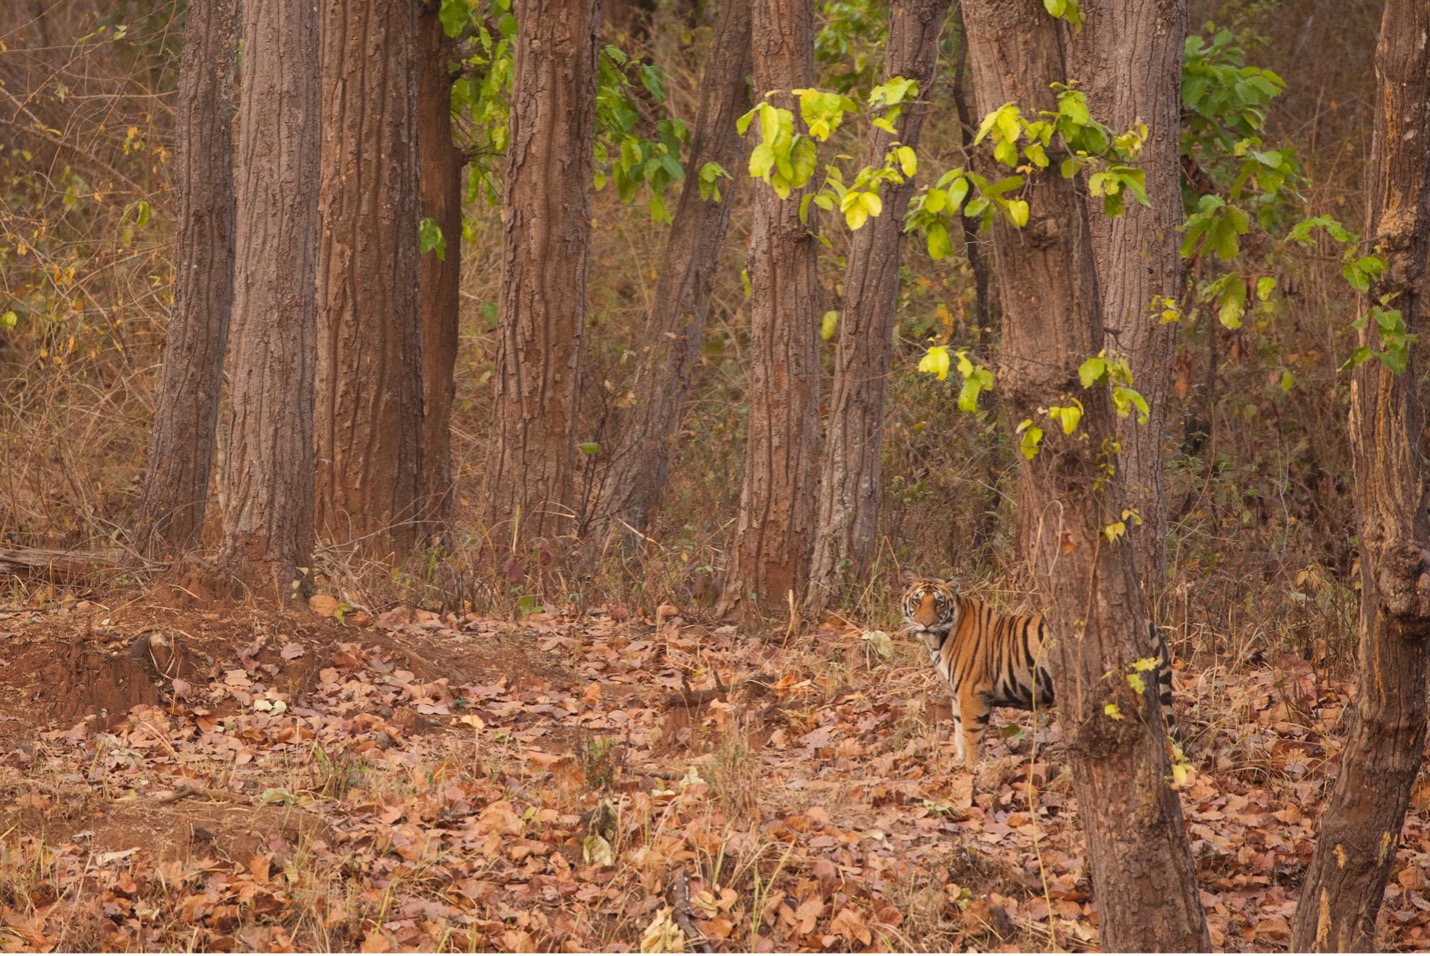
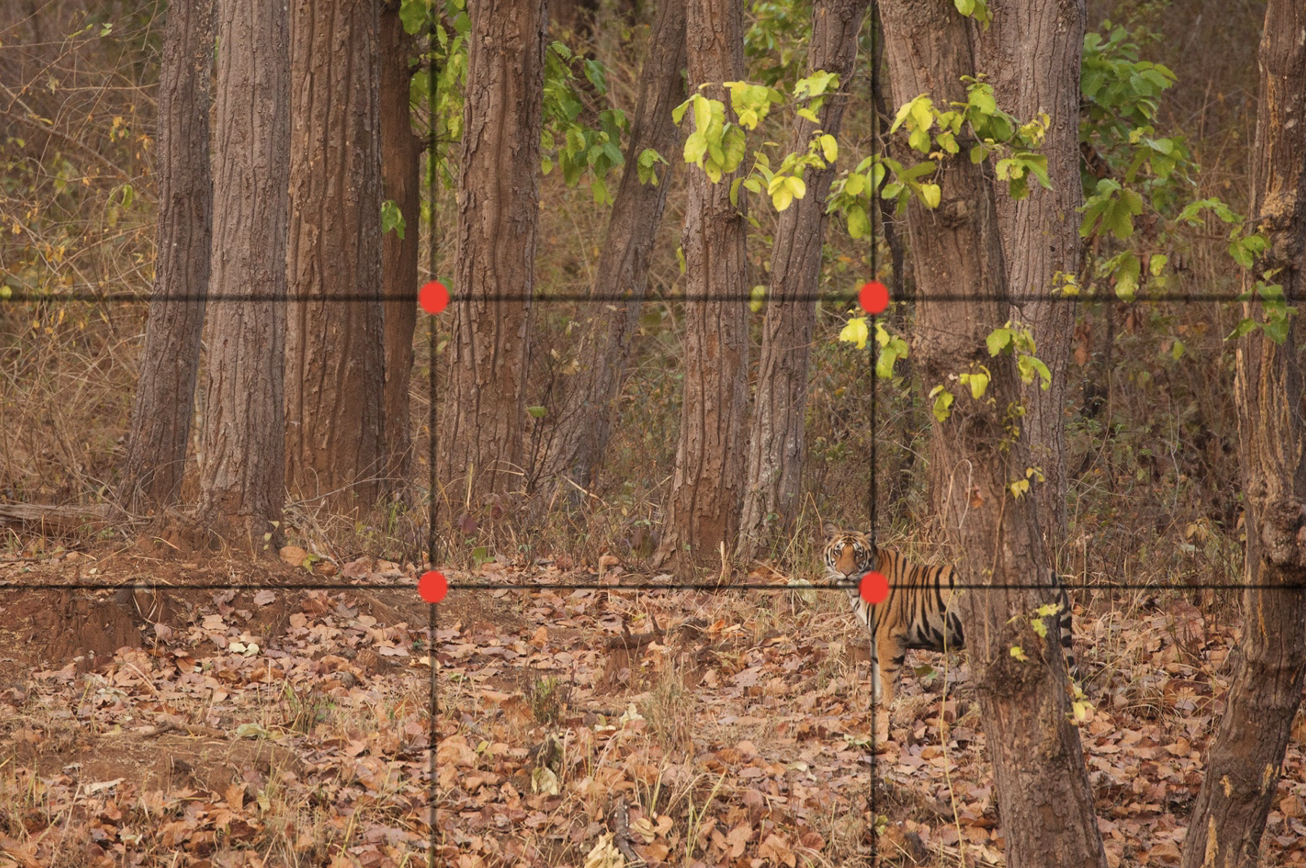
But don’t overthink about the exact positioning of the wildlife and the rule-of-thirds grid. As you can tell from the below photo, perfect positioning on the intersecting point (which is what I usually advise) is just fine as well.
In this photo, I think the size of the surrounding trees helps emphasize the grandeur of the scene, but because you aren’t seeing the full landscape, this becomes more of a wildlife photo in landscape vs. the other way around. Do you agree?
While the wildlife of India usually steals the show (especially tigers) the landscapes can be wild, scenic, and highly photogenic. When faced with the arid conditions in certain places, and dense vegetation in others, they do require more creative considerations than other classic landscape destinations like the mountains of the Canadian Rockies or red rocks of the Grand Canyon.
Hopefully these tips help you on your journey and if you are headed to India to photograph wildlife and landscapes, I wish you the very best!
Cheers,

Court
Leave a reply