How to Silhouette your Sunset Shots
Sunsets are one of the most iconic and “photo worthy” things when it comes to landscape photography. They can be vibrant, exotic, intriguing, and beautiful. They can do wonders for a travel photography portfolio. However, they can be challenging when trying to capture the whole scene. That is, it’s challenging to showcase the foreground AND the colors and textures of the sunset at the same time.
Thus, I go the complete other direction the vast majority of the time when photographing sunsets. And for the sake of this tutorial, the same goes for sunrises…
It’s inherently very challenging to get color, texture, and vibrancy from BOTH the foreground and sunset, so I mostly choose to silhouette the foreground and really concentrate on the showcasing the brilliant sun setting, using the shapes of the foreground to add appeal.
The Steps to Silhouette
Fortunately the steps to do this are pretty easy, and once you practice them they become second nature.
First, you’ve got to find a great sunset…pretty obvious, but I had to say it.
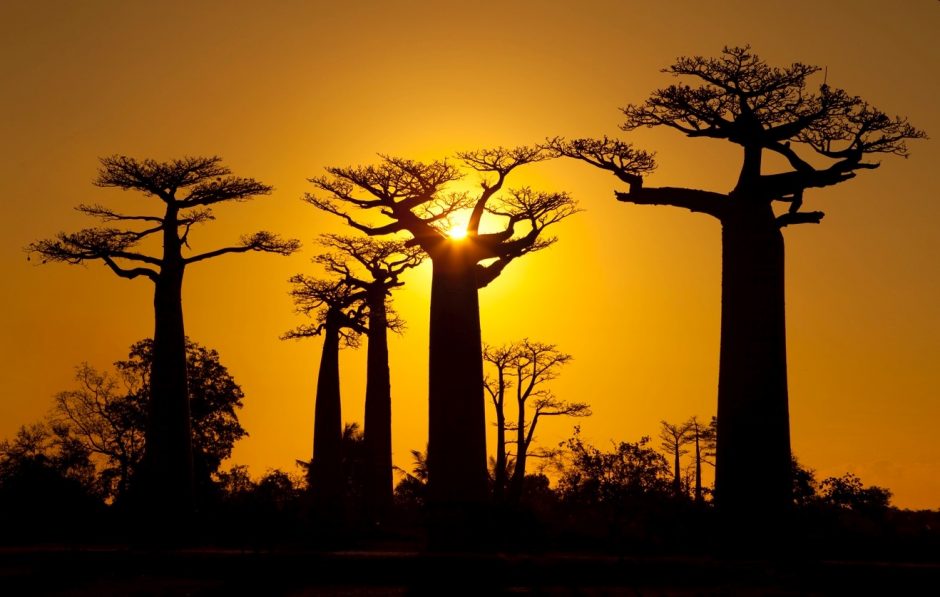
Great sunsets can be found around the world, but you really need a big vantage point, like a savanna, ocean, or mountainscape. Places like Madagascar, Canyons of the American Southwest, Kenya, and Tanzania are some of my personal favorites. But the great thing is that amazing sunsets can be found around the world in virtually every region and country.
Next, you’ve got to get into position–find your shot!
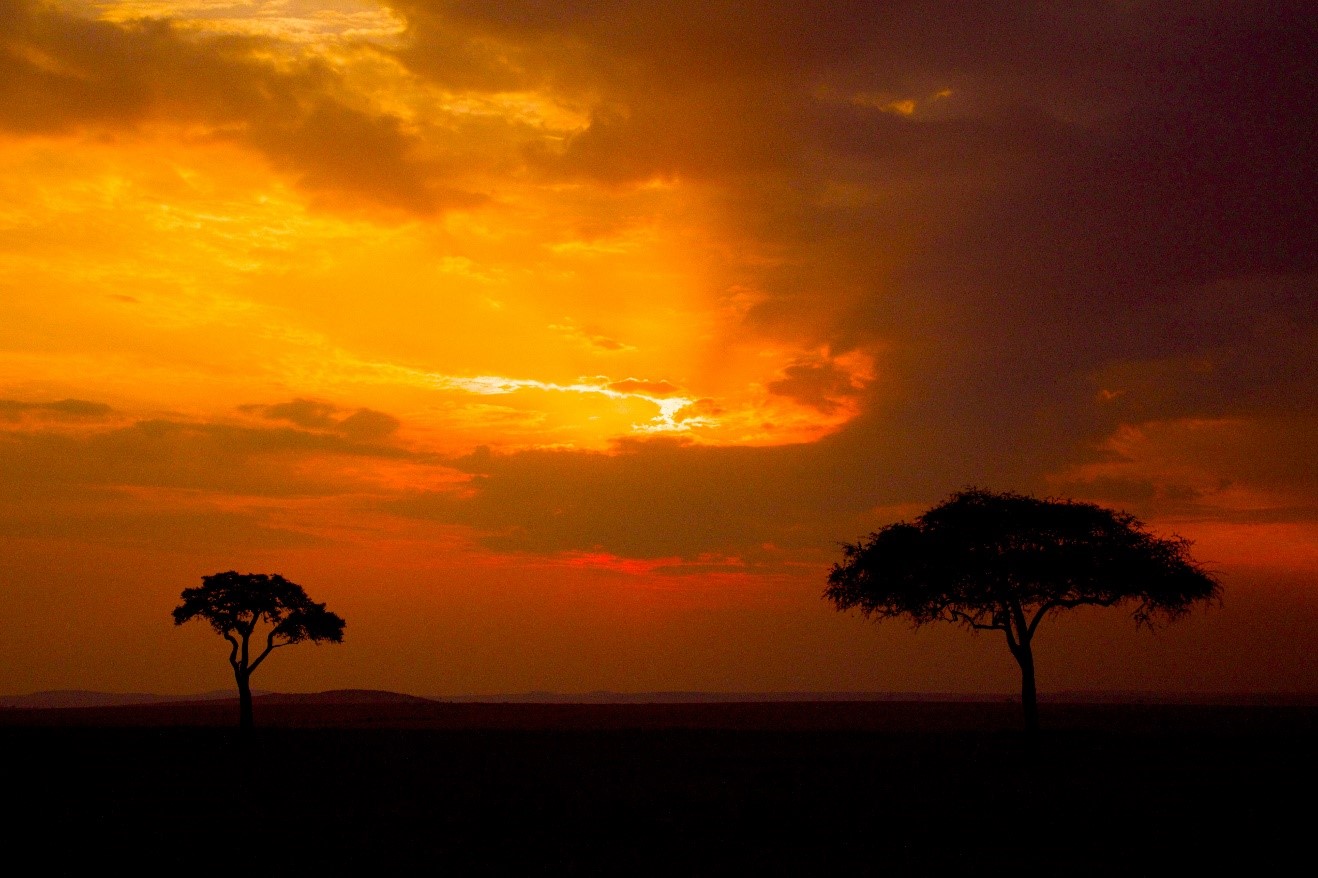
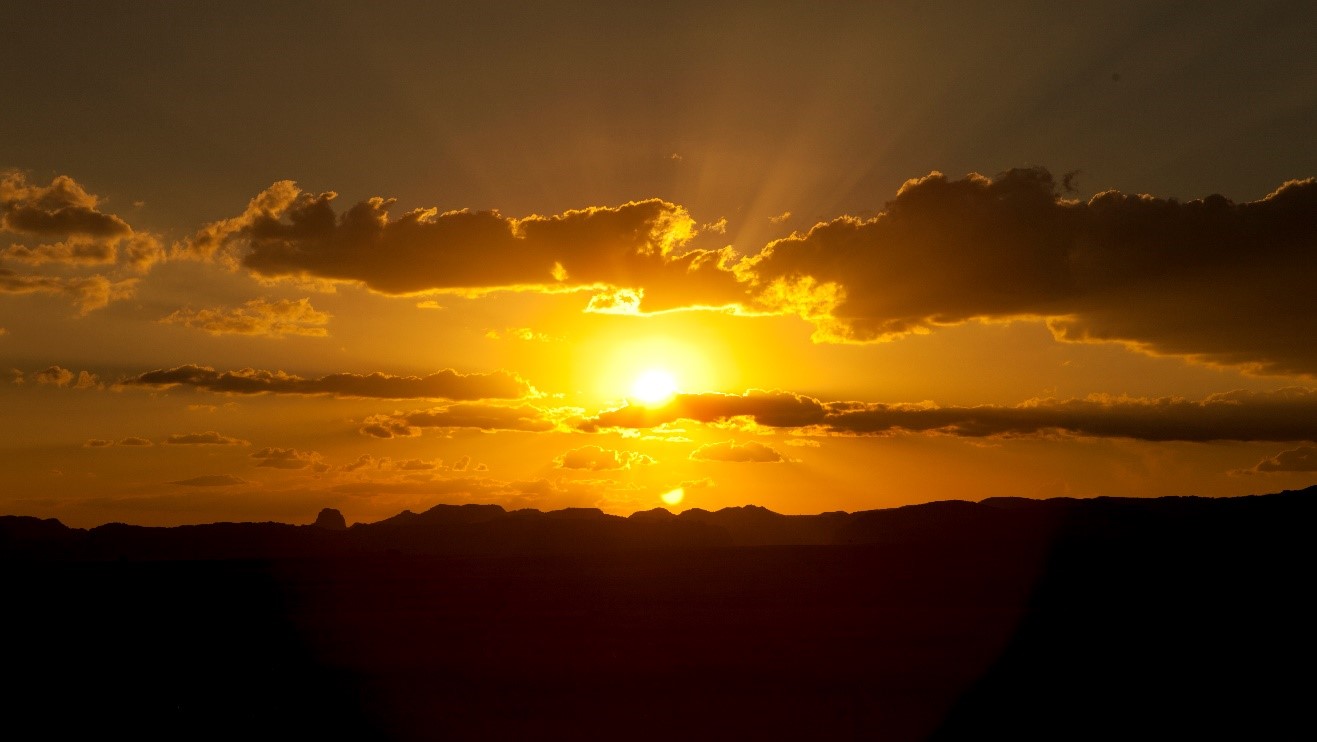
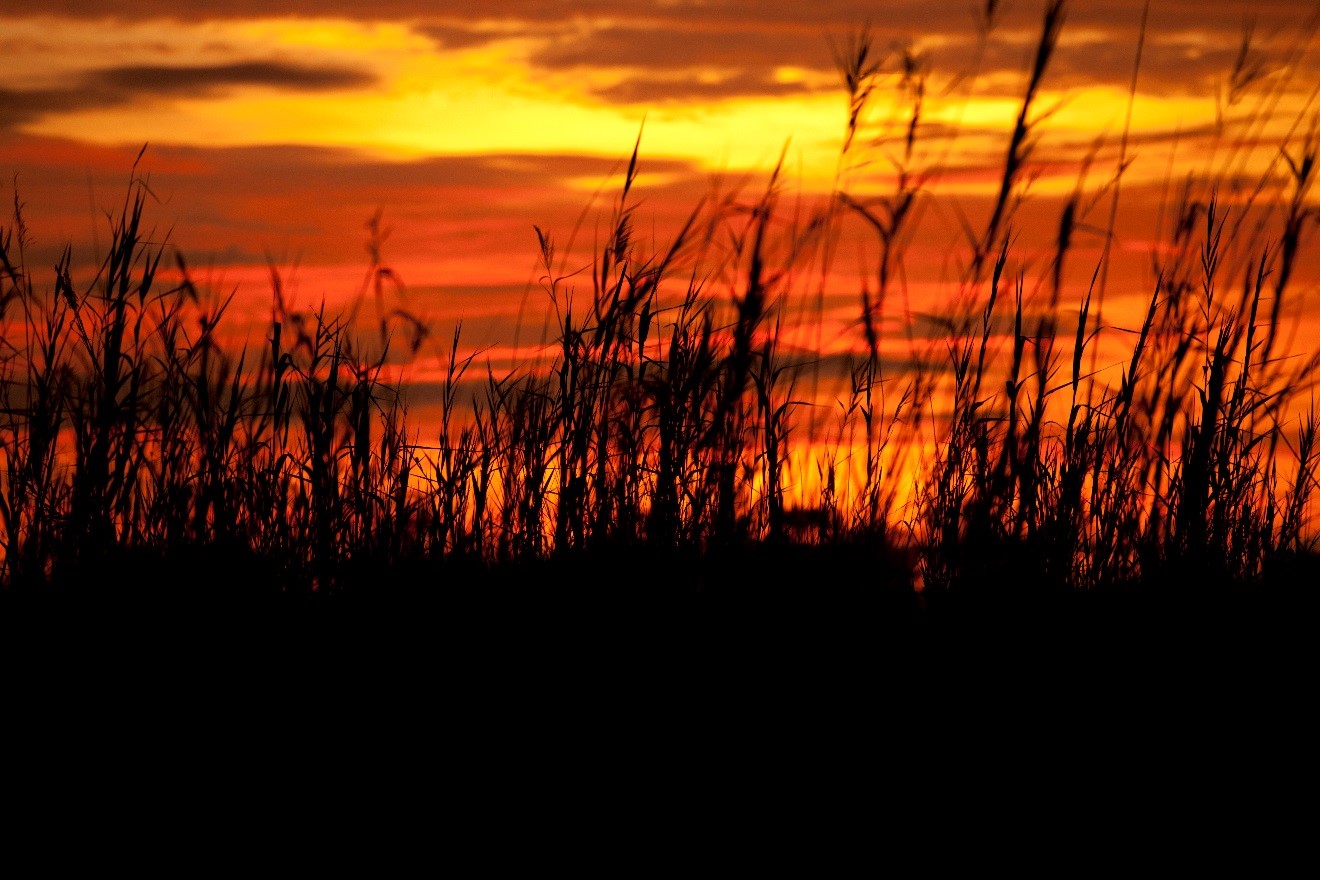
What this really means is that you’ve got to find some interesting foreground. What you’re really looking for is texture and recognizable shapes. A random rock isn’t going to look all that good as a silhouette. However, iconic baobab trees in Madagascar or acacia trees in Kenya are ideal. In addition, you can use distant mountains to provide a unique texture to the horizon which works quite well, too.
Keep in mind, some of the best color and texture may not be right where the sun is…best to keep an eye out and look around constantly during the last 30 min of the sun setting.
Next, let’s talk about technique
The steps are rather easy, but are indeed critical to get that silhouetted look.
First, your camera settings are actually not that important. If you have a point and shoot and set it on Auto or “P” setting, that’s great. If you are shooting on aperture priority or manual, something middle-of-the-road like f/6.3, 1/250, ISO 400 is great. Nothing extreme. You can actually toy with those quite a bit. Since you’re shooting into the sun you won’t be limited by light. However, at the same time, you don’t need a big f/stop to get the focus and definition you need, since everything will be pretty far away.
The key part…
As far as focus goes, you’ll want to focus on the sun or surrounding clouds to achieve proper metering and lighting. Otherwise, you may inject too much light into your scene and “blow out” the highlights.
What this does, is it forces your camera to prioritize for the extremely bright spots around the sun at the expense of the foreground. By darkening everything to compensate for the extremely bright sun, you end up getting these beautiful silhouettes.
And that’s it! After these steps, start clicking away. Then begin to practice a little with changing this technique slightly. Maybe try and focus somewhere else in the sun or clouds. OR, try and focus on the foreground and see what it does. Generally you’ll have 20+ minutes to experiment, which is plenty.
Now go forward and give it a shot!
Best,

Court
Leave a reply