Tips for Photographing in Low Light
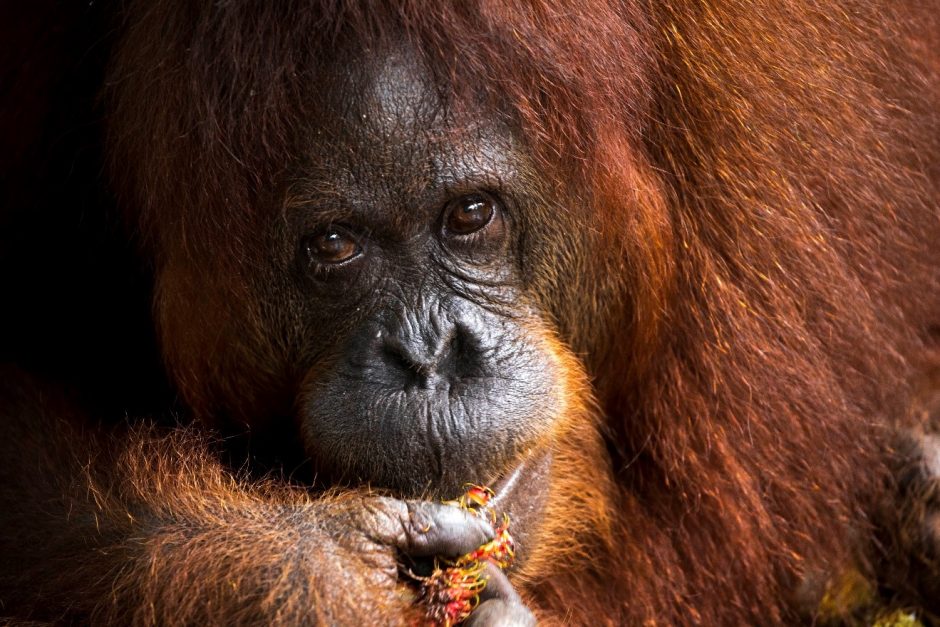
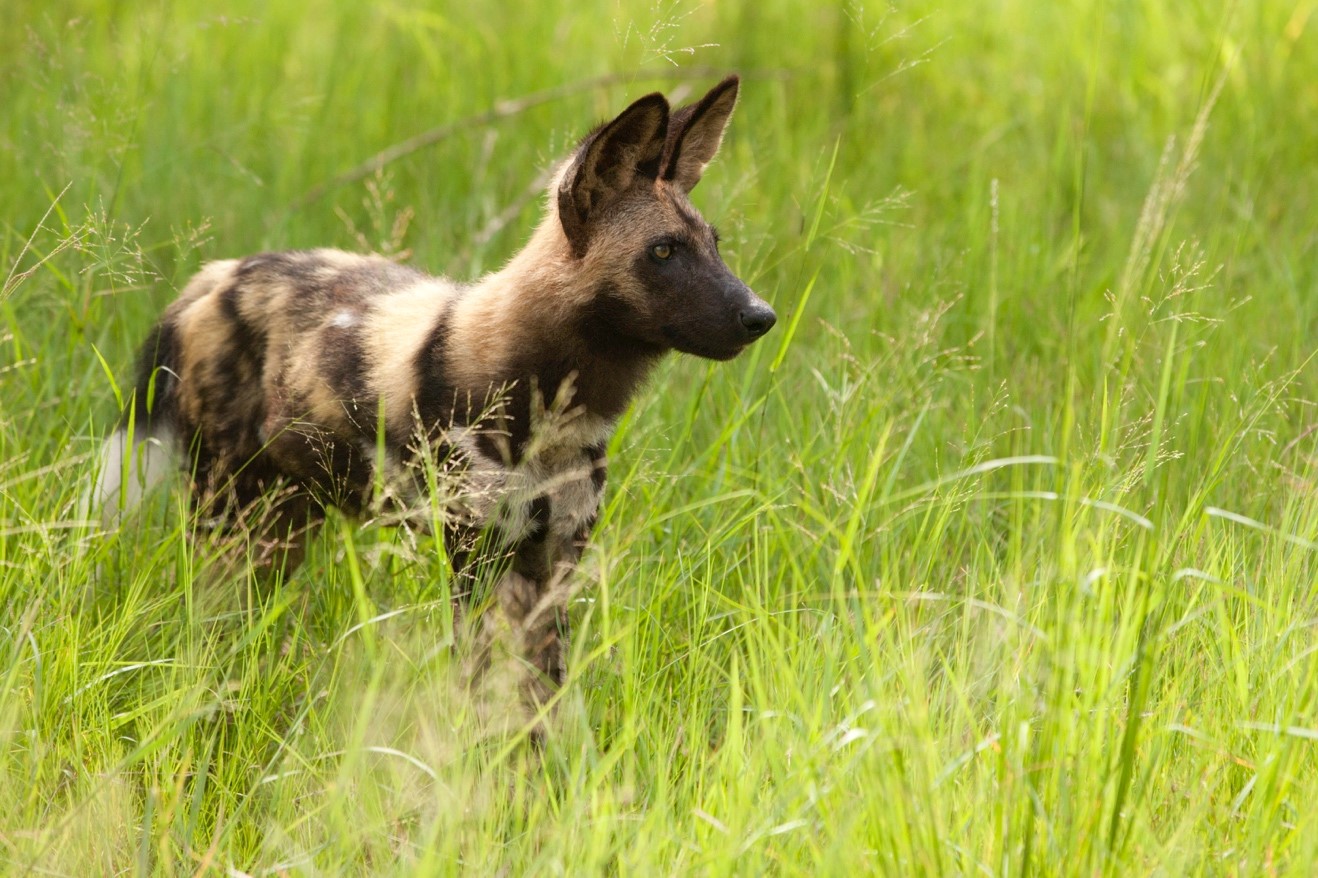
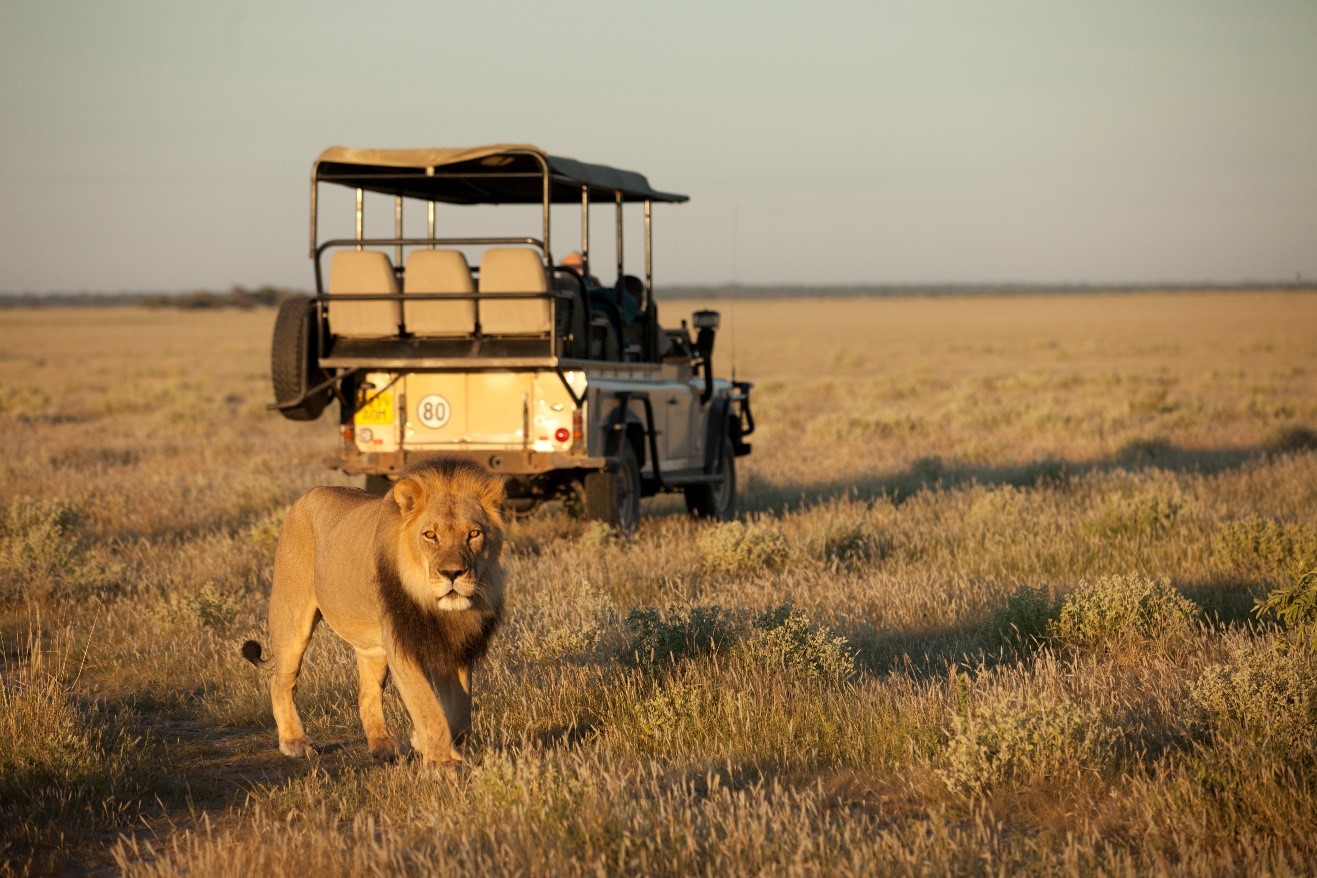
When it comes to wildlife photography, shooting in low light conditions is pretty commonplace. Dawn and dusk tend to be some of the best times of day for large animal behavior, especially in iconic safari destinations like Botswana and Kenya. Thus, it’s critical to understand how to photograph when the light is low in order to get the best shots. Plus, the soft, angled light at dawn and dusk can actually be some of the best lighting if you know how to capture it properly.
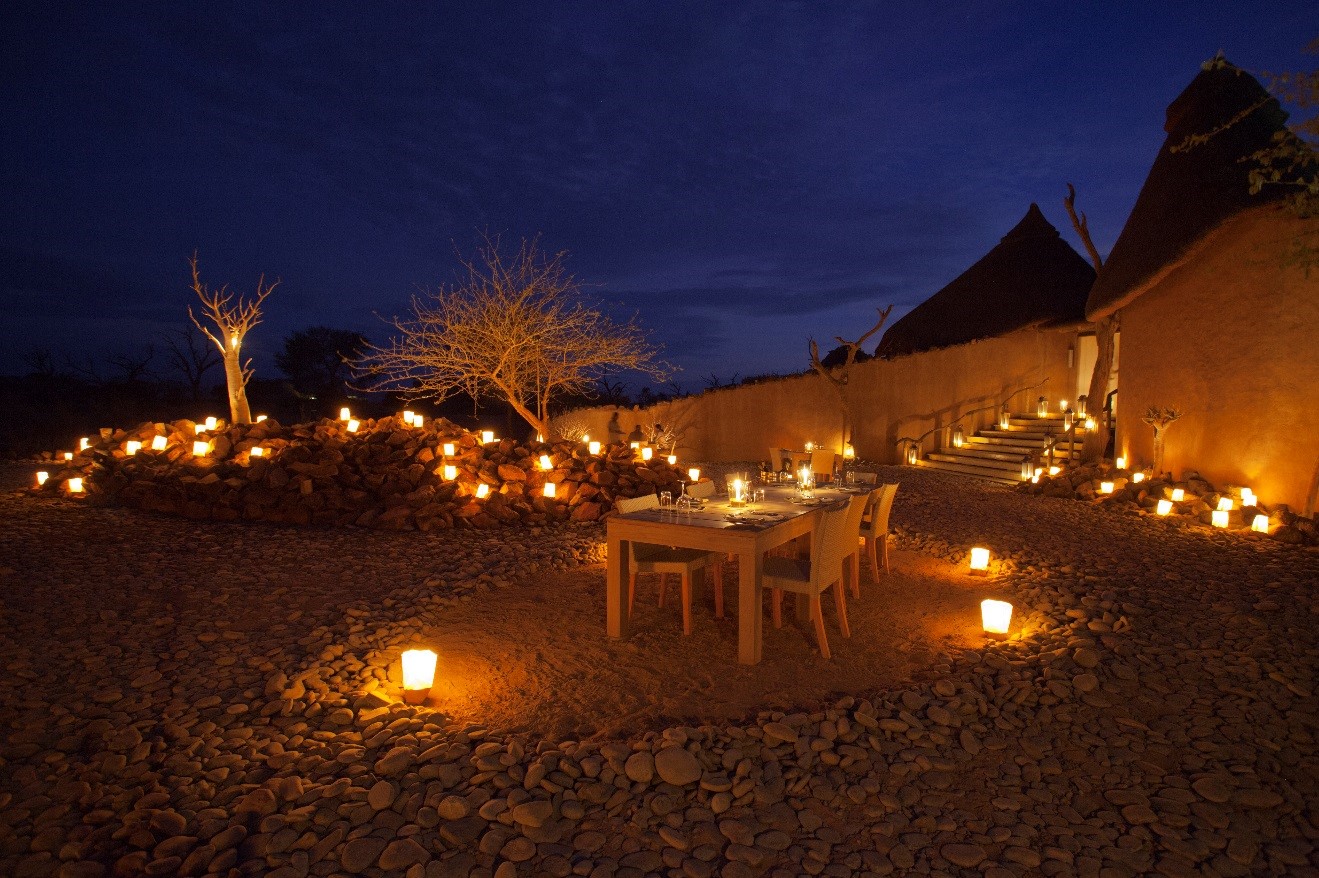
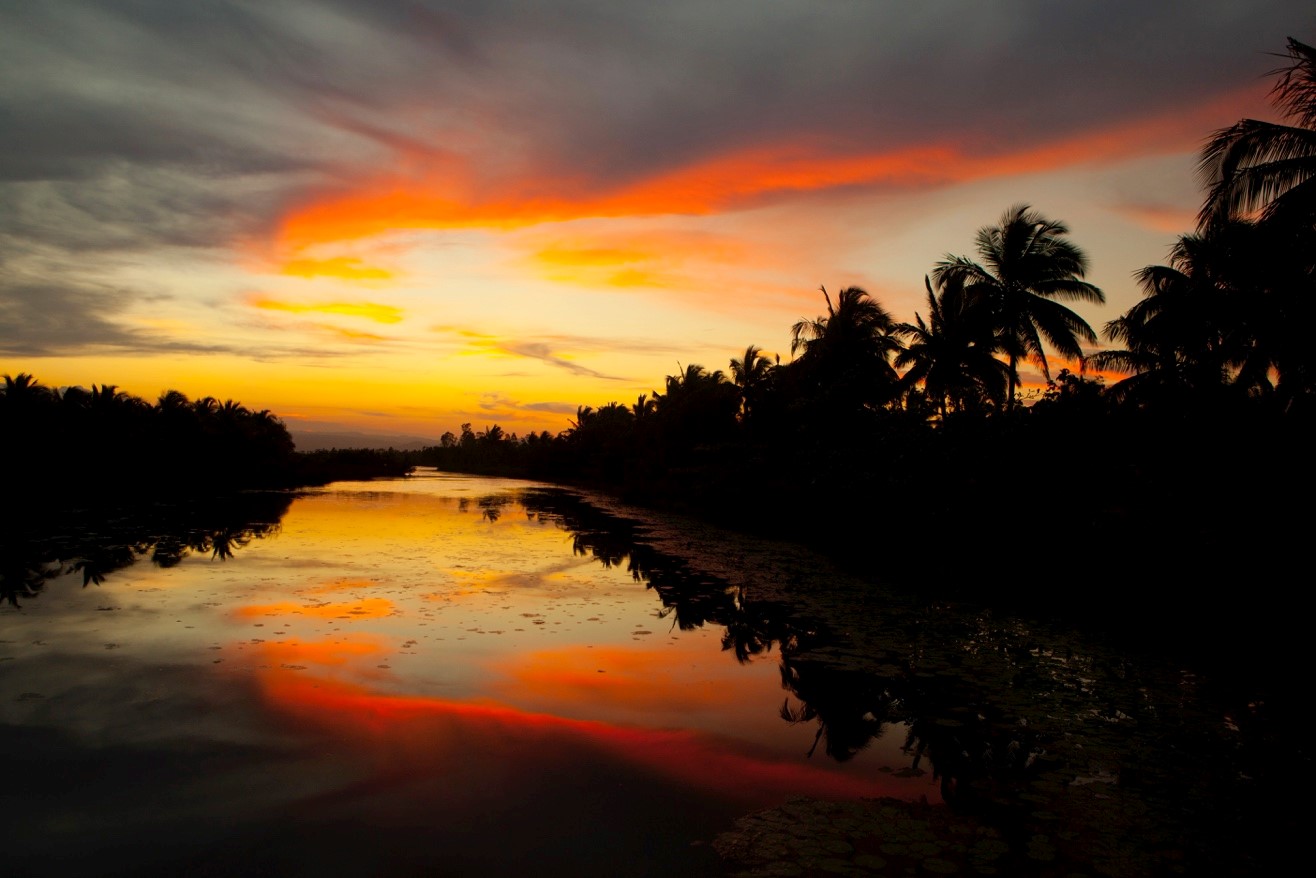
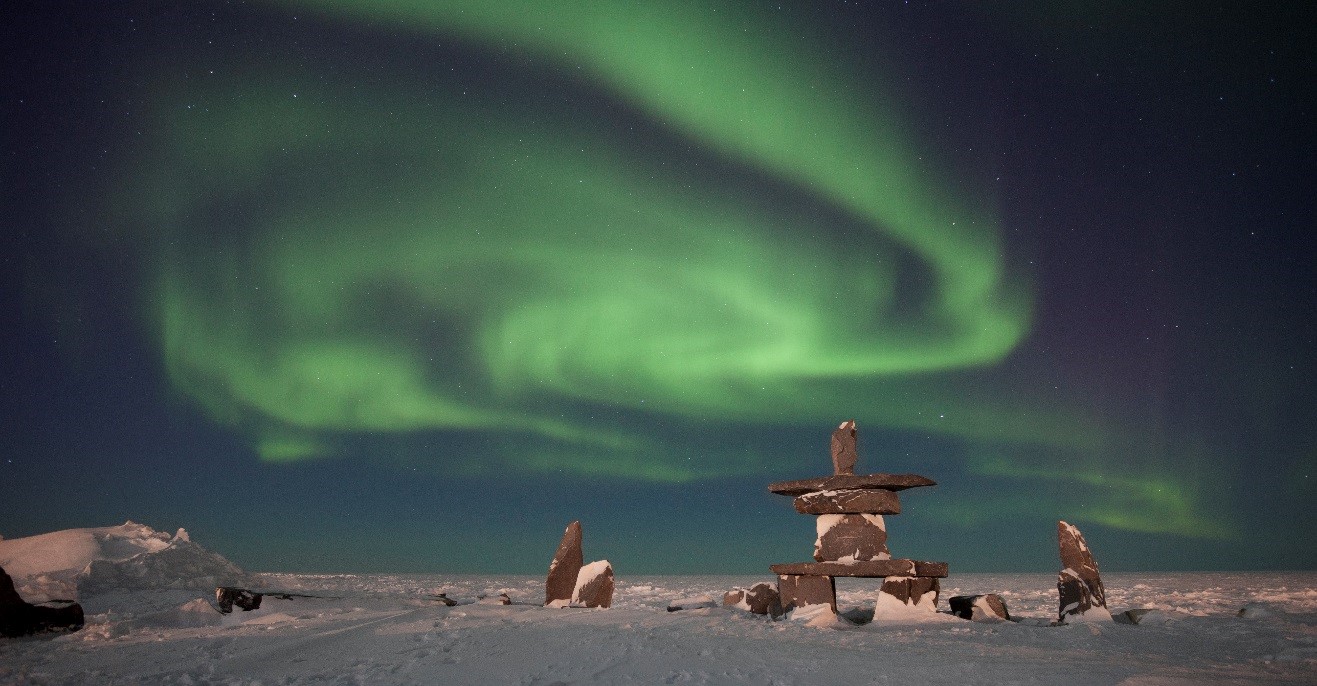
And then there’s extreme low light landscape photography when you have the opportunity to shoot at night. Around the world there are some of the most sensational photo ops at night, whether it’s the famed aurora borealis, astrophotography, or just photographing the way your lodge looks at night.
Read on the make sure you and your camera are ready for photography in these highly coveted but also highly challenging lighting conditions.
Photographing at Dawn and Dusk
Most of the time when I’m up early in the morning or later in the evening for wildlife, I’m primarily adjusting my camera settings to allow for low light photography. That is, I’m not using a tripod, because the wildlife is usually moving enough that the tripod wouldn’t be of much help.
Low light photography is one of those times when having a DSLR or mirrorless camera really pays off. It all has to do with the size of the sensor, and generally speaking point and shoot cameras have significantly smaller sensors, and thus significantly less ability to photograph at night. And this low light prowess all comes down to ISO.
For those folks with DSLRs and Mirrorless cameras
If you are needing to maximize the amount of light you let into your camera, you must first have your aperture on the lowest possible f/number. Generally we’re talking about f/5.6 or even lower. Lenses with an f/2.8 ability are typically the most coveted because they’re able to let in SO much more light at the same shutter speed and ISO as a lens with, say, an f/4 or f/5.6 aperture.
Once you get the lowest aperture, next you must set the highest ISO that you are personally comfortable with. And this personal comfort has to do with a) your own tolerance for “noise” or “grain” and b) the quality of your camera’s sensor. Let’s concentrate on B for now. Most “intro” DSLR or mirrorless cameras will allow you to go to pretty high ISOs, but that doesn’t mean you should. Most often, the maximum you should go is about 800 or 1600. Here’s where fancy cameras earn their keep. On newer full frame cameras, you can often go to ISO 3200 and maybe even ISO 6400 with minimal grain. This is a game changer and will give you photos not otherwise possible.
Now that you have your low f/number and ISO 800, 1600, or higher, take a test shot and see what the camera is giving you as a shutter speed (if using aperture priority mode, like I always do). And here is where you need to start making more difficult decisions.
Simply put if your shutter speed is too slow, your photo will be blurry. Thus, I typically use a 1/40 shutter speed as my absolute lowest that I’ll go. So for instance, if I take a test shot on aperture priority mode and have f/4, ISO 800, and the shutter speed the camera is giving me is about 1/50, I know that I can get the shot, as long as I hold reeeaaally still. But if instead it’s giving me a shutter speed of 1/20, I might want to increase my ISO to 1600. If going above 1600 is just unacceptable to you because of the grain you’re getting in your photo, you may just need to increase it regardless and know that you either get a grainy shot, or none at all.
For those with a point and shoot camera
If you are comfy using all of the above techniques, technically you can do all the exact same with point and shoot cameras. However, it’s also worth knowing that you often have some “shortcuts” that allow you to maximize light sensitivity in one click, rather than messing with all the settings.
Typically in your camera menu you will see something that refers to “night mode” or similar. This essentially, in one click, sets your aperture at the lowest f/number, highest ISO, and slowest shutter speed possible. For things like this, it’s always a good idea to bring your camera’s manual with you so that you can learn as you practice in the field.
Photographing at Night
When light has FULLY left the scene, after the sun has fully set, or it’s the middle of the night, you’re going to have to get a tripod involved. Fortunately, the camera settings needed to get a night shot are quite similar to the above dawn/dusk settings with one exception.
The one exception is that you’re able to shoot at a much slower shutter speed, which gives you the ability to capture all the light necessary to essentially illuminate a night scene.
So, you’ll aim for a low f/number (f/4 or f/2.8), a high ISO like 800 or 1600, BUT a much slower shutter speed. Because of this, the chances of freezing any sort of motion in your scene (i.e., a moving animal) is pretty slim. This technique is largely reserved for landscape photography. Nevertheless, landscape photography at night can be breathtaking…
Hold Still
Whether you are shooting hand-held or have a tripod, the idea is the same–you’re trying to keep your camera really, really still. Although a tripod is perfection, sometimes a really steady hand can be good in moderate light. So, if you are going hand held, and you can tell that your camera is struggling to keep up, pay extra attention to holding as still as possible. It sounds silly to say, but a bit of concerted effort can be the difference in a good shot and a blurry one in low light conditions.
In Conclusion
If there is any specific takeaway from this, it’s to get familiar with setting your camera on aperture priority mode and being able to dial in custom settings. Then, making sure that you use ISO to the fullest ability–increasing when you need more light or a faster shutter speed, and decreasing when you can afford a slower shutter speed or there is more plentiful light.
But as always, the best way to master all this is practice, practice, practice.
Now go out there and give it a shot!
Best,

Court
Leave a reply