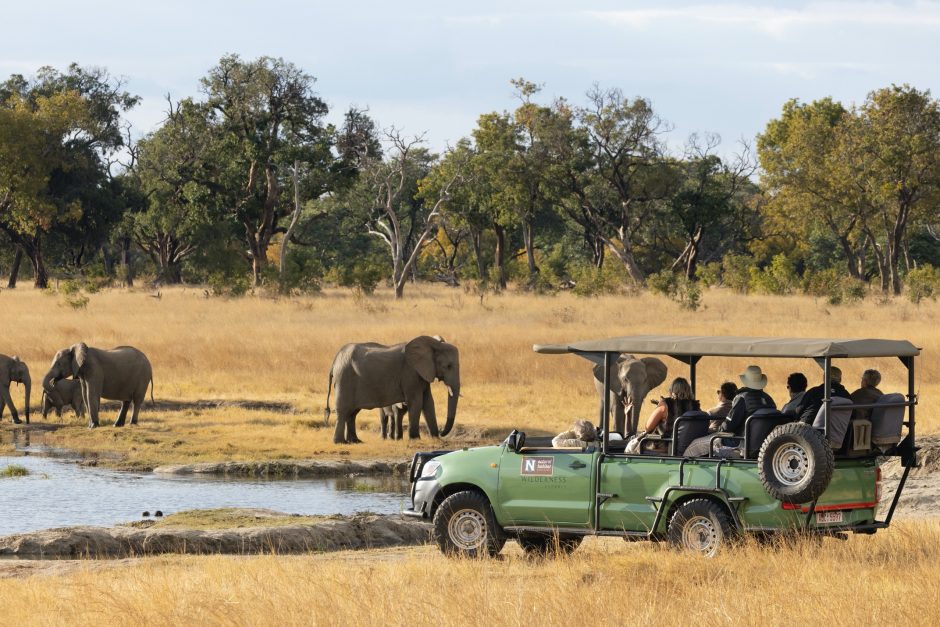
How to Prep for an African Photo Expedition
The excitement is palpable, your bags are…well, not yet packed. But you’re thinking about it and your African safari is only weeks away. But how do you start prepping your camera gear to set you up for maximum success?
This article is a deep dive into all considerations, from gear to pack, things to potentially purchase, and techniques to hone prior to an epic adventure to one of Africa’s leading photo safari destinations, like Botswana, Namibia, Kenya, or Tanzania.

First Up, Get Your Gear Organized
Camera gear like lenses, camera bodies, and accessories can seem daunting, but we have helpful packing articles and videos to help with this. One of my personal favorite is this video on “what’s in my camera bag” for Botswana. This list of recommended gear won’t change much, if at all, between the various safari regions, so it’s a perfect one-stop-shop for a camera gear packing list.
Gear You May Not Have
This is crucial to think of with as much advance notice as possible, as it may require placing an order with your favorite camera shop or online retailer. While I’ll let the above resources dig into things like lenses and camera bodies, I want to mention a few items that you may not think about ahead of a trip, which can really help you during your photo safari.
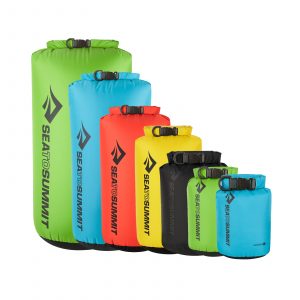
A Dry Bag
Oddly enough, this isn’t so much for rain as it is dust and sand. Having an 8 or 20 liter dry bag is a quick, handy, and fool-proof way to protect your camera gear without having to put it deeply away into your camera bag. Think of it as a quick-draw barrier that makes it easy to protect your camera from dust at a moment’s notice when going through dusty areas. And the key thing is remove it at a moment’s notice, too, once the dust subsides and photo opportunities abound!
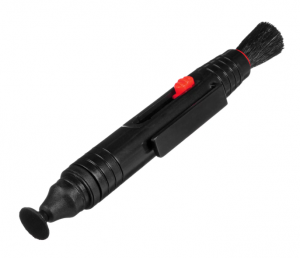
A Lens Pen
Lens cloths are a pretty typical item to find in ones camera bag, but not everyone has (or knows about) a lens pen. These are small devices that allow you to brush off dust and debris from your camera, lens barrel, and front of lens to remove bigger particulate before using a lens cloth. This way you aren’t rubbing the sand or grit deeper into your camera or scratching the surface of your lens.
As you may have seen in the above video, I basically pretend I’m digging for dinosaur bones, just brushing away sand and dirt as I comb over my camera setup.
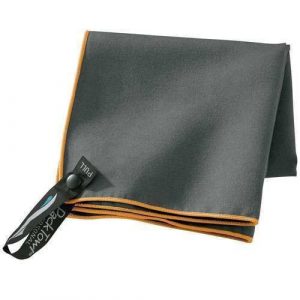
Microfiber Cloth or Towel
These have multiple purposes and can a) help dry off gear if there is a short rain shower and b) protect your camera gear if you need a temporary cover, but C is the most important. I like to use this towel to brace my lens on, acting as a cushion between my lens and the vehicle seat or railing in front of me. While many high-end photo safaris will provide bean bags for bracing and support, sometimes a small towel is all you need and because they’re small and lightweight, you’ll always have it nearby.
Get Your Camera Ready
When embarking on anything as grand and meaningful as an epic wildlife safari in Africa, you’ll want to be doubly, no, triply sure that you have all the right camera settings dialed in. Sure, you’ll have time on the plane, or maybe you’ll do it in your hotel room prior to connecting onto your safari camp, but what if you forget? Plus, you’ll probably be jet lagged and not thinking perfectly clear. Best to do it now.
Thus, I have a short list here…a checklist of sorts…to ensure you have your camera ready to go.
- Ensure the proper file format. If you shoot in RAW, make sure it’s in raw. If you shoot in JPEG, make sure it’s the highest resolution possible.
- Charge your batteries…yes, even if you feel like you charged them recently. Fresh batteries are oh so sweet.
- Check your exposure compensation settings. Are you back on zero, or did you under or over exposure last time you were shooting and left it that way? You never want the first great wildlife sighting to be waaaaay under or over exposed!
- Check your exposure metering settings. Are you back on the metering mode you usually use? Typically this is an entire-scene evaluative setting, but just be sure it’s on the setting you like and not left on center-point metering from a previous photo shoot.
- Check your white balance. I typically like “cloudy” white balance for safaris, so that I get that nice warm tone. However, you may prefer Auto White Balance. Just make sure it’s on the setting you prefer at the get-go.
- Take a look at your auto-focus settings. Nowadays they are getting quite robust, but just make sure you have your preferred auto focus settings ready to go, along with your focusing zones ready. I prefer just a single autofocus point in the middle of my frame.
- Clear your memory cards (and make sure your photos are backed up, of course). There’s nothing more frustrating than starting to take photos on a photo adventure and realize that you still have several hundred left on your card from the last trip. Now you have less space available until you can download and do a full reformat of your card.
Learn a Few New Tricks
While you’re going to learn a lot while out in the field if you’re on a proper photo tour, going into it with some new knowledge, or something to ask your guide about is a great idea. Here are a few articles to brush up on some of the key topics and techniques for success while photographing in Africa.
Three Ways to Level up your Point and Shoot Game in Africa
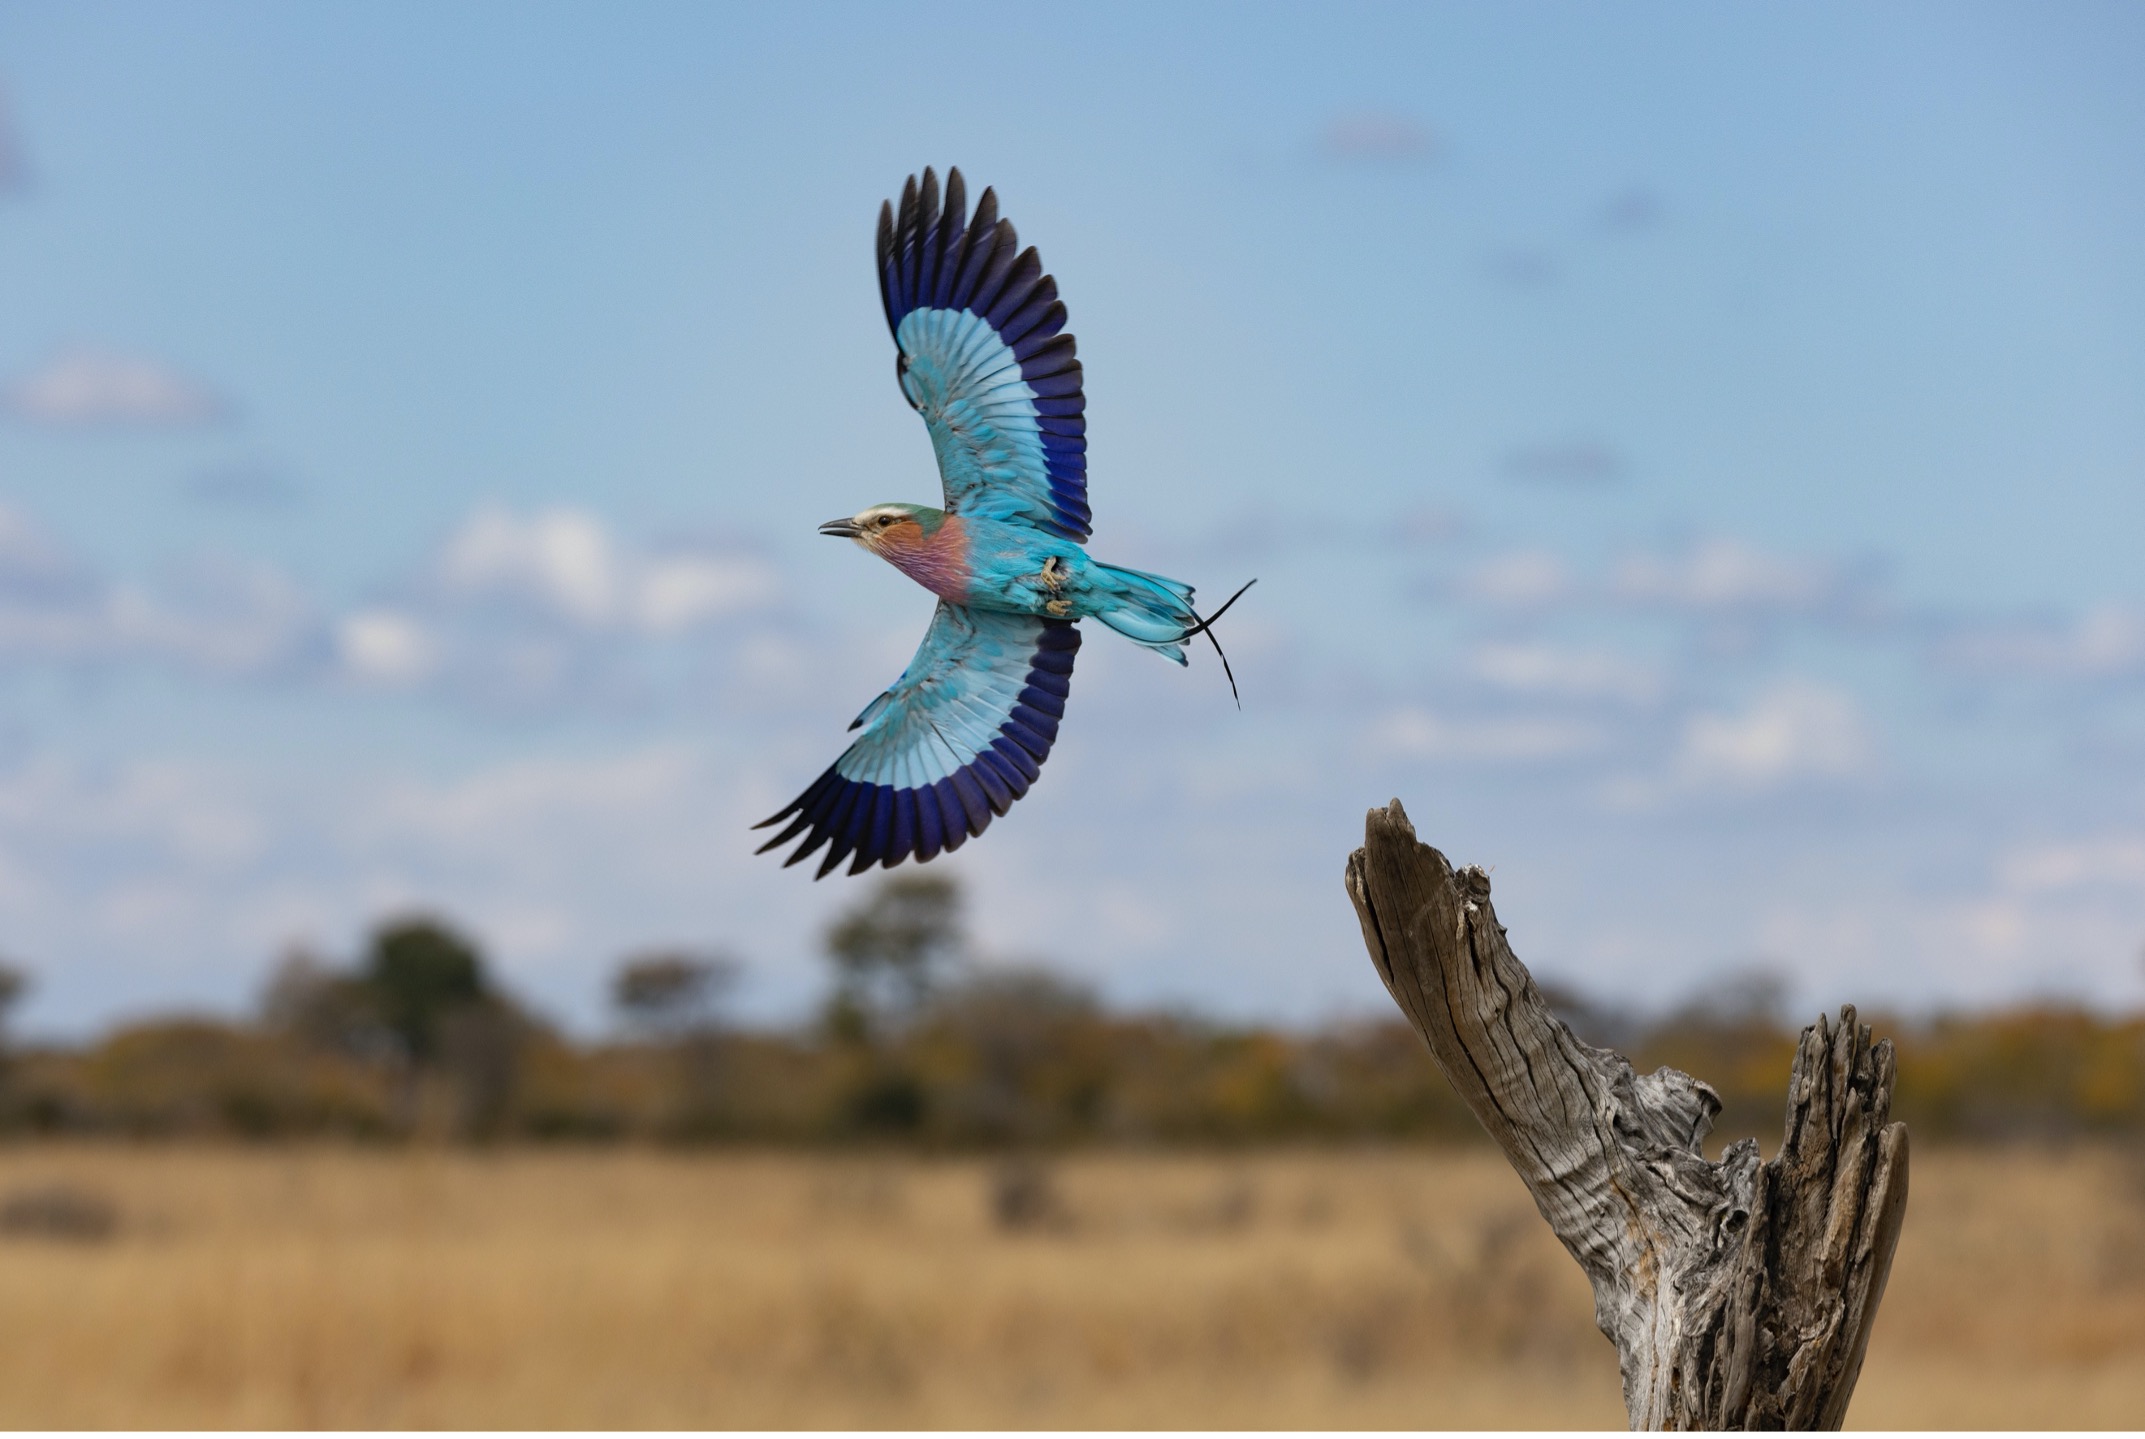
Pro Tips for Amazing Photography During an African Safari
The Best Camera Settings for African Safaris
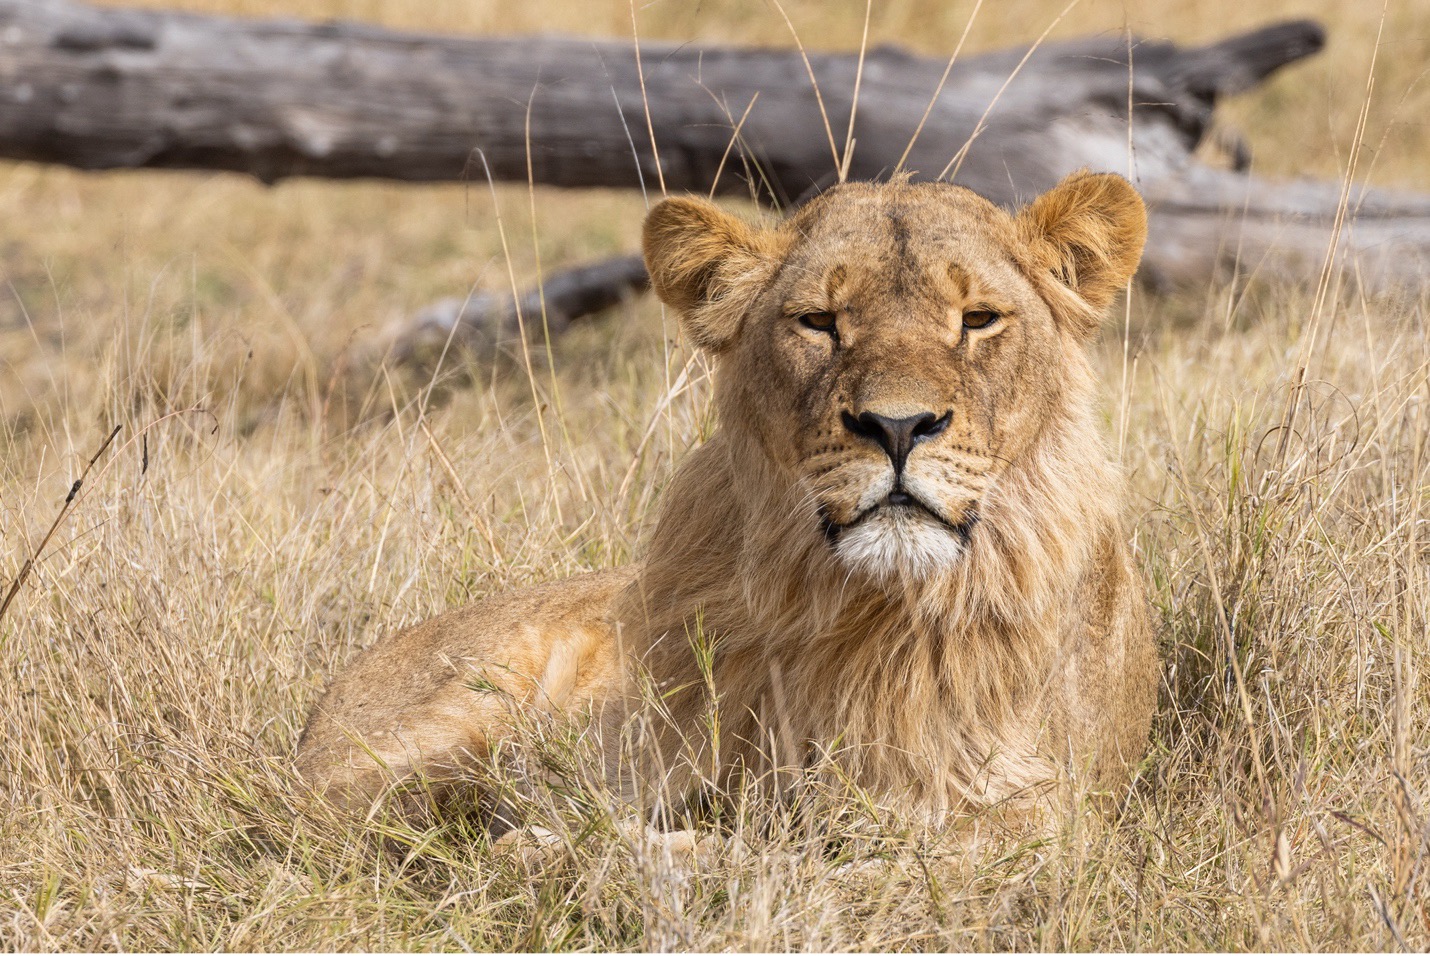
5 Techniques for Photographing Africa’s Big Cats
How to Photograph East Africa’s Great Migration
How to Get This Shot – African Sunset
Pack Safely, but Don’t Overthink It
When physically packing your camera bag, a lot of people tend to be overprotective. It’s wise to be cautious and protecting your camera gear is critical. However, you don’t have to create multiple layers of redundant padding if it just ends up being in the way or limits your ability to take more gear. For many years, I just used a standard backpack and had small lens pouches wrapped within my sweater and some extra clothes. It always worked just fine. Now I have a solid camera bag, but you get my point–you don’t have to design Fort Knox.
What you really want to think about is how accessible your camera gear is during the day, while finding a nice balance between protection and access. If your go-to camera bag takes multiple zippers and pockets just to remove a single lens, this is going to limit your photography while on safari. Remember, on high quality African photo safaris, most of the time you’ll have an entire seat next to you that you can put your bag, so having a standard camera bag or backpack that flips open and closed to give access to all of your lenses is fantastic. Having a backpack that is basically one large tube that causes you to root around for gear at the bottom of a black hole, isn’t ideal.
And there ya go! You are one step closer to getting to Africa and enjoying one of the best photographic experiences of your life. Remember, these tips and tricks are quite universal, so no matter where on that amazing continent you’re headed, this will help you plan and prepare so you can maximize your photography during the journey.
Go forward and give it a shot!

Court
Leave a reply