
Harnessing the Power of “P” Mode on your Digital Camera
Do you predominantly shoot on full-auto but yearn to advance in your photographic journey? If so, I’ve got the perfect next-step for you.
Today we’re talking about moving off of full-auto and using P-mode, which stands for Program-mode.
Bottom line up front: P-mode still gives you fully automatic focus, aperture, shutter speed and ISO. But it allows for some creative control over rather critical ancillary settings, like drive mode (how many photos per second), white balance, your autofocus point, exposure compensation, and much more.
It even is a quick and easy way to “be allowed” to turn your flash definitively off, which is a great tool for wildlife photography when you don’t want to accidentally fire off a flash in sensitive environments.
This method of using P-mode is so easy and error-proof that I recommend ANYONE that is shooting on full-auto move to P-mode today.
P-mode Still Has Important Automatic Settings
As I mentioned above, one of the key aspects of P-mode is that it still chooses the more complicated settings for you—aperture, shutter speed, and ISO. You don’t have to worry about those at all on P-mode! Thus, the step from full-auto to P-mode doesn’t actually change any of your photo-taking workflow. In fact, you could take a photo exactly the same and you’d get pretty much the same result between full-auto and P.
But what becomes available for you in the settings is the brilliant part. This is where the magic comes in.
1) You Can Change your Auto-Focus Area/Zone
This one is enough to switch over on its own. Under fully automatic settings, your camera generally does not allow you to choose between different autofocus settings or boxes.
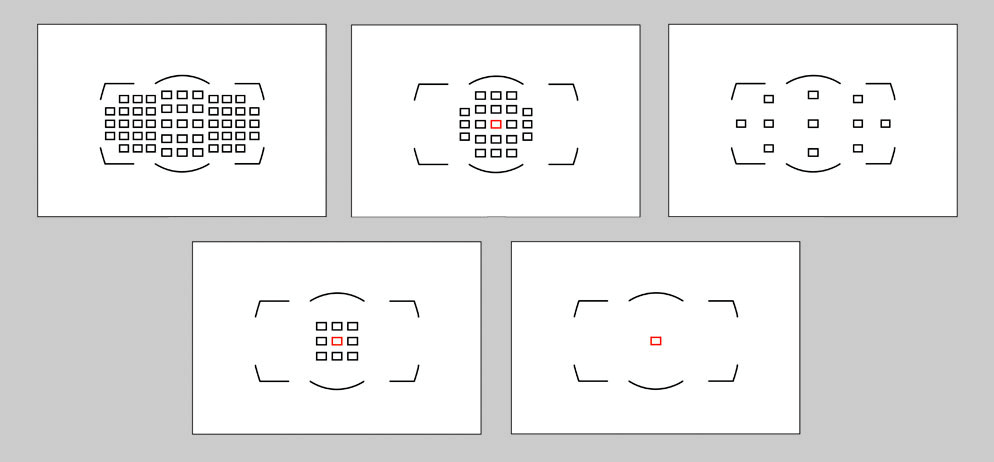
You know how every time you focus on full-auto the little focus boxes dance around and the camera decides what to focus on for you? This is messing up your photos more often than you think, and it’s time to set your camera to center-point autofocus.
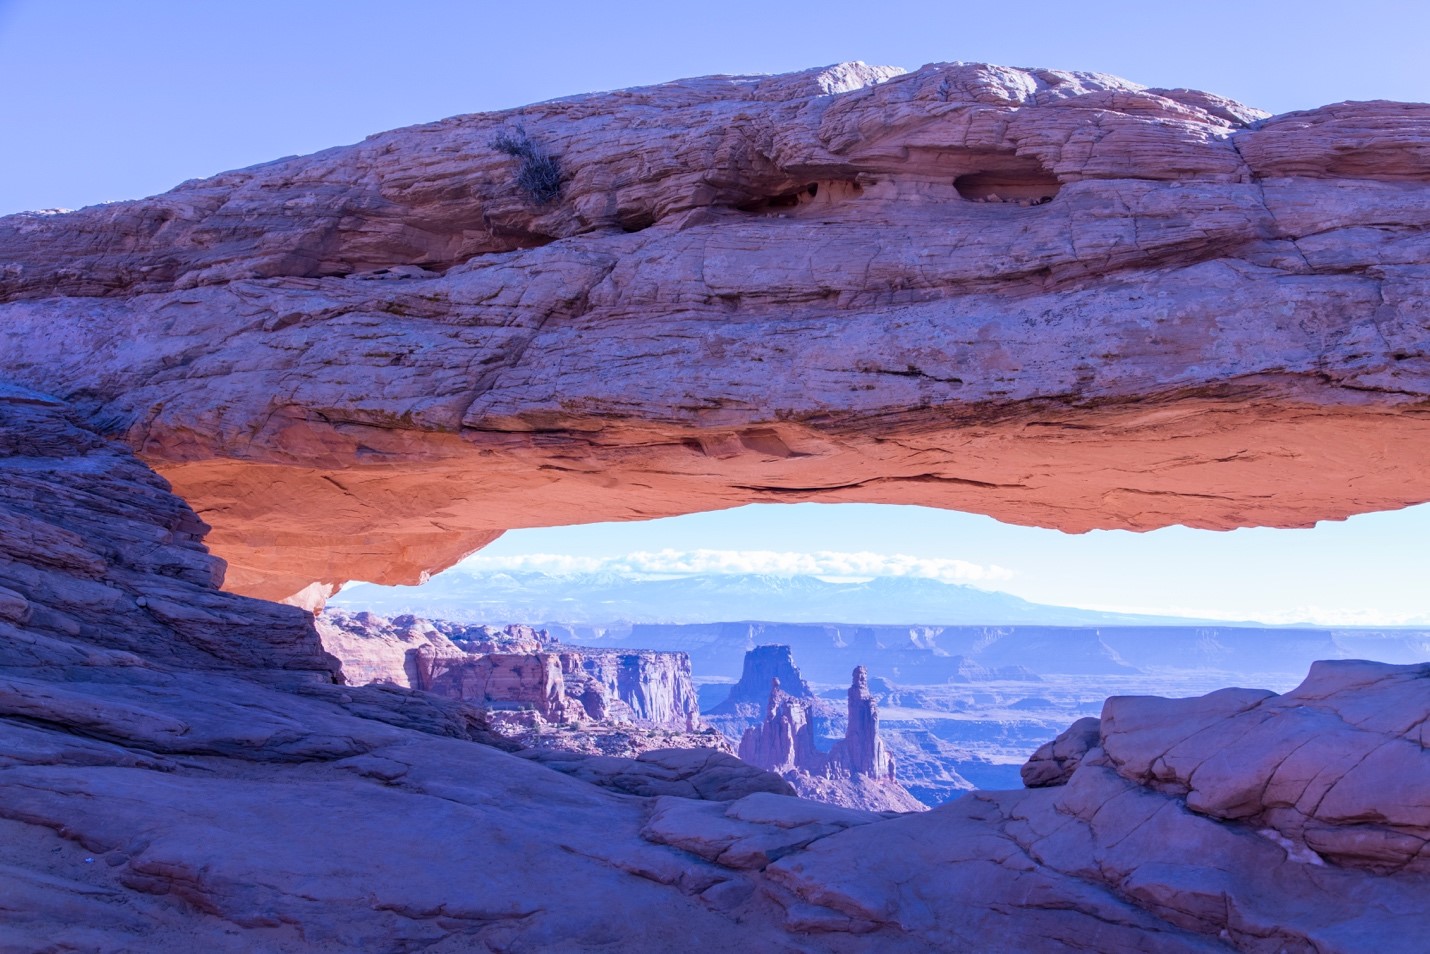
One of the most important steps for any photographer is to determine what you should be focusing on. Maybe it’s a big landscape scene and you need to focus on the foreground. Or maybe it’s an animal in a tree, or perhaps you want to focus on the person furthest from you, even though there are other people and things closer. All of these scenarios are troubling for a camera’s fully-auto autofocus, and the camera may get it wrong 20, 30, even 50% of the time.

While I believe center-point autofocus is the best and most versatile (because it’s predictably in the middle each time, and you can simply lock the focus by holding down the shutter button halfway and then recompose), the benefit of switching to P-mode is that you have all of the autofocus options to choose from.
In comparison to full-auto camera mode, which only gives you the most generic and most “automatic”, P-mode gives you the options—this is exactly what we’re trying to do here—provide more creative options to you the photographer.
You Can Set your White Balance
Setting your white balance is easy and has huge impacts on your resulting photos. And setting your white balance on something other than Auto White Balance (AWB) is a massive leap for your photos, especially if you’re shooting on JPEG file format.
When using full-auto mode on your camera, you can’t switch away from AWB. Thus, you’re stuck with whatever white balance your camera decides for you. Instead, if you are on P-mode, you can choose your white balance, giving your photos more of a signature look.
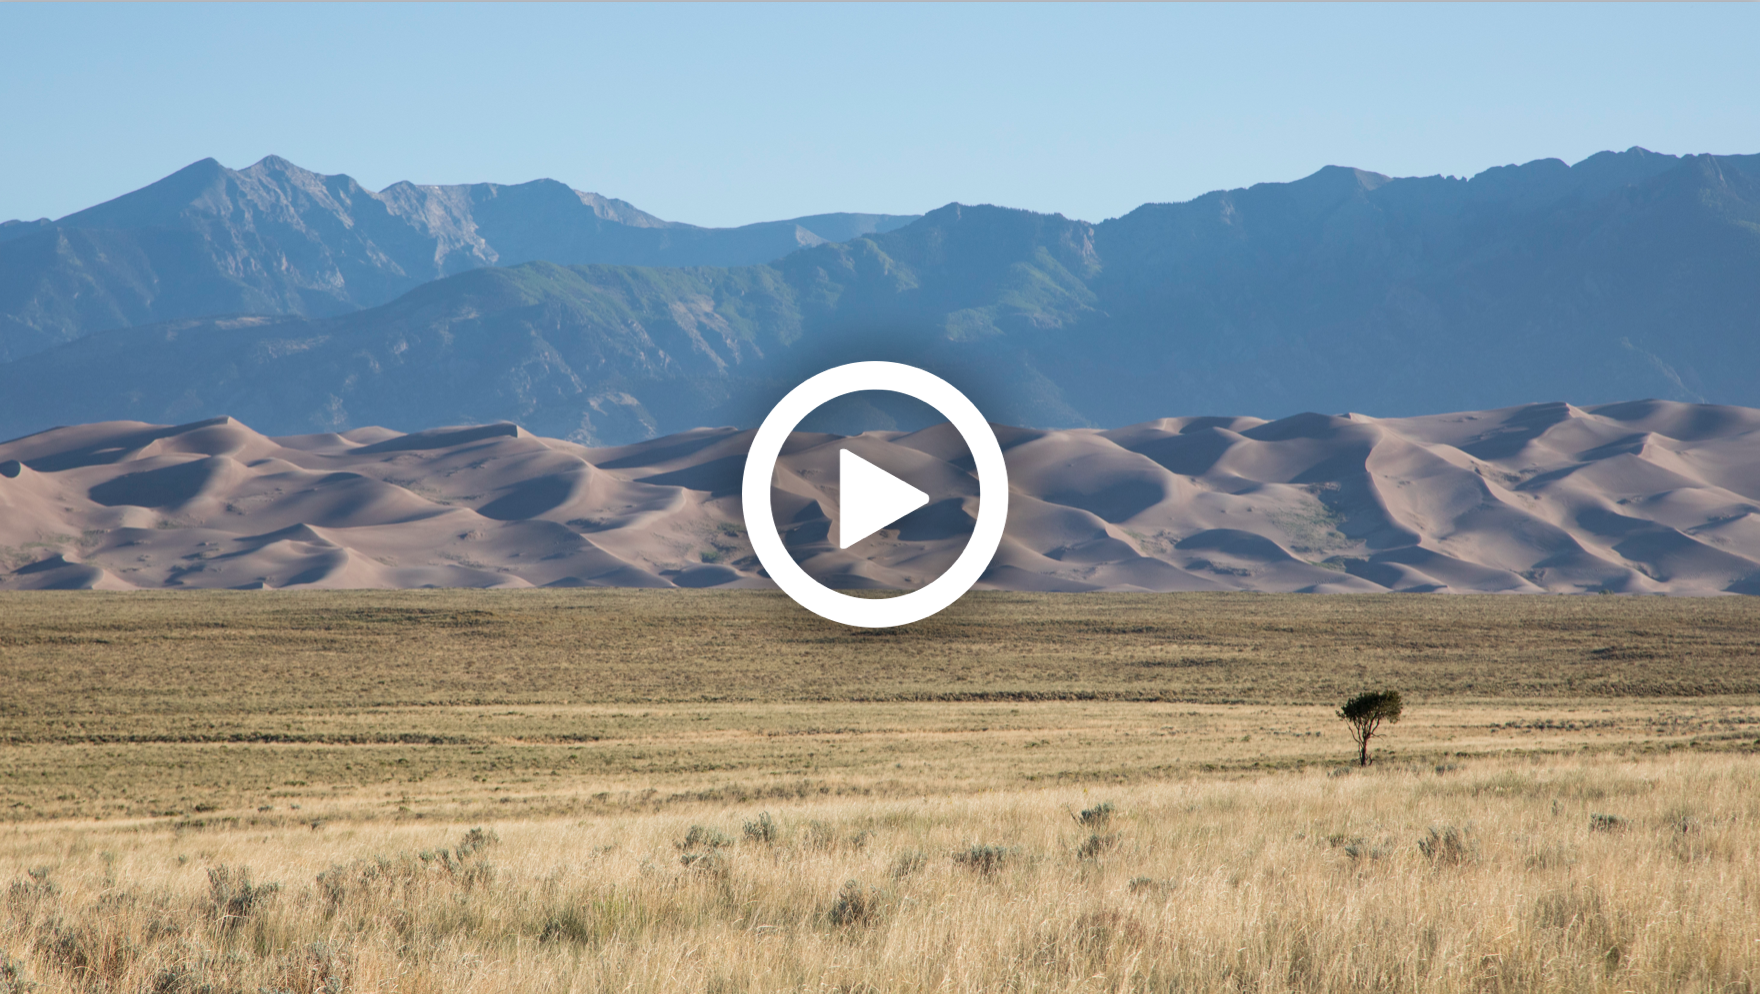
If you are keen to understand more of the merits of white balance setting, check out our video tutorial here comparing different white balance settings.
You Can Adjust your Drive Motor
The drive motor of your camera is basically just how quickly your camera takes repeat photos, back-to-back. In other words, your drive motor is a way of telling your camera how many photos-per-second you want, otherwise known as Frames Per Second, or FPS. The faster the drive motor, the more photos it will take when holding down your shutter button.
Why would you want to increase or decrease this?
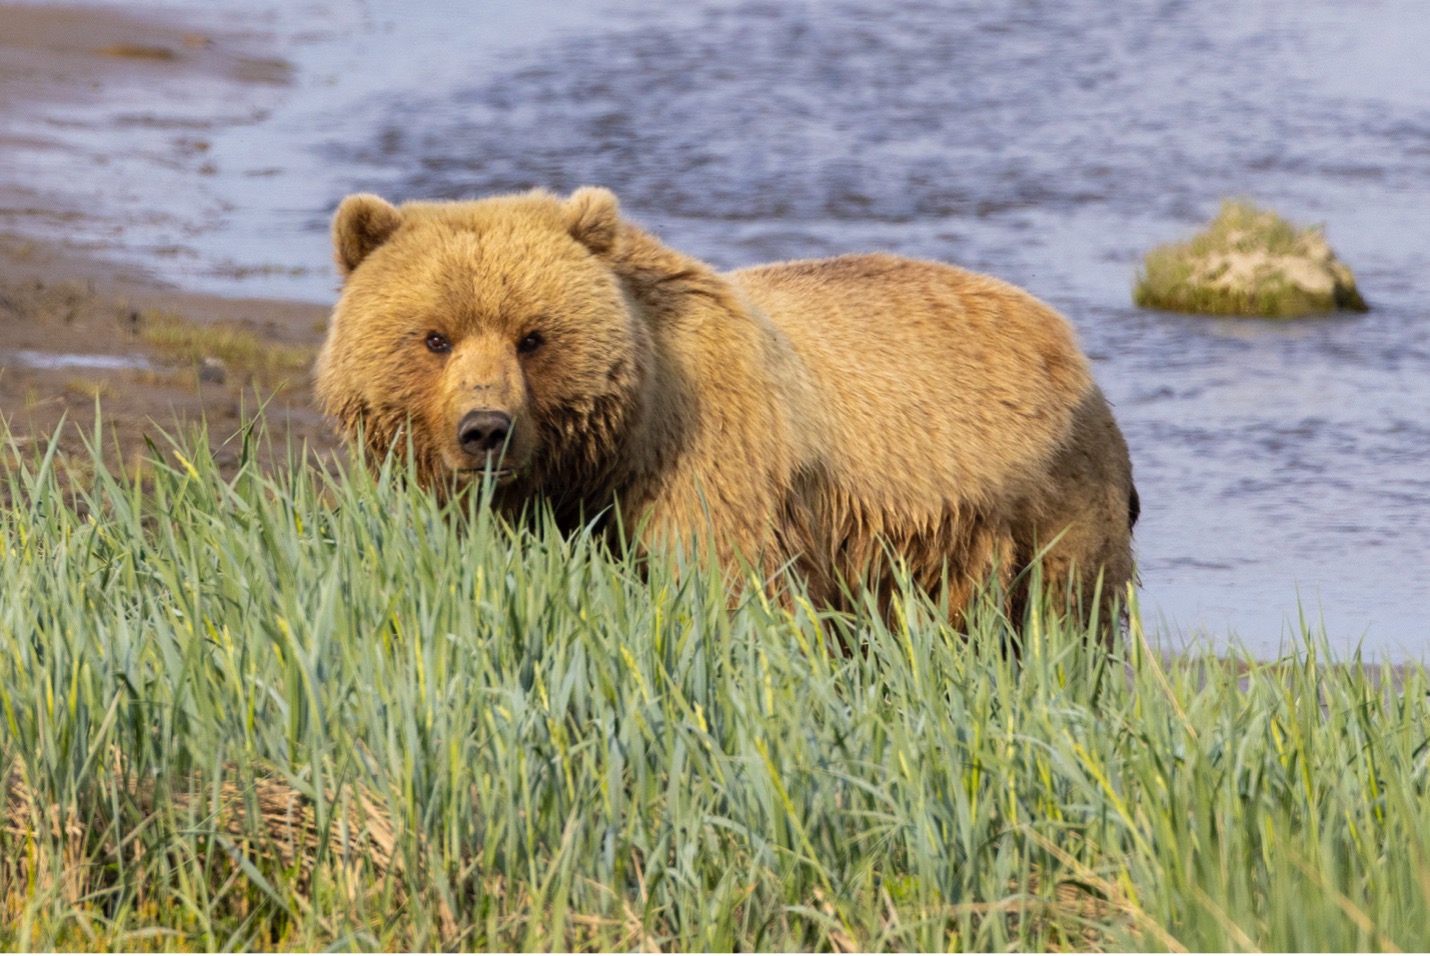
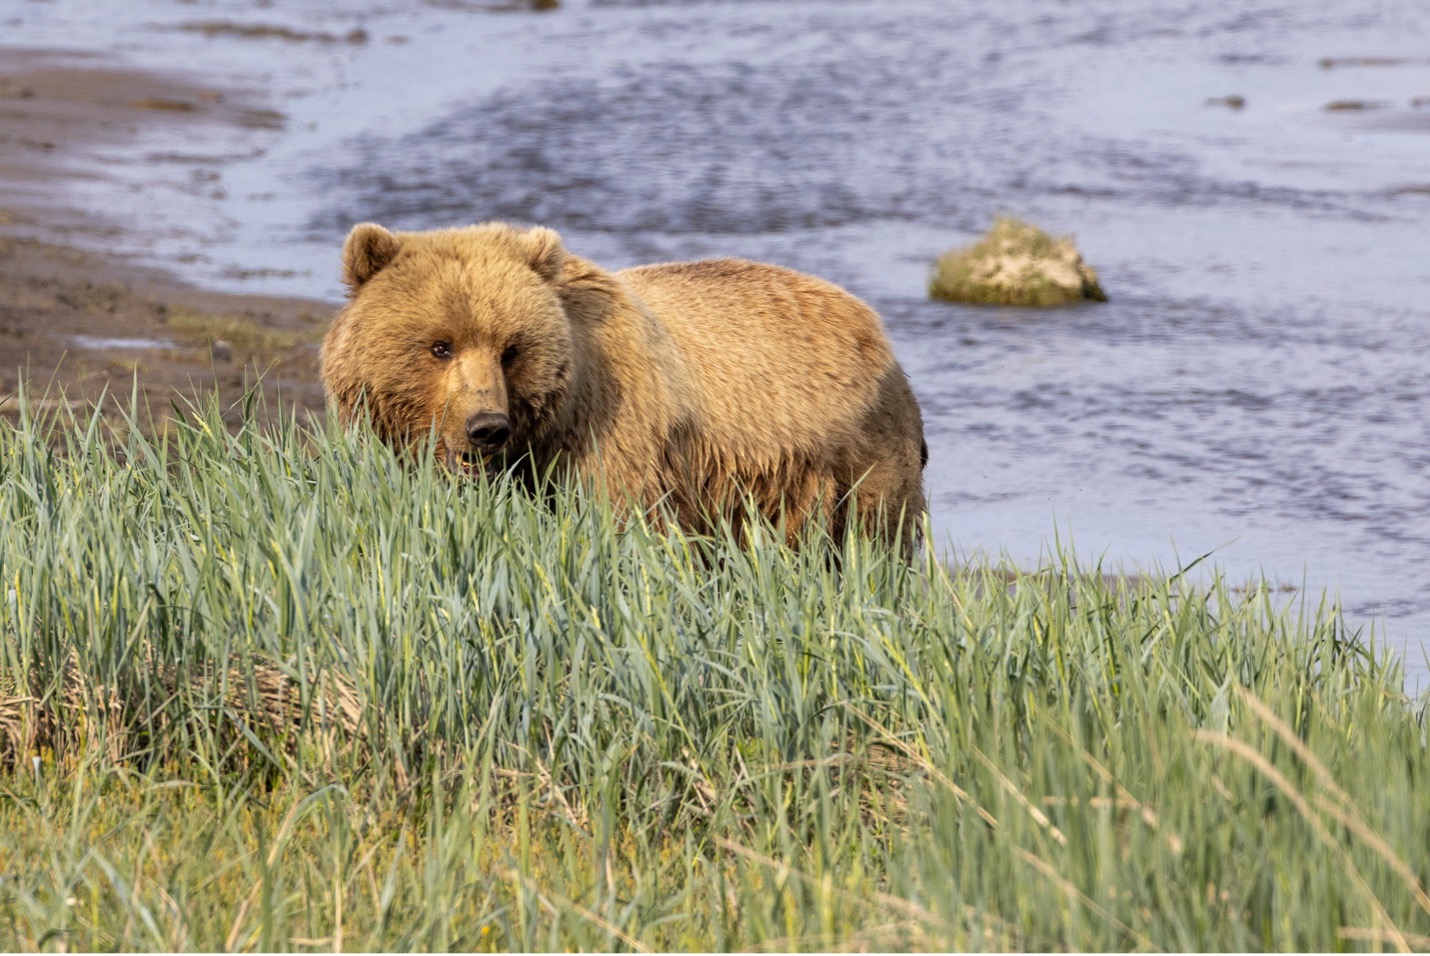
Well, for starters, if you are photographing wildlife, you will want a fast drive motor so that you can capture many photos per second. The difference between fractions of a second can result in a photo with the animal in perfect position (e.g., looking at the camera) or a photo where the eyes are completely closed (which is not really ideal with most wildlife photography).
On full-auto mode, you generally cannot change your drive motor, so you’re usually stuck with something pretty luke warm…not fast and not slow.
But would you ever want to shoot on a slow drive motor, so that you only get one shot every time you click the shutter? Absolutely!
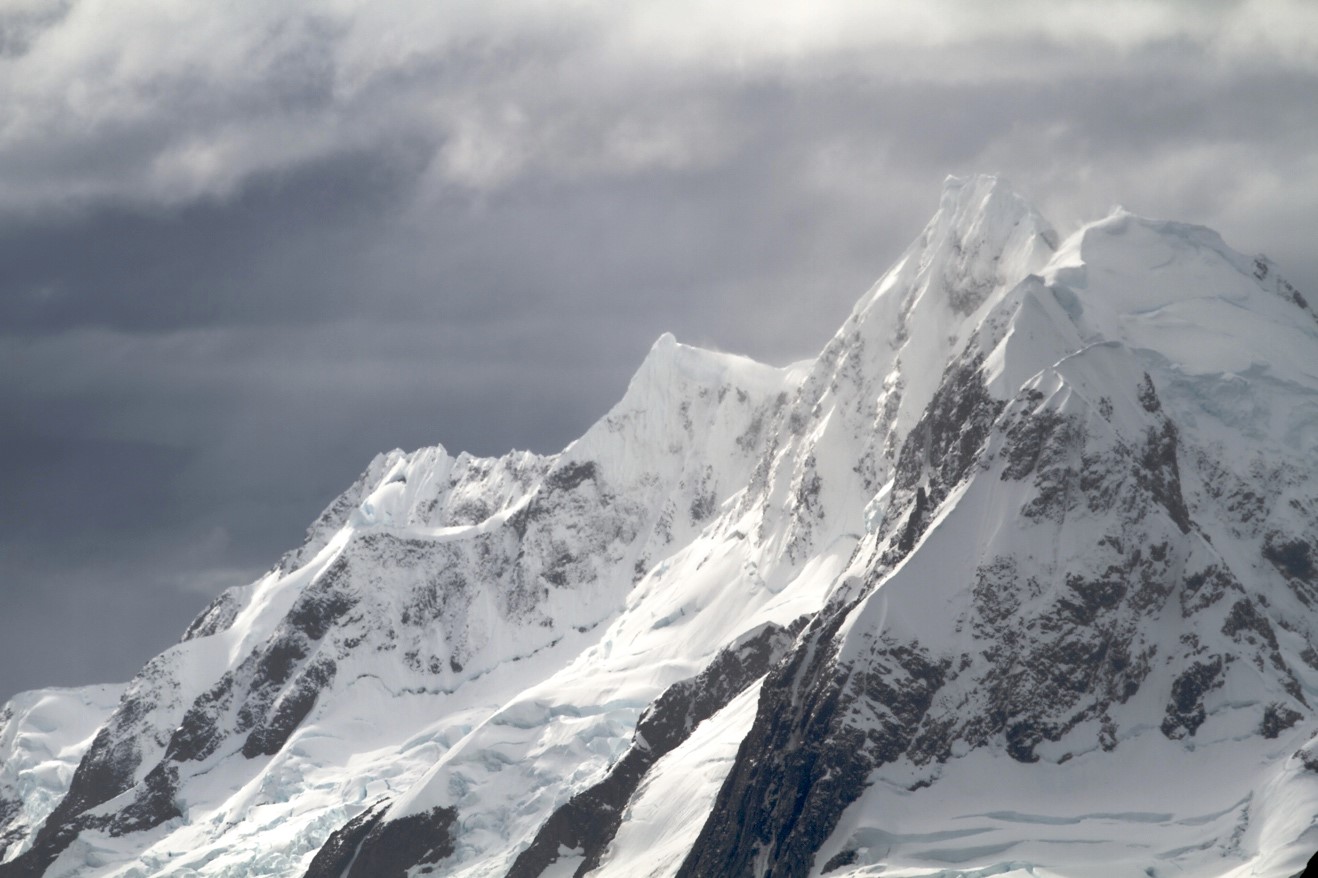
If you are photographing landscapes, which are usually not changing from moment to moment, setting your camera on a slow drive motor is fantastic for reducing the number of duplicate photos you have to sort through. Otherwise, if you keep your camera on a moderately fast (like full-auto) or very fast (like when you are photographing wildlife) you may wind up with 8 identical photos of the same mountain scene—not ideal.
You Can Use your Exposure Compensation Tool
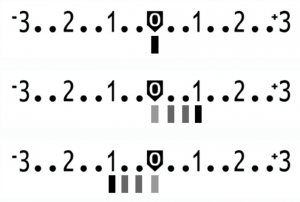
This is by far the most important setting unavailable to you in full-auto, yet instantly available in P-mode. Basically this allows you to, with the click of a wheel, increase or decrease how bright a photo turns out to be. If you dial your wheel to the positive side, you can lighten a photo, and if you dial it to the negative side, you can darken it.
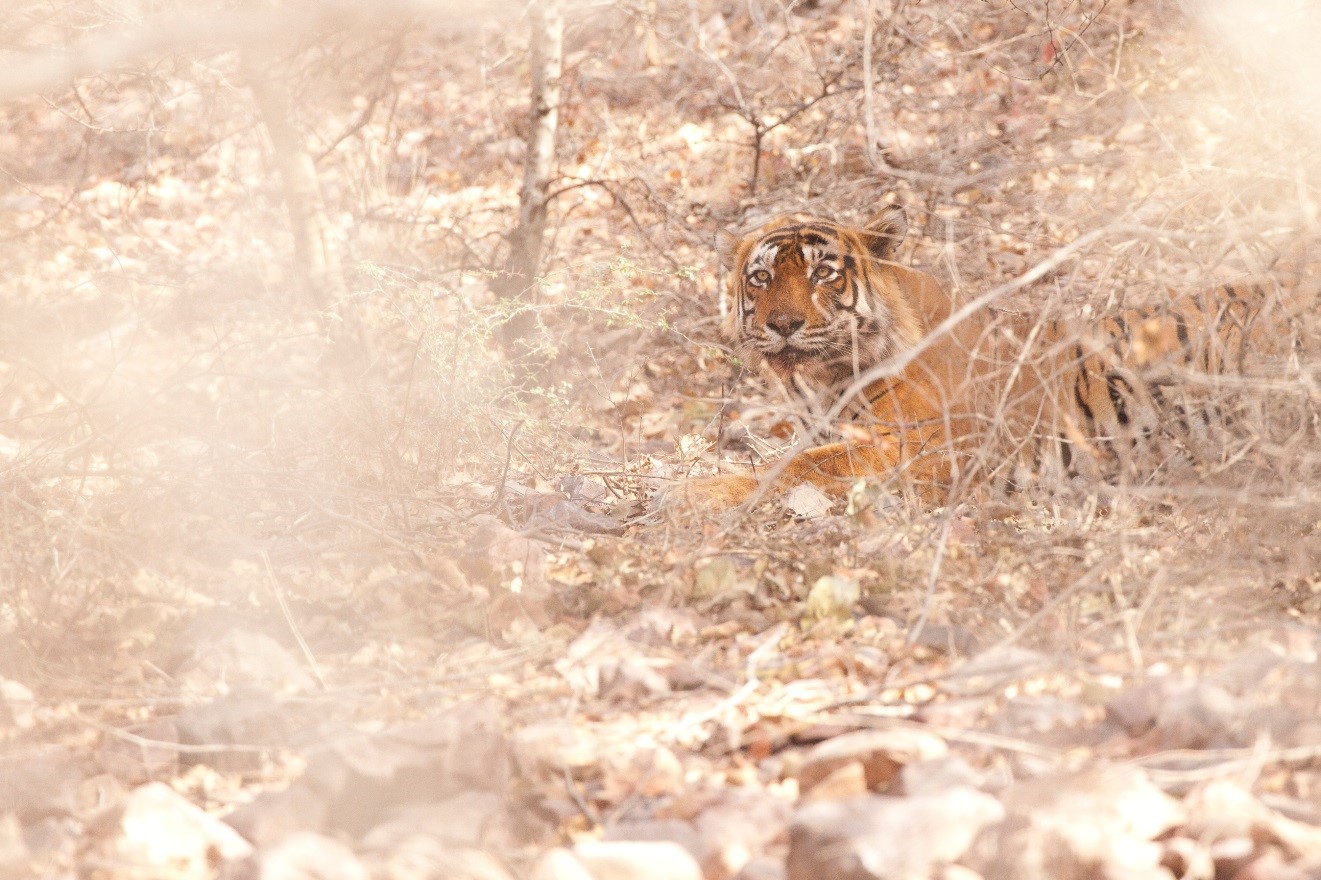
This is wildly helpful when you are in challenging lighting scenarios, but equally helpful when you simply wish to be creative with your photography, like emphasizing beams of light, or creating moody photos. Also, it can help isolate your subject when your subject is in the shadows, yet the surrounding brush is normally lit, like in the below tiger photo.
I simply cannot say enough good things about exposure compensation. It’s such a useful tool, and again, on P-mode, you don’t have to mess with aperture, shutter speed or ISO…the camera still does all this for you! You simply tell it if you want the photo lighter or darker.
Many Other Custom Settings Become Available
Cameras these days are essentially miniature computers and with each year and camera generation that goes by, they are equipped with more and more tools within that computer.
As a result, by remaining on full-auto, you are effectively ignoring what could be a wildly valuable tool for you to use. While the above examples are those that are tried and true, newer cameras have some extraordinary features you may wish to dabble with, such as advanced focus tracking, as well as some astounding video capabilities.
Again, the message here is that full-auto might be easy and a great starting point, but switching to P-mode doesn’t change anything unless you tell it to.
The brilliance here is that you can, within your comfort zone, begin exploring different settings one-by-one. For instance, maybe on your next nature photography adventure you’ll experiment with exposure compensation (recommended as a starting point) and wait on the rest. And then once you master exposure compensation, perhaps you think about setting your focus zone or white balance.
Again, you can do all this one-by-one, and none of these are available to even change when on full-auto.
P-mode for the win!
Go forward and give it a shot,

Court
Leave a reply