
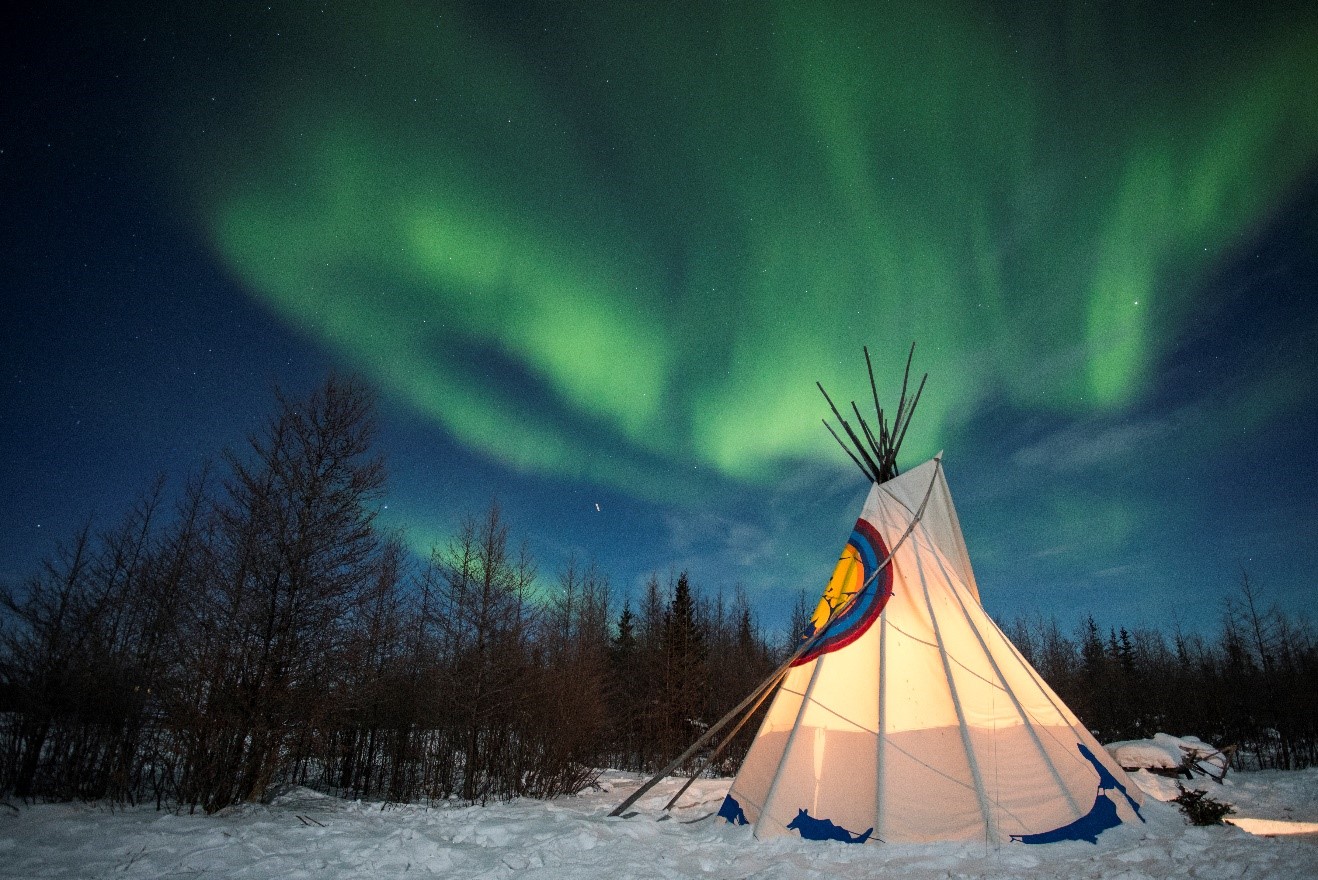
Top 5 Considerations for Exceptional Northern Lights Photography
Still to this day, photographing the aurora borealis is one of my favorite things to do in the entire world. Although wildlife photography is perhaps my cornerstone in the wide world of nature photography, the northern lights is just exquisite to witness, and when you really nail the photograph it’s one of the most rewarding photos you will ever take.
If you are gearing up for your own adventure to photograph the northern lights, I offer you my top five considerations to ensure really, really, REALLY great photography of lady aurora.
Go during the dead of winter
The one piece of advice I’ll give in this article about how to go see the northern lights has to do with time of year.
As you’ll probably see from most northern lights photo tours, winter is one of the best times to see and photograph the aurora. The longer nights of winter may be an obvious reason, but to me the more important factor is actually the cold, cold weather necessary to minimize interference from clouds.
See, the aurora appears about 60-70 miles above the surface of the earth, whereas clouds are usually in the 30,000 foot level. Thus, if you have a cloudy sky, those clouds are going to block out any chance of seeing or photographing the aurora.
The solution? Go see them at a time of year where it is virtually too cold for clouds to form.
Prevent your lens from fogging
The intense cold that you’re likely to encounter while chasing the northern lights isn’t as hard on cameras as you might think. Modern cameras operate quite well, and even batteries last much longer than they use to.
However, one physical process remains unchanged—camera fogging. Simply put, if you bring a super-cooled camera body from minus temperatures into a more humid, warm indoor environment, the lens is going to fog up almost instantly.
If you want to do a deep dive on why this happens, I recommend you read my full article on it here.
However, if you just want to take my top advice on how to avoid lens fogging, simply keep your camera outside in between photo shoots. OR, when you do come inside, put your lens cap on your lens before you bring it inside the building. It’s not 100% perfect, but it will reduce the amount of moisture accumulating on your lens significantly.
The only other way to ensure absolutely no fogging is to keep your camera inside your camera bag for 30+ minutes to let it gradually acclimate to the warmer temp and higher humidity.

Always use a (good) tripod
This is a hard and fast rule for aurora photography, as your shutter speed will be between 5 and 25 seconds for each shot. There is just simply no way to hand-hold this, so a tripod is a must.
However, the most important part of this section is not to incessantly insist on bringing a tripod, but more to bring a good tripod. Do you absolutely have to spend $200 on a tripod to photograph the northern lights? No. However, just think about what it’s going to take to move the tripod, reposition the head, lengthen the legs, and keep it steady in any sort of breeze…all while it’s -20 F, you’re wearing gloves, and it’s pitch black outside.
The point is, you can get away with a smaller, cheaper travel tripod, but if there is any place to put a little extra money while gearing up for a photo adventure to see the northern lights, it would be in a better tripod. Better tripods are easier to use, sturdier, and will last longer in harsh conditions.
I know that for trips with Natural Habitat Adventures, really great tripods are available to use during the entire trip, which is a huge bonus, as it’s one less thing to have to lug around with you from your home to the wintry arctic. I’m not sure if other photo tour companies provide tripods, but it would be a great question to ask when booking.
Be mindful of shutter speed
On the topic of slow shutter speeds, keep in mind that slower is not always better. While you could take every photo of the aurora borealis at 20 or 25 seconds, thus giving you a bigger depth of field and/or a lower ISO, I don’t recommend it. This is especially true for relatively active auroras.
When the aurora is really kicking—like, you can see it moving with your naked eye—you want to capture it in as little time as possible so that you can capture its shape as it swirls across the sky.
Usually this can be done with a shutter speed of 5 seconds—maybe even less. If you were to instead remain shooting at 15, 20, or 25 seconds, the wavy aurora would blend together across the sky creating a very diffuse green haze in your image, instead of the well defined, spectacular curtain-like aurora that might be before you.
Pro Tip: try to never shoot slower than 25 seconds into the night sky. Any stars that are visible will start to create small “star trails” such that they begin to look like little white worms in the sky. This is due to the rotation of the earth in that short period of time (amazing!?).
The take home message here is that you should be ready to shoot the aurora starting at 20-25 seconds, but as it becomes active, be ready to shoot between five and 10 seconds to help freeze the unique, beautiful pattern of the aurora (and maybe even faster if it’s a really big show!).
Opt for an ultra-wide angle lens
Astrophotographers will immediately reach for the “fastest” lens they have to photograph the night sky. For stars and the milky way, this is 100% the right decision. The classic 24mm f/1.4 or 20mm f/1.8 category of lenses are wonderful for deep sky photography.
However, with the aurora, you a) don’t actually need the lens to be that fast and b) you really want to prioritize the lens being as wide as humanly possible.
My go-to is my trusty 16-35mm f/2.8. Trust me, if Canon made a 14mm f/1.4 lens, I would heavily consider it. But, so far this lens doesn’t exist. You have to choose between really fast or really wide. I recommend really wide each and every time so that you can photograph as much of the night sky AND foreground as possible.
If you’d like to read up more on what my perfect northern lights lens consists of, check out this article here.
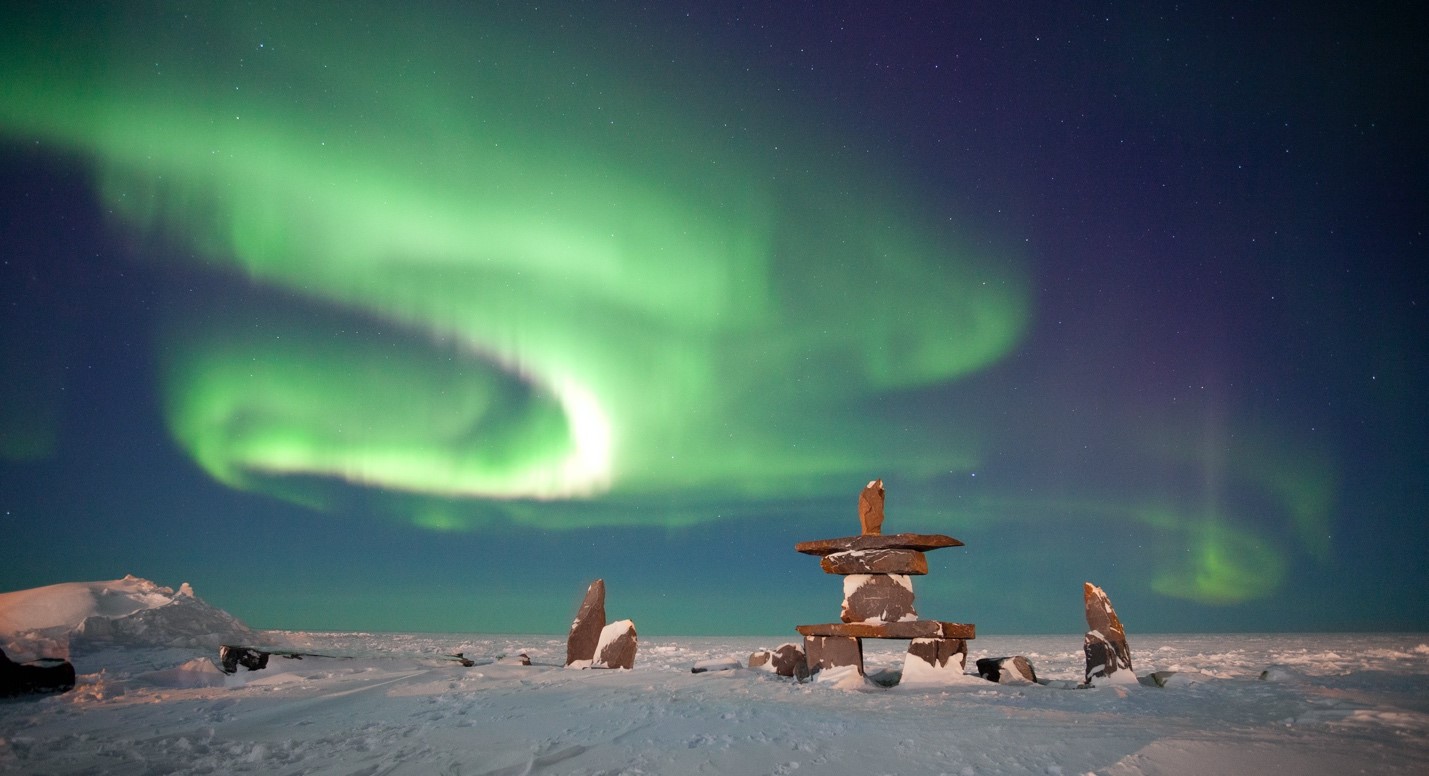
And there ya go–my top five considerations for photographing Northern Lights! I truly hope you’re reading this while gearing up to physically go see the aurora borealis and that you return home with some of your most cherished photos ever to be taken. And if you haven’t yet planned your trip, or are still just thinking about whether to go or not, keep in mind 2023 and 2024 are expected to be banner years as solar activity increases, leading to some of the most extraordinary aurora conditions of the decade!
Hope to see you out there!

Court
2 Comments

Jay Fishman
December 26, 2022 at 11:05 am

Court Whelan, Ph.D.
December 30, 2022 at 10:31 am
very helpful
Can you get good shots at f4
My Z7 only goes down that low but my 850 does?
hi Jay, absolutely! F/4 is a great setting for NL photography. You may need to shoot at a longer shutter speed (like 20 sec) plus a higher ISO (like 2000 or 3200 at first) but as the aurora show gets brighter, you can dial that all back a bit.