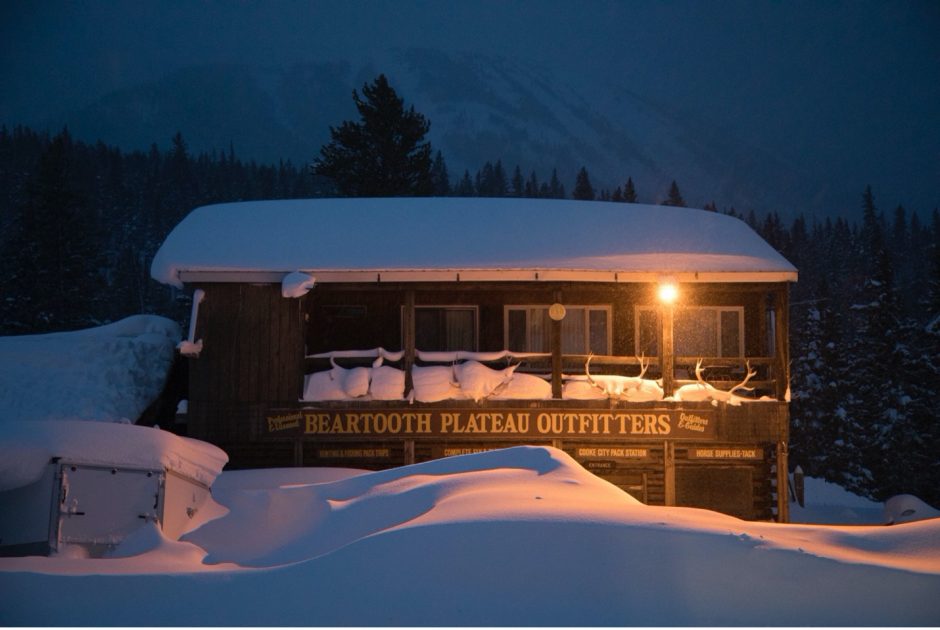
How to get this shot – Blue Hour in Yellowstone
Wintertime is a fantastic time for evening and night photography, as the shorter days make it easier to get out there in the perfect light, without having to burn that midnight oil. Also, if you live in areas that get snow, the contrast of white snow, with yellow lamps, and the rich blue sky of the blue hour make for extraordinary imagery.
However, no matter where you live and what is around you, the blue hour can be a magical time to get out there and photograph outside.
Continue on for a specific tutorial on how to get this shot, but with these tips and tricks you’ll be armed to take a variety of blue hour photos anywhere in the world and at any time of year.

Finding your place and time
Although I’m of course partial to some sort of winter wonderland like Yellowstone National Park, or the Canadian Arctic, this isn’t a deal breaker whatsoever when it comes to getting great blue hour shots like this one.
On the other hand, though, timing is paramount. The blue hour is a very specific time of day and only last about 20 minutes. Thus, you can’t really wait until you see the blue hour coloration…you need to plan in advance and be in position a bit ahead of time.
Fortunately, the blue hour occurs just after the sun has set, so being in a fun location for sunset isn’t the worst thing to have to do for the day. As the sun sets (and you of course get great photos of sunset, too) you enter a new, unique phase of the day where the lingering light from the sun results in this deep blue color to the sky. Again, this only lasts about 20 or so minutes until the light and color fade.
You can actually get the blue hour before sunrise, too! However, the need to be in position, hike down a trail, get situated, all in the dark and relatively early usually doesn’t appeal to as many people as does the evening version—so I’d go with that time if you are just experimenting with this.
Some gear that you’ll need
The only “special” piece of gear you need for these photos (beyond the obvious camera, lens, etc.) is a tripod or some other sturdy stabilization device. As you’ll see in the next section, these are all on long exposures of 1 to 5 seconds, so hand holding or monopods aren’t feasible.
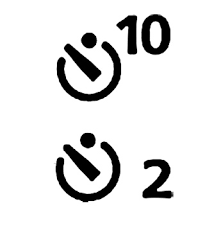
Some will ask whether a remote shutter device is necessary and I personally don’t think so and don’t use them. I’ve found that the 2-second timer built into every camera is perfect for these photos. That brief bit of time is enough to minimize movement as you press the shutter button, and it’s one less thing you need to carry into the field and worry about. You could use the 10 second timer, too, but I find that’s really more time than necessary.
The right settings
The settings here are quite simple and you aren’t likely to deviate from them much if any at all. I recommend setting your camera to manual, which allows you to dial in your aperture, shutter speed, and ISO independently.
For aperture, I recommend starting with something moderately fast like f/4. If your lens only goes down to f/5.6, not to worry, that’s just fine.
For shutter speed, I recommend starting with 2 seconds. More on this in a bit…
For ISO, some cameras will allow you to set an AUTO ISO, which means that the camera will choose the ISO based on your custom aperture and shutter speed, for an “even” exposure. I oftentimes start with this setting, as I usually have that on from the rest of the day already. This also gives me a general idea of how high the ISO needs to be.
If your camera will not allow you to use AUTO ISO, that’s completely fine. Start with something like ISO 800 as a ballpark.
If you are indeed using the AUTO ISO setting, after you take your first test shot, I recommend doing one of two things to bring down the light a bit. If you keep your camera on an even exposure (set at zero) you’ll notice that the resulting photo is probably way too bright.
For blue hour photography, you want to embrace the darkness and purposefully underexpose.
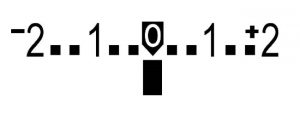
So, to do so, you can do one of two things. You can manually adjust your exposure compensation to -2 or even -3 stops, or you can switch to manual ISO and cut the light down by manually reducing the ISO.
For instance, if the AUTO ISO setting gave you 3200 at your even exposure, try cutting this in half by going to ISO 1600. This reduces light by -1 stop. Try again at ISO 800 and then ISO 400, which reduces light by -2 or -3 stops (the same as if you were to use your exposure compensation meter).
At this point, once you find the right amount of light to really accentuate the beautiful, rich, blue in the sky, keep the settings locked in for the next several minutes but be ready to increase the ISO or exposure meter to let in more light. See, light falls off very, very quickly during the blue hour, so you will need to adjust, otherwise you risk getting too dark of a photo.
This is a good time to emphasize that color, darkness, and richness of blue hour photos is very subjective. That is, what is right for you and what you like best may be very different than what I like. This is where the art of photography comes in—experiment and try different exposure levels/ISOs so you have many photos to choose from when you get them on your computer to process them.
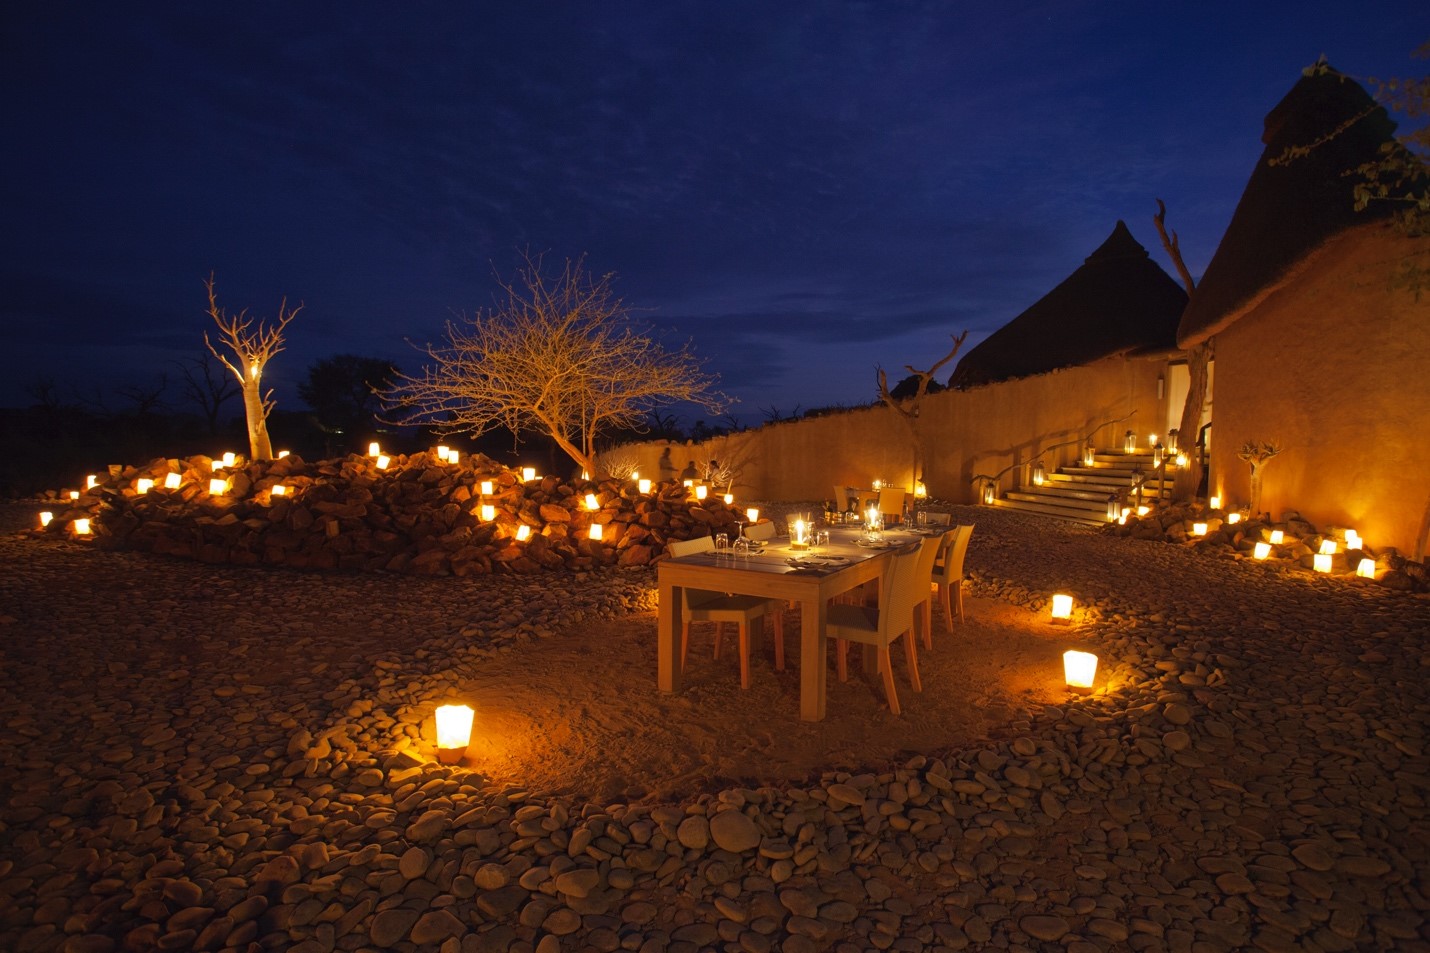
Above, a blue hour scene at dinner time in Namibia showcases the variety of conditions suitable for this style of photography
Finally, if you are finding that you are still letting in too much light, even by dropping the ISO all the way down to 100, you may want to adjust either your shutter speed or your aperture.
Increasing your aperture from, say, f/4 to f/5.6 will cut the light in half, while also giving you the advantage of a wider depth of field (if you indeed want that). Dropping your shutter speed from 2 seconds to 1 second gives you the advantage of less time to wait between photos and less risk of movement in the photo if you have moving objects or an unsteady tripod.
Key things to look for in your scene
So what specifically makes the most compelling blue hour scene?
Artificial lights are one of the most touchy subjects here. Without them, the photo may just be too muted and not interesting enough. To strong or too many lights will make the photo distracting and borderline rough to look at.
Thus, my goal is to find just a small handful of lights or even just one, as in this scene. Artificial lights differ wildly, so there is no fool-proof way to judge what light and how many, but it’s important to know that to include them adds intrigue and beauty—most of the time.
Since we’re talking about photographing in a wintery wonderland here, it’s worth mentioning that snow also plays a wonderful role in this photograph. The snow acts as a compelling feature in its own right, but it also helps reflect the light in a very interesting way. It’s also a spectacular contrast to the dark blue sky, so finding patches of clean, smooth, prominent snow is a huge plus.
Finally, buildings and structures do very, very well for blue hour photos, as they typically have some sort of lighting on them. Plus, in places as wild and beautiful as Cooke City in the Greater Yellowstone Ecosystem, you have some amazing business signs from a bygone era that are just great photo fodder.
Whether you’re headed to Yellowstone on a photo adventure this winter, or simply spending some time in your own neighborhood, this is definitely one of those lessons that you can practice and enjoy just about anywhere. Cheers to you all and wishing you all the Happiest of Holidays!
Best,

Court
Leave a reply