How to Photograph an Arctic Sunrise or Sunset
Sunrises and sunsets are wonderfully fun to photograph no matter where in the world you might be. However, there truly is something special about encountering them, and photographing them in the arctic.
To me, the hazy blues and pinks of Churchill, Canada’s sunrises and sunsets remain vivid in my mind, no matter how long it’s been since I’ve last photographed them.
I won’t go into all the physics here, but it has to do with the angle of the sun, the atmosphere, and the local environment…when all three of these things come together in a way that it does in places like Churchill, Manitoba, you get some stunning results.
Continue reading for a step by step guide on photographing this exquisite time of day in the grand arctic environment.
Finding the Spot
So much of sunrise and sunset photography is getting into the right spot for the right photo. There is no golden rule on exactly where you need to be, but some variables to keep your eye out for are vast landscapes, a clear view of the sky, and some interesting foreground elements.
The first two are no-brainers, but a little-known secret to the best sunrise and sunset photos is that there is something else going on in the photo that makes it extra scenic. That is, if you can pair the grandeur of the sunrise colors and textures with something intriguing as your subject, that’s when you get a truly sensational photo.
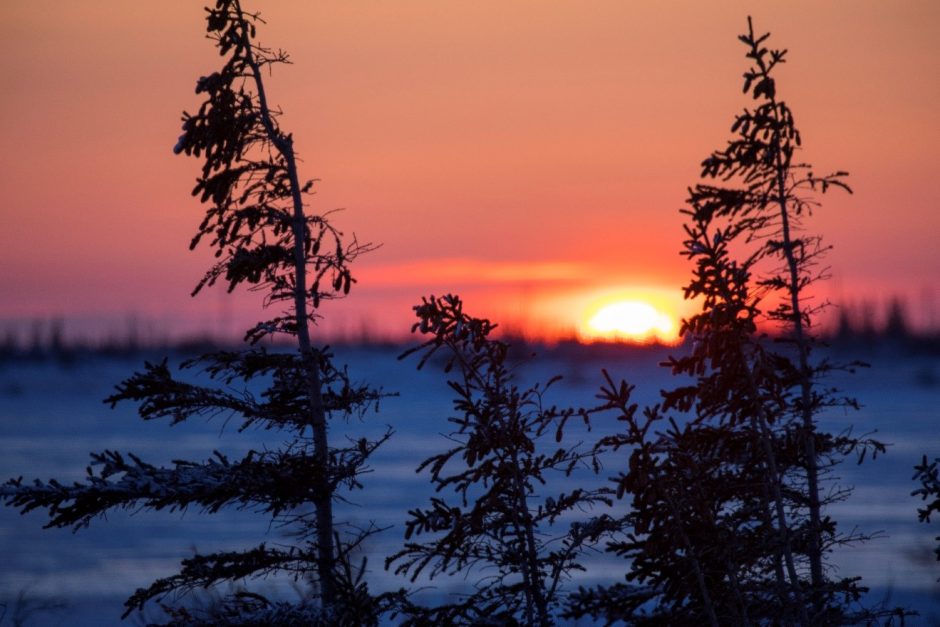
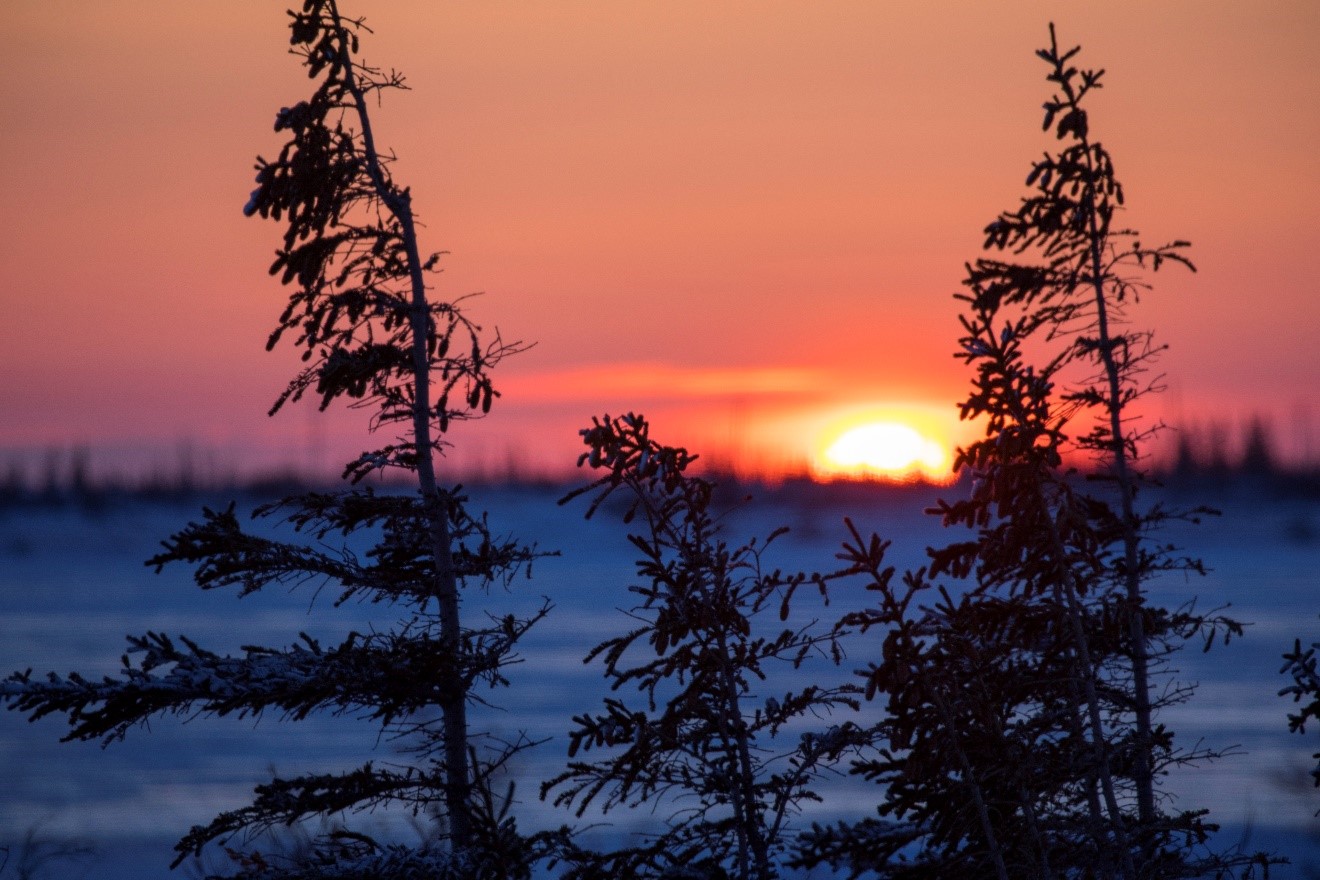
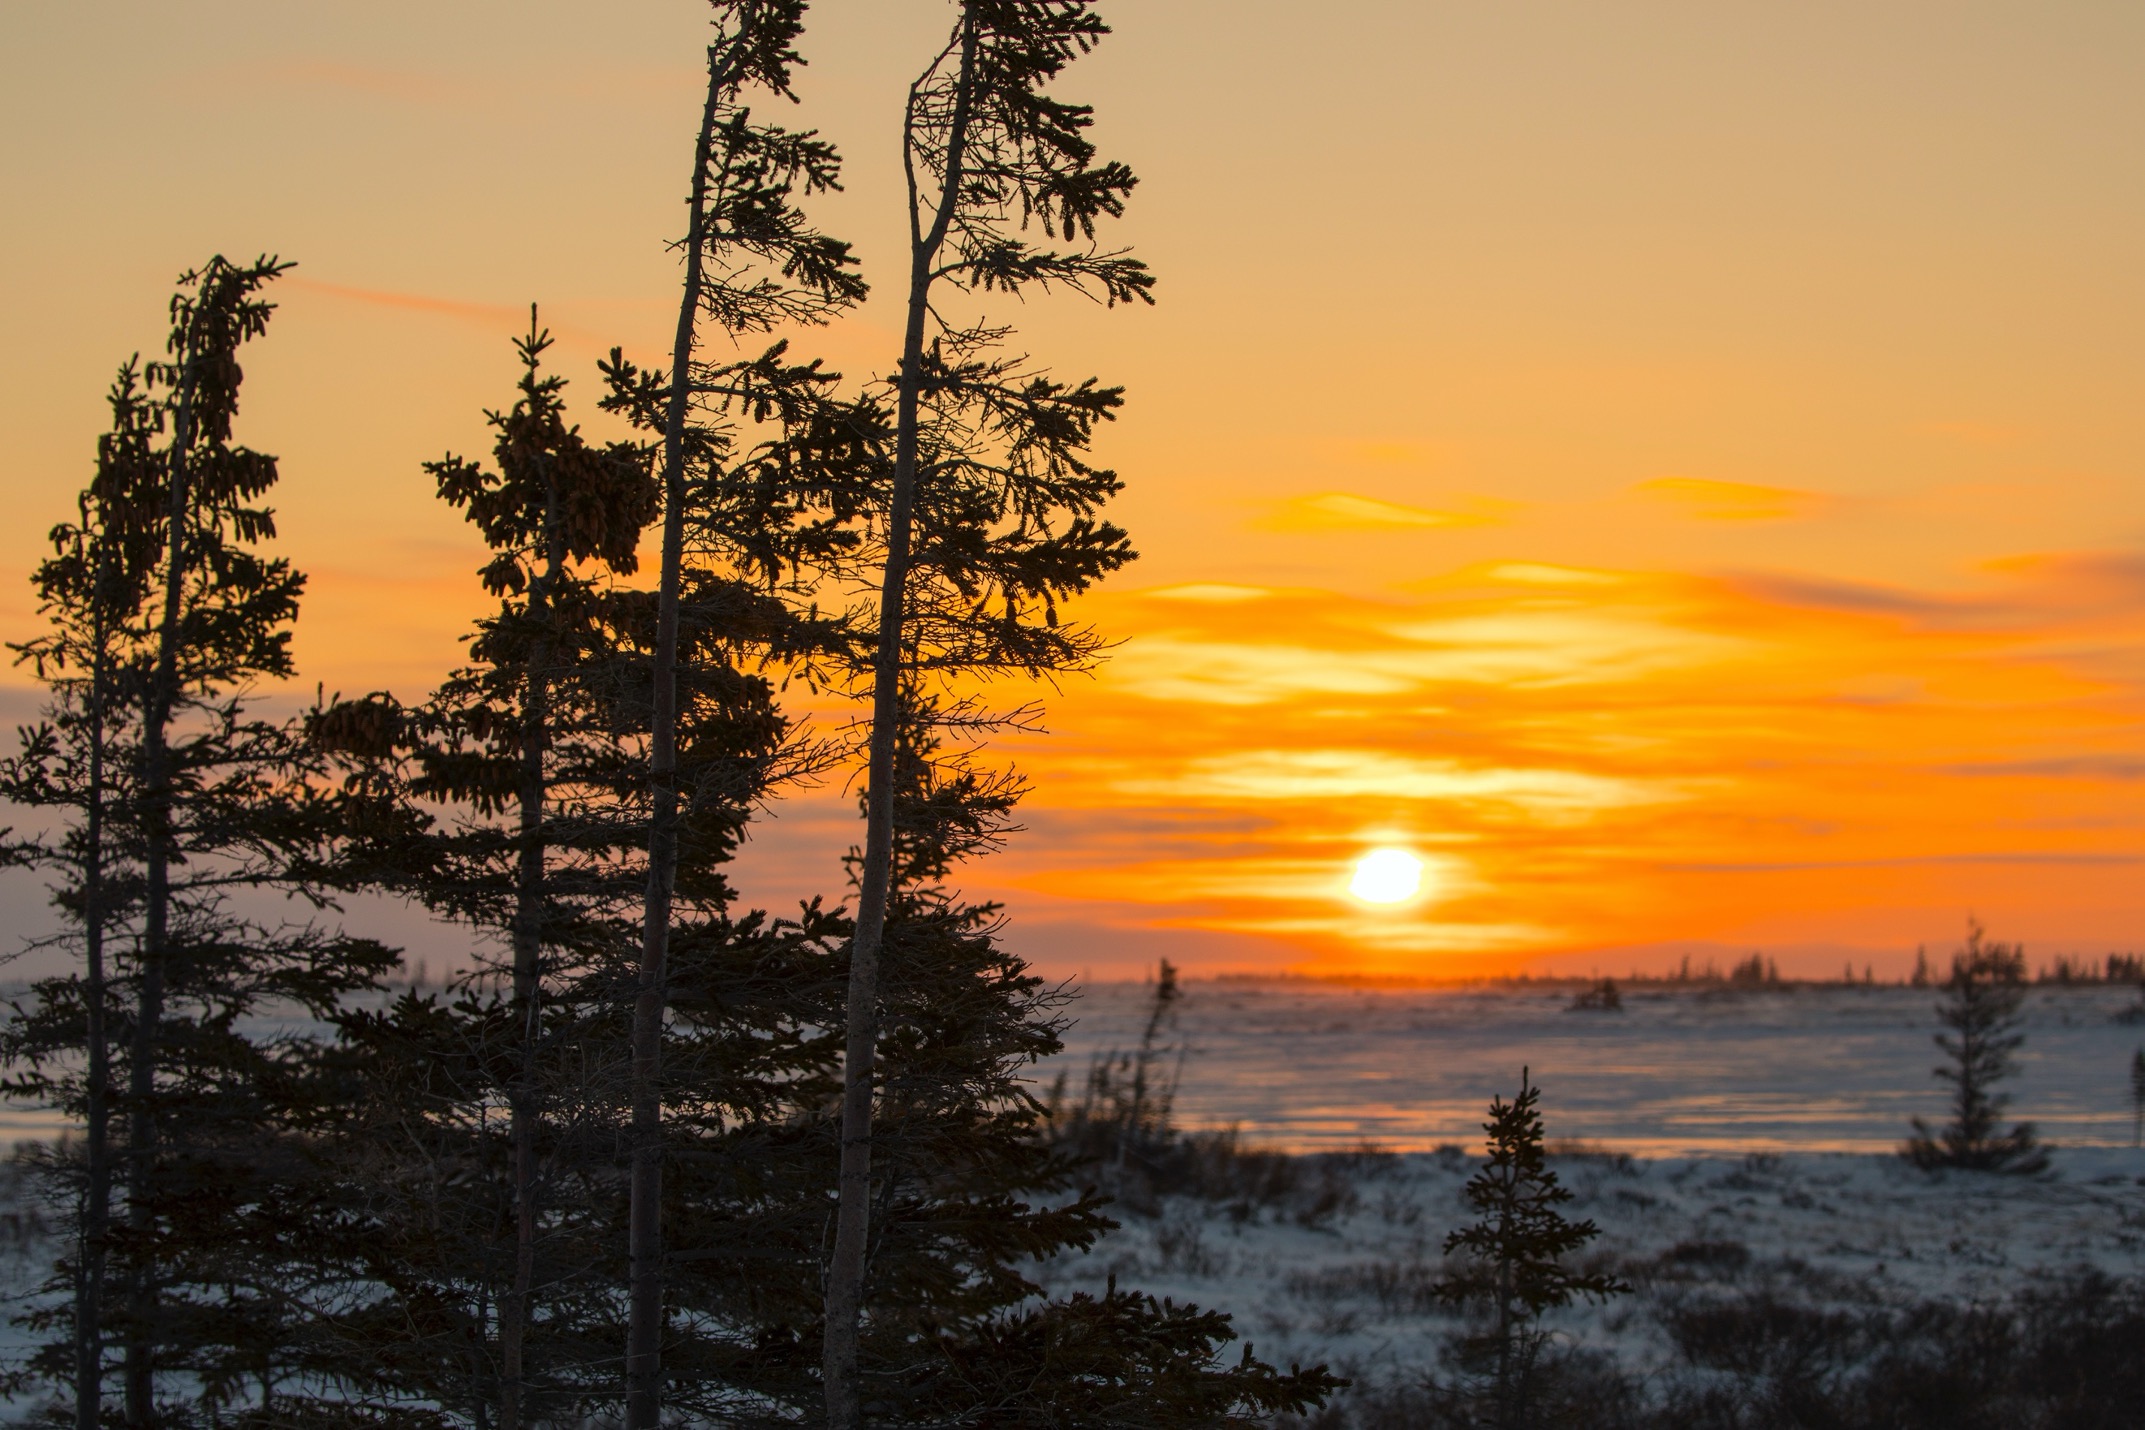
It doesn’t have to be much, as exemplified in the below photo of several small spruce trees on the arctic tundra. However, just that bit of texture and contrast really makes the scene pop.
Nailing the Exposure
Proper exposure is critical for enviable sunrise and sunset shots. For those scenes when you do not have a foreground element, or the foreground element is quite a bit in the distance, you can simply focus and meter (aka, expose) on the sky surrounding the sun (e.g., clouds) to both focus and meter for the color and contrast of the sunrise or sunset itself.
However, what if you do have a dominant foreground element you want in focus? If you focus on that, you are likely to blow out the sun and make it waaaay to bright. Thus, it’s time to use (and learn) about exposure lock.
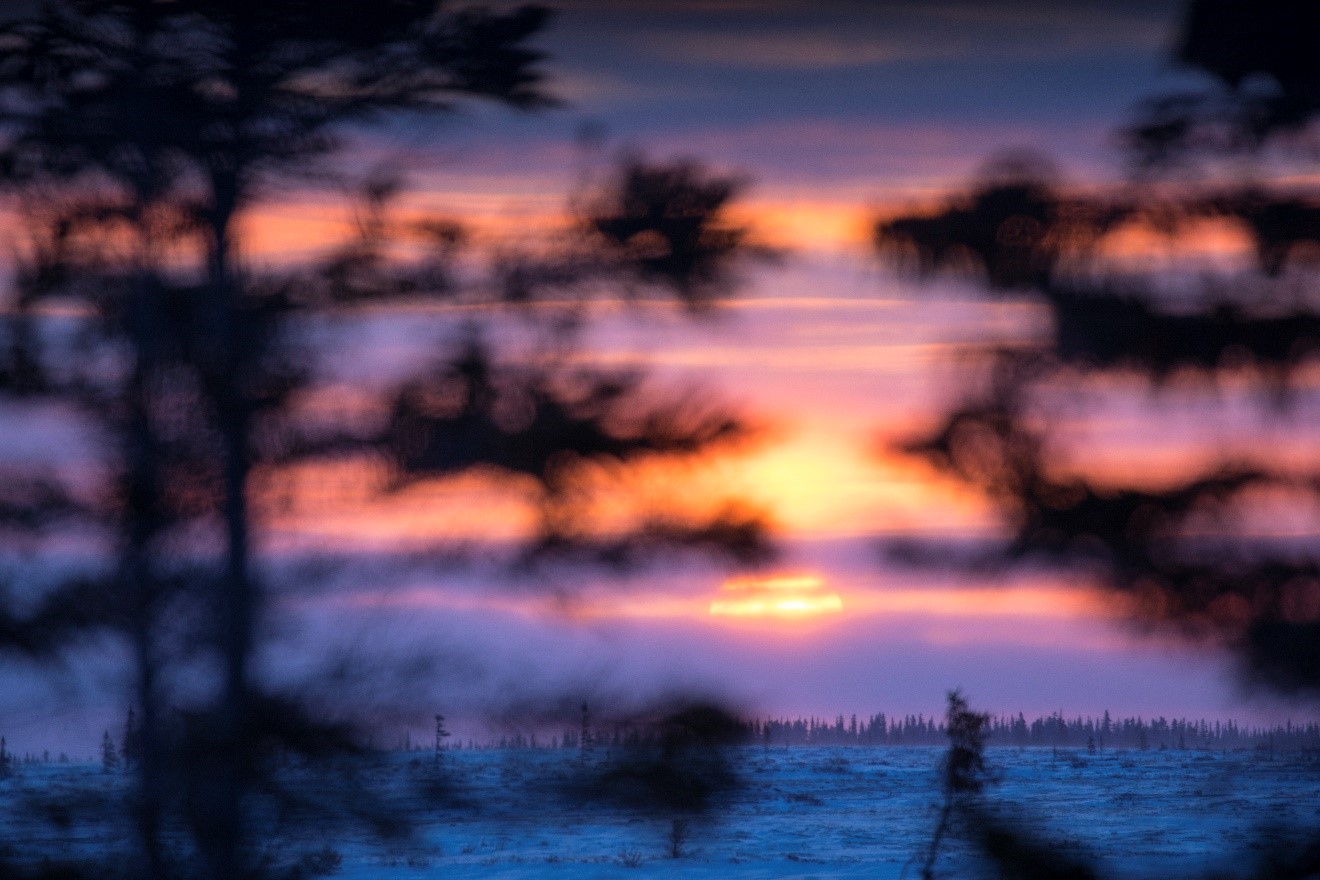
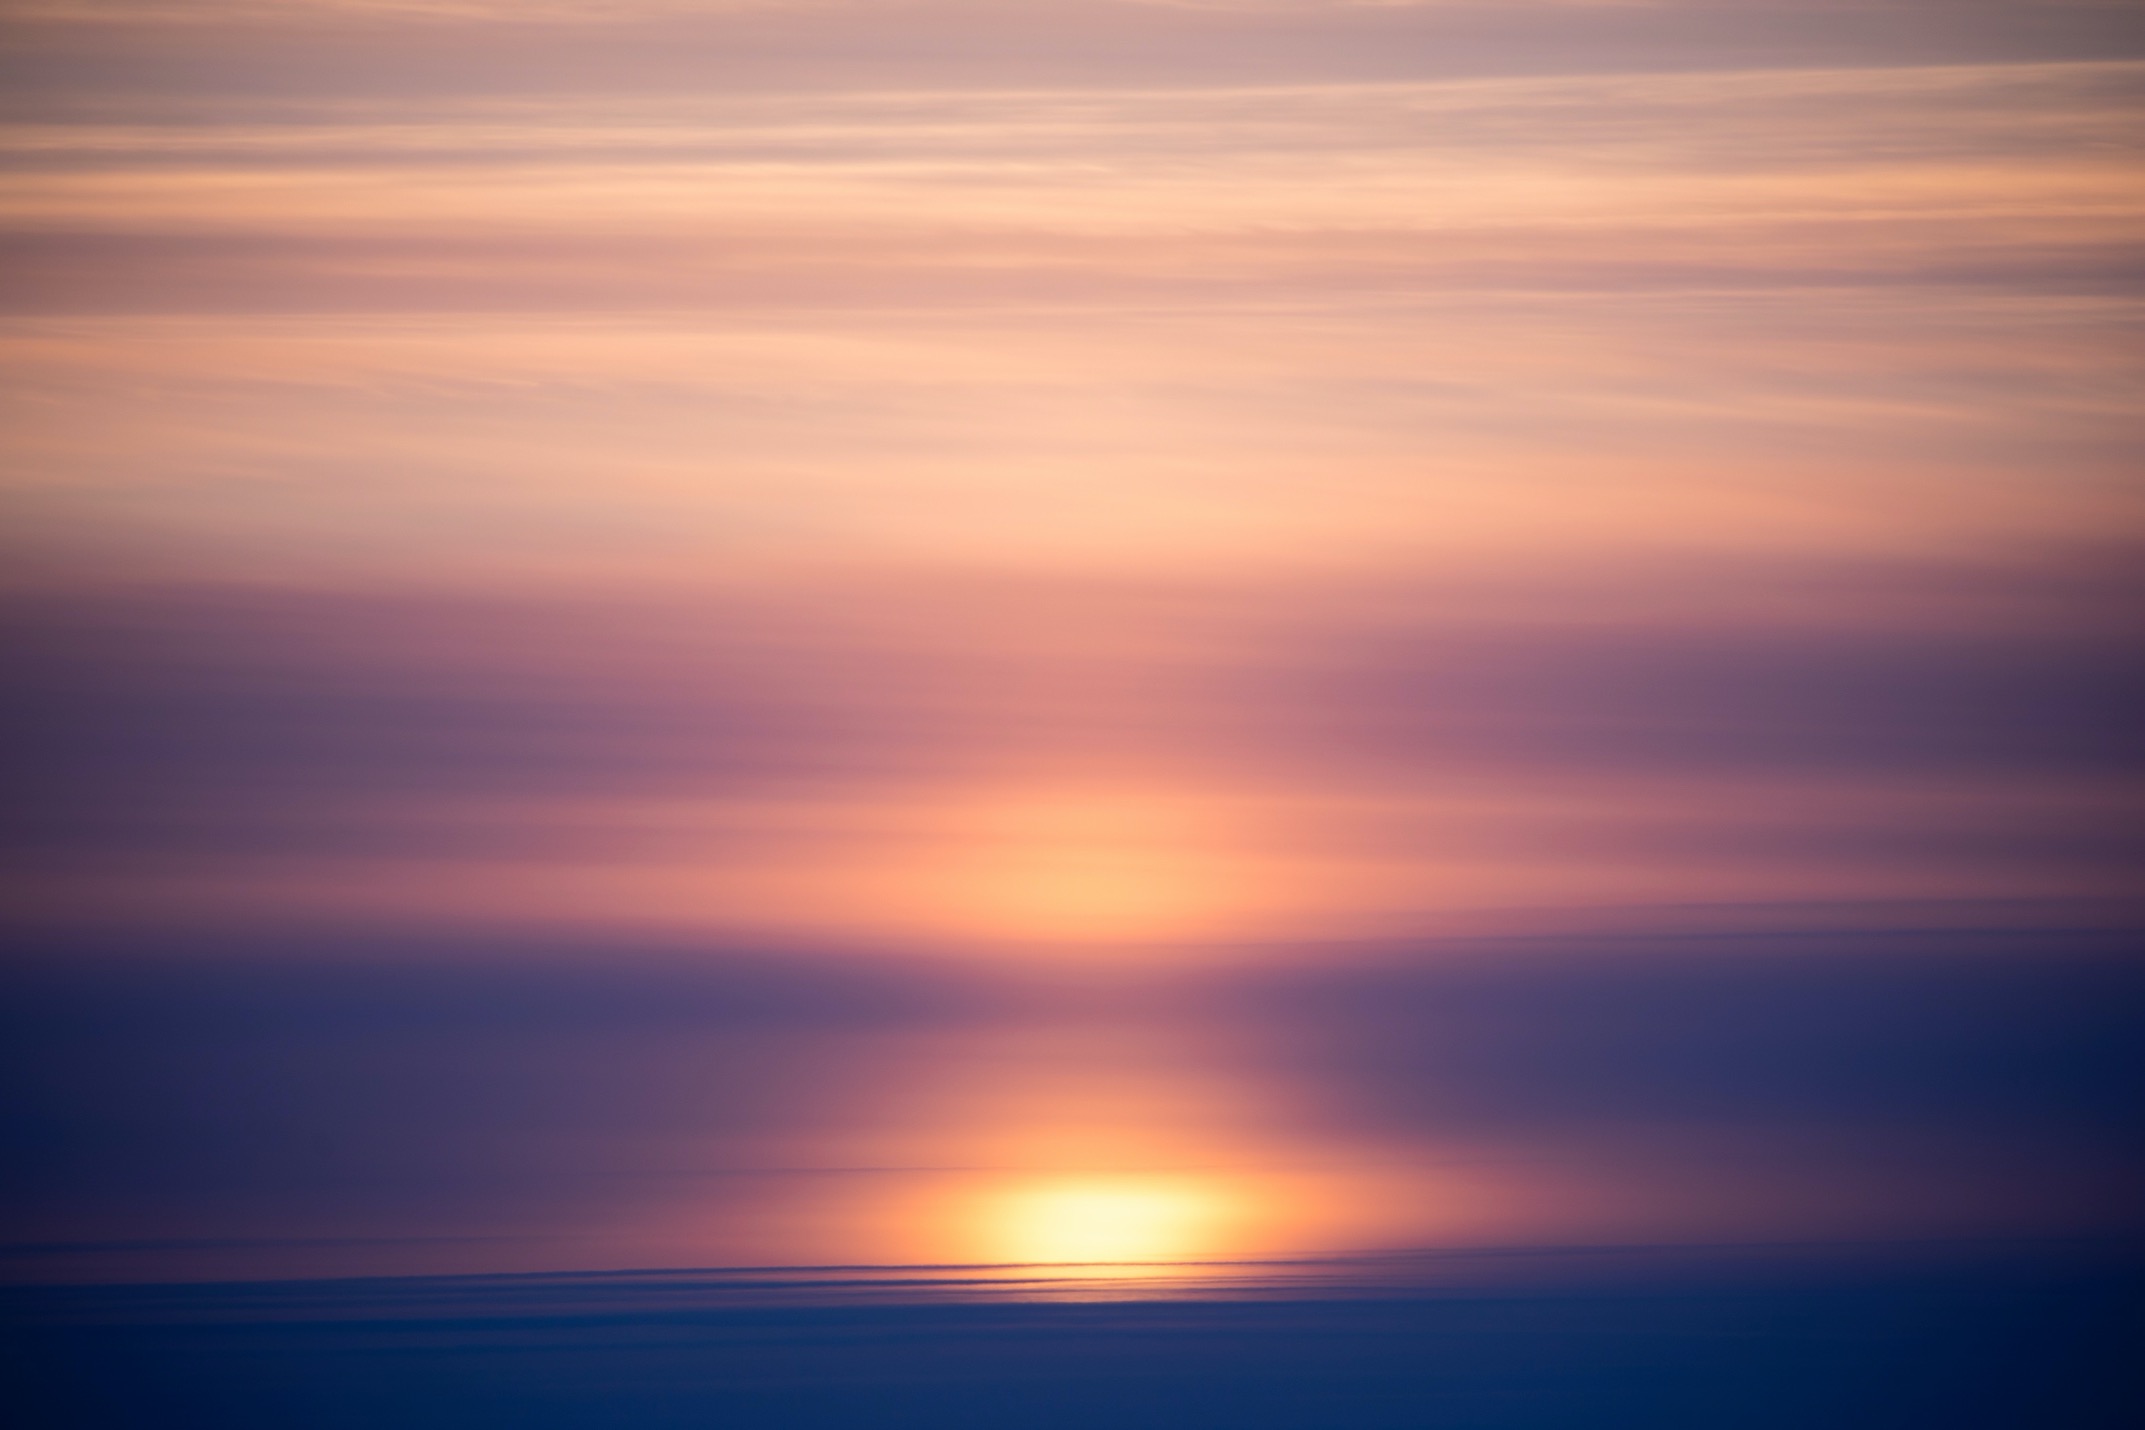
Or, if you expose and focus on the sunrise, you’ll get a blurry shot. Notice how in the below photo, the sunrise is perfectly exposed, but I focused and metered on the sunrise…thus, my foreground element is out of focus, which is less than ideal…it’s a little distracting, isn’t it?
It’s always helpful to read in your own camera’s manual for this one, as it is found in rather different places on the camera and is often called very different things. For instance, on Nikon cameras it is a button that says AE-L (for auto-exposure lock) whereas on Canon cameras, it’s simply an asterisk.
But the point is, once you find the right button the technique is the same.
You’ll use this button like the focus button and aim at the sunrise/sunset and press it. However, unlike the shutter button, it only locks exposure…it does not lock focus.
It will then lock exposure for 10-15 seconds (again, different cameras have different lengths of “lock”). During this time, you’ll want to recompose your photo and then use the shutter button (or auto focus back button, if you use that) to physically focus on the foreground element.
The benefit here is that you can separate exposure from focus, allowing you to expose for the colors of the sun, but focus for your foreground element. Voila—magic!
Experimenting with Variations
One of the many great things about sunrises and sunsets is that you do get a good chunk of time to photograph them. While they are ever changing, they don’t change as quickly as most wildlife scenes. Thus, you have minutes to try different variations…let’s talk about what those are.
Variation #1 – Different White Balances
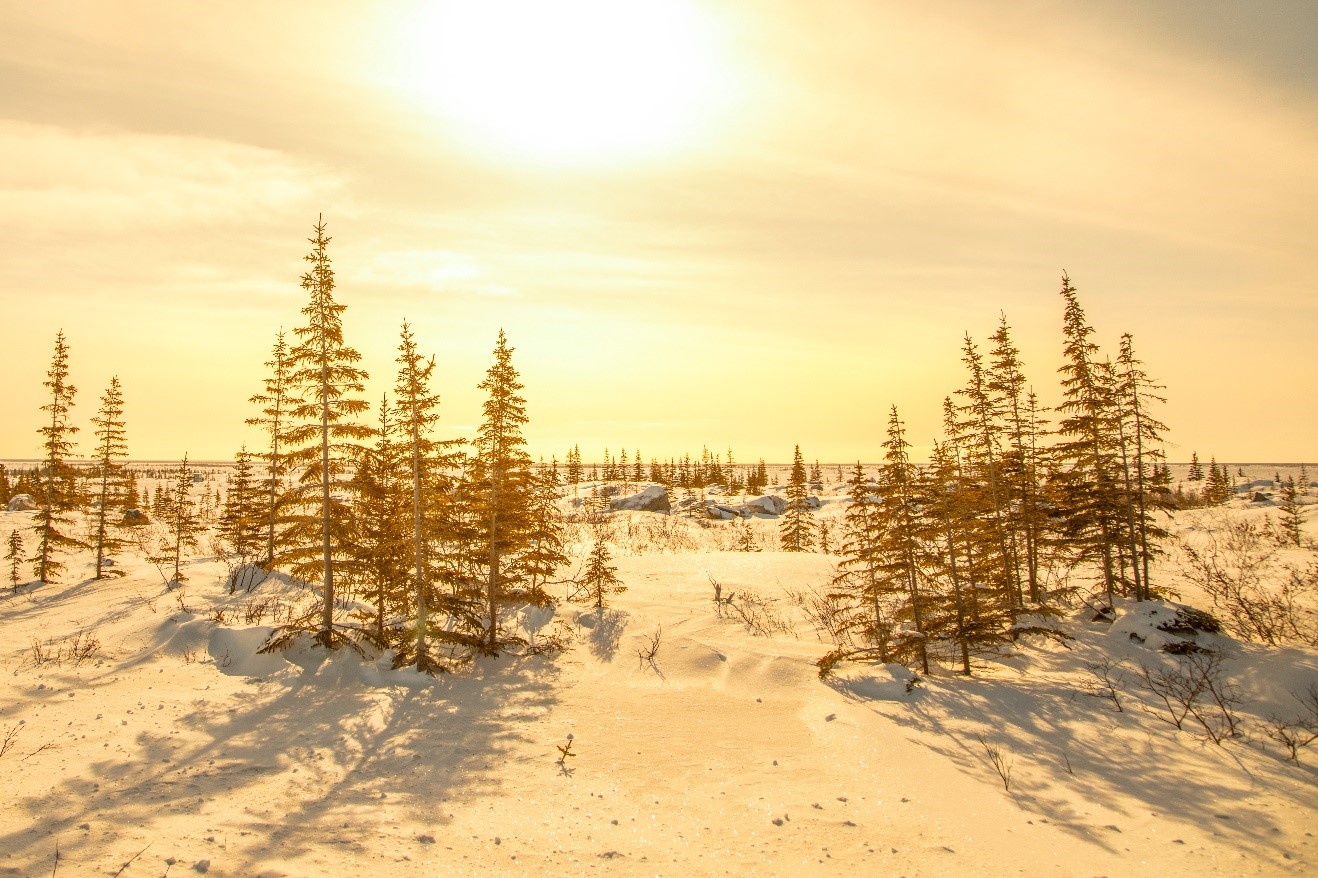
While sunsets and sunrises usually pop most dramatically with a “cloudy” white balance (adding in nice, dramatic warming tones) arctic environments really lend themselves well to “daylight” white balance, which injects more of a cool tone like blues and purples.
I highly recommend trying arctic sunrises and sunsets with both white balance settings.
Variation #2 – Different focal lengths
Big wide angle shots seem to be the default for most landscape photographers, and since a sunrise is a landscape shot, why would you use anything else? Shouldn’t you stick with an 18mm or 24mm shot nearly all the time?
Definitely not…
I highly recommend using all of your telephoto range at your disposal to experiment with “zooming in” and filling the frame with different colors and textures of the sunset. Sometimes you’ll even pick up different, interesting things in the landscape quite far away that you otherwise miss or that lack emphasis with normal wide angle shots.
Think about going to 100mm, 200mm, and even 400mm as you experiment.
Variation #3
Composition is king for any sort of landscape photo. The classic rule of thirds shouldn’t be ignored here, and typically you are stuck with two possibilities…2/3s sky and 1/3 ground, or 2/3s ground and 1/3 sky. Different scenes lend themselves to different variations here.
However, don’t just follow the rules…think differently. What about exaggerating composition such that the horizon is just a sliver in the bottom 1/6 of the photo such that 5/6s of the photo is the sky?
I’m not saying this is going to look great all the time, but it works sometimes and is definitely worth thinking about.
And there you go! Some classic and not-so-classic tips on sunrise and sunset photography, specifically as it pertains to the arctic environment.
If you’re headed up to the arctic to explore the tundra, and hopefully be treated to some alluring sunrises and sunsets, I hope this comes in handy!
In addition, If you have additional tips or have used any of these techniques, we’d love to hear from you in a comment below!
Cheers,

Court
Leave a reply