
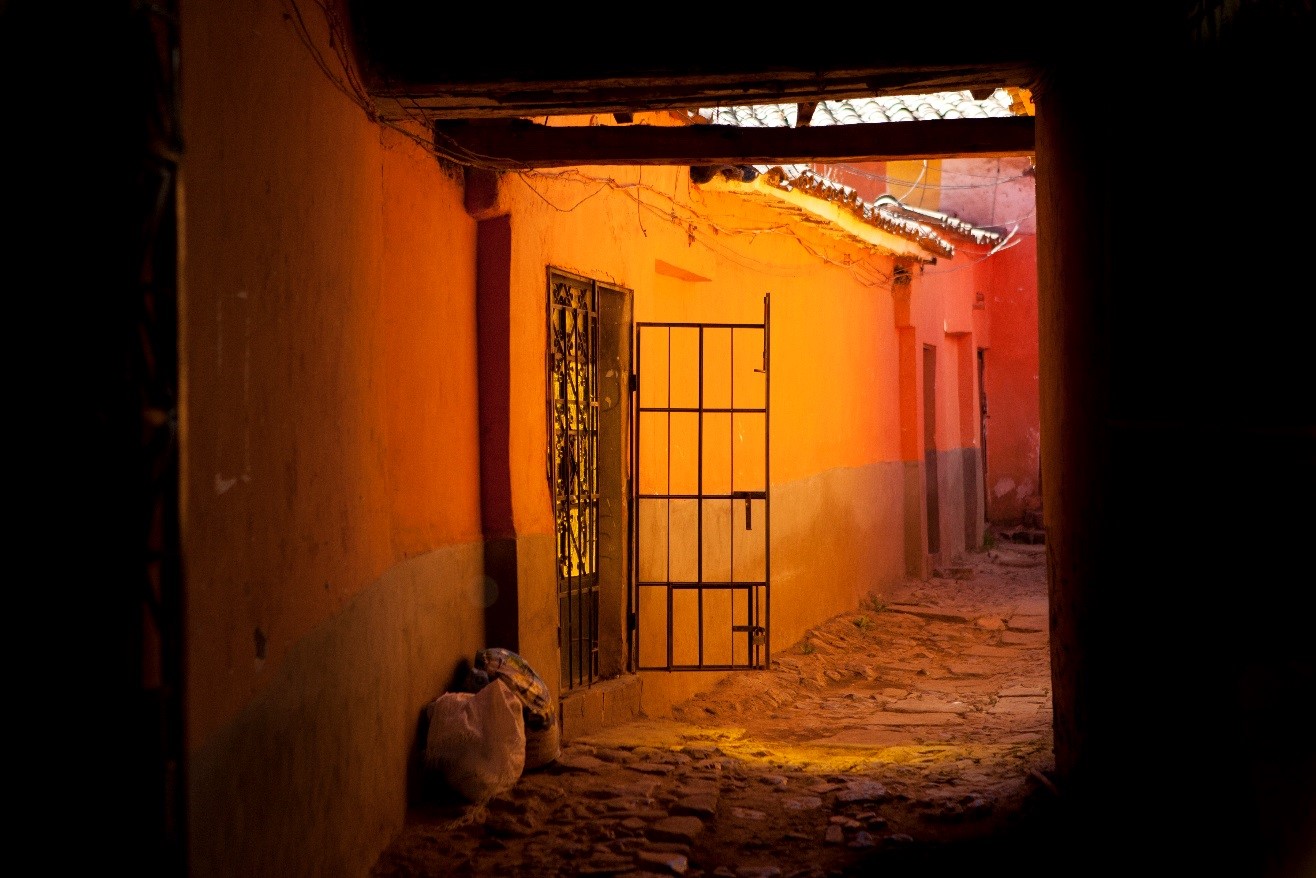
What to Expect when Photographing in Peru
Peru is easily one of the top biodiversity hotspots of the world. From incredible mountains, to misty cloud forests, to the Amazon and its myriad tributaries, and then cultural wonders, too, it’s got a lot to photograph!
Read on to get an insider’s perspective on what to expect when photographing in Peru.
Come prepared and flexible for a range of photo ops
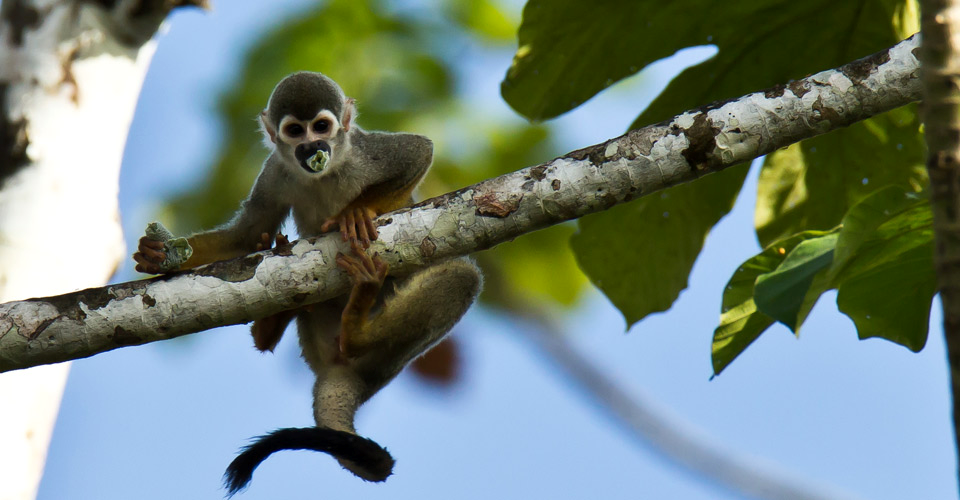
The first thing to think about when photographing in Peru is where your major regions will be. If you’re headed on an Amazon River trip, or a combo Amazon River and Machu Picchu trip, you’re going to see a lot of wildlife as well as some intriguing city scenes and cultures, too. This means that you’ll need a camera with lots of flexibility. If you are using a point and shoot, having something around a 20x zoom will be useful when photographing in the jungle. If you are using a DSLR or mirrorless system, you’ll need at least a 300mm lens to reach the treetops where lots of the wildlife resides.
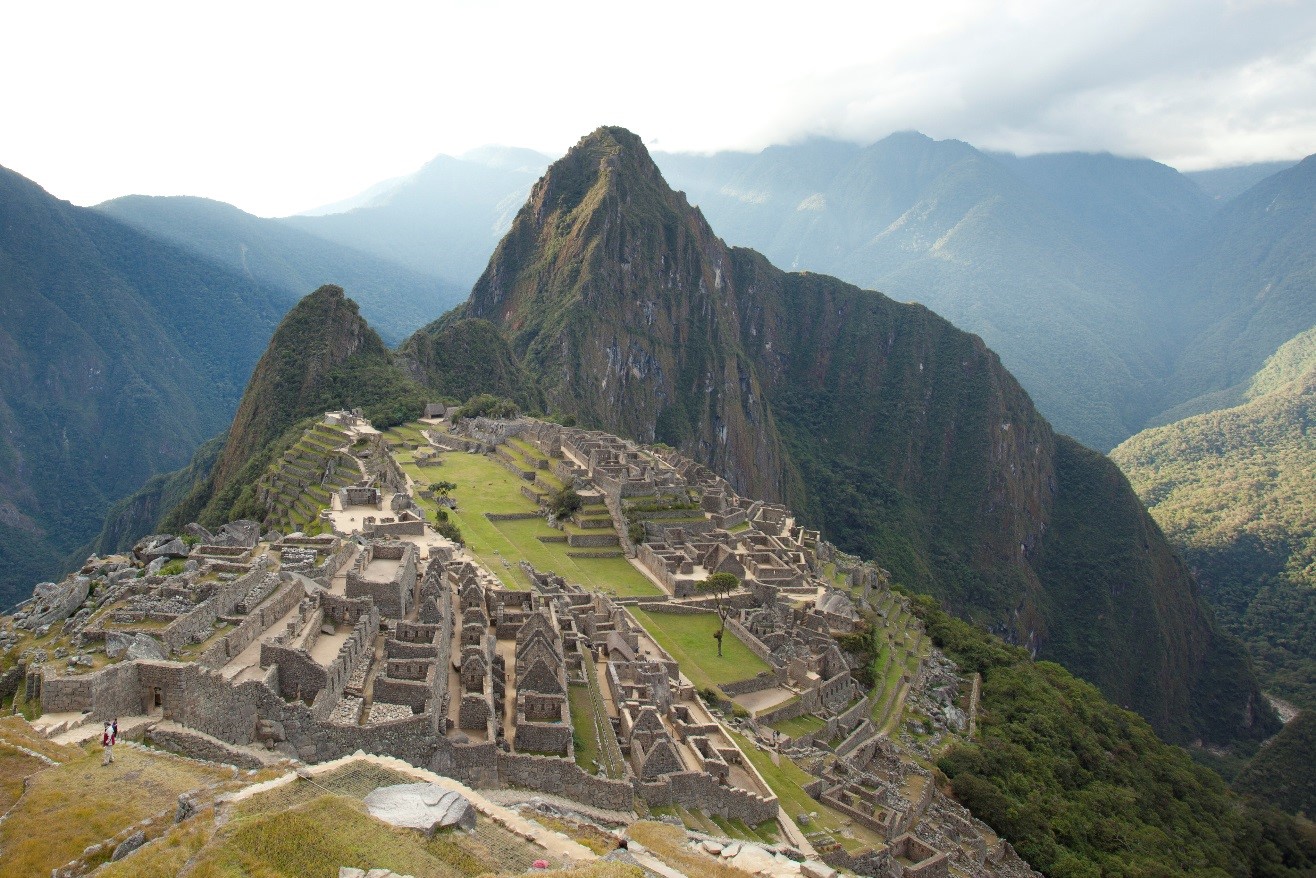
The scenic wonders abound, too. If you’re headed into the Andes, whether it’s Machu Picchu, or even to Lake Titicaca, you probably won’t need the great amount of telephoto/zoom capabilities, and prioritize more for interesting wide angle shots. Bringing an ultra-wide lens is always a great way to create unique photos in iconic destinations.
While you may not need to bring two cameras, it will be nice to have as much flexibility as possible. For some, bringing a fancy DSLR camera as well as a point and shoot can be a really nice combo.
Be ready for a variety of climates and weather
One of the main reasons Peru is so sensational and biodiverse is because of the variation in weather and climate. Thus, if you’re headed to multiple regions, expect to be challenged with humidity in one place (e.g. Amazon), cold mornings and evenings in another (e.g., Machu Picchu), and dry and sunny if you’re headed anywhere near the coast.
While the cold weather in certain places of Peru isn’t enough to wildly zap camera batteries (usually not less than freezing in the wee hours of the morning), it’s wise to bring a couple spare batteries.
The primary thing to worry about is the humidity you’re likely to encounter in lower areas like the Amazon rain forest. Most cameras are sealed enough that it’s not a grave concern of humidity getting into the camera. But, if you’re staying on an air-conditioned river boat and constantly going into and out of the humid forest, you’re likely to get fogging on your lens.
To mitigate the fogging, there are several things you can do.
- allow your camera to slowly adapt to the humid warm environment after being in the cooler air-conditioned cabins. My technique is to physically put my camera bag outside my room about 1 hour before I plan on shooting. However, this isn’t always the most practical or feasible way.
- The better way really is to minimize the number of times your camera is going into and out of the a/c. For instance, if you’re returning to your room or cabin after a morning of photography, perhaps keep your camera bag outside of your room. That way, it’ll be immediately ready for shooting during your afternoon excursions.
- Lastly, plan on bringing some desiccant packs, as that will keep your camera nice and dry. These are basically the little white packets that come in shoeboxes, but you can buy them commercially online.
Think about X-Factor lenses and unique photography techniques
When it comes to travel and nature photography, the competition is growing. Whether you just want to show off some neat photos to friends and family via social media, host a post-trip slideshow with your travel club or local library, or are a professional photographer trying to sell your framed photos, differentiation is key.
One way you can differentiate your photos is to think outside the box with what lens you use for which shots.
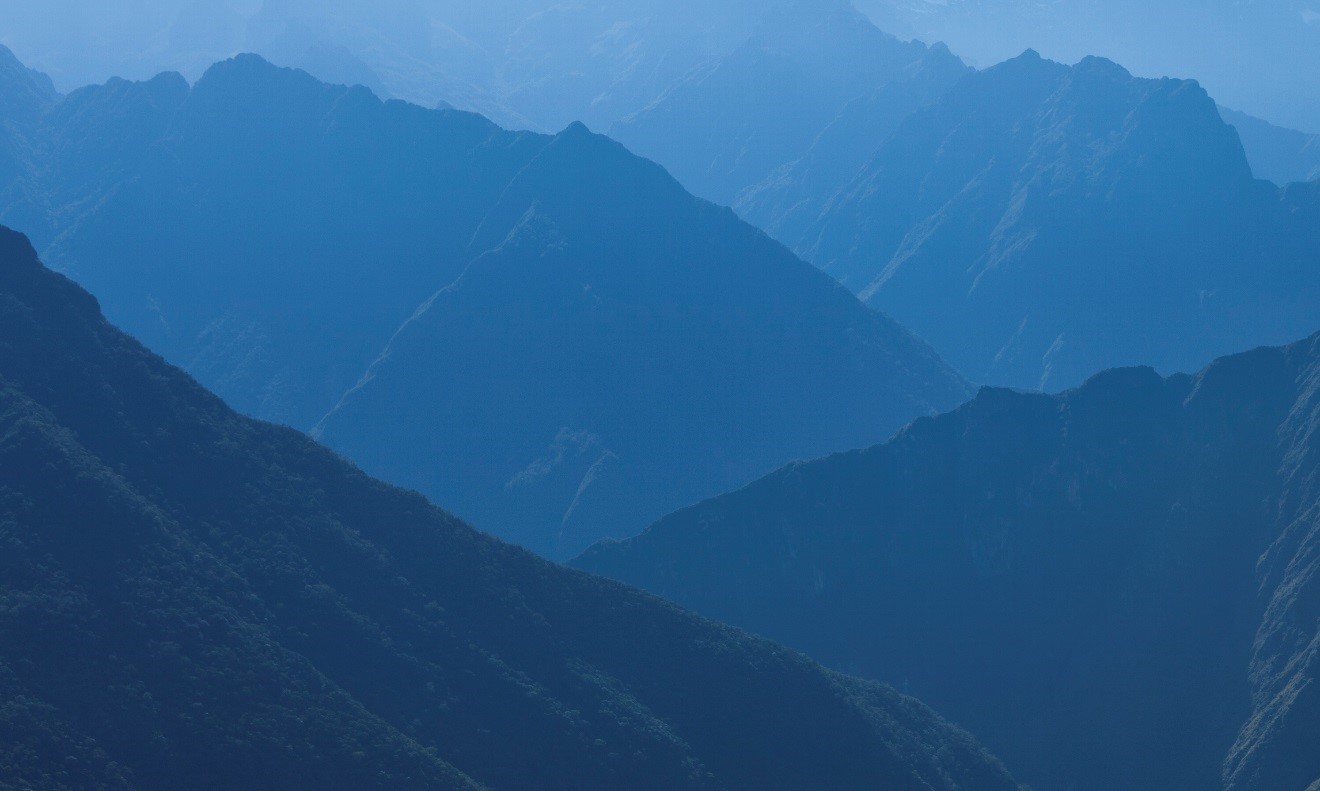
For instance, the conventional approach to shooting big landscapes is to shoot big wide shots capturing the whole thing. Let’s take the Andean mountain range as an example. You’d initially think of taking a big panoramic, right? However, to differentiate, why not try a telephoto lens, zoom in, and capture something a bit more abstract like the below?
When it comes to differentiation, you may also want to think about bringing unique lenses, too. How about a ‘nifty-fifty’ lens to get an interesting depth of field when photographing in unique towns like Cusco (gateway to Machu Picchu), or Puno (gateway to Lake Titicaca). And to get even more creative, how about you shoot an actual gateway in those areas!
Photographing the many regions, plants, animals, people, and landscapes of Peru is absolutely fascinating. Not only is there a tremendous amount to photograph, but the subjects change rather markedly between each area you’re likely to visit.
Hopefully these tips and tricks will help you on your next adventure!
Best,
Court
2 Comments

Daniel Molina
January 13, 2018 at 2:37 pm

Court Whelan, Ph.D.
January 19, 2018 at 12:28 pm
Hi… I’m going to Peru next April for 22 days. Starting in Lima then going down to Ica, Huacachina, Isla Ballestas, Nazca Lines, Arequipa (Colca Cañon), Cuzco (Salkantay, machu pichu then rainbow mountains). It’ll be a busy trip.
But here is my question:
– Should I take all my gear? That would be Canon6D, 70-200mm, 24-105mm, 50mm and macro 100mm???
And also a gorilla pod, for night sky pics!
Not counting my Phantom 4 that I am definitely taking.
My only concern is the macro, not sure if I’ll use it that much. Would you give me your opnion with all that?
Thanks and let me know your instagram! Cheers!
Hi Daniel,
Great to hear of your upcoming trip. And I think your doubts over whether the macro will be all that helpful are valid. Sure, there’s always some cool stuff you can do with a macro lens, but to make it really worthwhile, you need a macro flash, too. And that becomes a lot of gear for just a few photos. Personally, I would just use the 24-105 as the macro. My technique is to use manual focus, dial it all the way to the minimum focusing distance, zoom out to 105mm, and then physically move the camera back and forth until what you’re shooting is in focus. This gives you the biggest possible photo, and the 24-105 is actually pretty good with this. Give it a try! And you can follow me on IG @whelancourtland. Enjoy the adventure!!