
Tips and Tricks for Photographing the Amphitheaters of Bryce Canyon National Park
It’s just about that time of year, when the U.S. Southwest’s “canyon country” thaws out and becomes a treasure trove of spectacular photo ops.
If you’re headed out west, chances are you’re including the magnificent Bryce Canyon National Park. But if not, perhaps this will encourage you to add this to your itinerary!
However, if you’re already joining a specialized photo adventure throughout the U.S. National Parks of the Southwest, chances are this is already a planned destination on your photo expedition.
Bryce Canyon is a wonderland of color, texture, and unique photo ops. Be sure to photograph “the whole picture,” with iconic shots from the rim of Bryce Canyon and return home with perhaps some of your most treasured landscape photographs of all time.
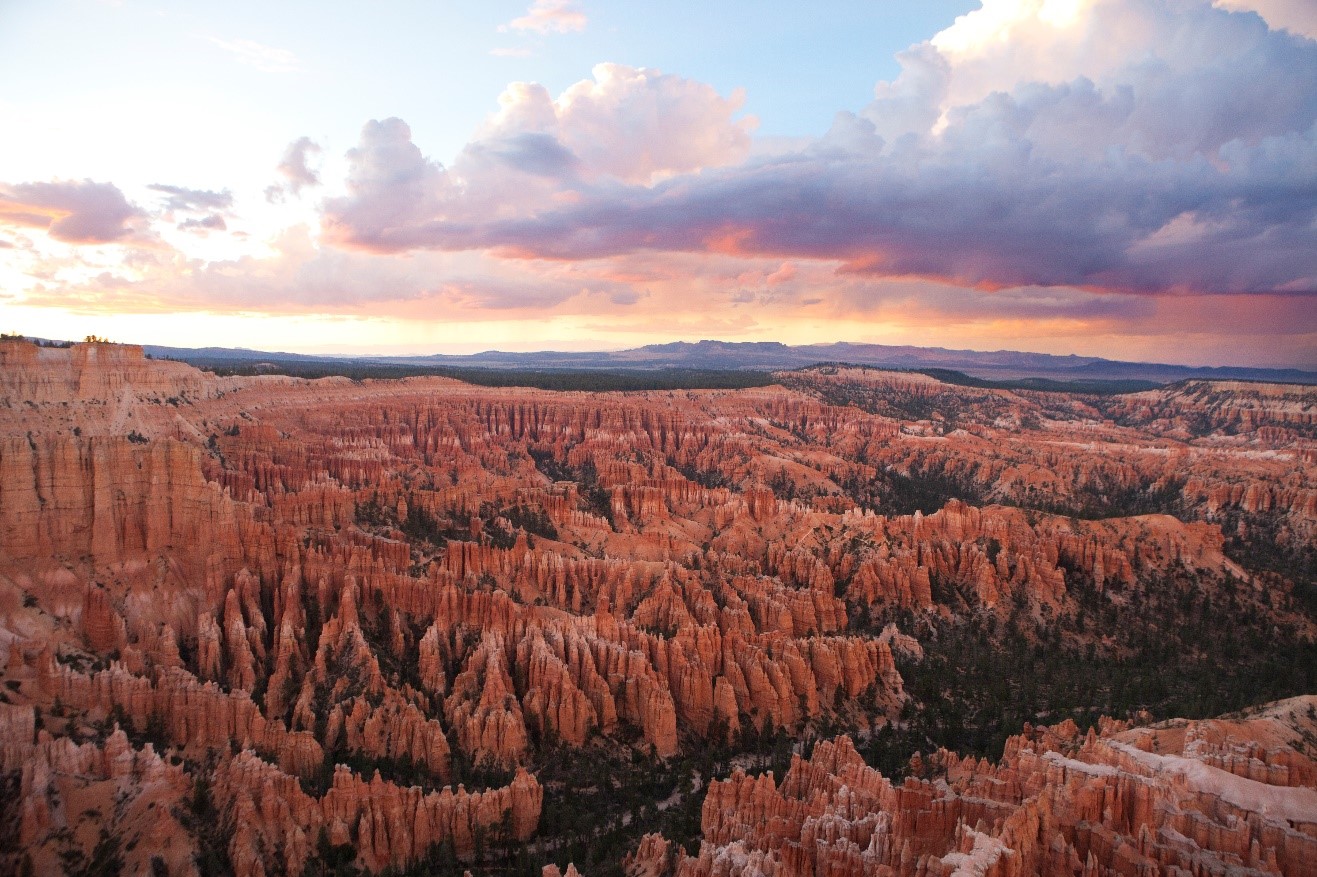
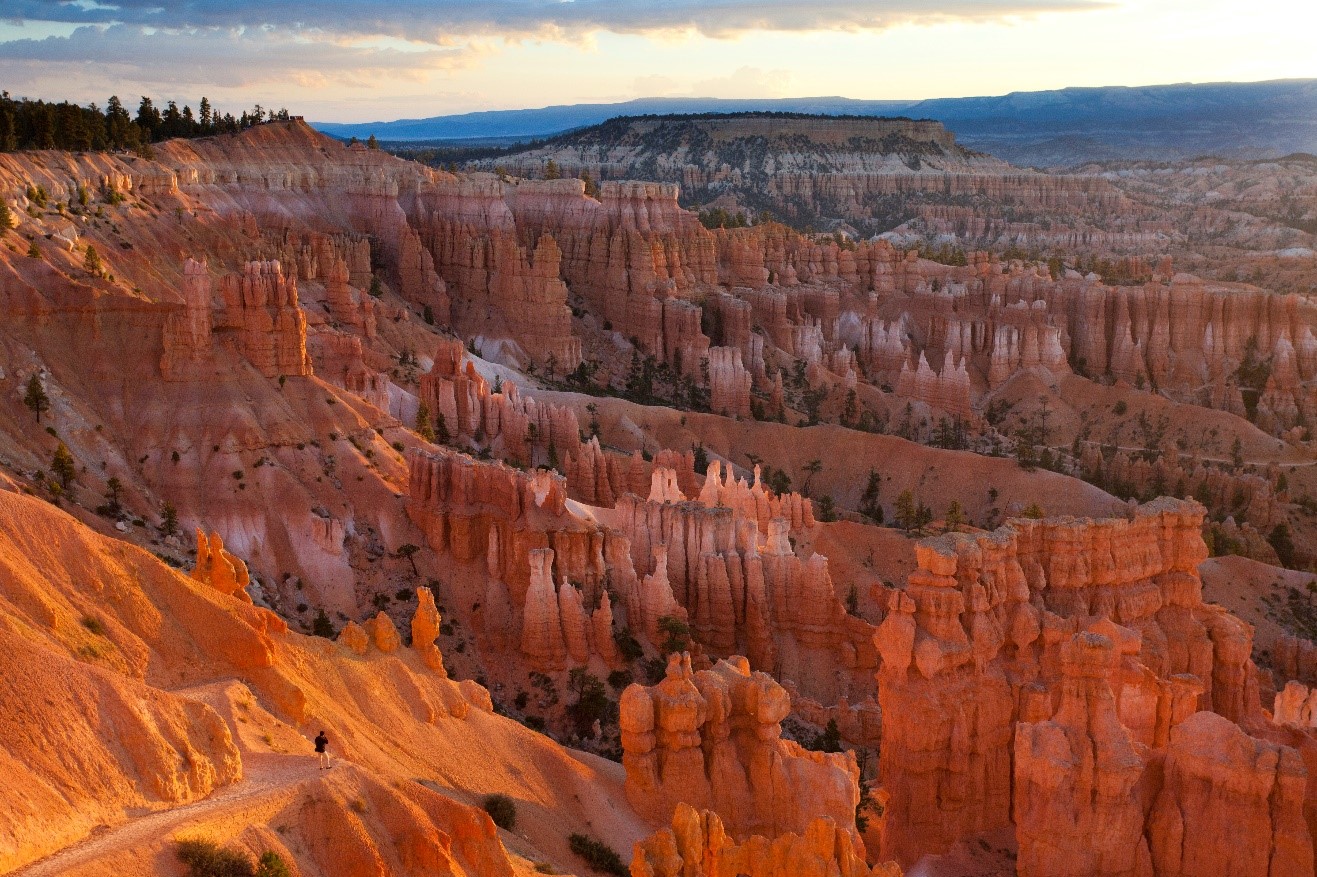
Getting that “iconic” shot from above
It’s hard to resist taking a million photos of the various “amphitheaters,” as they’re called. And while you’re sure to love what you get, excess quantity doesn’t necessarily mean excess quality. There are a few tried-and-true rules for photographing these amphitheaters from above.
First, make sure to go in the early morning or late evening for the best light.
Mid-day light is notoriously harsh for landscape photography, and this is exacerbated by the tall hoodoos and high desert sun of the Southwest deserts in the U.S.
Thus, to get the best photographs, aim to be there within the hour just after sunrise or an hour just before sunset for better angle, color, and softness of light.
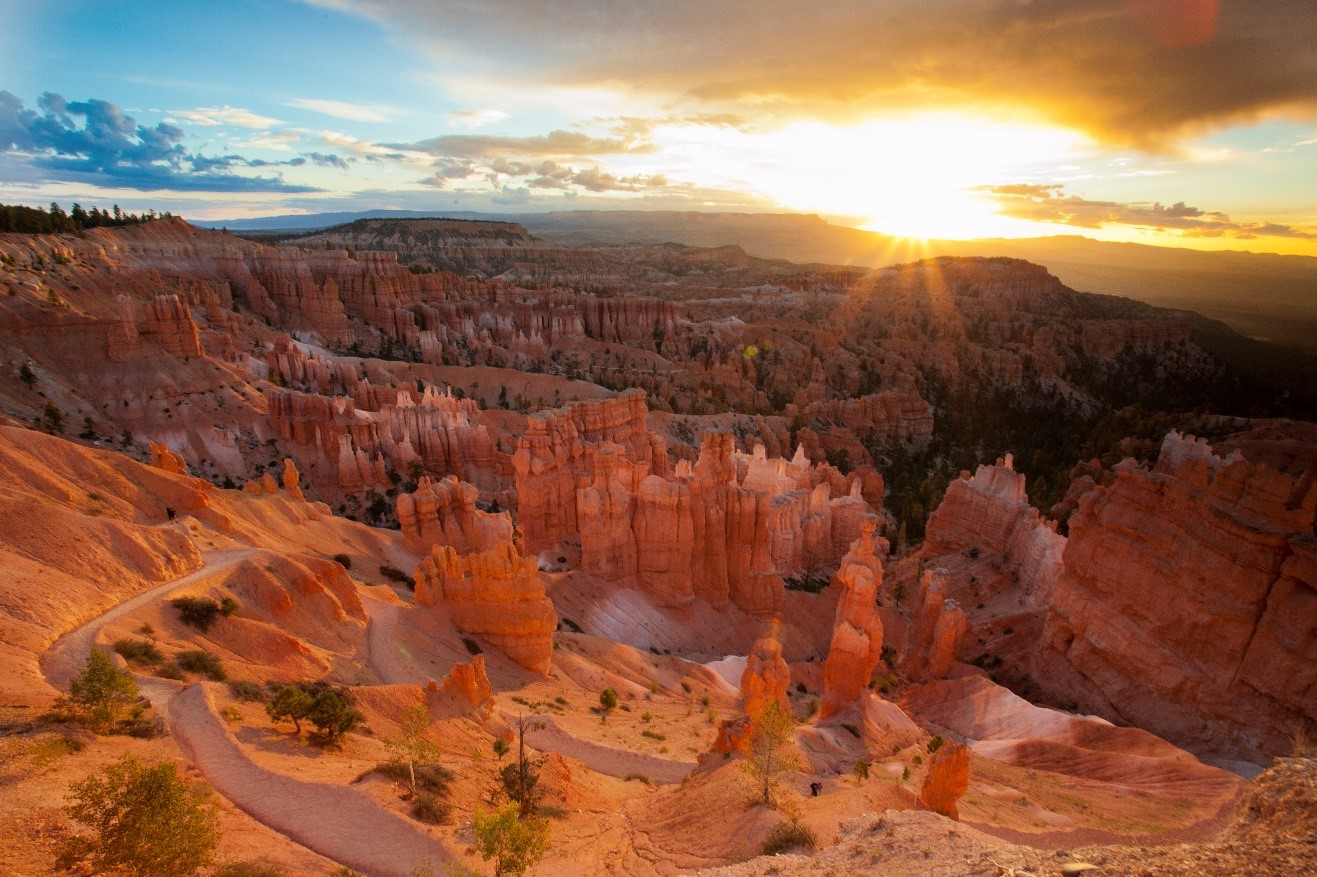
This is just after the sun rises over the Aquarius plateau, which you can see in the distance. Although the sun will rise quickly, the next hour remains stellar for photography from the rim of Bryce Canyon.
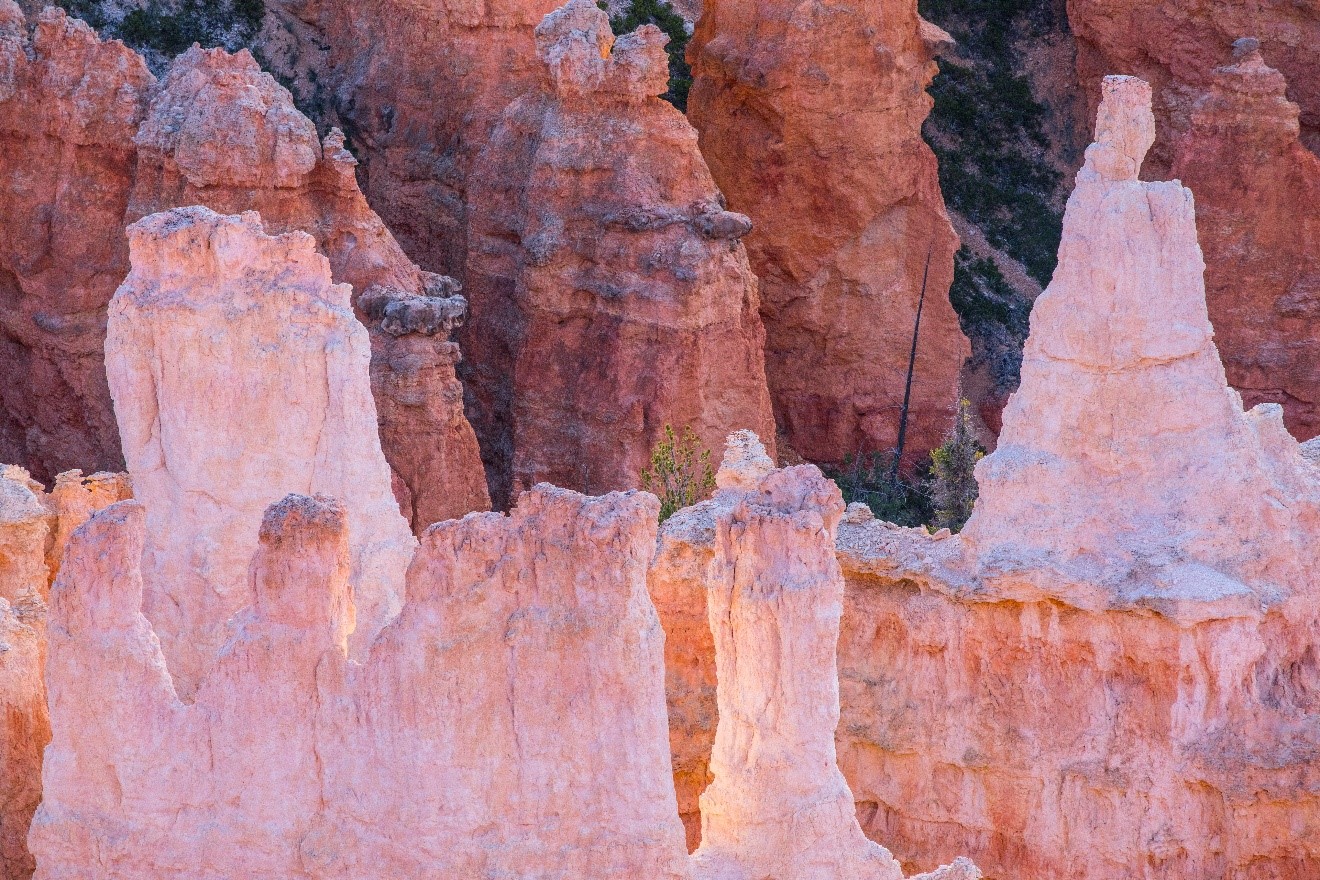
During the early and late hours of the day, you can get unique light that illuminates hoodoos, seemingly from the inside out.
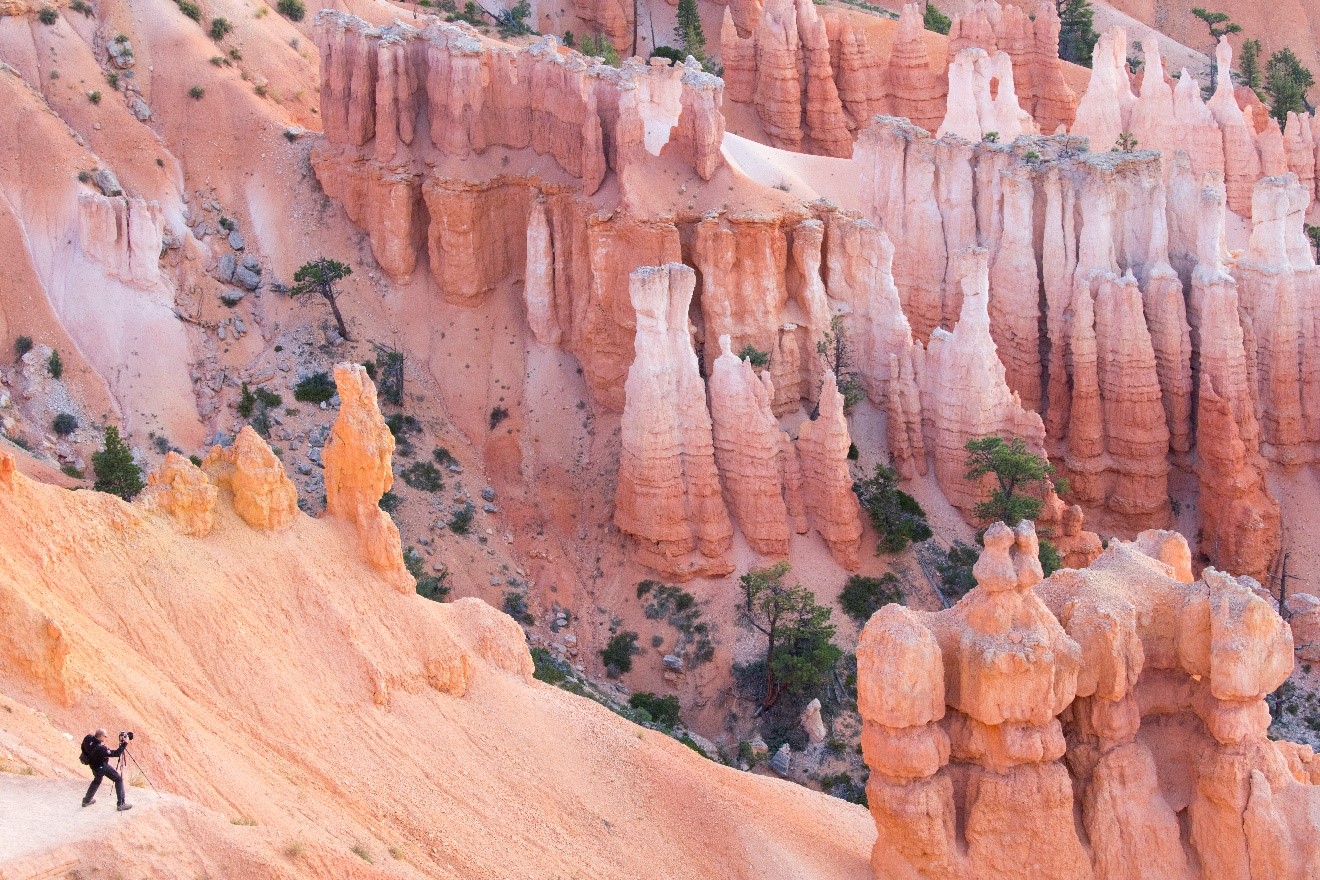
Zoom in on specific elements
Don’t leave your zoom telephoto behind, as this can be a helpful tool to fill the frame with Bryce Canyon’s colorful rocks and spire-like hoodoos.
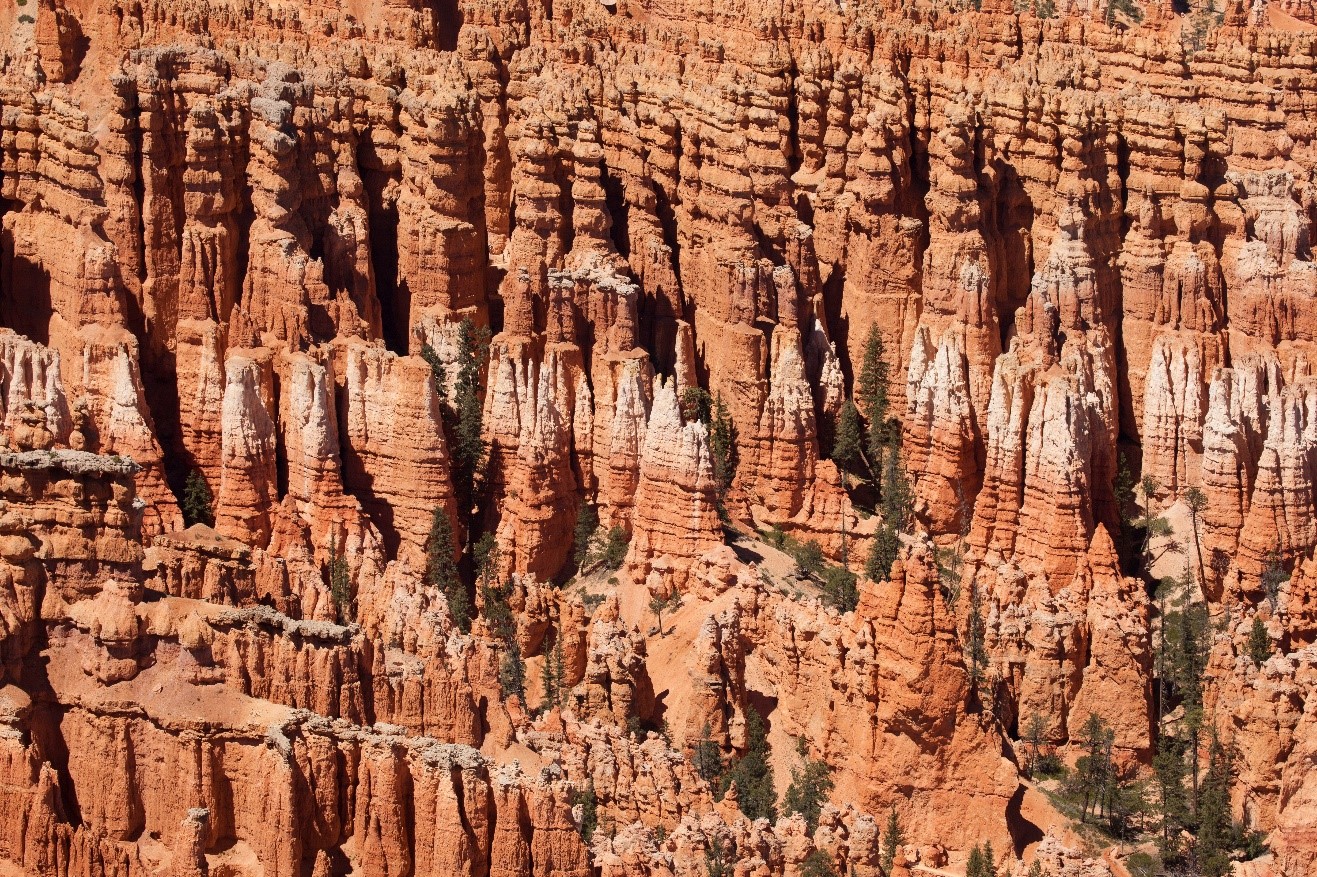
Although the above was photographed at mid-day (a good example of the harshness of the shadows and contrast), you can still get a neat shot when picking out specific regions of the rim-top view. And getting some trees in the frame helps provide scale.
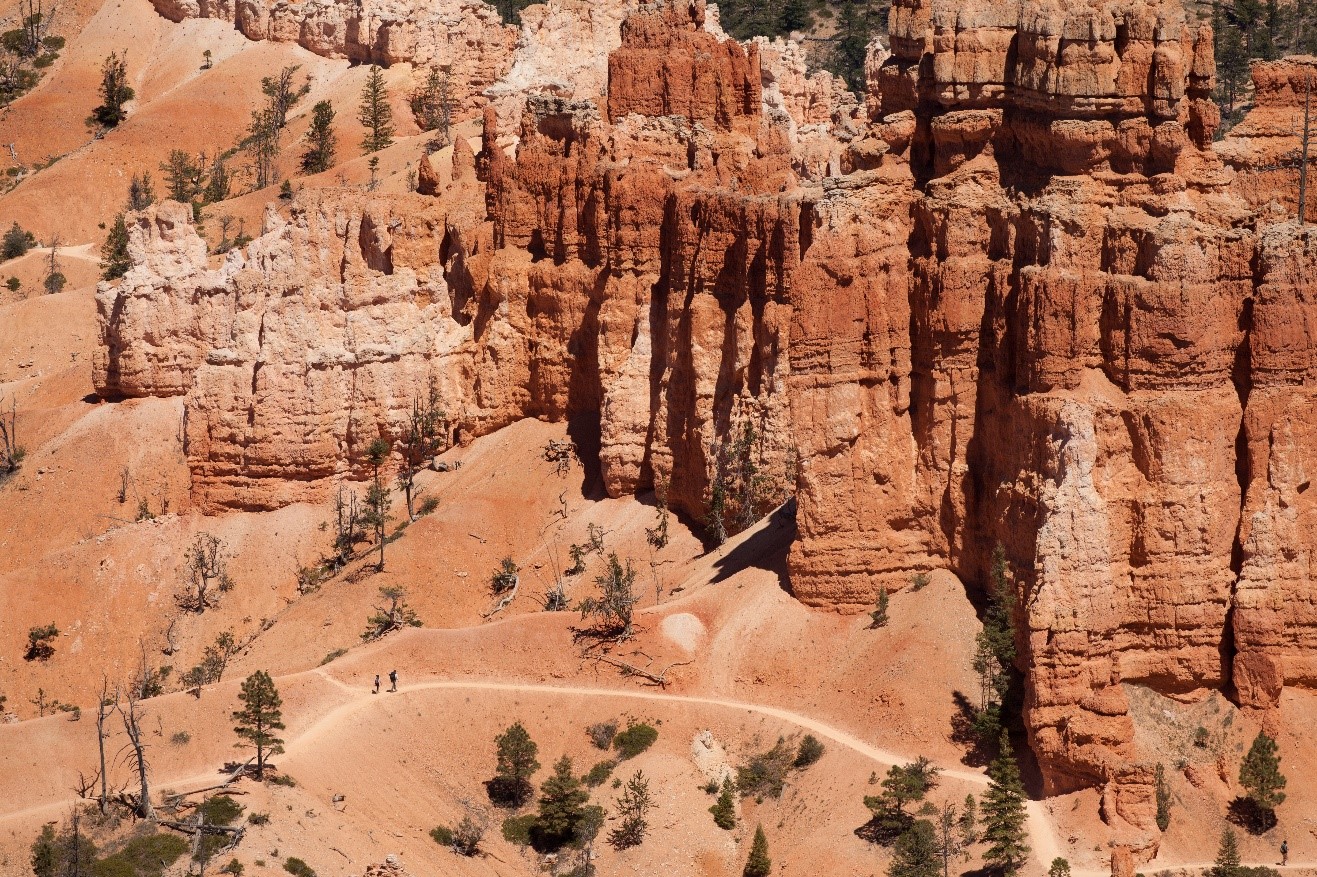
Try and get some people in your photo
Speaking of scale, there is perhaps no better way to show scale, provide context, and put your viewer in a “picture yourself here” mood than to show some fellow adventurers in your shot. From the rim, use that telephoto and try to pick out some hikers in the distance to really tell the story and highlight the vastness of the landscape.
Or perhaps you’ll see a photographer to really tell the story!
Combine techniques for maximum effect
Great light + good technique + interesting subjects = happy photographer!
At the end of the day, you are the most important person to impress with your own photography. If you like your photos, you’ve done your job. And when you are extra conscientious and deliberate about what you take photos of and how you capture them, you will like your photos more.
Combine these tips, and you’ll get an exponentially better photo.
The “shot from above” photo is no doubt one of the first photos you’re likely to get, and perhaps even the photo you’re dreaming of most. However, as you’ll see in previous posts on Photographing in Canyon Country, there are plenty of sensational photos to take as you descend into this stone labyrinth as well.
Ready to get out there and give it a shot? Join one of Natural Habitat Adventures’ Grand Canyon, Bryce & Zion photography tours this summer!
Best,

Court
Leave a reply