Five Super Simple Hacks to Improve Your Safari Photos
Have you ever dreamt of taking award-winning, National Geographic-style wildlife photos while on safari, yet have little interest in buying expensive photography equipment or spending hours and hours of your precious time learning how to use your camera? Well, unfortunately I can’t help you. No one can. But the good news is that you don’t have to have an MFA or own a $5,000 camera and an arsenal of bazooka-sized lenses to take good, sometimes even great, pictures on safari. In fact, you can get long distance wildlife closeups with your phone! Learn more about what we call “Digiscoping” in the video below:
I should mention before we proceed that I’m not a professional photographer. In fact, I’m not even a very good photographer. But I have spent a fair share of my time taking boring, forgettable photos and wondering where I went wrong. Over the years, I’ve read plenty of photography books, blogs and lists of helpful tips and I’ve put a lot of advice to the test. The tips below are the ones I’ve found to be the most helpful in terms of producing dramatically better results with the least amount of actual effort. You just need to remember a few basic guidelines.
1. Take a lot of photos (and bring a lot of memory)
Back in the halcyon days of film photography, a photographer had to be at least a little thoughtful before releasing the shutter. Processing dozens of rolls of mostly bad or mediocre photos was an expensive and frustrating endeavor. Today, thanks to the advent of digital photography, the only limit to the number of photos you can (or should) take is the amount of memory you’ve packed along. Still, sometimes people still feel inclined to hold back. Don’t. Bring plenty of memory and shoot away. Taking more photos should, in general, increase your chances of coming home with some really good ones. If you don’t want to buy a bunch of memory cards, delete your most obviously subpar photos as you go to free up space.Or, better yet, bring along a device that you can use to back up your memory cards such as a laptop or portable hard drive.
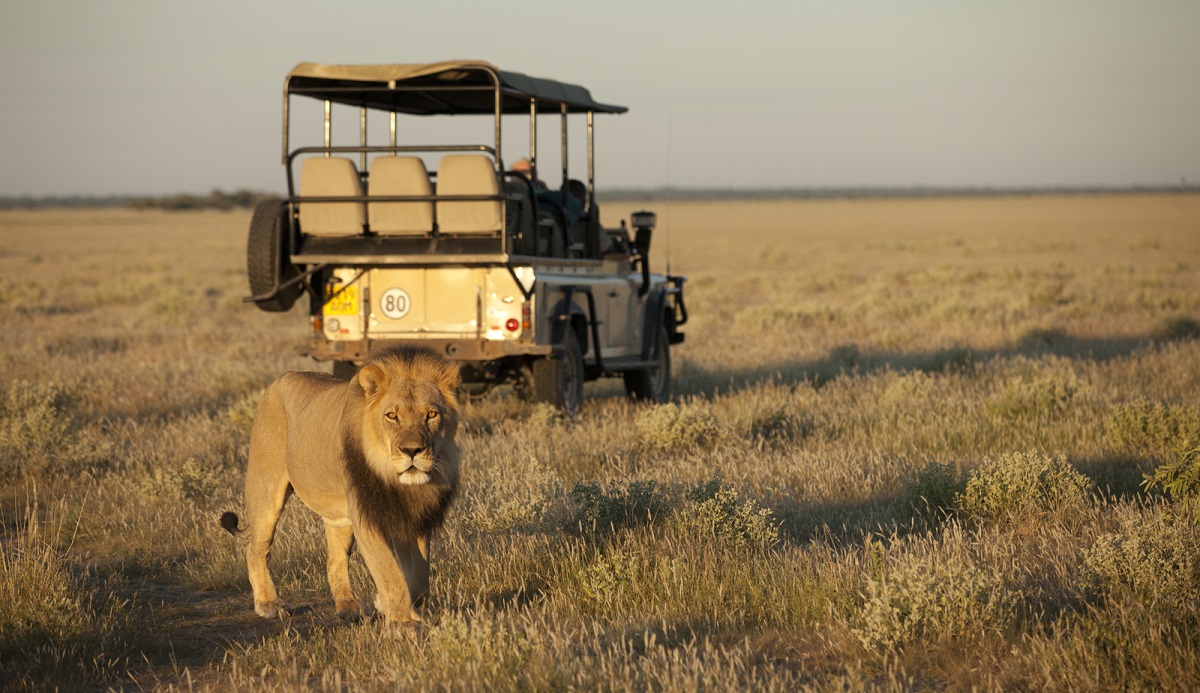
2. Shoot when the light is right (the ‘Golden Hour’)
© Joe Charleson
The quality of light is paramount when it comes to taking good photographs, especially if you’re not really sure how to properly manipulate your camera settings. The period of optimal light each day is often referred to as the “Golden Hour” and it occurs shortly after sunrise and before sunset. When the sun is low, the light is softer, warmer, redder and more forgiving than when the sun is higher in the sky. Harsh overheard sunlight creates strong highlights, dark shadows and washed out, overexposed images. Warm, soft light, on the other hand, is more pleasant and flattering and will add dimension to your images. So, if like most of the rest of us, you can only spend so many hours of the day staring through your view finder, plan on doing the bulk of your shooting during the Golden Hour and take a much needed break in the middle of the day to relax and enjoy your surroundings.
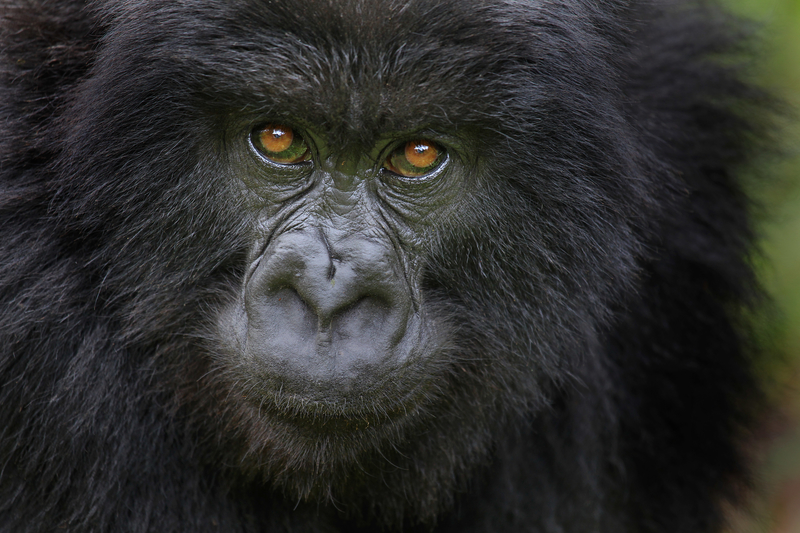
3. Dead center is deadly (or the Rule of Thirds)
© Aria Raphael
There are a million great techniques for improving the composition of your photos, but few are easier to master or as impactful as the Rule of Thirds. Basically, the rule is a reminder to avoid centering the subject of your photograph in the middle of your frame (a natural tendency for a lot of us). Instead, divide your frame into horizontal and vertical thirds so that it consists of nine equal boxes (think of a tic tac toe board with a box around it). Place your subject where the dividing lines between boxes intersect one-third of the way from the top or bottom of the frame and one-third of the way from left or right side of the frame (to see how to actually do it click here). Use the rule to tell a story or make your image more dynamic. For example, if a lion is looking to the left, frame it to the right so the viewer gets a sense of what he is seeing. If you place the lion smack dab in the middle of the field, your image will likely be boring and your friends will start to whisper. With all of that said, keep in mind that like all rules, the Rule of Thirds is meant to be broken from time to time. But it’s usually easier to successfully break a rule once you’ve mastered it.
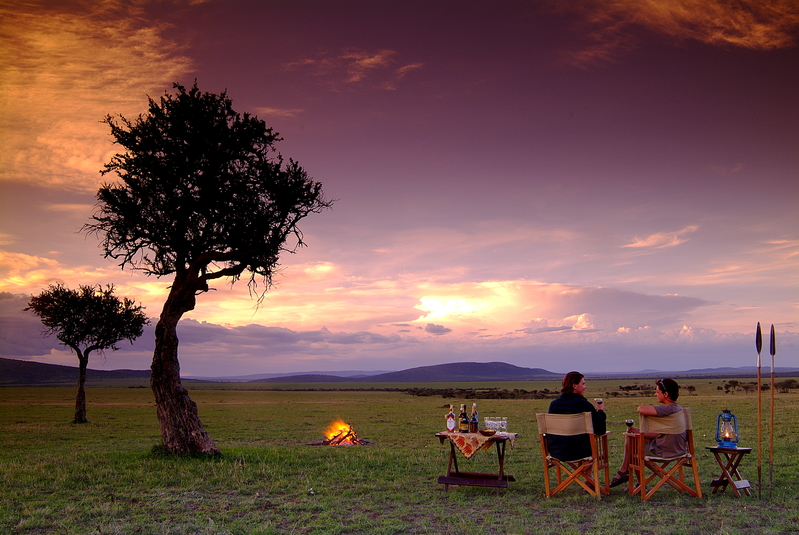
4. Don’t forget that people are an important part of the safari experience
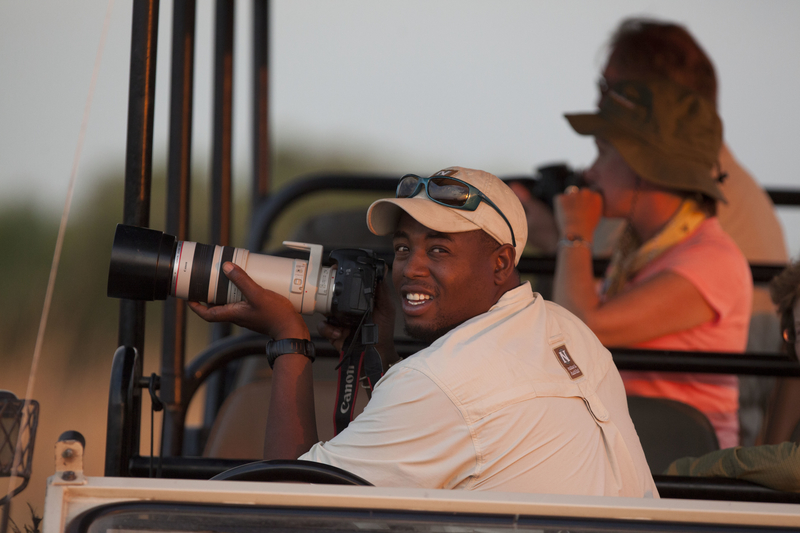
© Dave Luck
I took a trip to Antartica in my late twenties. I naturally took hundreds of poorly lit penguin photos from odd angles and a relative handful of people shots. After all, I must have thought to myself, I see plenty of people back home, but I never see any penguins. Today, the photos of the trip that I enjoy looking at the most are the ones I took of my traveling companions and life on the ship, including my friend Greg looking youthfully flocculent on deck. So ask yourself, in 20 years which will you value the most: the photo you took of a lion sleeping under a bush, or the one you took of your awestruck kids staring at a lion sleeping under a bush? And don’t just stop with your family and friends — take pictures of your guides, camp staff, and local people (though always be respectful and get permission when appropriate).
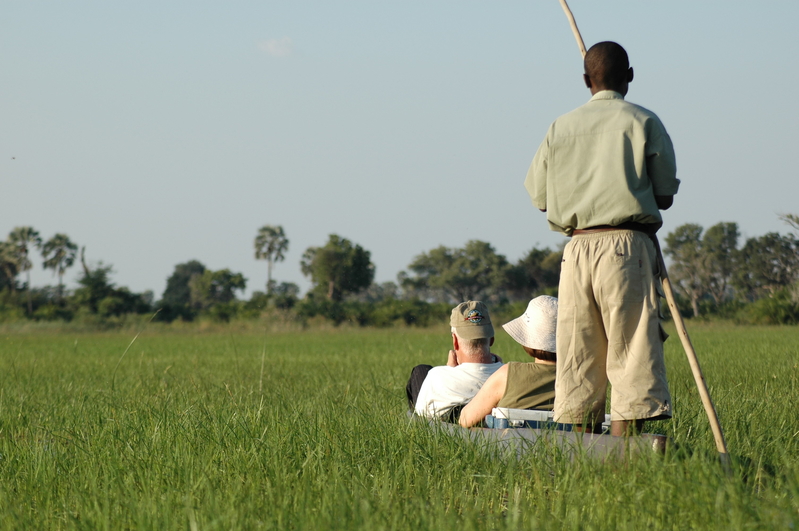
5. Bring a long(ish) lens (and get close)
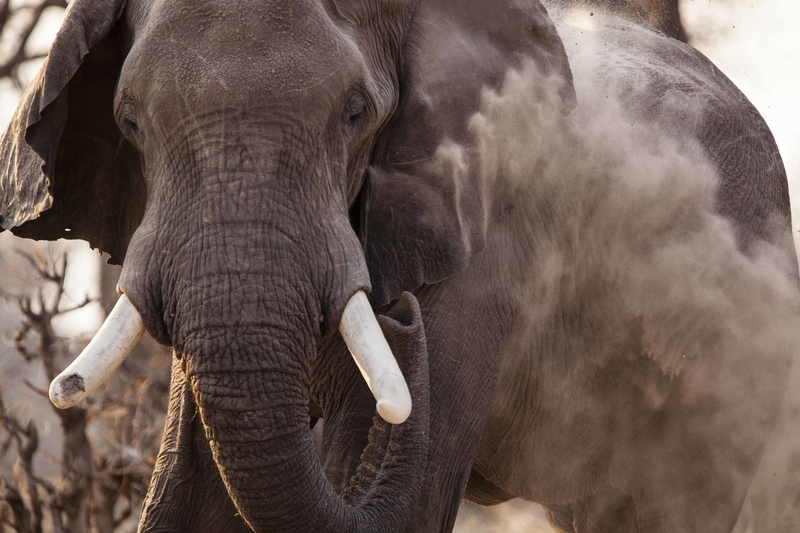
© David Luck
I know I said at the outset that you don’t need a lot of fancy equipment to take decent photographs on safari. But you do need a reasonably long lens (at least 200mm) if you want to take reasonably close up photos (which you do). If all of your safari photos feature animals way off in the distance, you are going to be disappointed and you’re kids will feel sad. If you’re in the market for an all-in-one camera, something with a 20x zoom is a good bet. If you do have a DSLR and don’t want to bring a bunch of different lenses, then invest in a decent 18-200mm zoom lens or even one that goes to 400mm. You’ll also want a lens with a shorter focal length (24-105mm is a good option) for panoramas and portraits.
Want to learn from a pro? Check out this Daily Dose of Nature Webinar hosted by Court Whelan! Court discusses techniques for perfecting wildlife focus and portraiture, understanding the elements of African landscape photography and gives tips on camera gear that will maximize the quality of your images.
This guest post by Matt Kareus was originally published on The Safarist blog of iSafari.com. Matt is an independent marketing consultant in the adventure travel industry and the Executive Director of the International Galapagos Tour Operators Association.