Shot Settings for Silhouette Photographs
Nothing says adventure like a silhouette against a rising or setting sun. Here are the steps needed to get this shot.
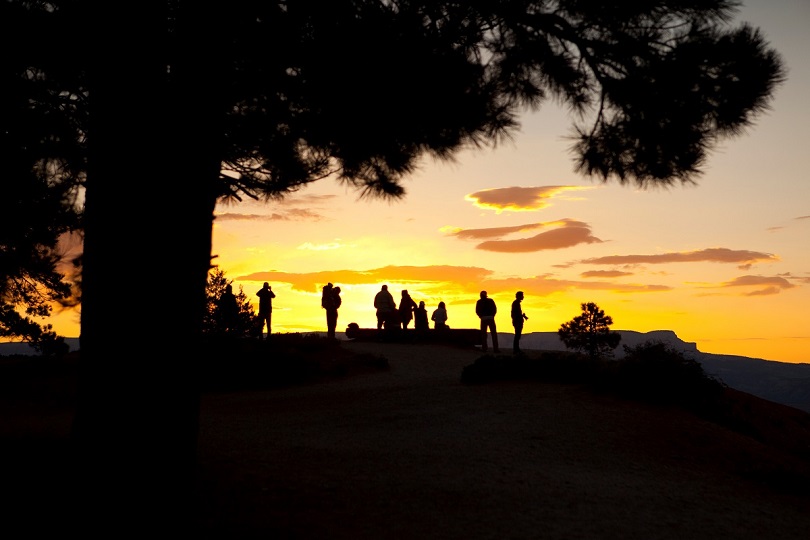
- First, you need to find a scene that allows you to be somewhat far away from a group of people on the horizon. Mountains, cliffs, canyon rims (this was at Bryce Canyon on Nat Hab’s Canyons of the Southwest Adventure) are all great places, but the list goes on. The main thing is that you need to be far enough away to use a zoom lens, allowing you to zoom way into the shot. This is essential and gives you the feeling that the sunset is enveloping the shadowy subjects.
- Next, you need to focus and meter on the colors in the sky…this allows you to retain the definition and texture in the sky, while darkening the foreground. In addition, your foreground should not be strongly lit, otherwise it will be more difficult to darken the foreground like in the above shot.
- Finally, you need to compose your shot to make it as evocative as possible. In the above photo, the ponderosa pine tree in the foreground provides an interesting frame, with the group of 8+ people surrounded by beautiful yellow and orange coloration and texture-laden silhouettes of a pine tree.
Go forward and give it a shot,
Court
2 Comments

Corrine
January 24, 2019 at 10:09 pm

Court Whelan, Ph.D.
February 3, 2019 at 1:37 pm
Hey! This is my first comment here so I just wanted to give a quick shout out and tell you
I really enjoy reading your articles. Can you suggest any other blogs/websites/forums that deal
with the same topics? Thanks a lot!
Hi Corrine,
Thanks so much for the feedback! Not so much about the same topics, but I do really like Ken Rockwell’s site for lens and camera reviews! He puts in a lot of time to test and research everything out there, and it’s really helpful when considering new gear! Hope this helps a little!