Secrets to Stunning Polar Bear Photography
When it comes to wildlife photography, the more impressive the animal, the more impressive the photo.
Of course, that doesn’t mean you can’t take incredible photos of butterflies and beetles. But it does mean that when you’re on a photo adventure to capture images of polar bears, you’ll already be at an advantage!
The King of the Arctic is special in so many ways, and photographing them is rewarding in so many ways. Just the sheer feeling of being in their natural habitat and watching them go about their day-to-day lives is thrilling. And then, when you nail the photography element by portraying them in all their beauty, power, and charisma—that’s pure glee from a wildlife photographer’s standpoint.
As with most animals, there are certain nuances and to capturing polar bears superbly. Read on to learn four tactics and techniques for stunning polar bear photography derived from decades of collective knowledge of polar bear photo expeditions.
Tip #1: Over-expose your shots to retain their bright white coloration
If your photos feature a predominance of white (the feature photo above is a prime example), such as when you’re photographing a white bear on white snow or simply filling the frame edge-to-edge with the white polar bear, over-exposing is a critical step in the process.
By over–exposing your photos by 1/3 or 2/3s of a stop, you are preserving the bright white coloration.
If you don’t do this and instead keep your exposure meter at even, you’ll likely notice that the bear (and the snow, if snow is present) takes on a darker, almost dingier look. That’s because the camera is trying to pick the right amount of light to make the entire scene evenly exposed.
Your camera is actually metering and deciding for you how much light it thinks is “enough.” Most of the time, it gets it right. But most of the time, camera users aren’t photographing white polar bears!
Thus, to preserve the brightness of the polar bear’s coat, you’ll need to override the camera’s choices and over-expose the photo slightly.
There is no perfect amount, and frankly, the small difference can often be overcome in Photoshop or Lightroom just fine. However, you want to nail your baseline of light as closely as possible for maximum editing possibilities. If you know you’re going to have to over-expose every shot in Lightroom afterward, you really should do so in-camera.
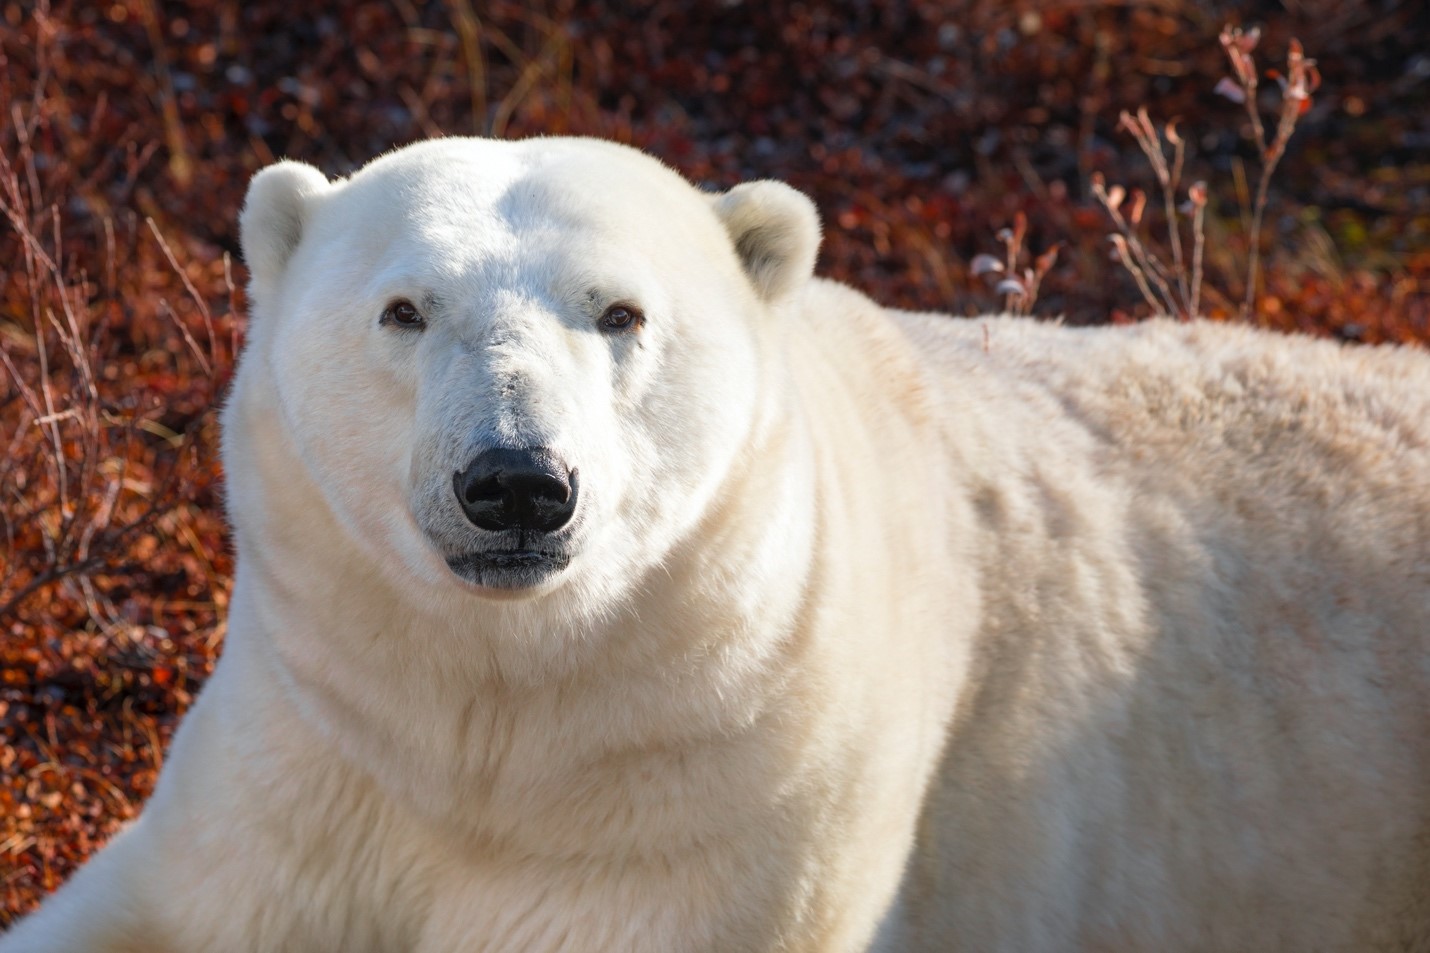
Tip #2: Increase depth of field for edge-to-edge composition photos
Some of the most powerful wildlife photos feature the animal in a big way—by filling the frame with the animal.
While you may want to still blur the background for that “portrait” look, you will also want to make sure that all facets of the animal are in focus. That is, if you are photographing a polar bear’s face, you don’t want only the eyes in focus, with the nose and ears out of focus. You want all parts of the face in focus.
To do this, you’ll need to shoot on a bigger f/number (a smaller aperture) than you might think. Shooting at f/8 is often necessary—and maybe even just a starting point. Depending on the scene, you may want to go to f/11 for maximum depth of field.
You’ll often find that even if some of the background is still in the frame, it will be nicely blurred even at f/8 or f/11 because of the relative distance and the telephoto power you have.
The reason this isn’t usually the first choice of photographers—to photograph at f/11—is that typically for wildlife we do indeed want that nice wildlife portraiture look where the animal is in focus and the background is nicely blurred. For these types of shots, we’re usually shooting at f/4, or even f/2.8.
However, again, when filling the frame with a single animal, this f/4 rule no longer applies because the different features of the animal become the foreground and background.
For instance, the eyes are the subject, the nose is the foreground, and the ears are the background. And we no longer want to blur the foreground and background because these parts are the key aspects of the shot.
So, the lesson here is f/8 and f/11 is your go-to for big, edge-to-edge composition shots of wildlife.
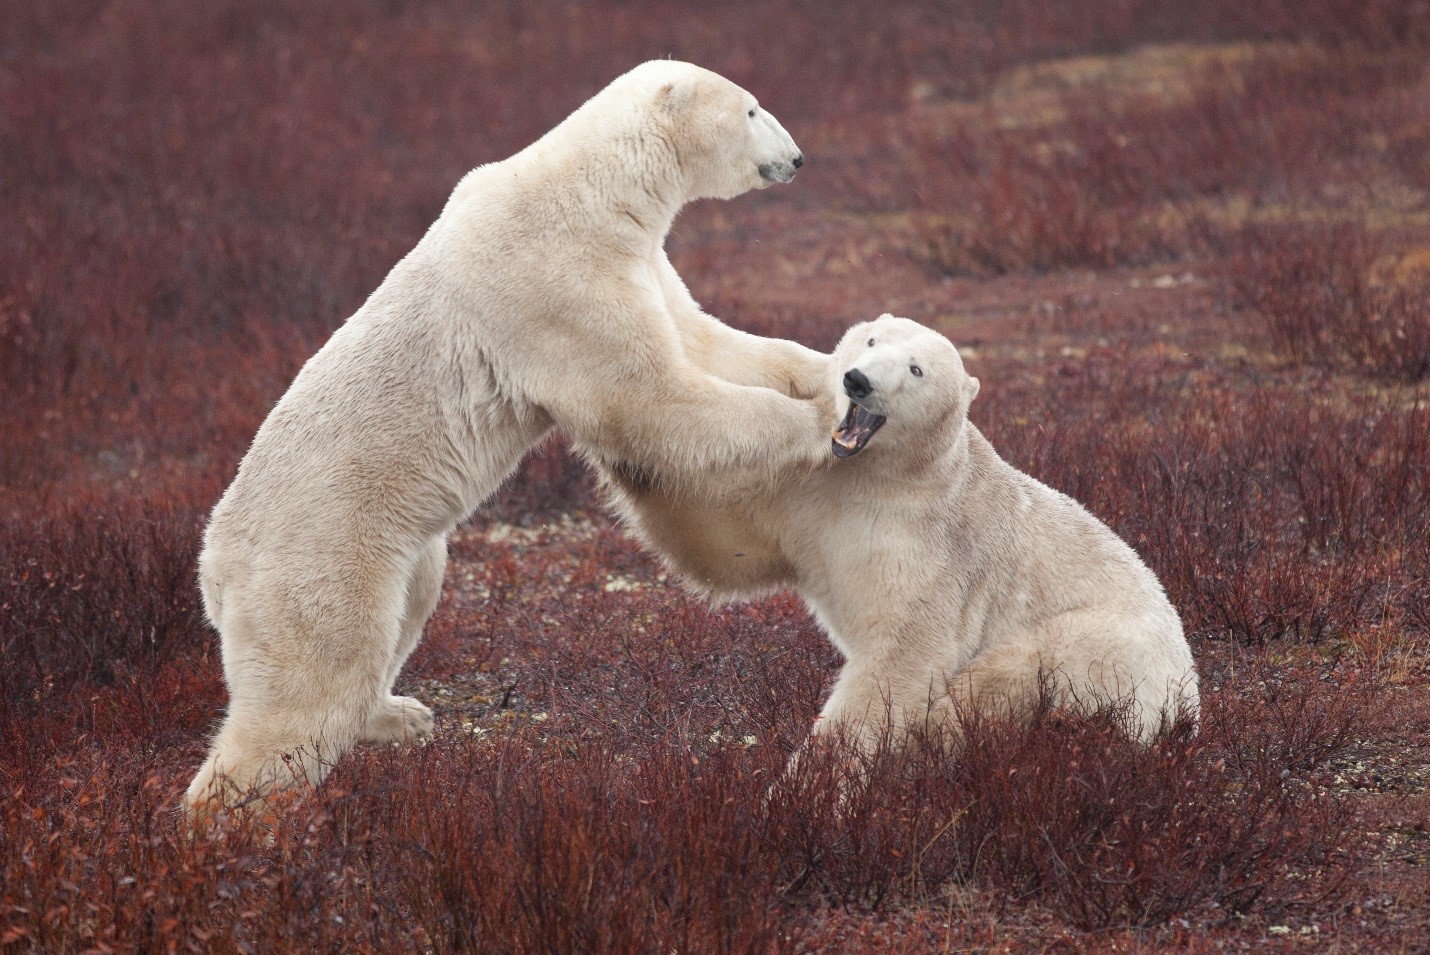
Tip #3: Choosing the right shutter speed
Polar bears can be fast. When observing and photographing them in Churchill, Manitoba, they can often be seen running, wrestling, sparring or even just walking at a surprisingly quick pace.
Most of the time, we want to freeze motion here so that the bear is tack sharp. This can range from 1/320th of a second all the way to 1/2000th of a second.
Here are some general rules of thumb for animal movement and the corresponding “proper” shutter speed:
Walking animal – 1/250 to 1/500
Fast-walking animal – 1/500+
Really fast or nearly running – 1/1000+
Rapid movements like sparring or full running – 1/1500 to 1/2000
However, there is another category not mentioned above I wanted to cover. Sometimes, a deliberately slow shutter speed can be amazing for fast movement.
If you are lucky enough to see two bears sparring or a polar bear running, start with a few “frozen” shots like you normally would with a fast shutter speed.
But then, dial your camera down to 1/30th to 1/50th of a second and pay close attention to the motion blur. Sometimes it will come out terribly, but with some practice and luck, it can turn into a really compelling work of art.
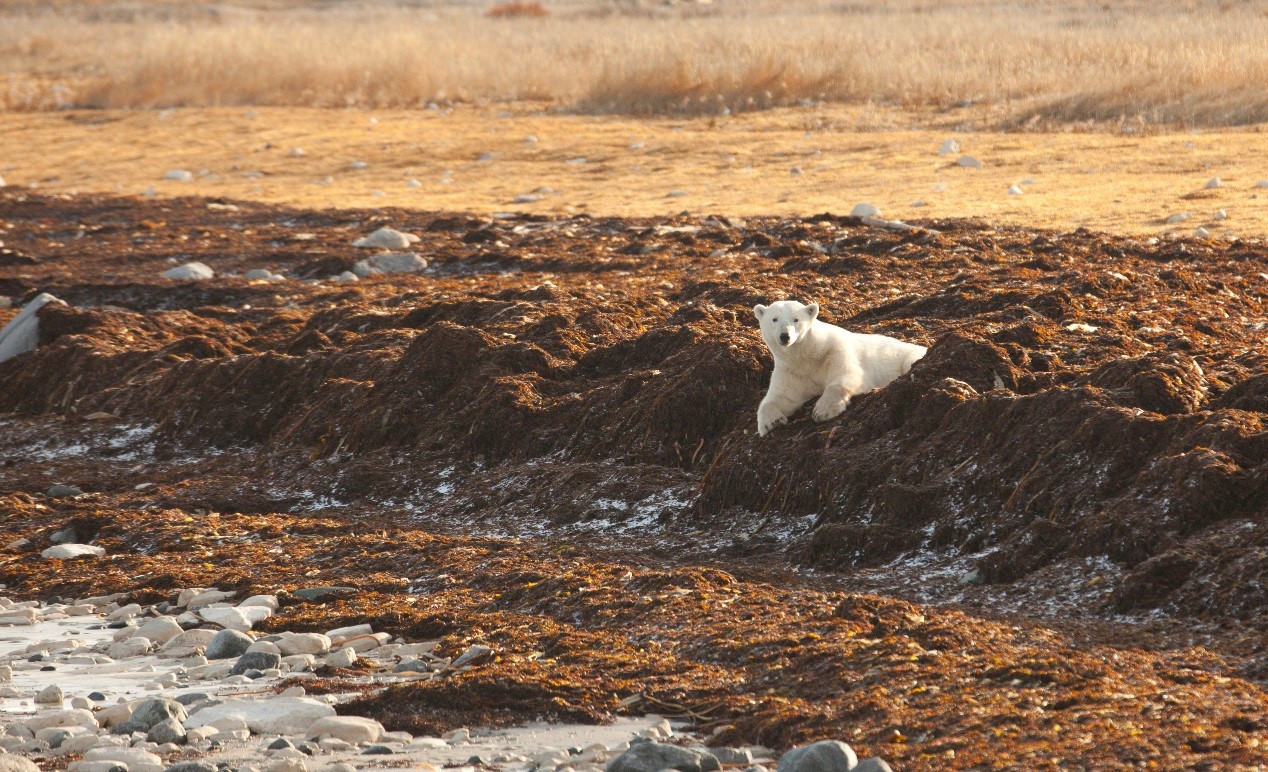
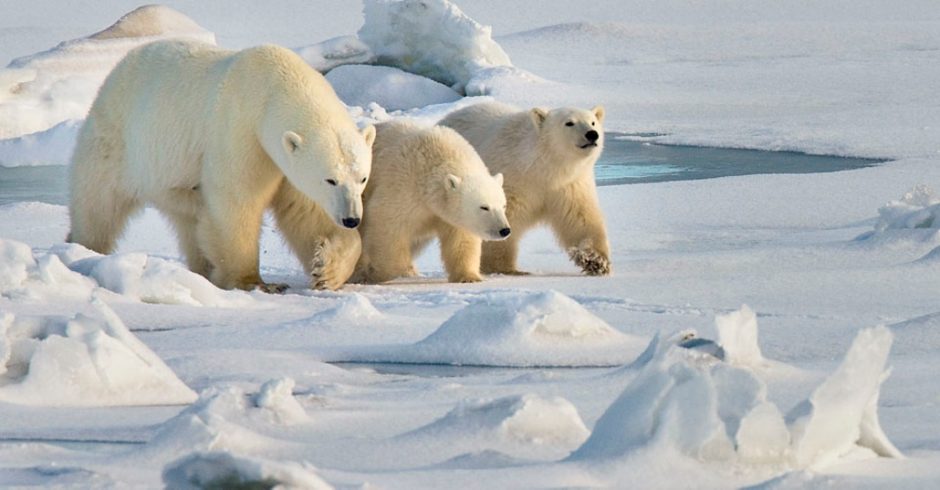
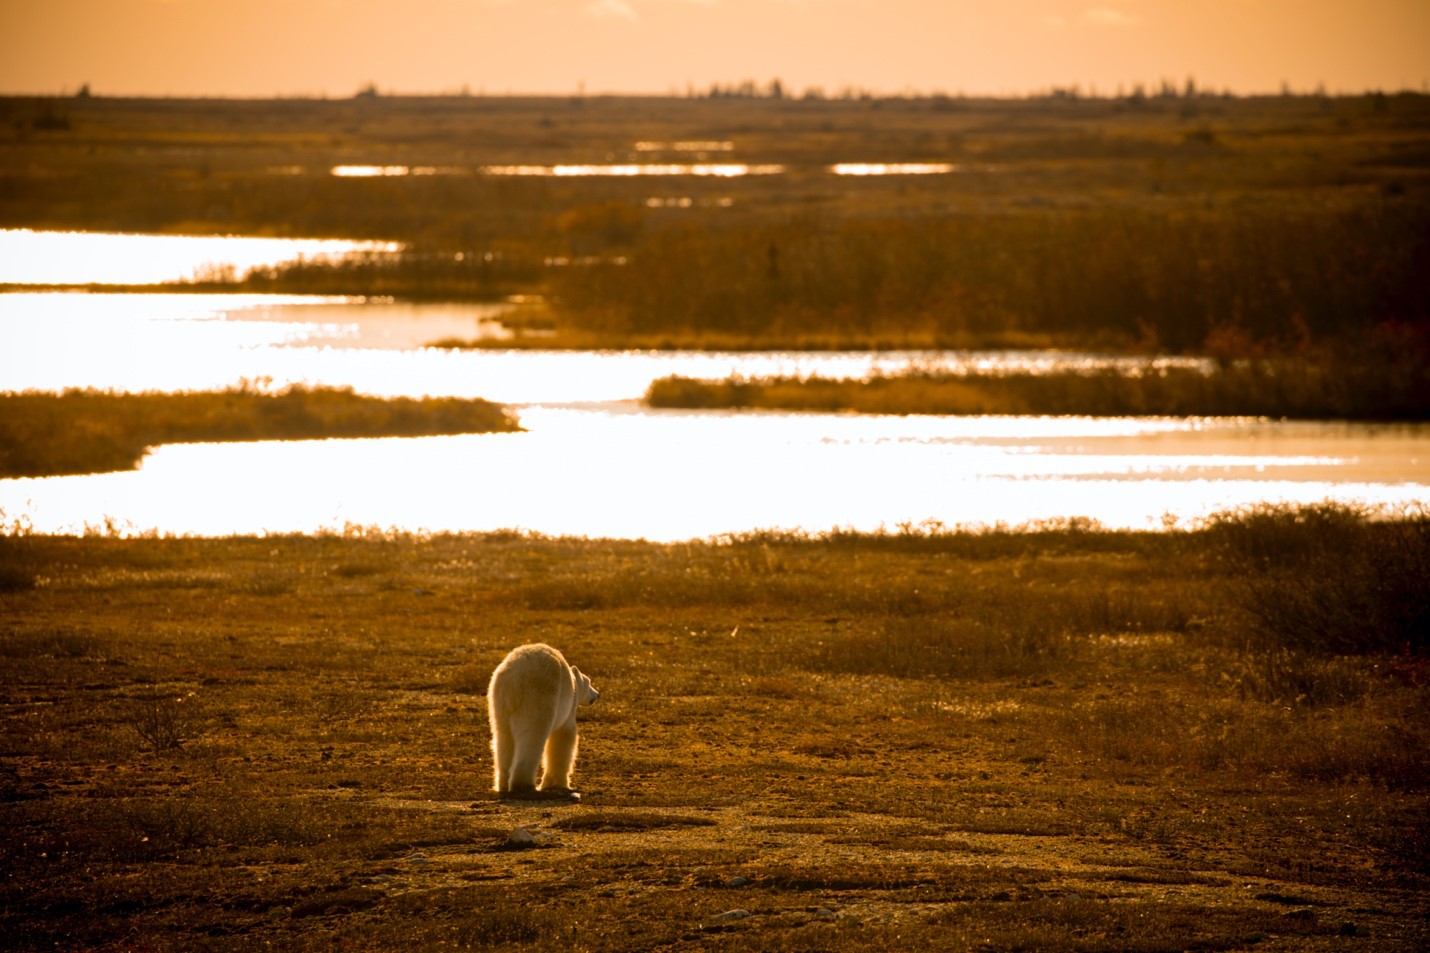
Tip #4: Include lots of landscape for context and perspective
While the big, frame-filling shots are usually what people covet most from big wildlife photography, getting the wildlife-in-landscape shots can often be the best at storytelling. And photos that tell a great story also tend to be the most popular, meaningful and wall-worthy.
The challenge here is that you may need to forego an amazing close-up shot for one of these wider shots. It takes some discipline to really hone this skill and come away from a photo adventure with a number of these.
The trick to having your cake and eating it, too, is to begin and end each photo opportunity with these wildlife-in-landscape photos.
Oftentimes, when photographing polar bears, we will sit and wait for the bear to approach us or cross a path nearby. Thus, we have some time to observe and photograph it as it gets closer. This is a prime time to snap away at such landscape shots where the animal is merely a dominant feature of the shot and not necessarily the centerpiece.
Then, as the bear moves into prime position, it’s time for the big, edge-to-edge composition shots. Sometimes these moments last for a while; other times, the bear may move on—once again putting you in position for great wildlife-in-landscape shots as it moves away from the prime area for zoomed-in telephoto photos.
I’ve used this trick for years, and it usually gets me the variety and impact I cherish, all in one single opportunity.
And that’s about it, friends! I hope these are some helpful tips for you to take more and better photos that you enjoy more than ever before. If you’re headed on an Arctic photo safari to photograph polar bears, I wish you the very best. Perhaps I’ll even see you out there!
Want more tips? Check out my webinar below for more information on photographing polar bears, the northern lights and the Arctic tundra!
Cheers,

Court
2 Comments

Suzanne
September 12, 2022 at 5:12 pm

Court Whelan, Ph.D.
September 20, 2022 at 11:10 am
Photographing grizzlies next week and really appreciate these tips!!!!
wonderful, Suzanne! So glad to help!