
Perfecting your Wildlife Photography in Africa
Africa is the big show…the ultimate nature and wildlife photo expedition. Thus, you’ll want to hone your skills before your adventure to ensure you get the best photos possible.
Let’s talk about some tried and true techniques for excellent wildlife photography, as well as some lesser-known tips specific to Africa and all it has to offer.
Leave some space in the frame
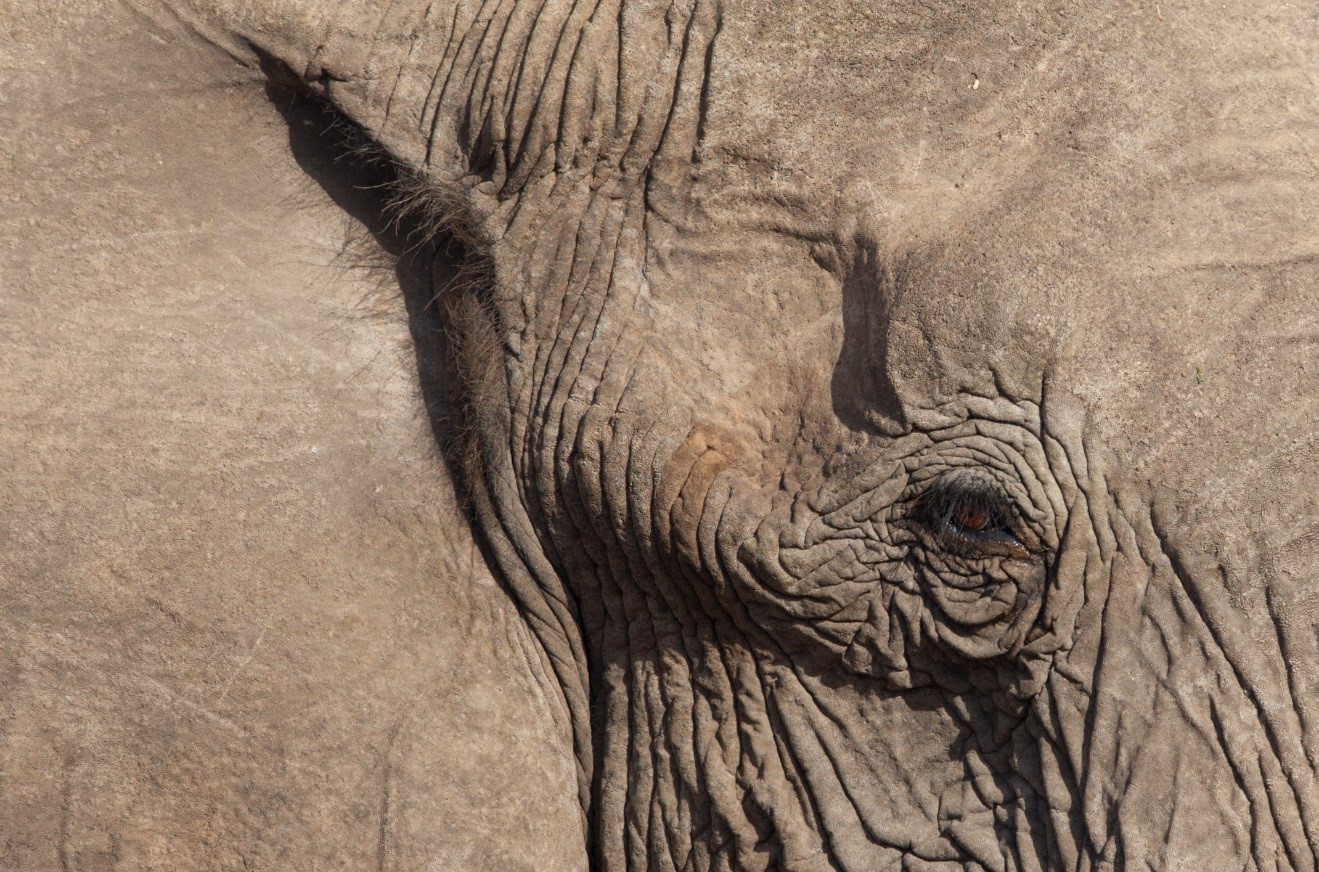
When getting close to big wildlife, it is oh so tempting to fill the frame with the animal, and maybe even just the animal’s head. Don’t get me wrong, these are great photos and make an extraordinary impression on the viewer. They’re big, bold, and magnificent. However, filling the frame only gets you so far.
I recommend leaving some open space in the frame, and here’s why…
First, you can always crop your photo in later. The newer and better the camera, the more you can crop. But even older, more basic cameras give you a decent bit of room to crop, say, 10, 20, or 30 percent into the shot.
What this really allows for is more creative control over the composition of your photo. If you shoot your photo exactly as you want it to appear later, you can’t zoom out—you’re stuck with that composition. And for big, filling-the-frame shots, this hampers your creative control. If you have more space on either side of the animal, you can use creative composition techniques like the rule of thirds, leading lines, or the golden ratio after you take the shot by cropping, and thus nail the final composition of your photo each and every time.
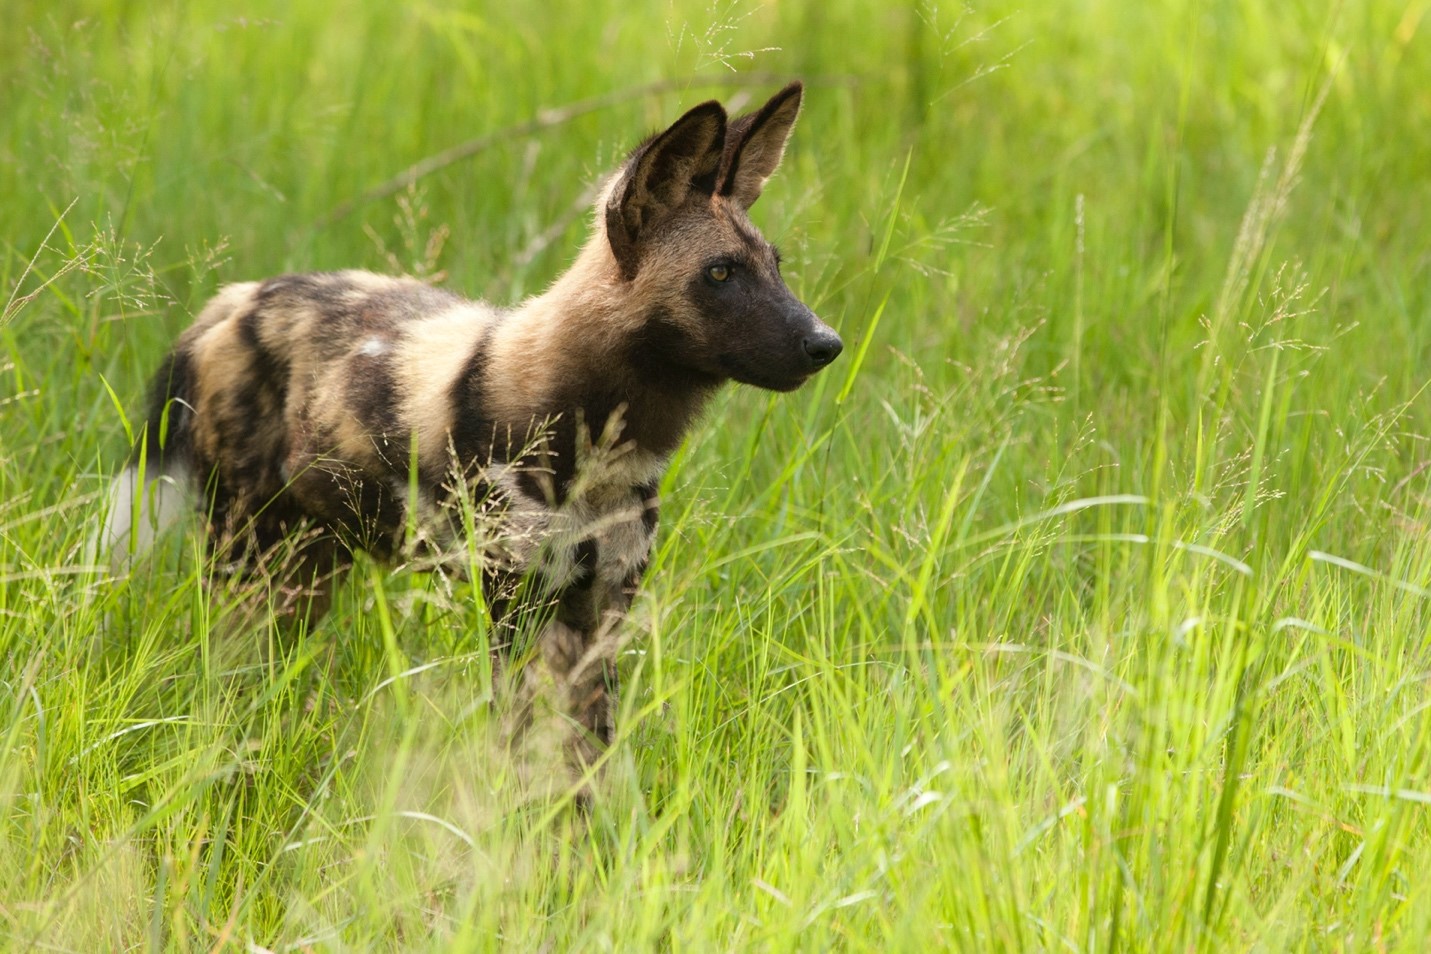
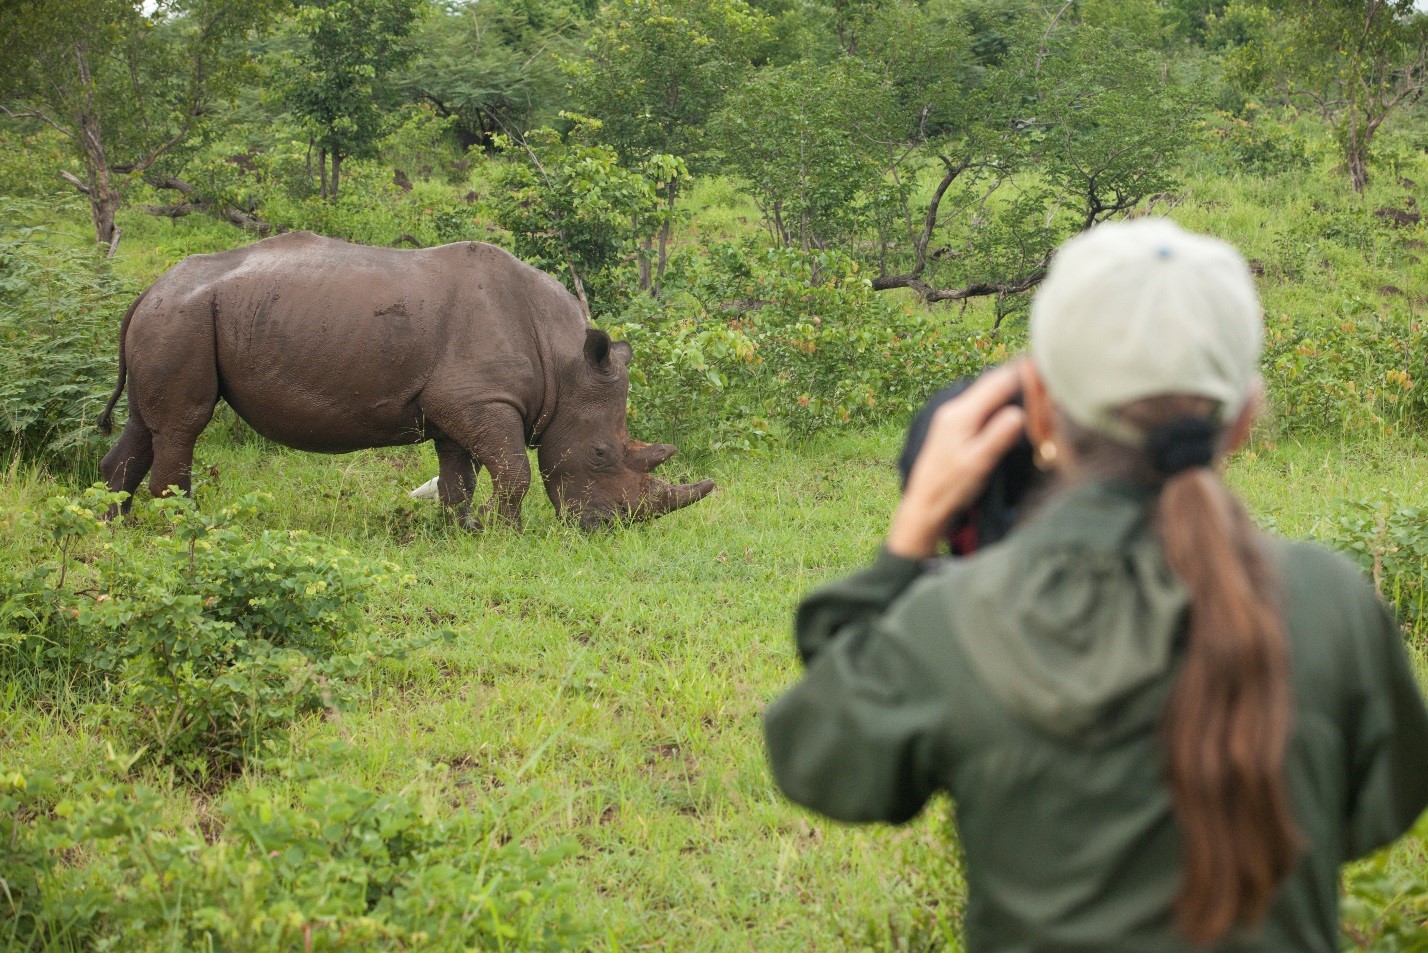
When it comes to wildlife portraiture, another general rule of thumb is to leave space in the direction the animal is facing. As I often say, rules are meant to be broken, but start with this rule and you’ll find it’s the right thing to do nine times out of 10.
Think about your background (almost) as much as you think about the animal
Your animal is your subject, and therefore is really the star of the photo. However, unless you are indeed filling the frame, edge-to-edge, with the animal’s face, there will surely be some background in your photo. And per the above, I recommend starting with a bit more background (i.e., the animal is a smaller percentage of your overall frame).
Thus, your background is a significant part of your photo—use that to your advantage!
I’ve written about choosing your background in past articles, and it applies here. What I mean by this is you should position yourself (or wait for your safari vehicle to position itself) to maximize an interesting background.
This is one of the main advantages of going with a proper African safari photo trip, as your driver-guide will line you up for the best backgrounds, and if you wish to reposition, he or she will gladly do so for you with prime photography in mind.
For those times that you are fully beholden to one background, because of the way the animal is positioned, think about what you can do creatively to either emphasize or de-emphasize your background. This is where aperture comes into play in a big way.
Being aperture aware
Aperture and its effects on your photography goes well beyond the background. However, let’s start with how it does affect your background.
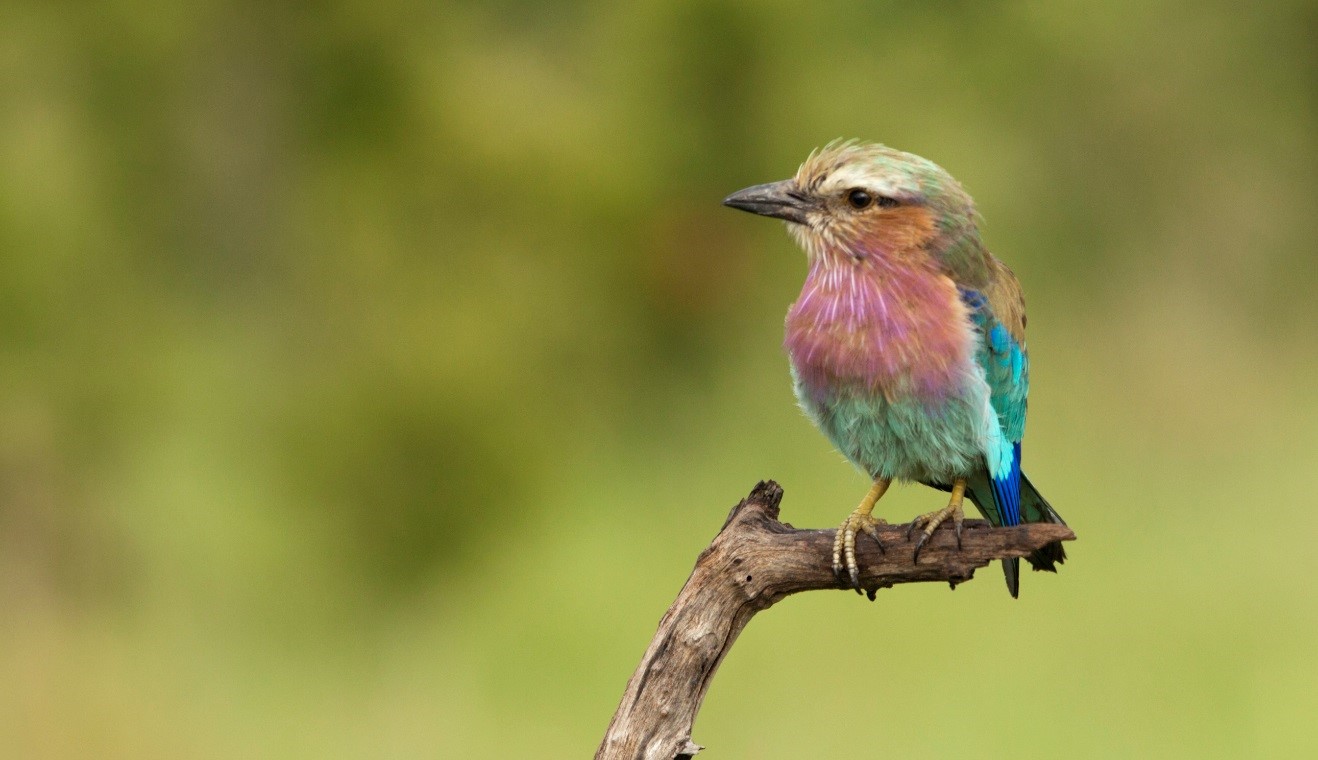
If you have a background that is tangled and distracting (think, bushes, vines, etc.), it’s often a good decision to use a low f/number (otherwise known as a big aperture, because of the size of the aperture that allows this blur). This creates what known as bokeh in your photo, which basically translates to that pleasing, blurred background.
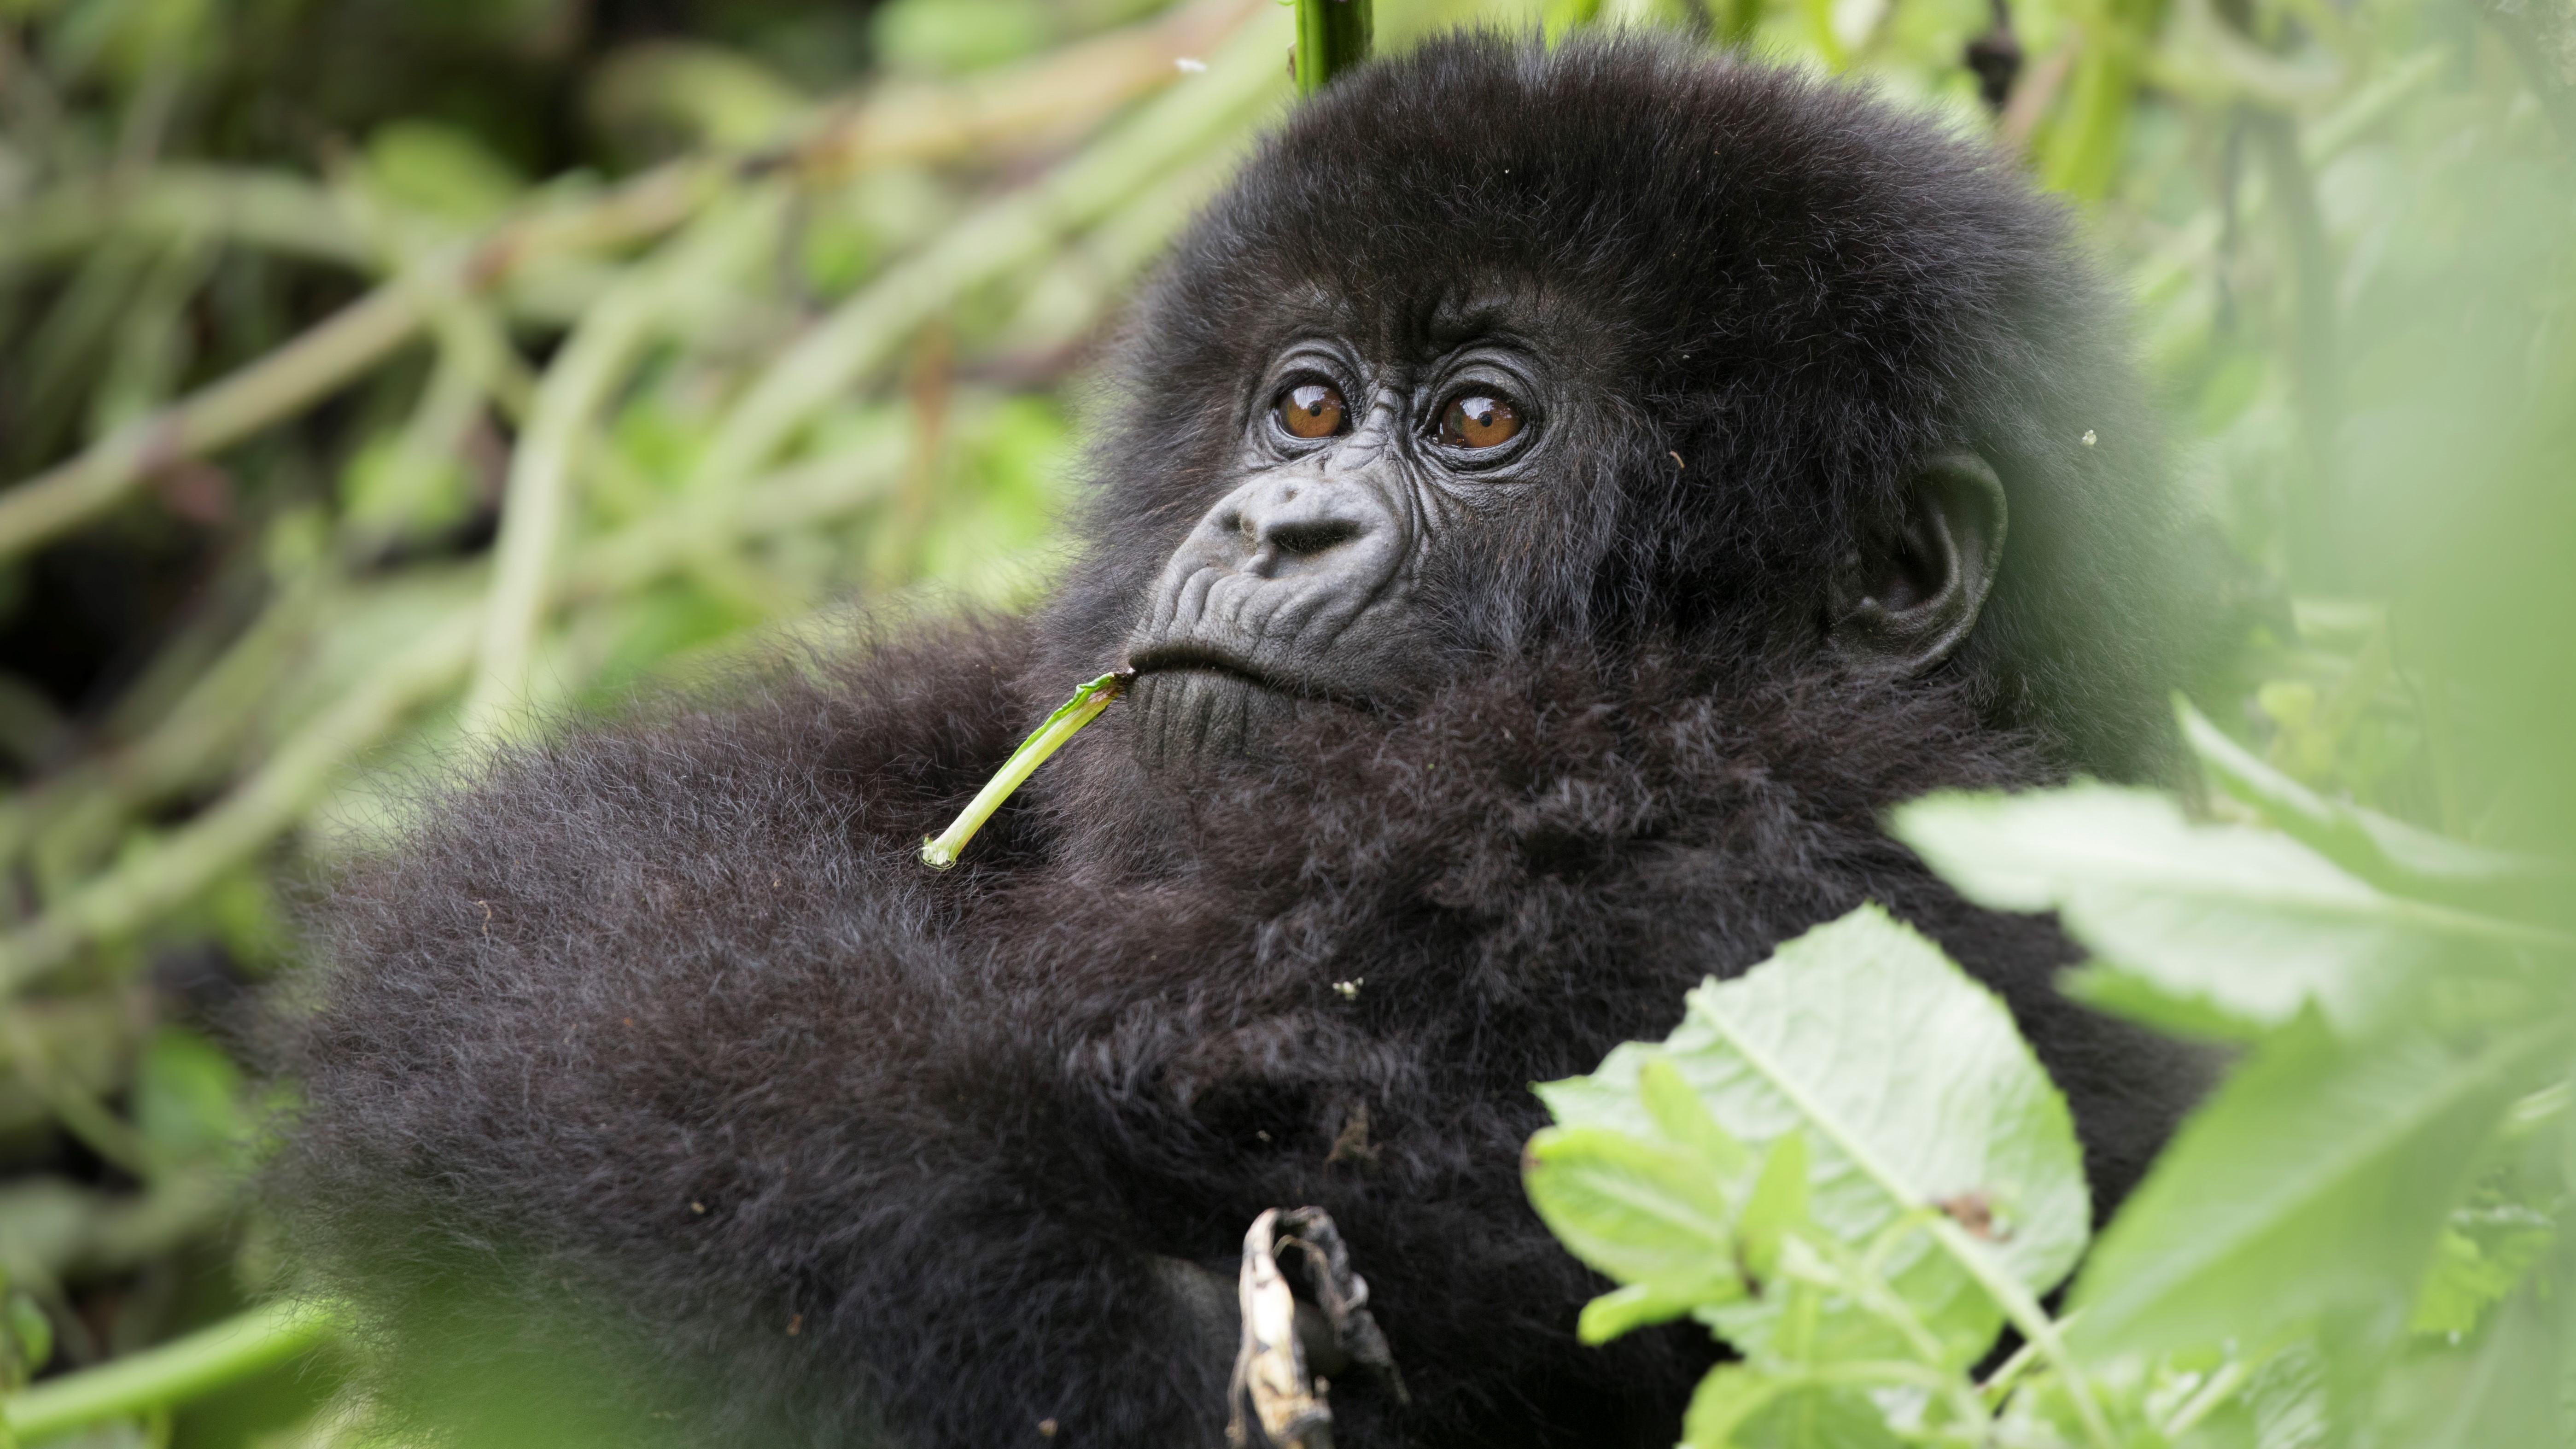
The unsharp background helps direct the viewer’s eyes to your subject, making it look more prominent in the scene, as well as sharper. A win-win!
If you have a background that is wildly interesting, you can also make the case to maximize background sharpness by using a big f/number (known as a small aperture, due to the small aperture opening required for deep depths of field).
This is less common in the world of wildlife photography, and rare with portraiture, as you usually want to direct all focus to the subject at hand. Having a sharp background often causes a bit of confusion and distraction in the scene, which could lessen the impact and greatness of your photo. But—you know what I’m going to say here—rules are meant to be broken. Experiment and see what you like!
The final thing I’m going to talk about in regards to aperture indeed has to do with wildlife portraiture. While you usually do want that nice background blur/bokeh, and a shallow depth of field, the aperture you choose depends greatly on how much of the screen/frame you are wanting in focus.
For instance, if you are filling the frame edge-to-edge with the animal’s face, and you want the whole face in focus, you actually need a rather big depth of field. This requires a big f/number, like f/8, f/11, or in some cases even more.
However, as your subject takes up less and less of your frame, the f/number needed to get the animal in focus lessens. This is another case for zooming out a little for your wildlife portraiture, which we covered in the first section here.
In those cases when you are not filling the frame, edge-to-edge, with the animal, I generally start with the smallest f/number my camera and lens will allow. For most telephoto lenses this is f/5.6. For some lenses, this could be f/4 and even f/2.8. The smaller the f/number, the more blur you’re able to get in the background, which is usually a very desirable effect. It looks increasingly more “professional” when you maximize bokeh.
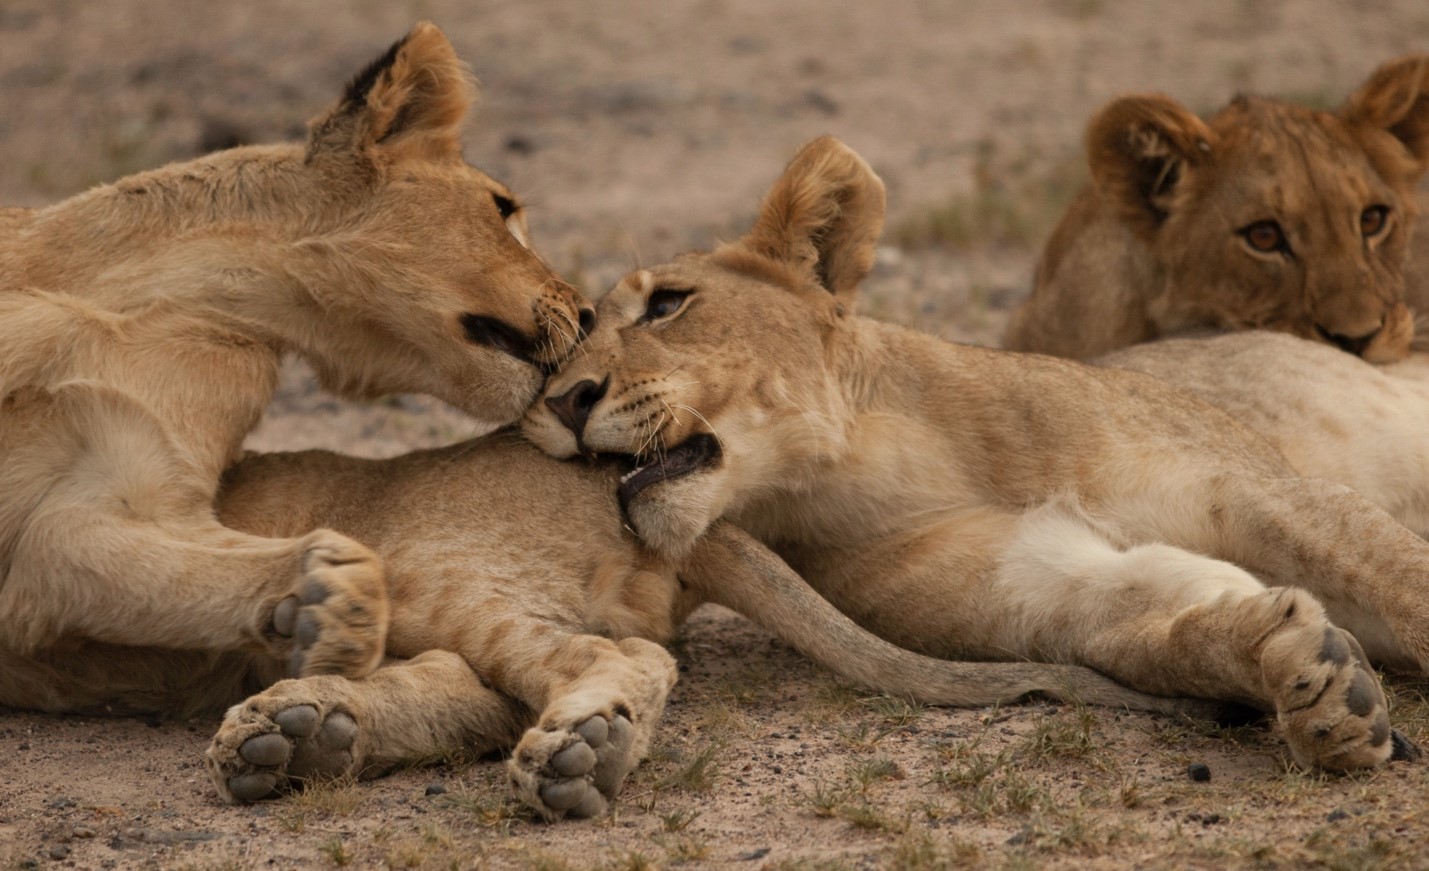
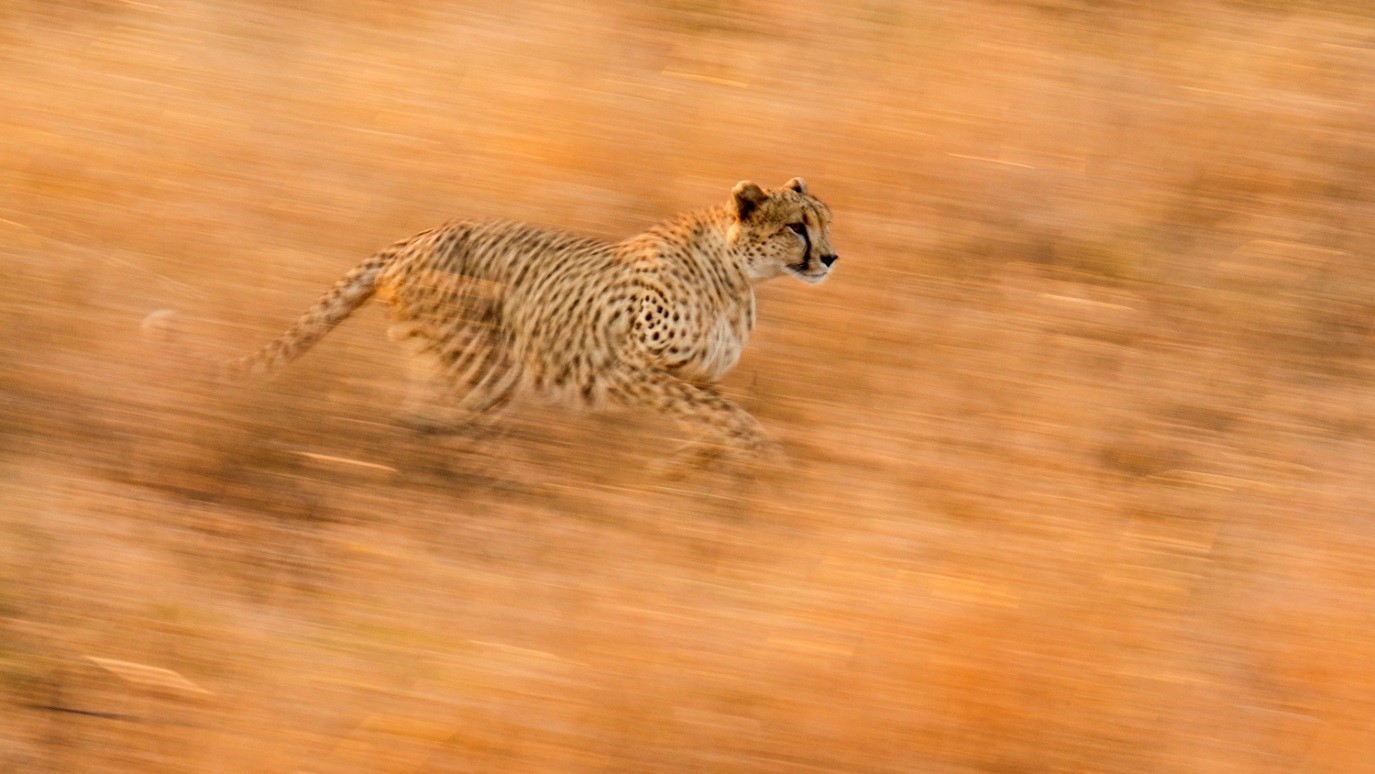
Anticipate movement and shoot throughout the motion
Wildlife photography while on safari is filled with excitement, and movement. This movement could be something as simple as a lion yawning, or as dynamic as a predator/prey chase. To capture the most alluring photos, try and capture a particular behavior of an animal…not just the animal itself.
To do so, ensure that you have maximum frame rate dialed in for your camera’s drive motor. This is usually referred to as “burst mode” in camera manuals, and cameras often have several different speeds that correspond to how many photos you can take per second. With animal behavior, the more frames per second (fps) the better. And don’t stop shooting until the action is over–sometimes the best shots are just a moment after everything has seemed to calm down.
Sometimes these fast drive motors will cause you to take too many photos, especially if you leave it on a fast-mode and swivel around in your seat to take a quick landscape shot. You might find yourself taking 2 or 3 of the exact landscape shot simply because the drive motor is at fast wildlife speed. To me, this is a small price to pay to ensure that I’m ready for the next amazing wildlife moment, which could pop up at any moment while on safari in Africa.
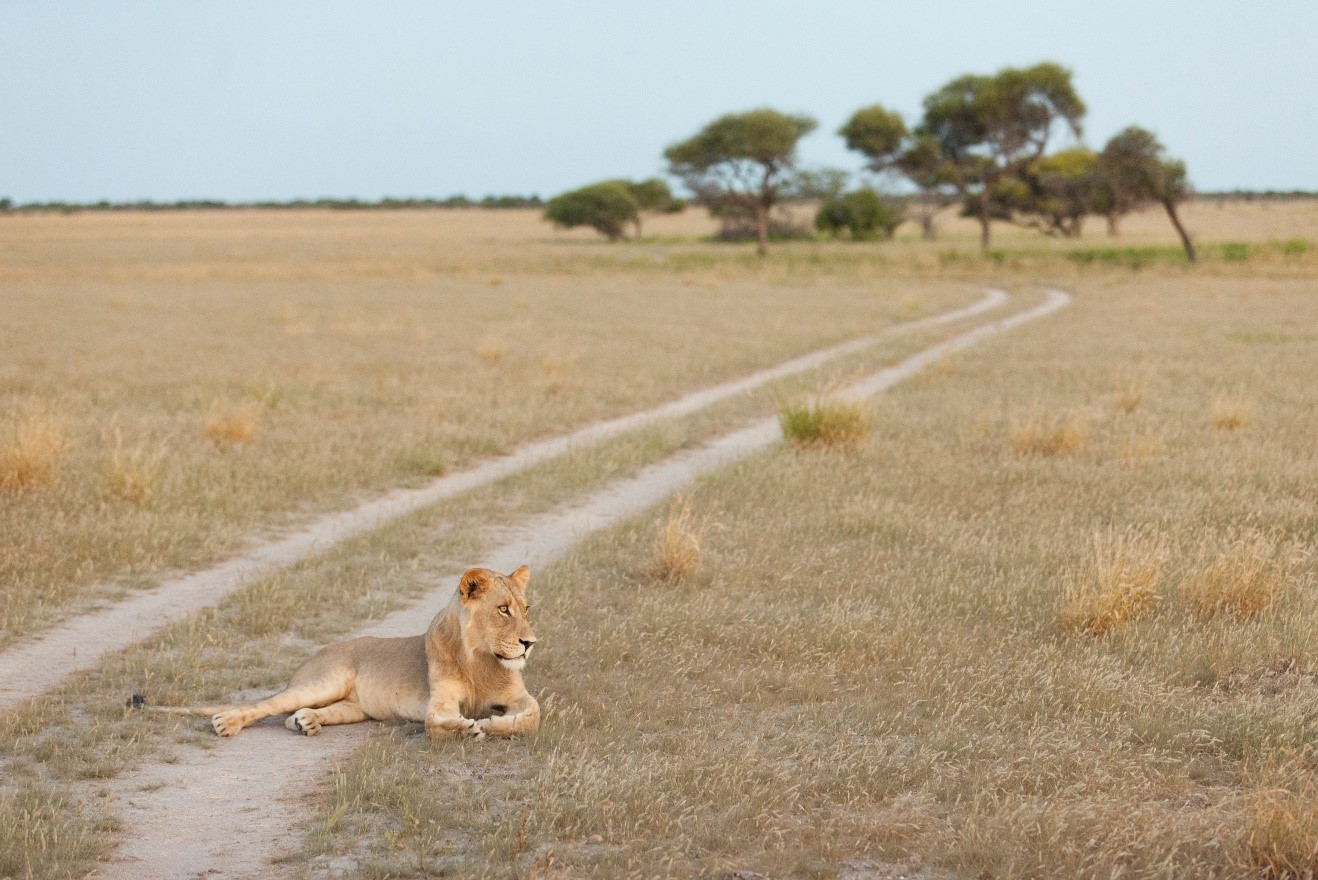
Use wildlife in your landscape photography
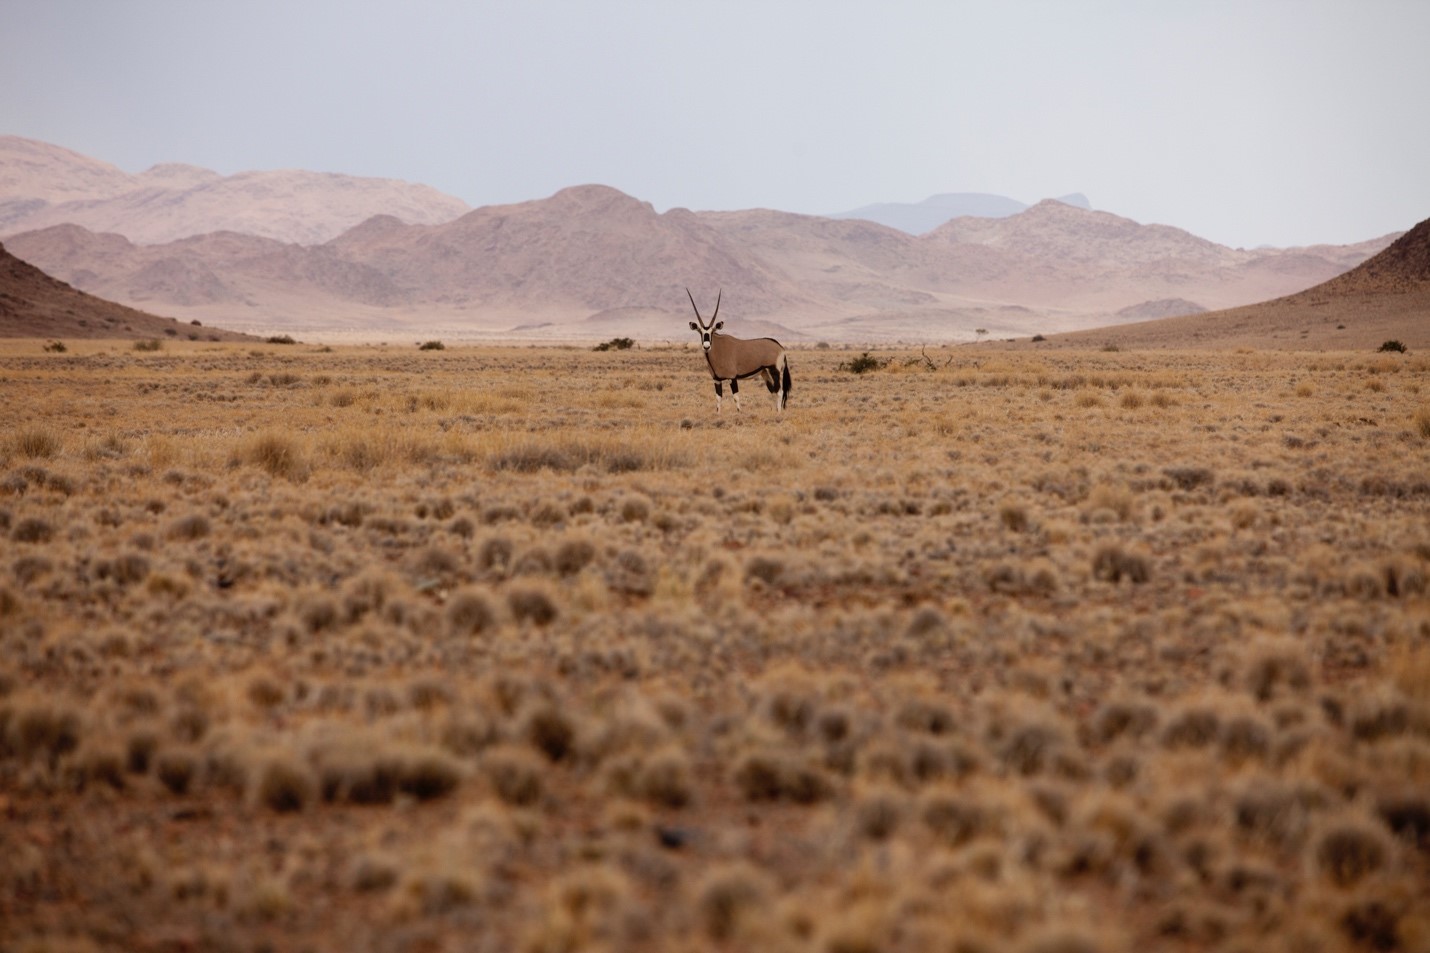
The opposite of filling the frame and wildlife portraiture is using wildlife in a landscape shot. This usually means that the landscape is prominent in your photo, and there just so happens to be some pretty amazing wildlife in the photo, too. To me, this is one of the greatest photos you can capture, as it combines the allure of big wildlife, plus the grandeur of Africa, in a perspective that can really put your viewer in the scene.
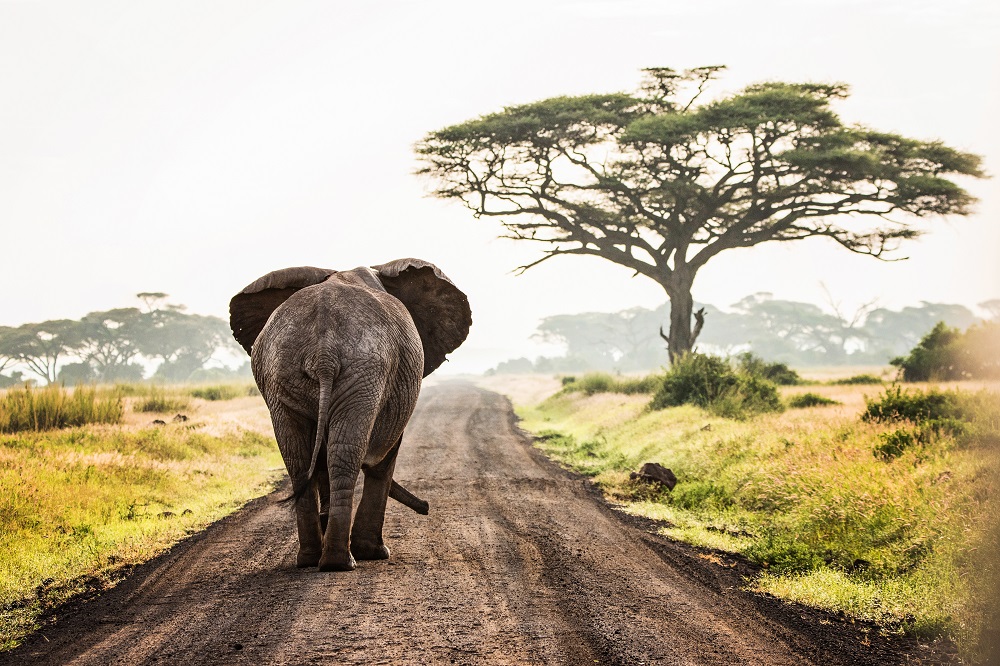
There is no real secret to getting these types of shots, other than training your brain to be aware of them and taking advantage of the opportunity when you see such a scene unfold. Part of it is also resisting the urge to always use your maximum zoom/telephoto. Sometimes I just have to put my landscape lens on for an entire day and convince myself to see and photograph differently for a few hours, no matter how much I want to try and put on my biggest lens.
Of course the other thing is ensuring you’re going with a reputable photo safari outfitter who can put you in the right place at the right time. This cannot be overstated in my humble opinion.
If you are indeed headed to Africa on a photo safari, whether it’s your first or your many-time return, you are certainly in for a treat. It’s oftentimes the pinnacle of ones travel and photography career.
Cheers, and be well,

Court
2 Comments

Eric Johansen
September 24, 2021 at 11:13 am

Court Whelan, Ph.D.
September 28, 2021 at 9:53 am
Thanks, Court. Your advice is practical and understandable. I appreciate that.
NatHab’s Alaska Wildlife Safari trip in July was awesome. Justin is a great guide.
Hi Eric, so great to hear about your Alaska trip! Justin is fantastic and glad you were able to explore the AK wilderness with him!!