
How to Protect your Camera from Dust While on Photo Adventures
Adventures bring with them all sorts of welcome photographic surprises. From unexpectedly brilliant sunrises, to rare wildlife sightings, to cultural encounters that leave you in a sense of awe. But when it comes to protecting your camera from nature’s glitter, aka dust, don’t be surprised when you encounter a little while exploring lands near and far.
Follow these tips to minimize issues and protect your camera from dust while on photographic adventures.
Anticipate Where and When Dust Will Occur
Taking hyper-sensitive approach to dust isn’t necessary. In other words, keeping your camera in a Fort Knox-style container all the time isn’t the best way to keep dust out of your camera and lens.
There are certain places and even times in the world to be watchful and even then it’s not a guaranteed occurrence.
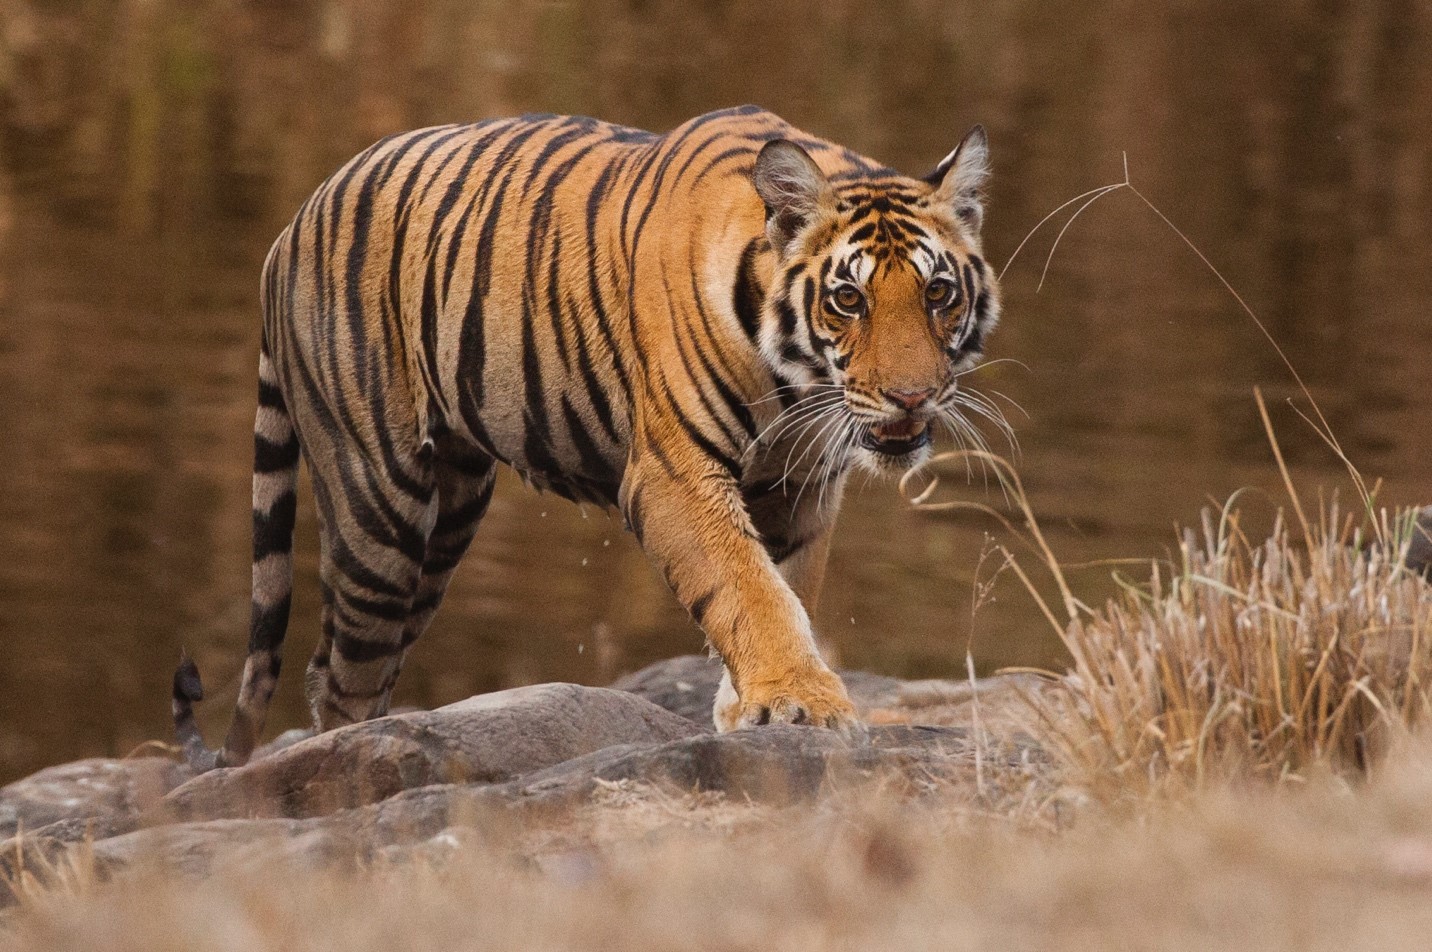
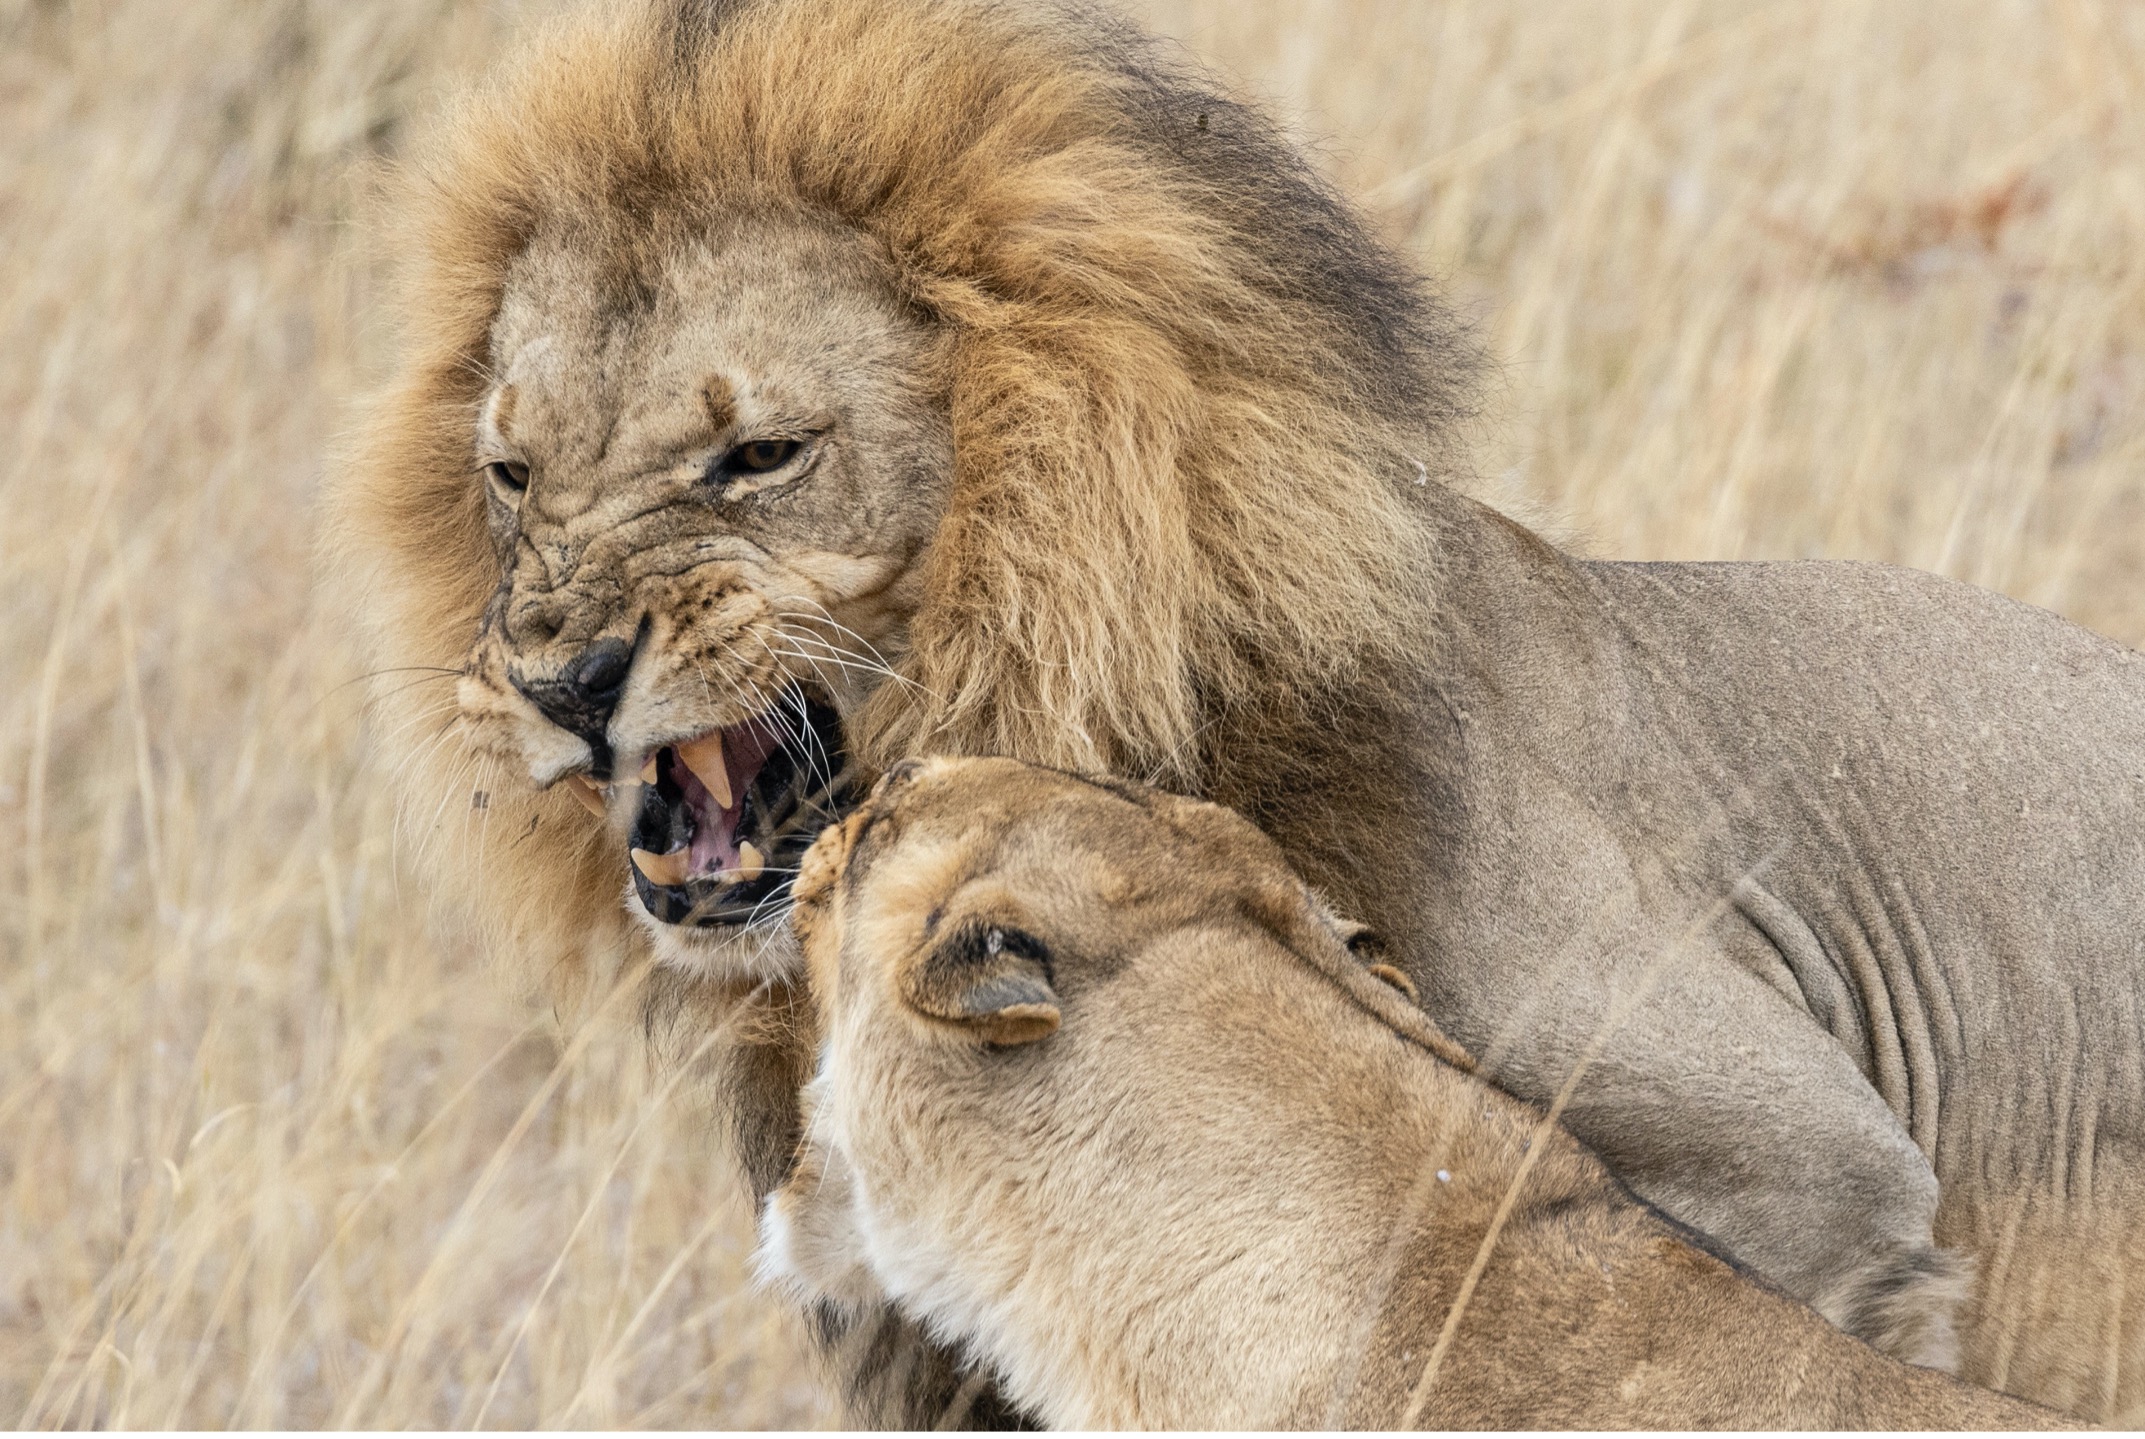
But when traveling on a photo safari to Africa or India, both the style of adventure (vehicle-based) as well as the environmental conditions (often dry) combine to give you the potential for dust floating about.
However, if you are traveling to these regions during wetter times of year or notice that it has rained the day before, you can breathe a sigh of relief that dust problems will be less than in heightened dry parts of the year.
A Simple Way to Protect your Camera
But fear not if you encounter dust—it’s a normal thing that nearly all photographers will deal with at some part of their photographic journey. And if you become a safari afficionado, you’ll probably get used to these protective steps, as dust is just part of the scene.
The simplest way to protect your camera is to put your camera back into its bag or case during longer, faster drives while out on safari. And unless it’s really dry, you probably don’t even have to zip up your bag. This, of course, is an advantage so that you have quick access to your camera when and if spontaneous wildlife photo opportunities arise.
However, depending on your kit and photographic style, this may not be good enough…you may have a lens that is too big to easily put back into a bag, or you simple must keep your camera out to be at the ready.
For this, I have my preferred way of protecting your camera.
My Way of Protecting My Camera
This method is very simple and very effective, and can even be the ideal method for protecting your camera from other elements like rain, wind, and fire (ok, not fire).
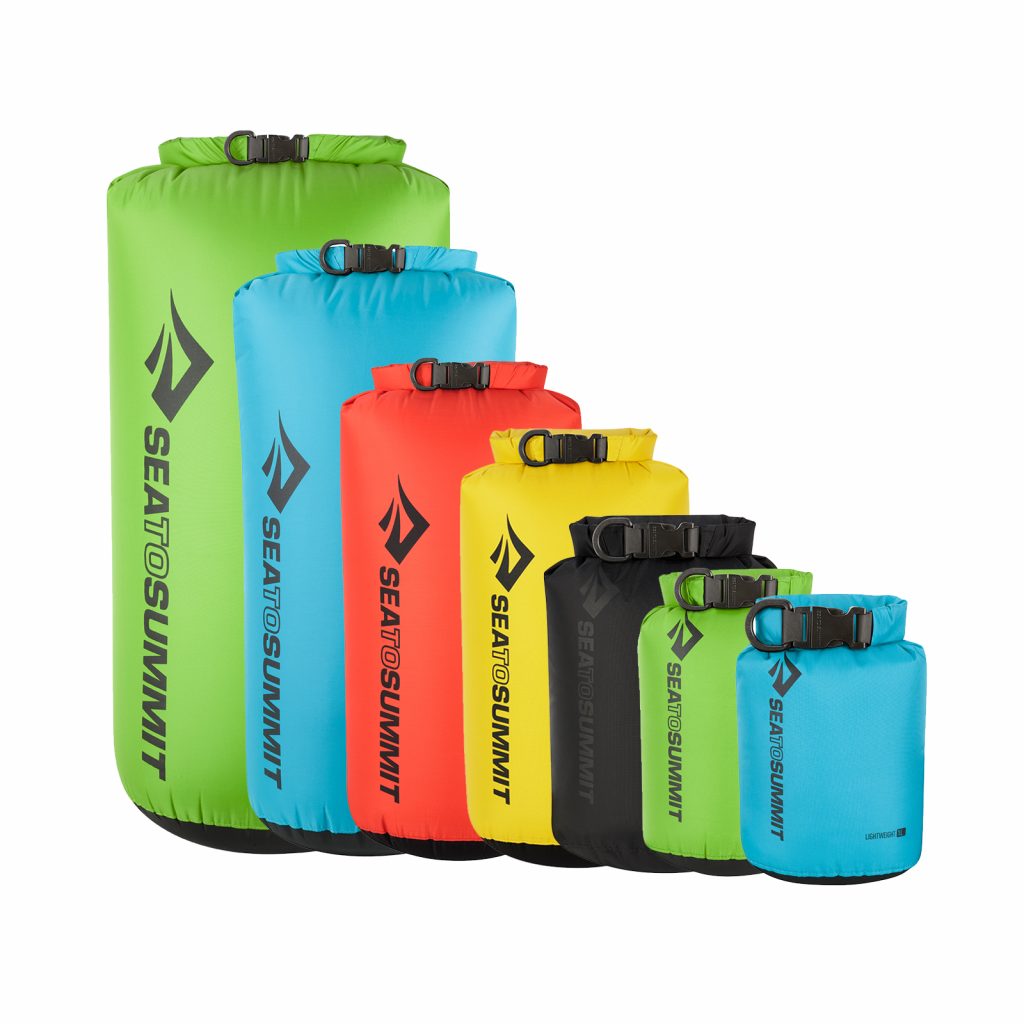
Simply bring a lightweight dry bag with you on the trip, like the ones you see in the photo below. These “river” dry bags have a sturdy clip top that makes it easy to slip over your camera, especially if you have your camera on a strap around your neck. Then, once completely encasing the camera, a lose snap of the clip seals it from just about any dust that could come through. If you want to be 100% sealed, you can fold the top of the bag over and then clip, but again, I’ve never had to do that—just a loose clip is all I’ve ever needed.
If you do not have a camera strap around your neck and prefer to keep your camera next to you, just make sure that the opening is facing to the back of the vehicle and that will work just fine.
A Note on Camera Covers
You may be wondering whether a rain shield or general camera cover (like, the kind that fits over the camera in a very form-fitting way) is appropriate to protect your camera from dust. While these are excellent for shielding your camera from rain, snow, and perhaps even wind (which could blow water into the inner workings of the camera), dust is a different issue. Dust will likely form in the creases and when removing the cover you could inadvertently spill dust onto the camera or worse, onto the gears of your lens. A dry bag is much less money and works much better.
What to Do if you Do Get Dust On your Camera
It’s more common than you think, as there will no doubt be times you’re surprised by dust, or the photography is just sooooo good that you risk it. The best thing to do is to not panic, and avoid twisting or pressing any of the moving parts of the camera or lens until you clean it. This goes for zoom and focus rings, shutter button, menu wheel, etc.
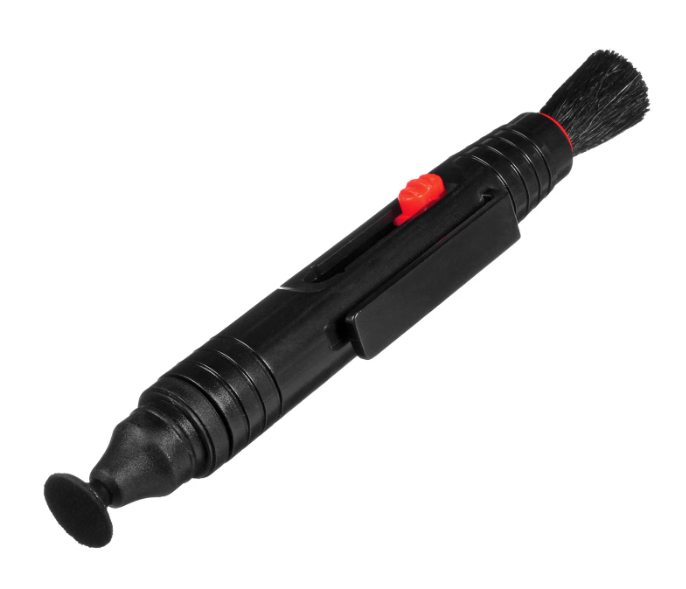
Next, take a small cleaning tool, like a lens pen (photo below), small blower, or even a toothbrush (I used a soft toothbrush for many years before I finally splurged on a small lens pen) and do your best to brush dust away from the openings of your camera first. I’ve found that the blowers, while least invasive, can be problematic if the dust “clings” to the camera from static charge. I’ve personally found that a super soft brush is the best way.
Again, anywhere there is a button or a dial, focus on getting dust away from those areas, as they are the danger zones. If you get a small bit of dust or soil in there and crunch it up by twisting it, you could break it down to a fine enough powder that it could get inside your lens—a worse-case scenario.
Once the dust is safely away from all working/moving parts, you can be a little more general with the rest of the camera. However, you do indeed want to remove as much dust as possible so that dust elsewhere on your camera doesn’t creep into these working parts.
In Conclusion
Dry bags are so versatile and accessible I feel this is the easiest and most thorough way to protect your camera. However, you are likely to get dust on your camera at some point in your photographic adventures, so having a plan and the right tools to safely brush away dust is going to pay dividends. The less time cleaning your camera, the more time you have to photograph all the wonders around you on your next far flung photo adventure!
I hope this helps and if you have any of your own tips for keeping your camera dust-free, please do leave a comment below!
All the best,

Court
Leave a reply