
How to Photograph Iceland’s Waterfalls
For something so spectacular, they’re amazingly ubiquitous throughout Iceland. We’re talking about awe-inspiring, mind-blowing, life-changing waterfalls. And while a single waterfall can be the subject of hours of photography, multiply that by 100 or maybe even 1000 based on the sheer number and diversity of waterfalls across this arctic island.
If you’re headed to Iceland on a photographic adventure, read up on my top tips for photographing waterfalls in Iceland.
Have the Right Gear
Cameras, lenses, and gear can be just as diverse as the landscapes and waterfalls you’ll see in Iceland! Thus, there is no perfect setup for everyone—you need to think about your own needs and desires with photography.
However, if we’re going for the highest quality and most versatile setup for waterfall photography in Iceland, my recommendation is something like a 24-70 or 24-105mm lens with a good quality camera body—full frame is even better.
The thing to think about is that you actually don’t need an ultra-wide angle lens as often as you might think, but instead need to have more flexibility on the telephoto end of the spectrum. Because the landscape is so big, it’s pretty easy to get every shot you could imagine without going wider than a 24mm (caveat in the last section of this article). However, to frame your shots in a variety of ways, which we’ll discuss next, having that 70mm or 105mm capability is huge.
Tripods are great, but only necessary if you’re going for that “silky” effect, which we’ll chat about later. Fortunately you’ll find that there is usually ample light, such that you don’t need a long exposure for normal shots. If you are indeed chasing after silky waterfalls, consider an ND (neutral density) filter to block out some of the light.
A drybag is a GREAT idea when photographing Iceland’s waterfalls due to mist and spray being a very common component. Depending on the wind direction, as well as your approach, you may stay bone dry, or you may find yourself in temporary deluges as you try and find the best angle. A small, lightweight dry bag is super help when navigating “the wet parts” in search of the best photo. (and don’t forget to bring your own rain gear, too, so you stay somewhat comfortable and dry)
Think Big and Small
After you take the classic “approach shot” where you walk up to the waterfall, use some compositional technique like the rule of thirds to snap the shot, it’s time to get creative. While a squared-up shot is great, you want to think about angles, as well as showcasing the waterfall in different ways.
One way to do this is to use that telephoto on your lens to zoom in and really fill the frame with the raging water.
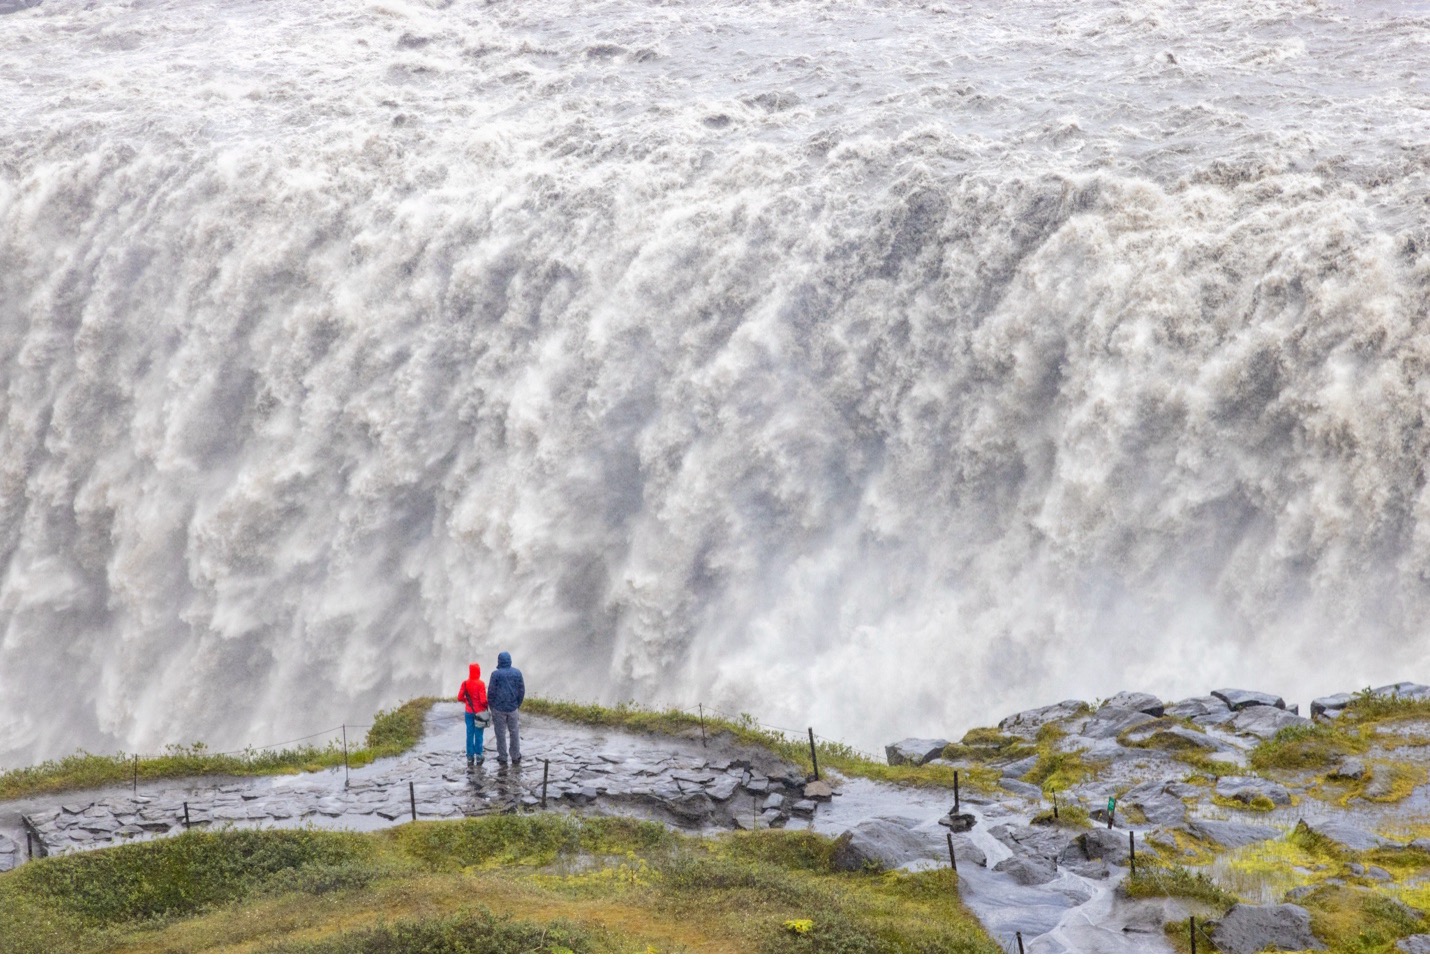
Telephoto “zoom” allows for what we call zoom compression such that it brings the background closer and bigger in the frame—an excellent technique for photographing Detifoss and other massive falls. All you need to do is stand far away (like, 100 of yards or greater) and use your telephoto to enlarge the shot so the people get bigger and the expanse of the waterfall gets bigger, to use the above example. If you’d like to learn more about zoom compression, you can read my full article on it here – Zoom Compression.
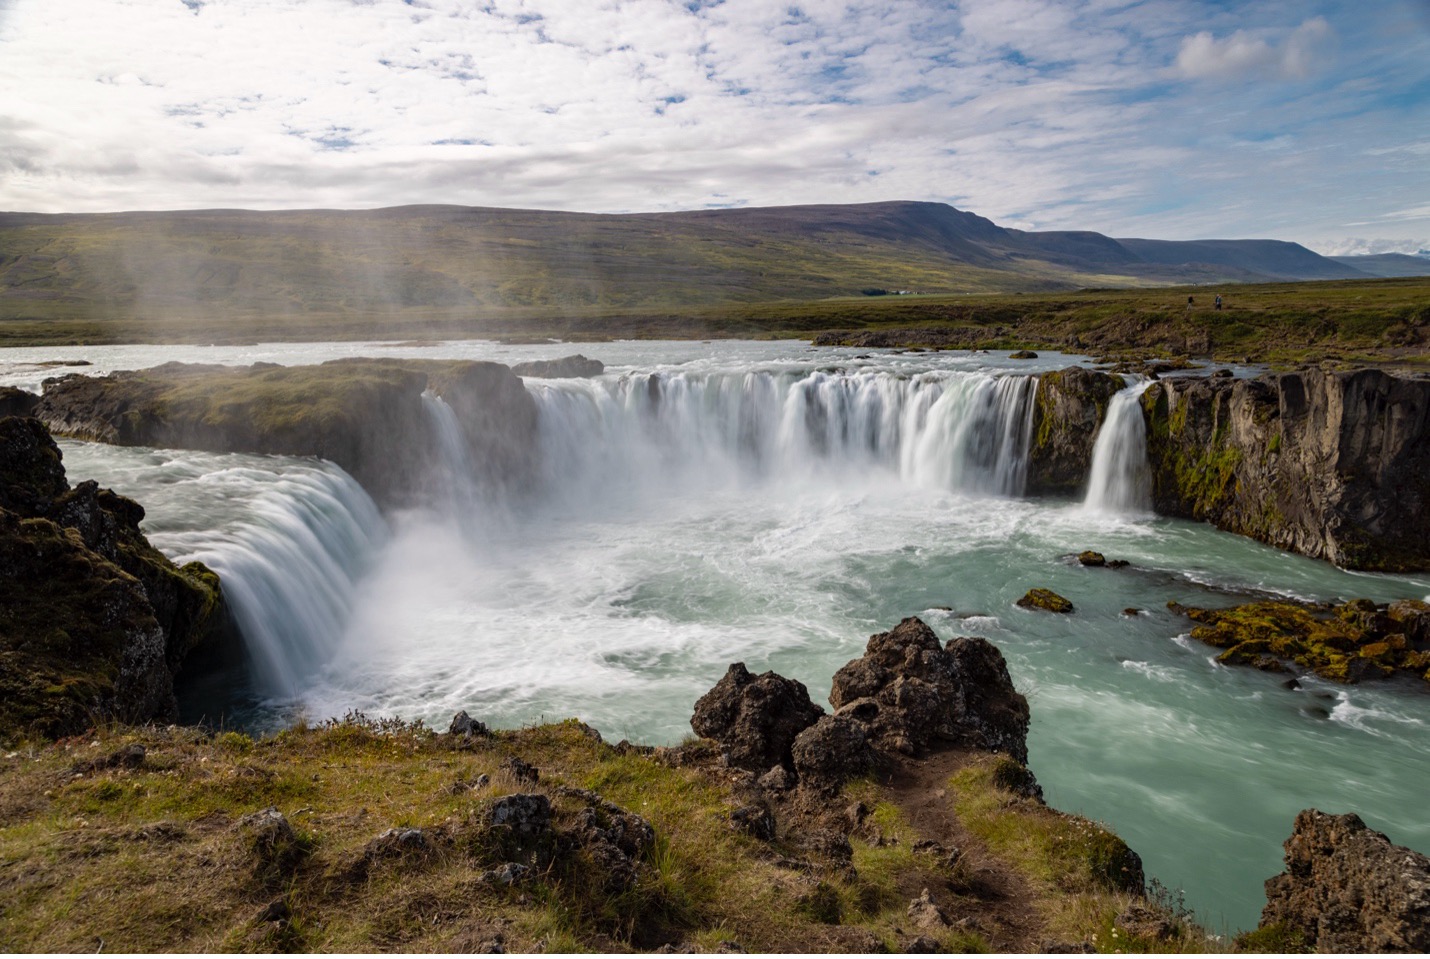
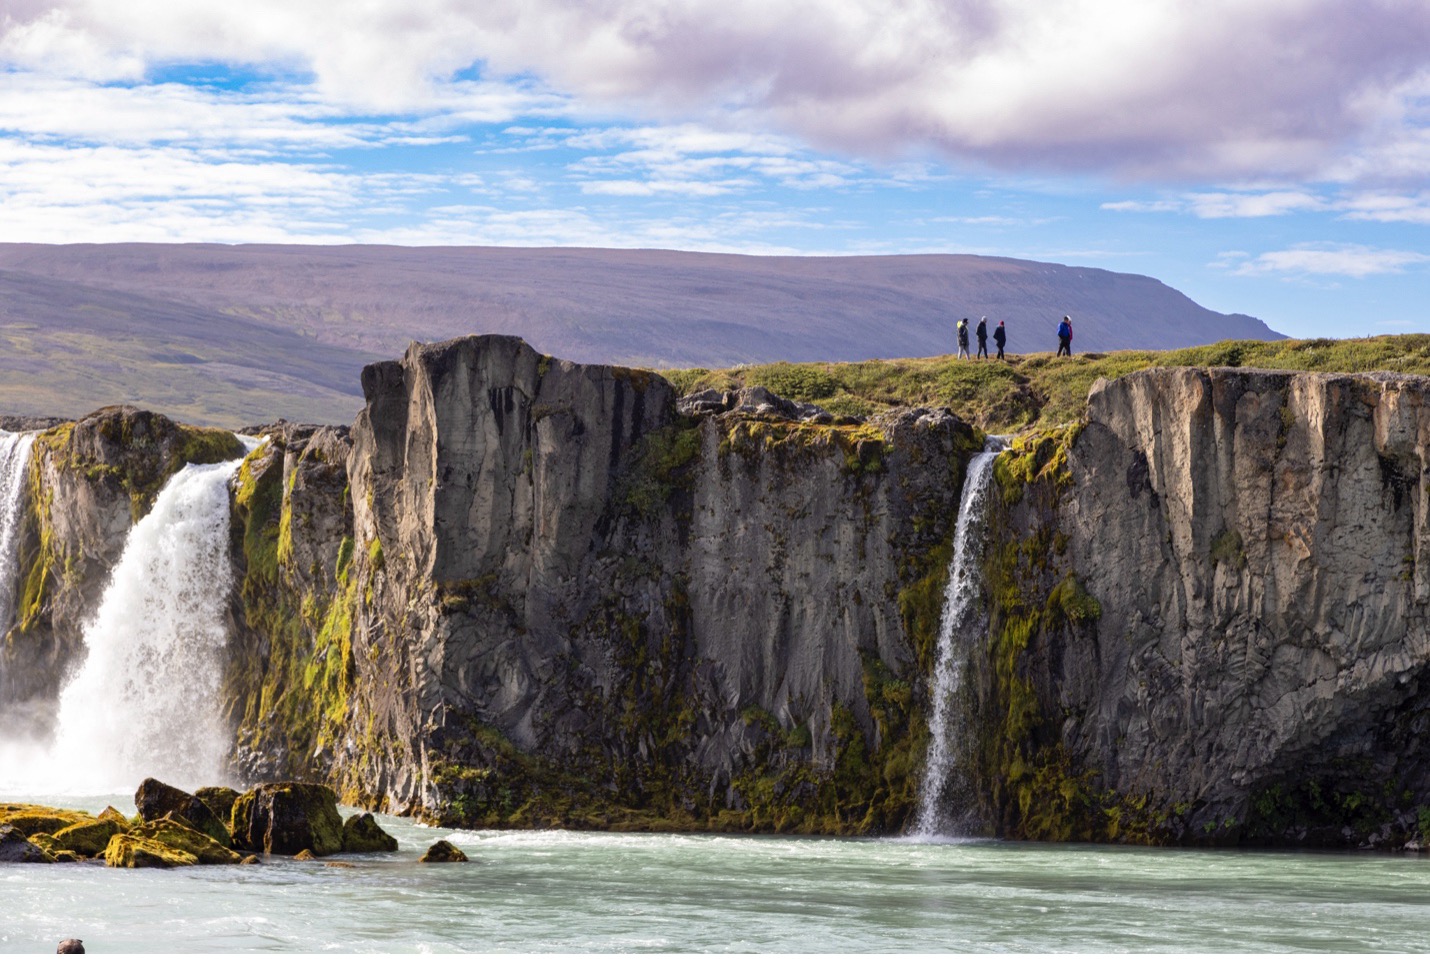
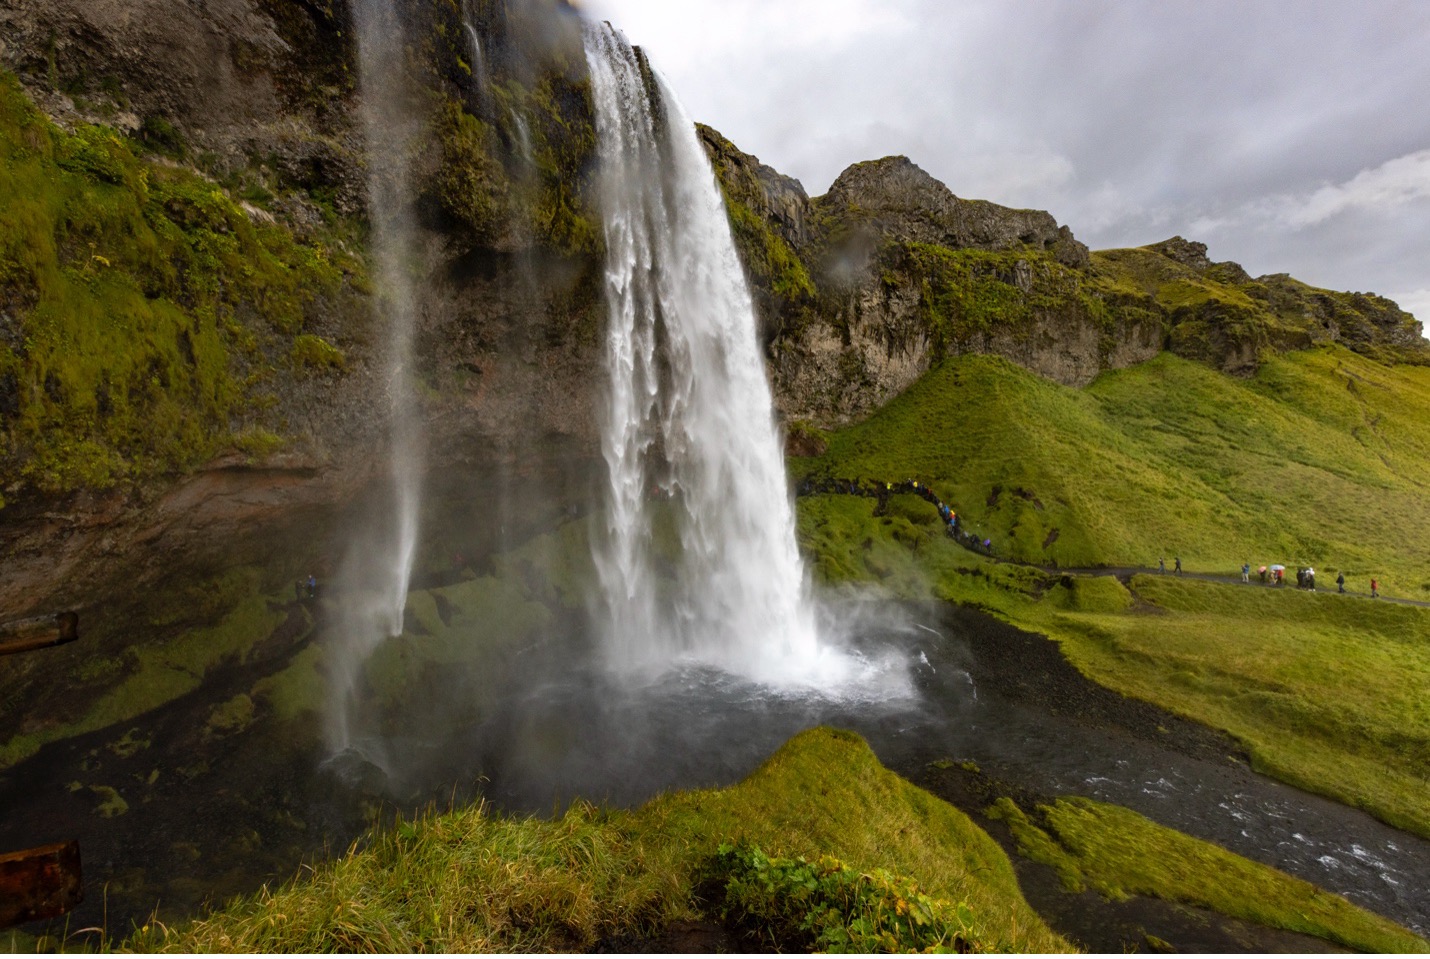
Another technique is to use angles to provide a bit of irony, of sorts, and showcase a big waterfall as but a tiny feature on an otherwise gigantic landscape.
While this waterfall is actually quite sizable (check out the same waterfall in a close up shot below) it actually is more of an accent piece to showcase the extraordinary expanse of the surrounding landscape.
Add Foreground Elements and Context
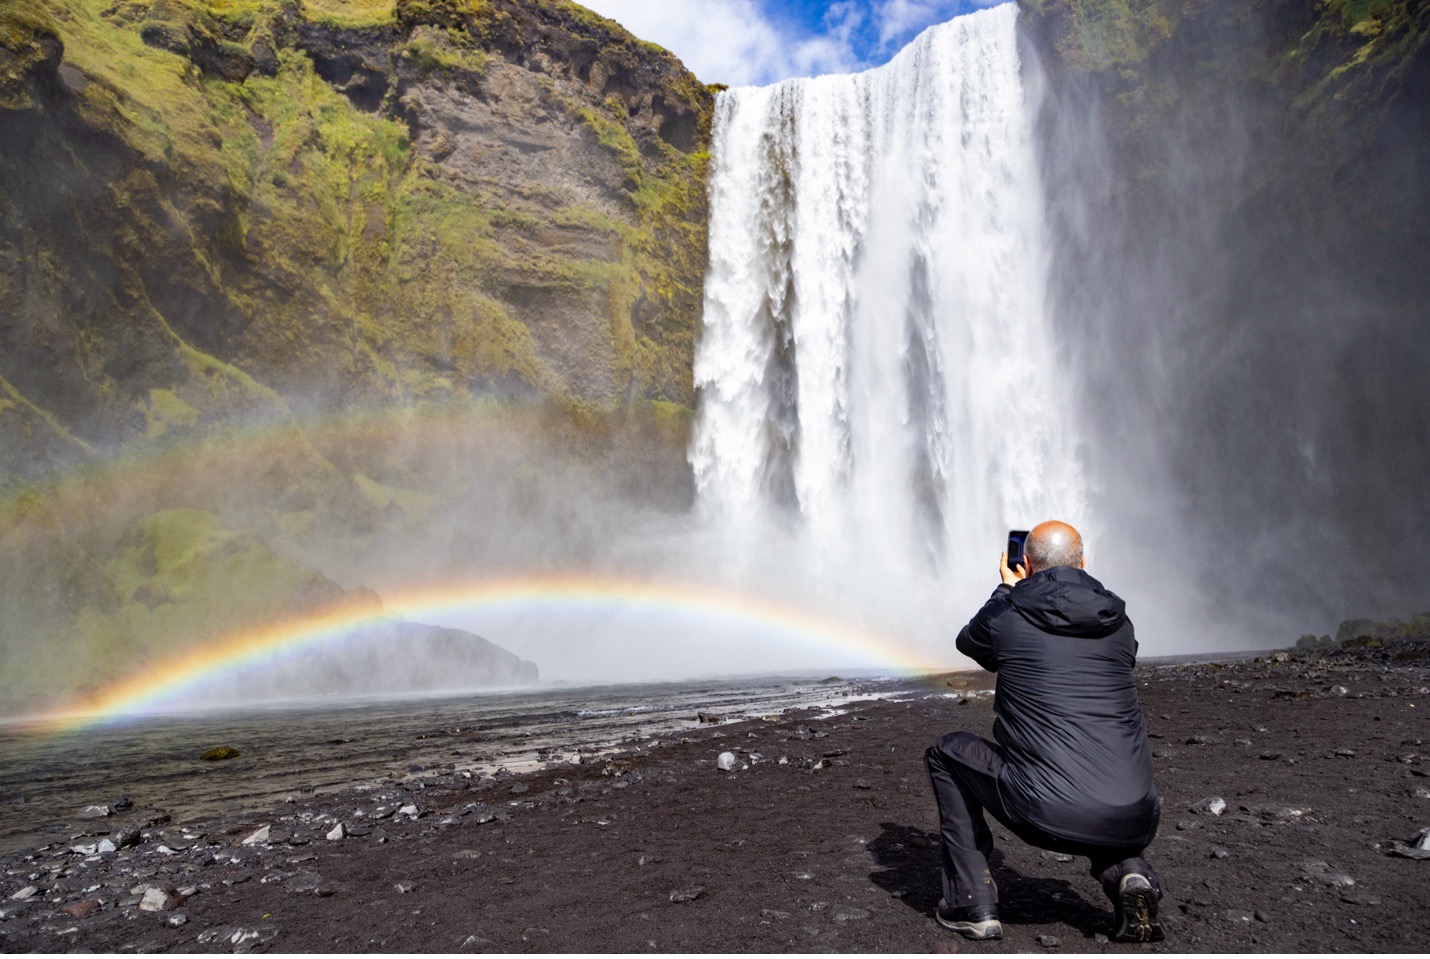
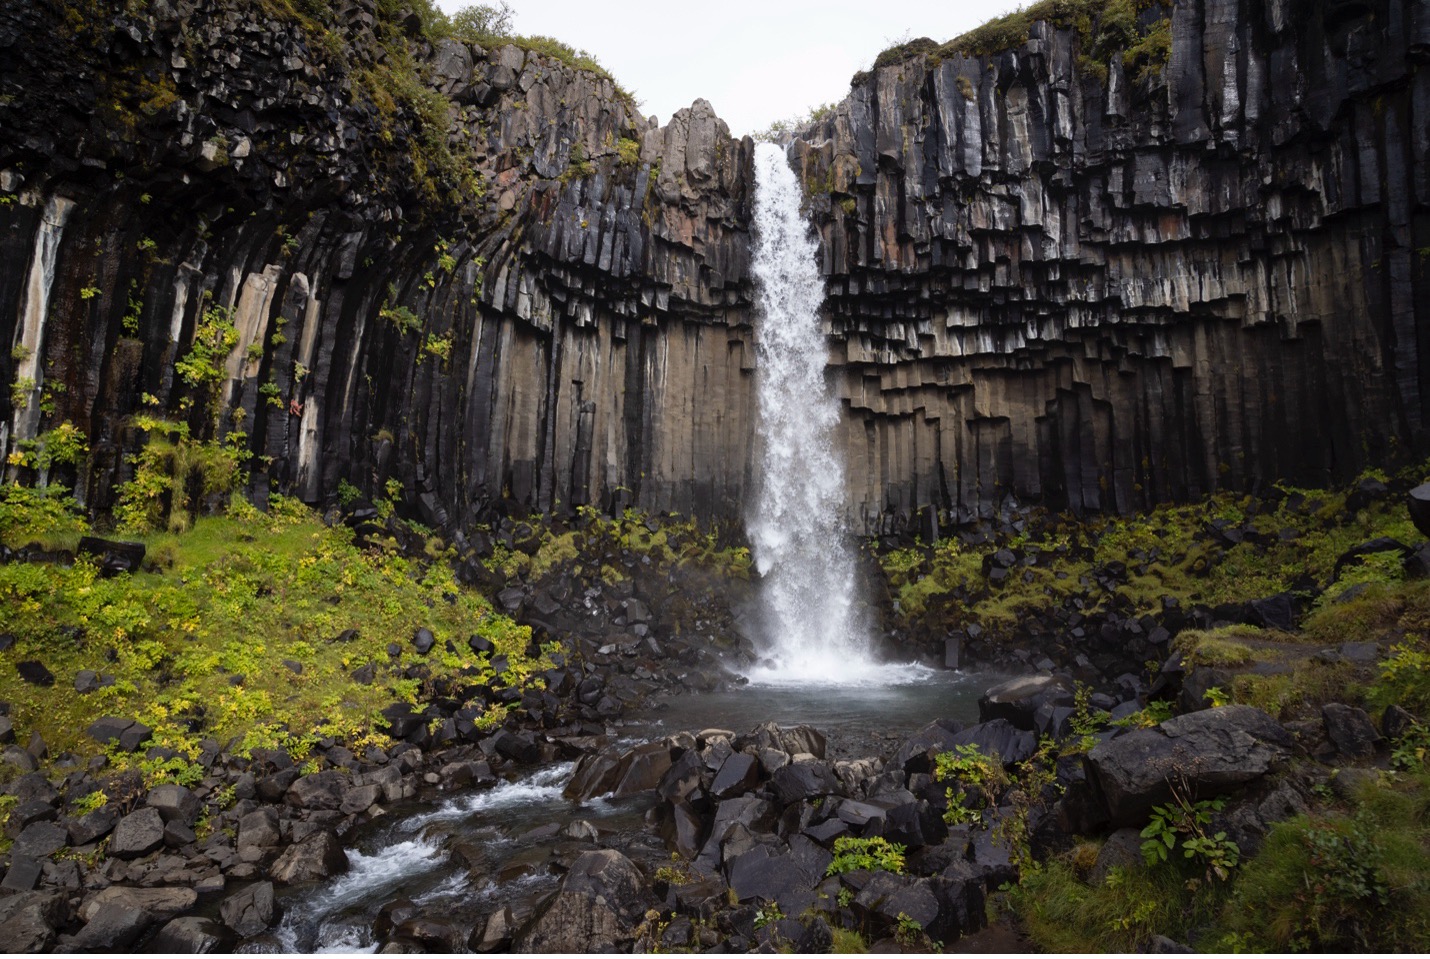
Perhaps my favorite tip (most important?) is to add foreground elements like rocks, people, and other features to provide context while also giving the viewer something to look at and guide their eyes to.

Even if it’s something as simple as a mossy pile of rocks, something in the foreground helps frame the shot and adds a bit more dimension compared to just rushing water.

People provide great foreground subjects. Not only do they evoke a “put yourself here” vibe to the viewer, but you can also pose them, and they tend to wear bright colors which helps the photo pop a bit more.
Whether you place a person front and center like in the above photo, or strategically in the corner in a more subtle way, they add both context and sometimes even scale to your Iceland waterfall shots.

It’s also worth mentioning that the people don’t need to be in the foreground…they can be in the background, too, and they still create for evocative travel and landscape photos by providing context to where you’re at, what you’re doing, and the scale of the environment.
Make them “Silky” for Extra Beauty
When I say silky, I’m just referring to that “motion blur” that we get via long exposure of waterfalls. Either way, it’s a great creative photography technique to go beyond the normal photos and capture something different.
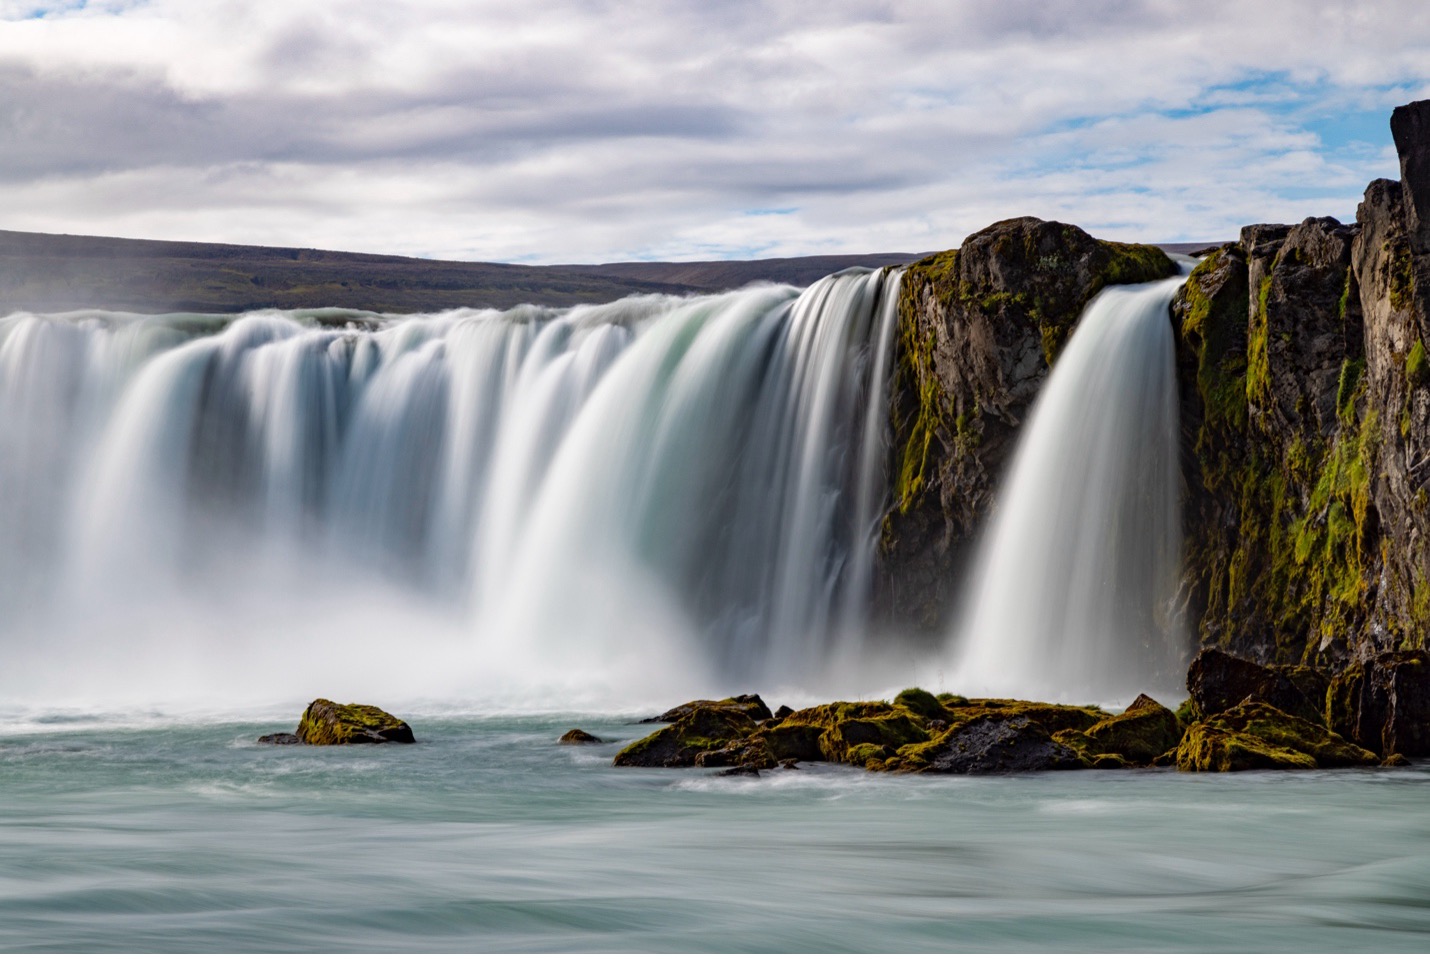
By having your shutter open for a longer time, the water turns very wispy and ethereal in your shot.
In order to capture this effect yourself, you will indeed need a tripod for starters. Next, you’ll want to find a waterfall, or section of the waterfall, that exhibits a nice combo of rushing white water plus static rocks. This balance is important, as the eye needs to see the stationary, sharp rocks in the frame in contrast to the silky water to really understand what’s going on (and to appreciate the technique, too!). Shooting nothing but water simply doesn’t yield the same impressive results.
Next, you’ll need to contend with having too much light in your scene, because you will be dialing in a shutter of something around 1/20th to 2 full seconds. The easiest way to do so is to put your ISO on auto and your camera on Shutter Speed Priority mode to dial in these settings. Your camera then will compensate for the amount of light by setting its own aperture. Usually it will give you the biggest f/number your lens has (like f/22 or f/25) because, again, it’s trying to minimize the amount of light based on your long exposure.
Two tricks to deal with too much light. 1) you can bring a neutral density filter, which screws onto your lens and literally blocks out a certain amount of light—like sunglasses. And 2) you can find a waterfall or section of the waterfall that is in the shade—or heck, go early in the morning or late in the evening to minimize light, too (just keep in mind summertime in Iceland has very long days, so we might be talking about 3:30am for dawn/sunrise and 11:30pm for sunset/dusk.
Once you get the hang of this, be sure to try different shutter speeds, as there is no “perfect” shutter speed. It’s all based on personal taste as well as speed and volume of the water. Try as many shutter speeds as you have time for!
Consider an Ultra-wide as an X-Factor Lens
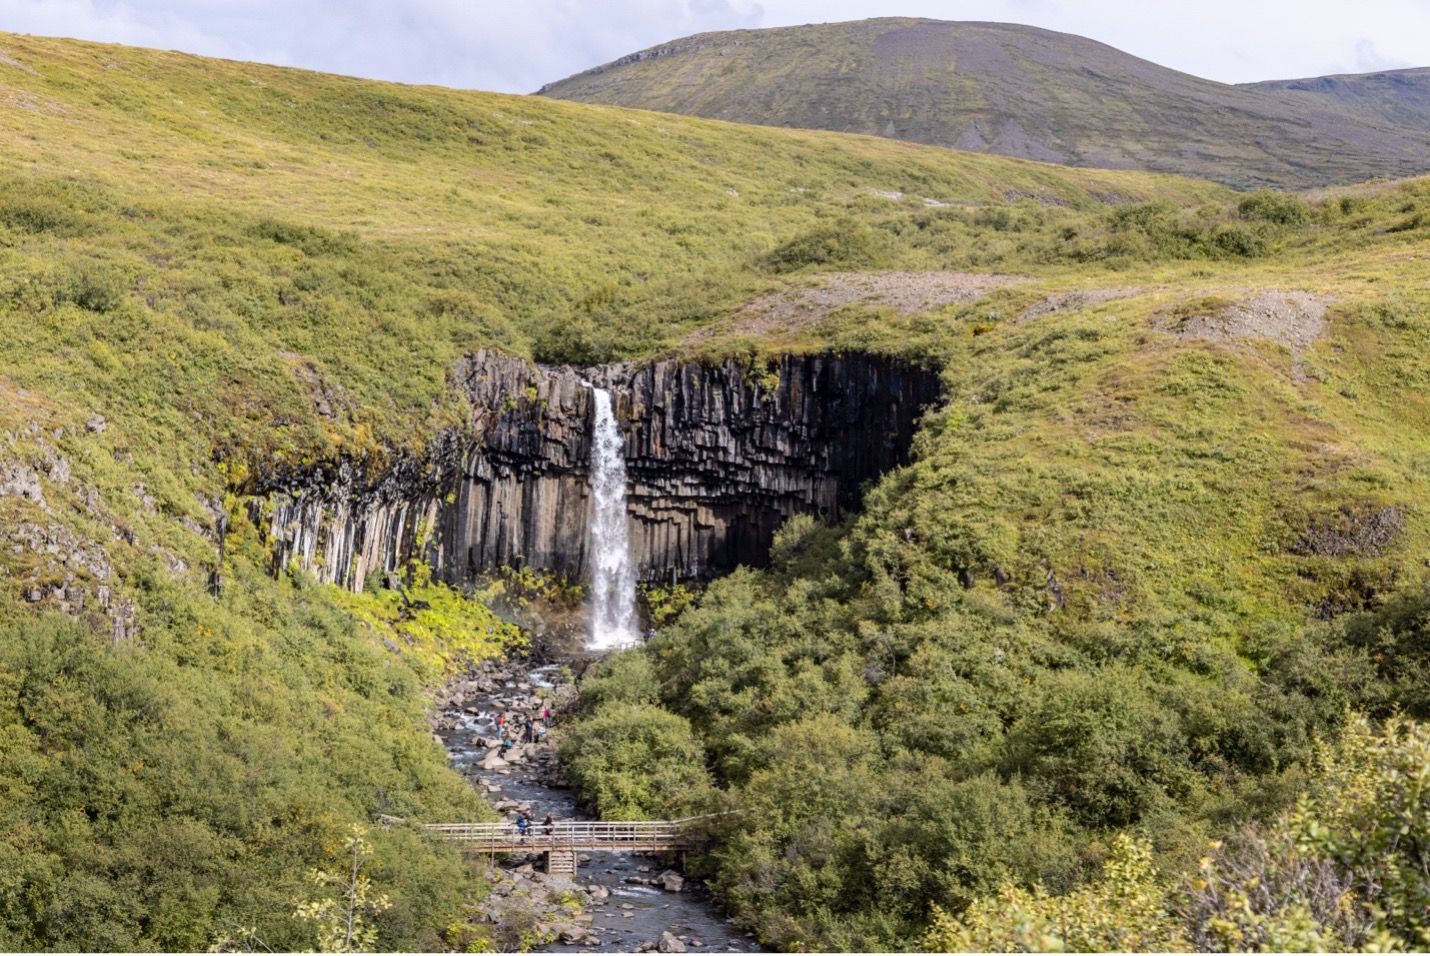
So, while I don’t think you need an ultra-wide for most waterfalls in Iceland, since you’re better off having more zoom telephoto vs. the ultra-wide end of the spectrum, there are at least a couple waterfalls where an ultra-wide lens provides a special perspective. I’m talking about the 16-35mm class of lenses (or 10-22mm on crop frame cameras).
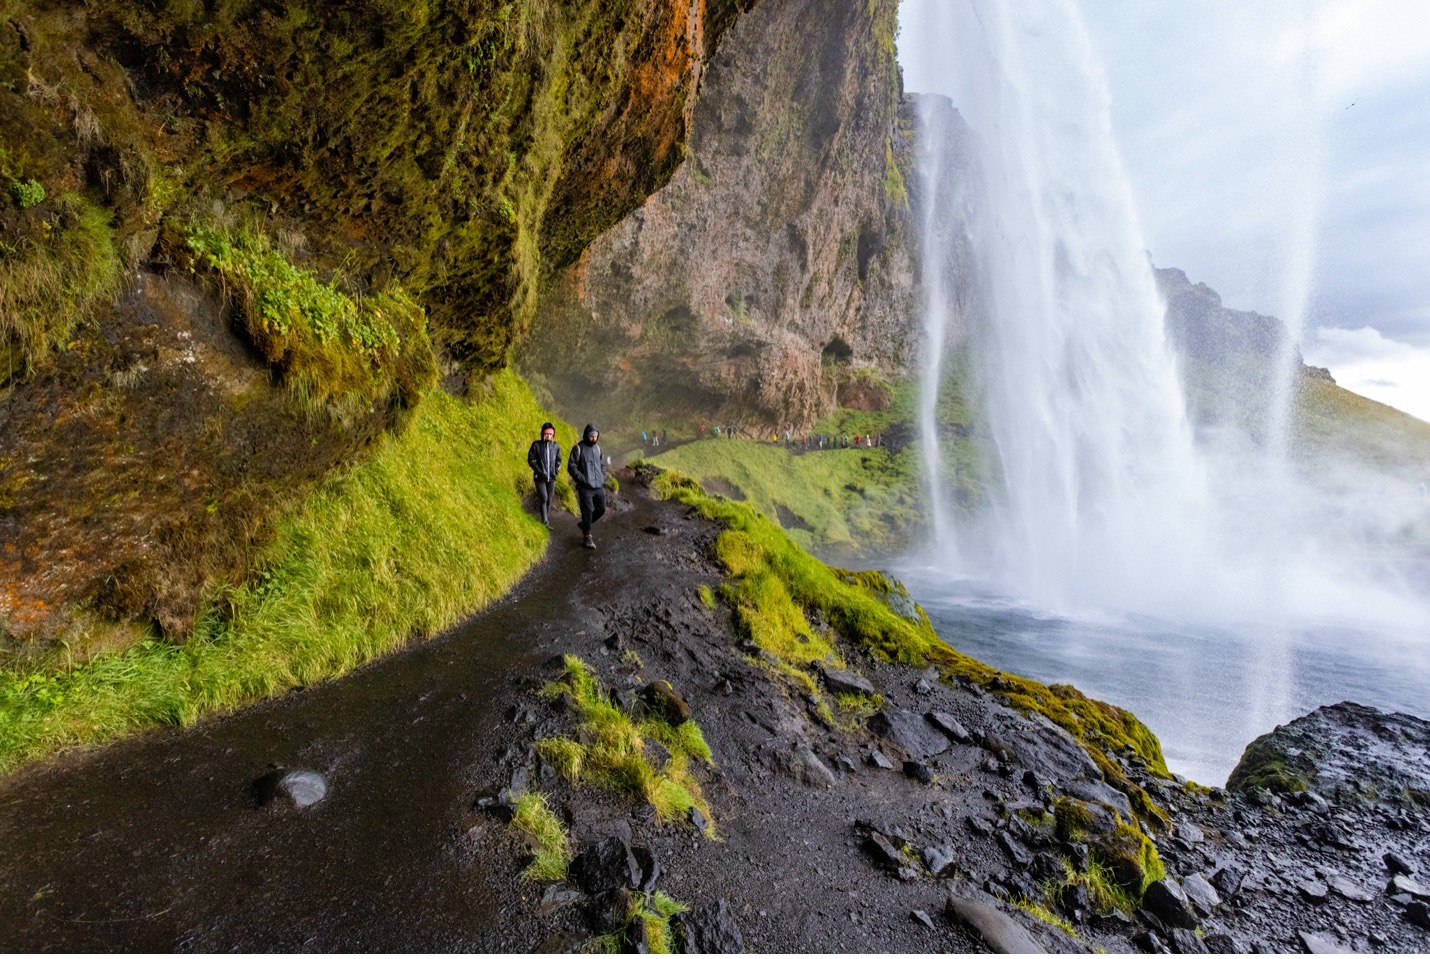
There are a few waterfalls that you may encounter where you can actually get quite close, or even walk behind it. While a normal 24-70 will still do alright, a 16-35mm may be your x-factor here to really push your unique perspective, allowing ample foreground, the entire waterfall, plus some background and sky.
As you can see, the waterfalls of Iceland are nothing short of awesome. Their size and variety makes for a landscape photographer’s dream scenario. If you’re headed on an Iceland photo adventure, I hope you get a chance at these magnificent beauties and I hope these tips help capture some amazing shots!!
Enjoy it out there!

Court
Leave a reply