How to Maximize your Landscape Photography
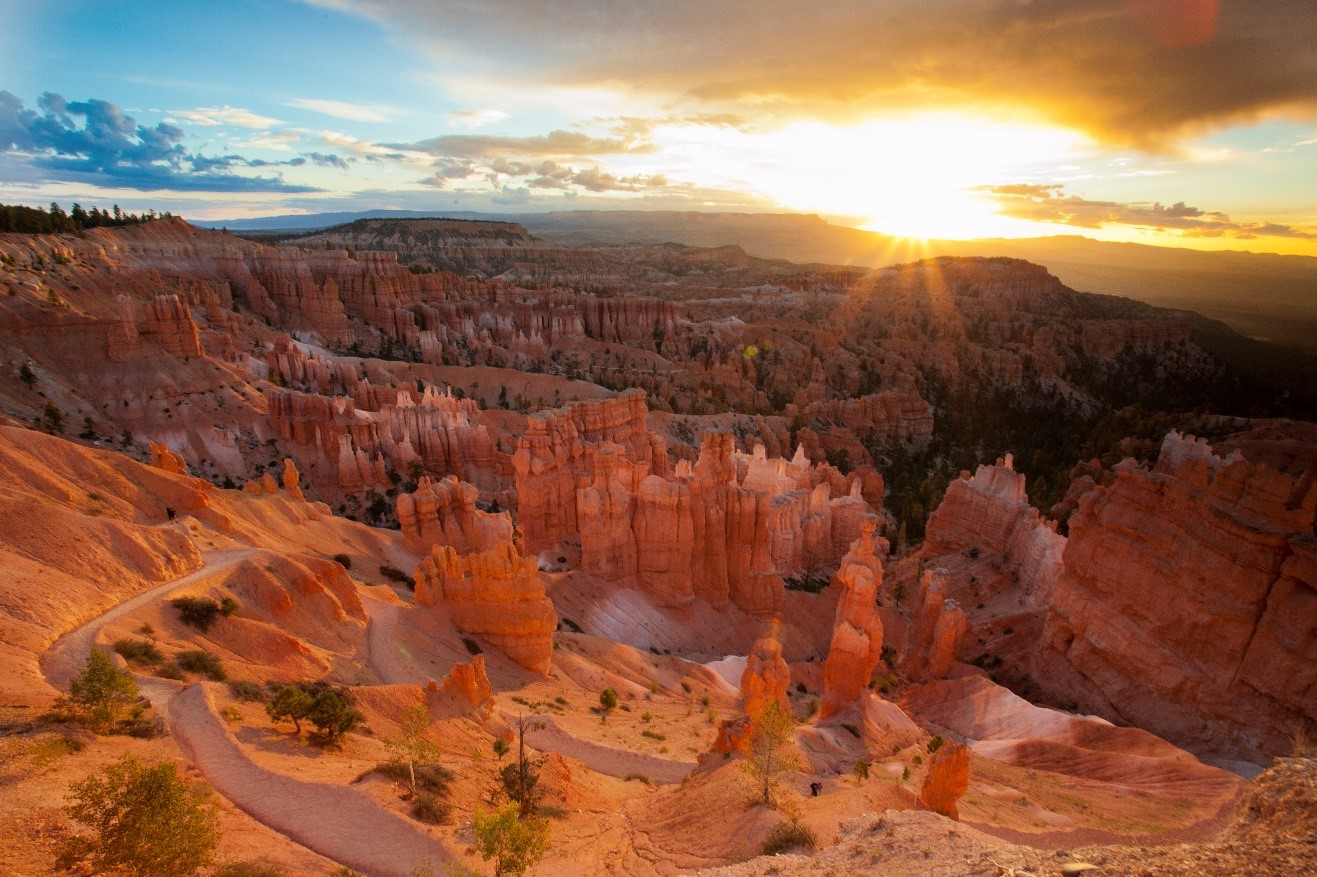
If there is one thing that connects nearly all places of natural beauty, it’s that they also are fantastic places for classic landscape photography. Whether it’s the majestic canyon country of the American Southwest, the towering peaks of Glacier National Park, or even New England in its resplendent fall colors, there are certain tenets of landscape photography that when mastered, will turn your vision into a true work of art.
Where to Focus
It’s natural to focus on a single subject when it comes to wildlife photography, and even portraiture and cultural photography. However, when the entire scene is filled with subjects like mountains, trees, flowers, etc., where should you focus?
There is this term called “hyperfocus” that involves all sorts of mathematics based on the total distance of your scene, your focal length, your exact aperture, and all sorts of other variables. However, there is a trick that will get you perfect focus each and every time for landscape photography, and you don’t have to carry a calculator around with you.

The gist is, when you have a landscape scene in front of you, you should focus on the part of the frame that is about one-third of the distance from you to the further point in the scene. In other words, break the distance from you to the furthest point in the scene into thirds, and aim for the imaginary line dividing the closest third to you and the middle third.
Even if you do wish to bring a calculator with you, and abide by the very specific rules of hyperfocus, you’ll find that this “third” trick is nearly exact each and every time.
What Depth of Field is Right?
We’re talking about your f/stop and aperture here. What is the best “f/number” for landscape photos. Well if you have read up on our f/stops and aperture articles, you know that a bigger f/number translates to a wider depth of field. And a wider depth of field results in more of the image in focus. That is, the foreground wildflowers AND the distant mountain AND the tree in the middle is all in focus with a very wide depth of field.
Typically speaking, the more in focus the better when it comes to landscape photography. As a result, we’re usually looking at an f/number of at least f/8…f/11 is better.
However, as you may also know, this requires a decent bit of light in order to achieve such depth of field. This high amount of light can come from either a very bright scene or a longer than normal shutter speed. One of the main reasons you’ll often see serious landscape photographers using tripods is for this very reason…you often must shoot at relatively slow shutter speeds when using such big f/numbers.
Light is extremely variable, and even an hour difference in the day, as the sun rises, can result in markedly different shutter speeds to compensate for such apertures as f/8 or f/11. However, generally speaking, expect to shoot at slower shutter speeds in landscape photography.
Get your ISO LOW!
Continuing from the above, another reason to expect slow shutter speeds is because you will want to manually dial your ISO down low…like ISO 100 or 200. This will increase the quality of your photo tremendously, rather than allowing your camera to be on AUTO ISO and thus allowing it to choose a fast shutter speed by boosting your ISO.
You’ll often hear me tout the merits of higher ISOs when it comes to moving wildlife photography, as you simply must use high ISOs to enable ultra fast shutter speeds to freeze the movement of wildlife. However, when your scene isn’t moving (e.g., mountains, trees, other inanimate objects) you can afford to shoot at slow shutter speeds. Thus, you might as well decrease your ISO to a very low number to add a bit of extra quality to your shots.
This is almost assuredly going to require a tripod. So, if you don’t have a tripod with you, you may want to bump your ISO up to 400 or even AUTO to compensate for any hand movement you have by going hand held.
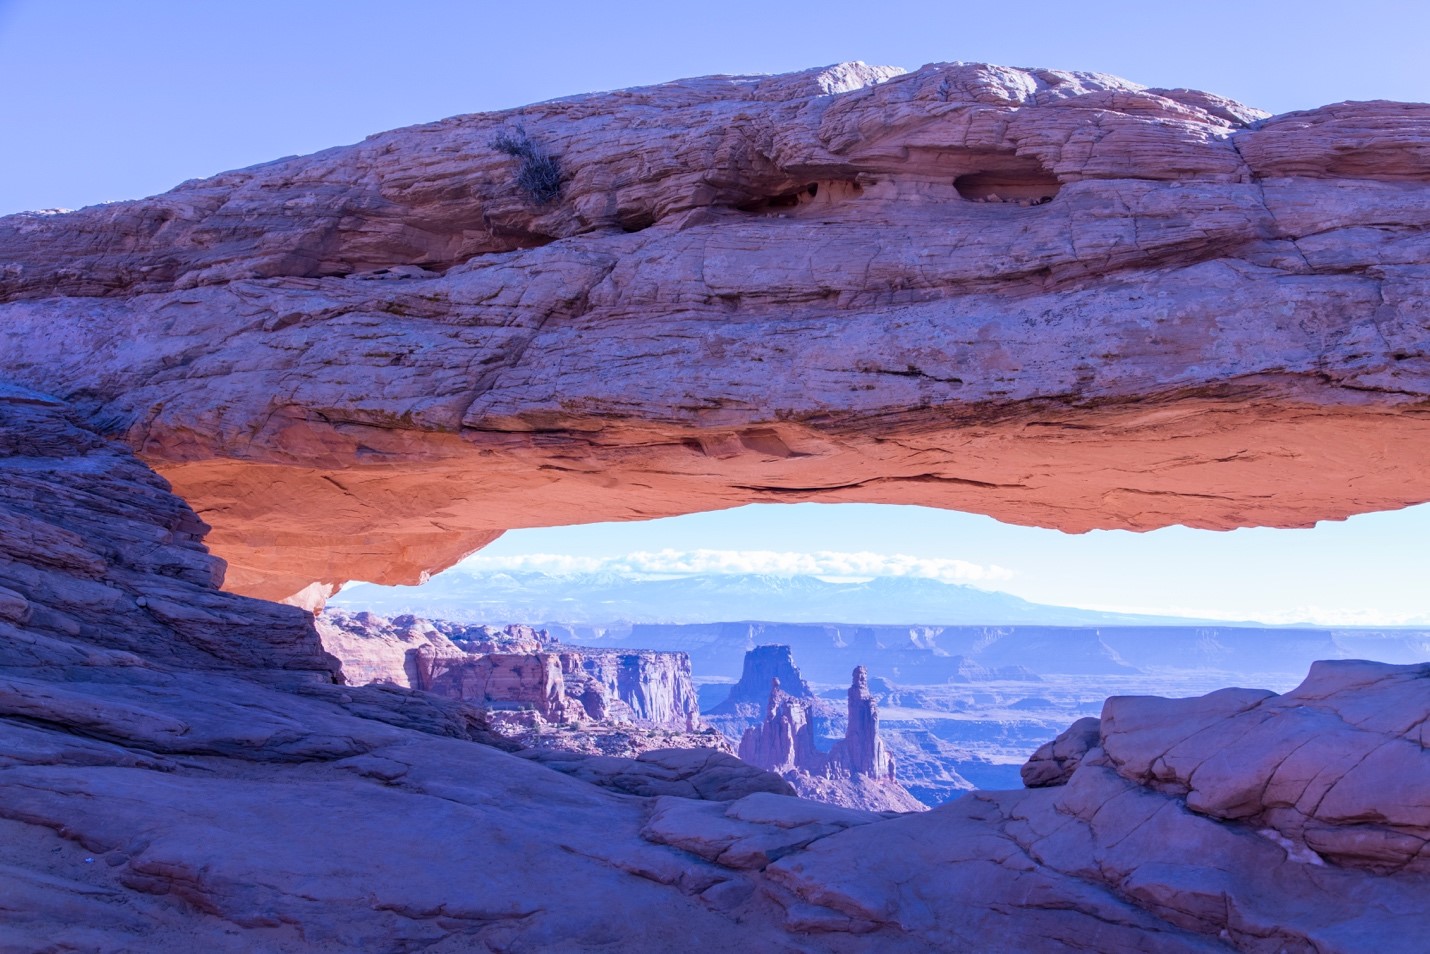
Find a Subject
Whenever possible, I strongly advocate you do indeed pick out one (or several) dominant subject(s) in your landscape photos. This can be a person, a single flower, multiple flowers, a river, a tree, you name it.
You might find certain landscapes that have ALL of these subjects in one photo, and that is great, but it helps tremendously to pick out a single dominant one that you can frame the rest of your shot around…compositionally speaking. Otherwise, it’s all that much harder to adhere to the rule of thirds, leading lines, or other composition techniques that help align your photo aesthetically and contextually with what’s around you.
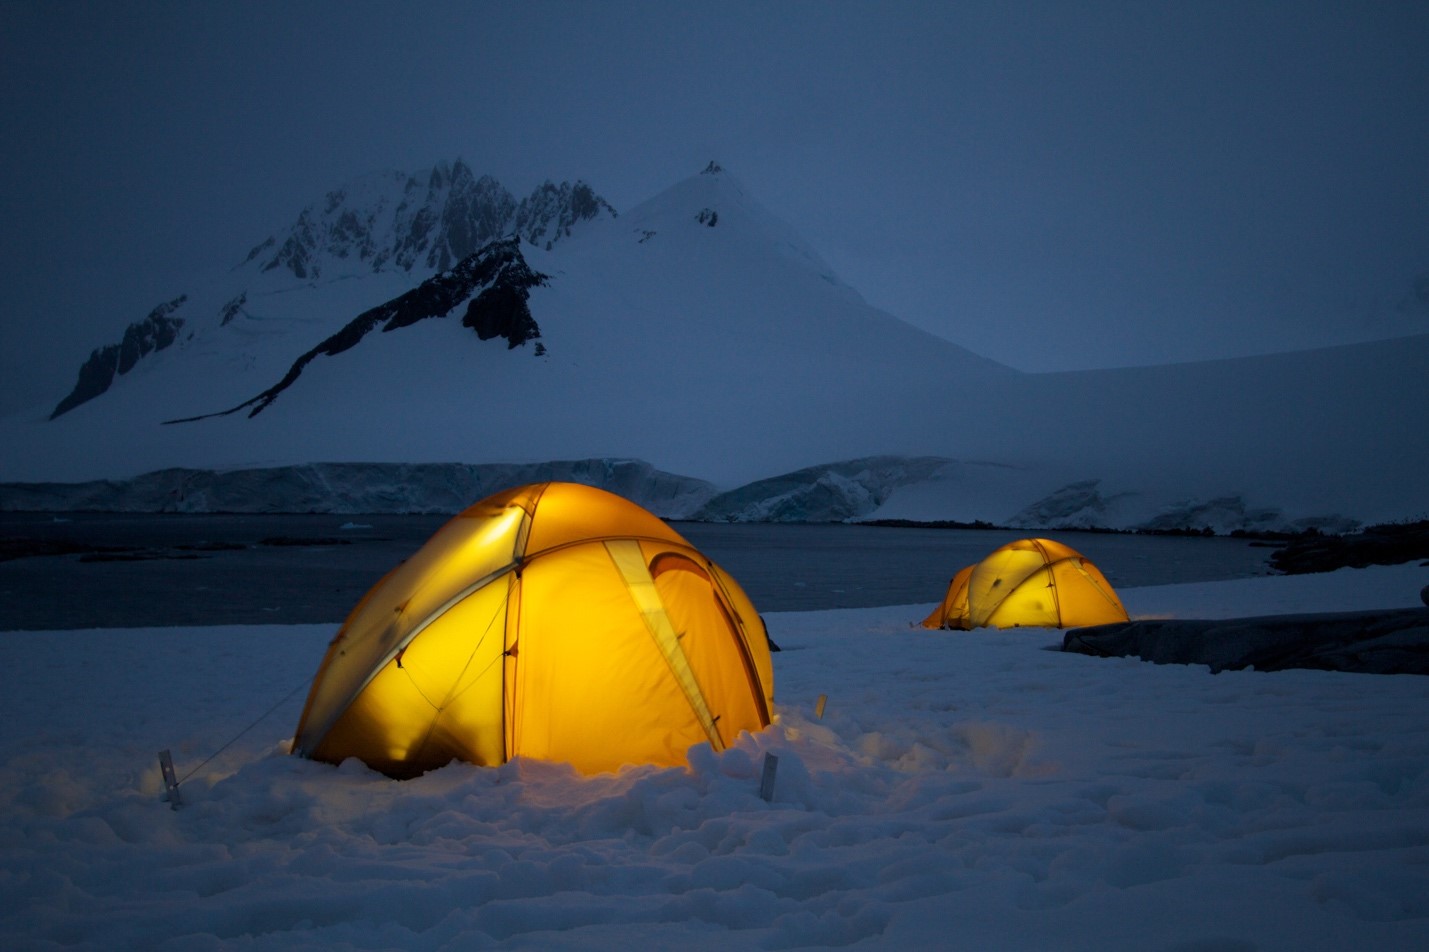
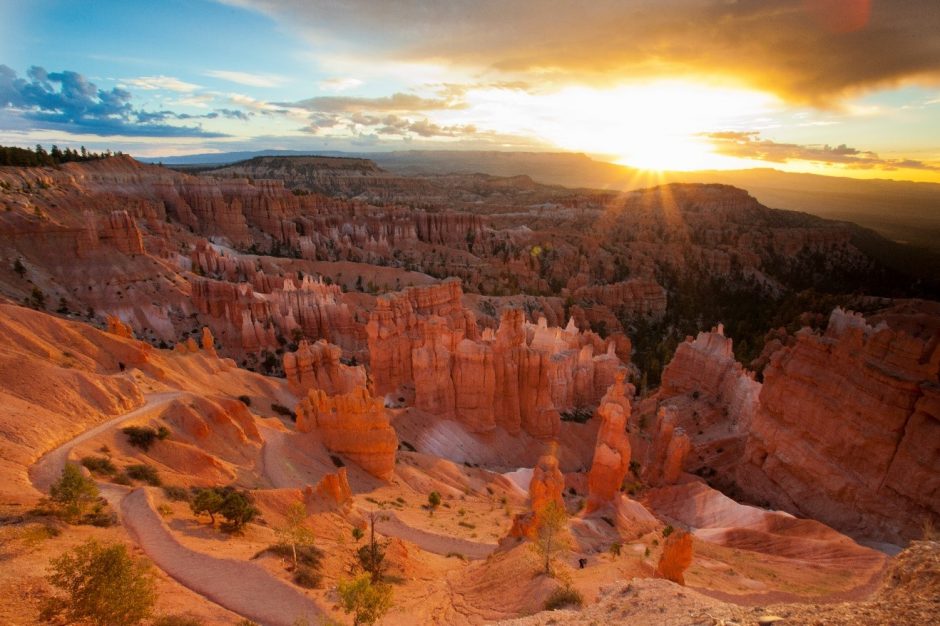
Time your Landscape Photo for Even Lighting
Sometimes it’s a luxury to be in the right place at the right time when it comes to landscape photography. However, one thing is for sure. If you can prioritize your landscape photography at the beginning and end of the day, you’re going to get way better photos. You don’t necessarily need to be up at the crack of dawn, but you do want to avoid the harsh top-down lighting of mid-day cloudless skies.
The intensity of mid-day light is difficult to deal with, as it creates harsh shadows and harsh highlights (i.e., bright parts of your photo). There are times when you can use this to your advantage, but generally speaking they are sub-optimal compared to the exact same scene at an earlier or later time in the day.
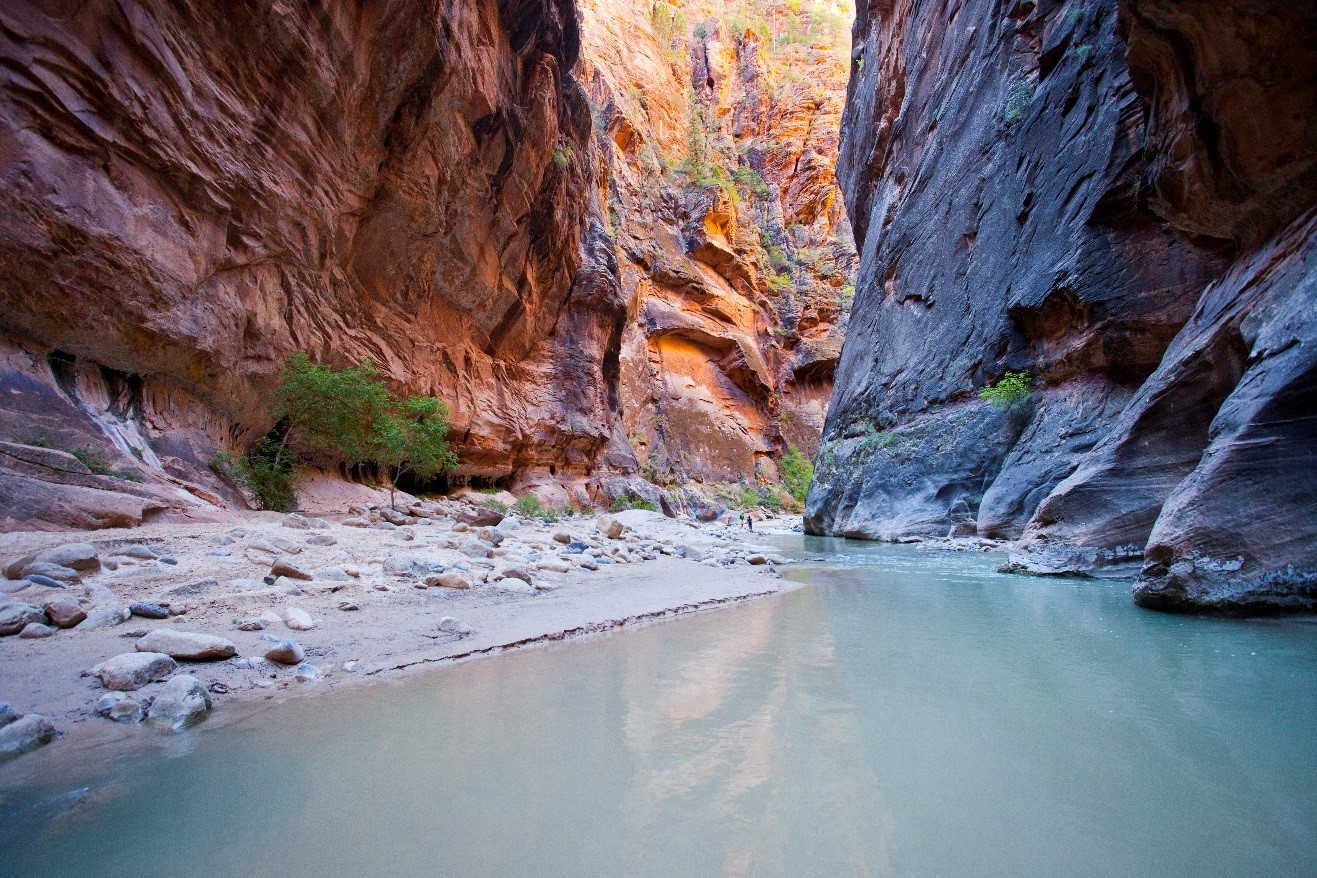
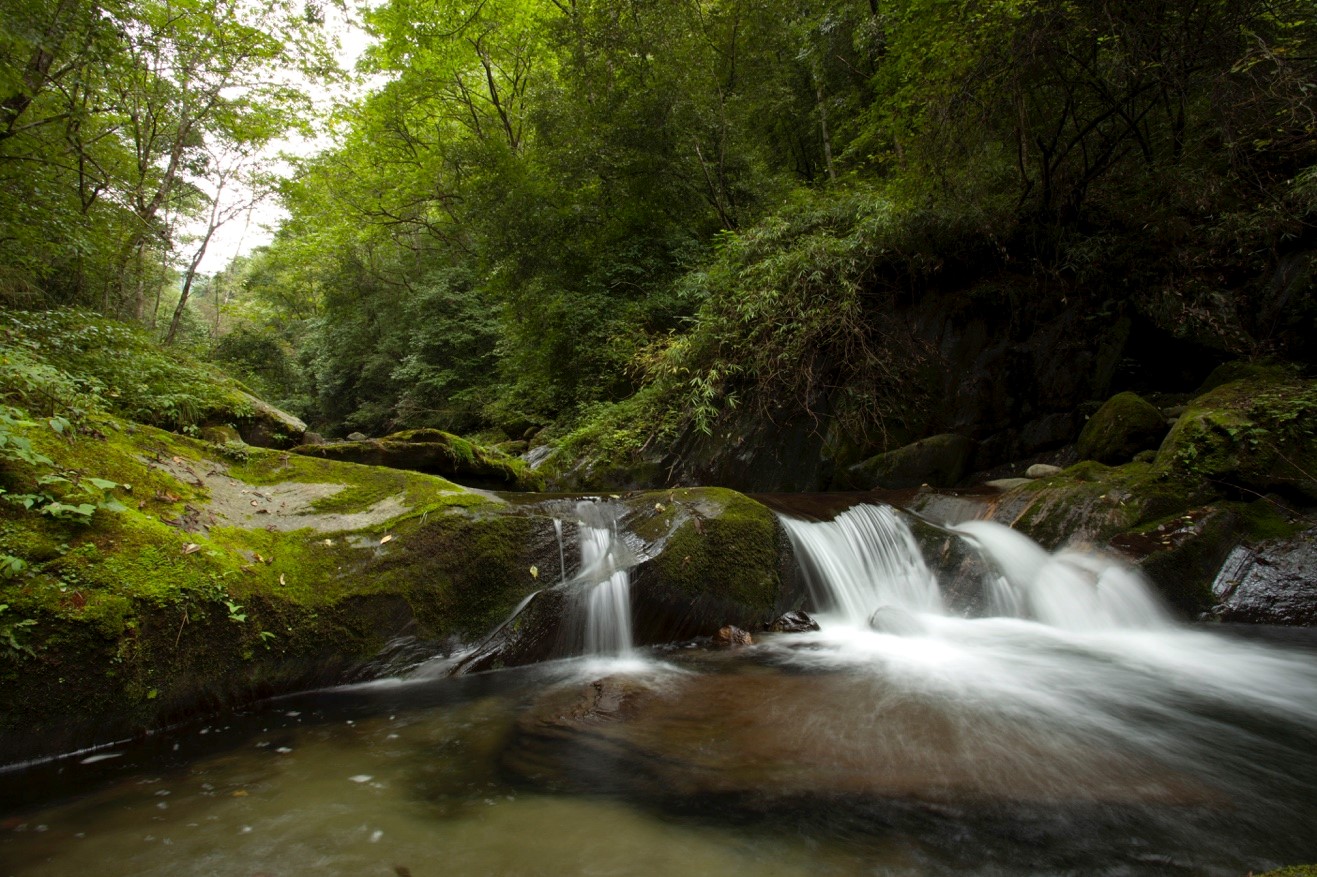
BONUS TIP: Finding Moving Water
One of my favorite things to look out for is moving water within a beautiful landscape.
What this allows me to do (with a tripod) is slow much shutter down immensely and capture the water in a silky, slow motion kind of way.
If you encounter such a scene, I recommend using your “shutter speed priority mode” on your camera and experimenting at intervals around one-tenth, fourth, half, and one full second. Once you find the best look, based on the speed and volume of water, take a few different photos at that same shutter speed with different compositions to perfect the shot.
You may notice that if your water and landscape is in bright sun (or really any sun) you may have difficulty capturing the scene at the slowest shutter speeds. If your resulting photo looks “blown out” or just way too bright, try using slightly faster shutter speeds like 1/15 or 1/20 of a second.
Or, if you fall in love with this style of photography like I have, you may wish to pick up a neutral density filter to darken the entire scene, thus allowing you those slow shutter speeds of 1/4 or one full second (or perhaps even slower).
And there you have it! If you’re headed somewhere beautiful in the near future (I hope you are!) take these landscape photography tips with you and capture the world’s beauty in the best possible ways!
Cheers,

Court
2 Comments

Gary Sulcer
May 28, 2021 at 7:11 pm

Court Whelan, Ph.D.
June 2, 2021 at 10:55 am
I really enjoy your informative and interesting posts on Alaska! My wife and I will be there for 12 days in July. We can’t wait. We will be in Denali, Kenai Fjords, Katmai Bear Peninsula, Homer, Seward, Talkeetna, and Anchorage. We are also going to fish for a day and have the time of our lives! I purchased my dream lens, Nikon 180-400 about six months ago. You should write book about your photography experiences! I just started following you on Instagram.
thank you, Gary! It sounds like you’ve got an amazing trip lined up! I’ll actually be in AK around the same time…maybe we’ll run into each other out there! And great tip on the book–it’s been on my mind, actually. Thanks for the words of encouragement!