
How to Incorporate Slow Shutter Speeds in your Wildlife Photography
In this world of constantly seeing and comparing your photography with others, it’s important to try new techniques that can help differentiate your photos in a relatively significant way. This isn’t just for others’ enjoyment. As you learn and utilize advanced settings, you will form a greater appreciate and love of your own photography, too!
One way to really get a different look in your wildlife photography is to experiment with slower shutter speeds.
Traditionally, fast shutter speeds have been the go-to for wildlife photographers, especially those photographing wildlife chases like those that often happen on photo safaris in Africa. While fast shutter speeds certainly have their place, a new take on fast-moving wildlife is to do the exact opposite and shoot on deliberately low shutter speeds.
What sort of shutter speeds are we talking about here?
Fast vs. slow is fairly subjective. A fast shutter speed for flying birds might be 1/2000th of a second and above. While a fast shutter speed for a walking lion might be in the range of 1/500. Thus, fast is relative to the speed of the animal you’re photographing.
The same is true of slow shutter speeds.
For classic slow shutter speed photos, like running water, or even night photography, we’re usually talking about shutter speeds around ½ of a second, or maybe even 3, 5, or 10 full seconds.
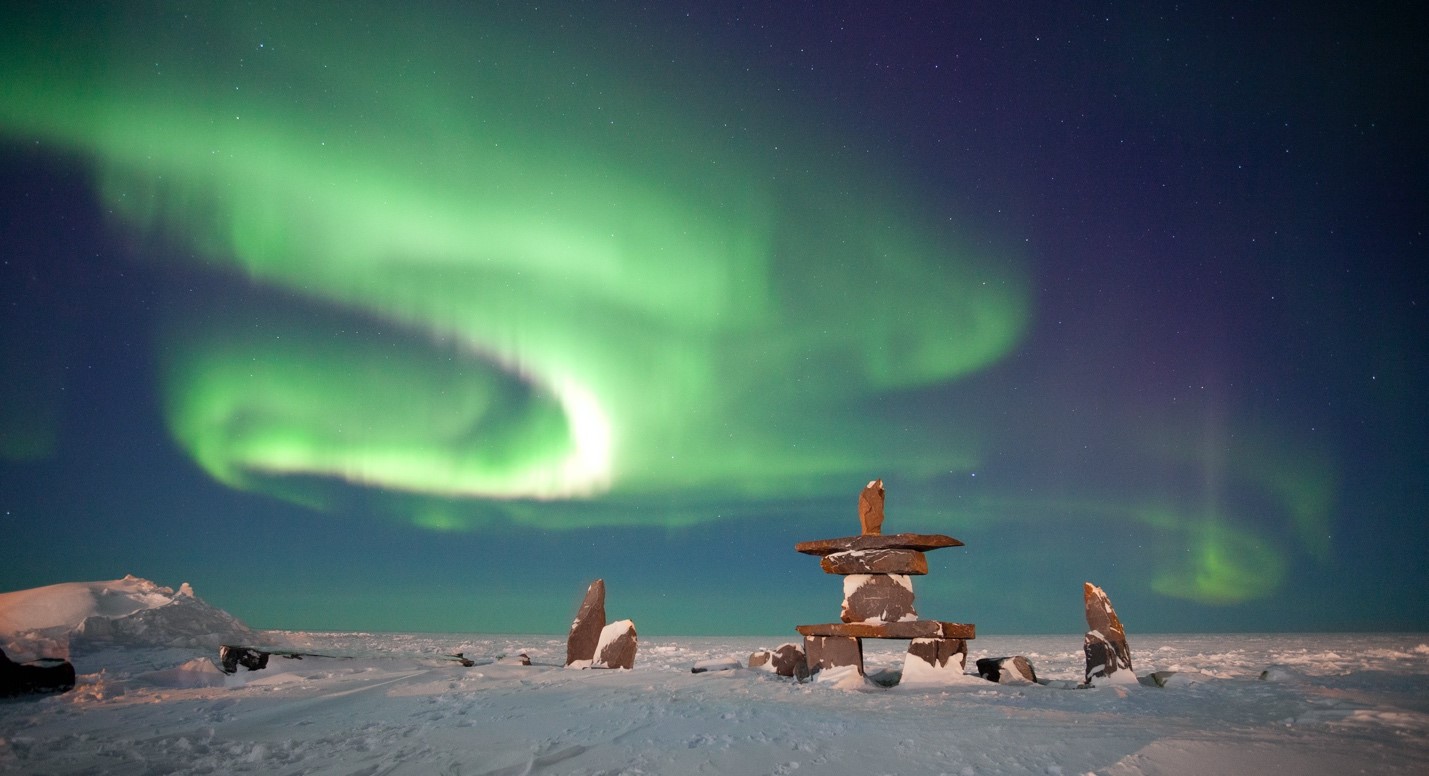
(if the above photo intrigues you, check out my Step by Step Guide for Northern Lights Photography)
However, when it comes to big wildlife, especially those moving at a pretty good pace, slow can be 1/40th of a second and ultra slow is 1/10th of a second. Heck, slow can even be 1/100th of a second in the right context.
The great thing about this fact is that it minimizes issues you get from your own hand movement while taking the photo. For most slow shutter photos, a tripod is rather necessary—something many of us don’t have at the ready while in a safari vehicle photographing fast moving wildlife.
Thus, you can literally be taking classic fast shutter photos one moment and then switch over to a slow shutter photo on a whim.
What wildlife sightings make for the best slow shutter shots?
Before we get into the technique, it’s helpful to talk about what sort of scenes and wildlife sightings lend themselves best for slow shutter wildlife photos.
When just starting out, it’s helpful to force yourself to just take slow shutter photos throughout the day. That is, don’t wait for the perfect moment, just start experimenting and seeing what you like.
There is no hard and fast rule to what movements or animals are best with this technique. Thus, you may find that your favorite photo of the day comes from a trial-and-error scenario of this slow shutter technique.
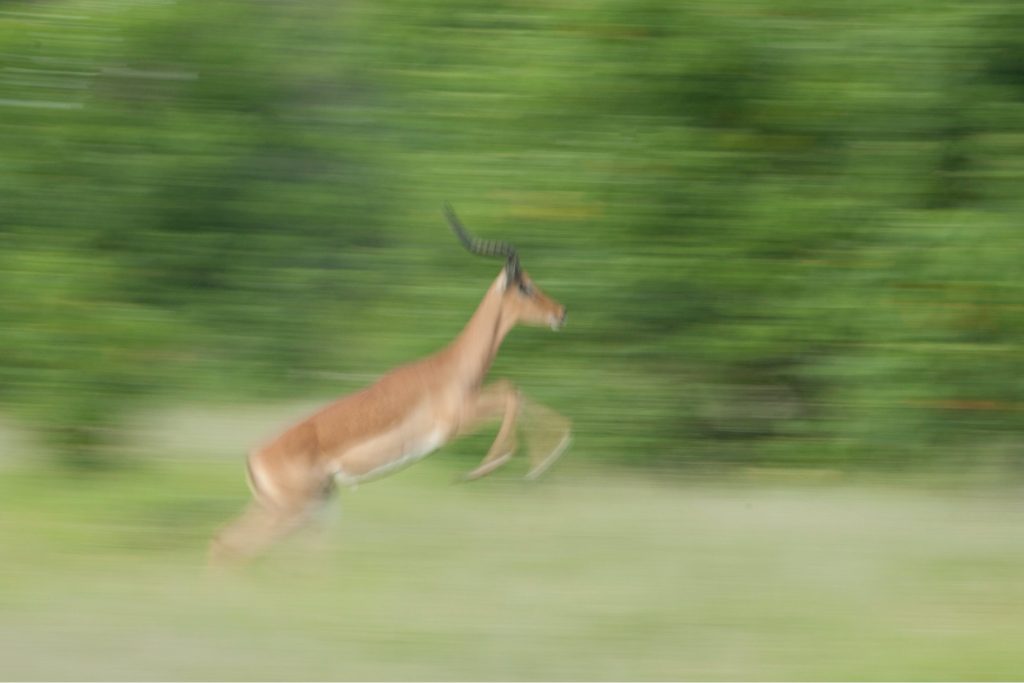
Nevertheless, I’ve found over the years that the best photos come from wildlife that are moving at a relatively quick pace (i.e., running), and when they’re doing so, they are running parallel to your vehicle. In other words, they aren’t running at you, or away from you…most of their path is keeping them at the same distance from you and your camera so they may stay in the same plane of focus.
By seeking these photo opportunities, you are able to get the animal in relative focus and sharpness, while getting really nice motion blur in the fore and background. And since the animal is moving, there will be some natural motion blur on the animal itself, which is just fine. In fact, this is indeed part of the allure.
If the animal is coming at you (either directly, or at an angle) the animal usually becomes out of focus during the split second the shutter is open due to normal depth of field issues. This isn’t ideal.
Now is a good time to get into the technique…
The Technique
Let’s start with the camera settings.
Nowadays I am usually shooting on full manual mode (not manual focus, just manual mode), while also setting an auto ISO. This allows me to dial in the aperture I want to accomplish the depth of field I want, but also allows me to dial in the shutter speed that I want.
However, when photographing in daylight conditions at slow shutter speeds, you may run into a trap here if you were to use my same “manual settings” technique.
What would likely happen, is if you were at, say, f/8, dialing in 1/40th of a second, and then letting the camera choose the ISO for you, it would go as low as possible to ISO 100 or ISO 50 and then “bottom out” such that it can no longer compensate for the loads of light going to the sensor with this slow shutter speed. Your photo will be too bright and extremely difficult to edit in post processing.
The reason here is that at 1/40th of a second, you actually ought to be at a significantly higher f/number, which is why for these slow shutter wildlife shots, I actually prefer to set my camera on Shutter Speed priority mode. This allows the camera to choose the aperture that best compensates for the shutter speed I dial in.
It may not seem like a big difference, but it really helps a lot with these types of shots. In addition, you can be back to shooting “normal” fast shutter wildlife photos by a simple dial of the settings wheel back to your shooting mode of choice (e.g., manual, aperture priority, auto, etc.).
The rest of the technique has to do with the panning motion you will need to employ with your camera as you focus and depress the shutter at the same time. What you are aiming to do is to track the animal as it runs parallel to you such that the animal stays in the same spot of your lens while the shutter is open. This is key, as it allows the animal to stay in some semblance of focus, while the background gets that fantastic motion blur. This will take practice, I assure you.
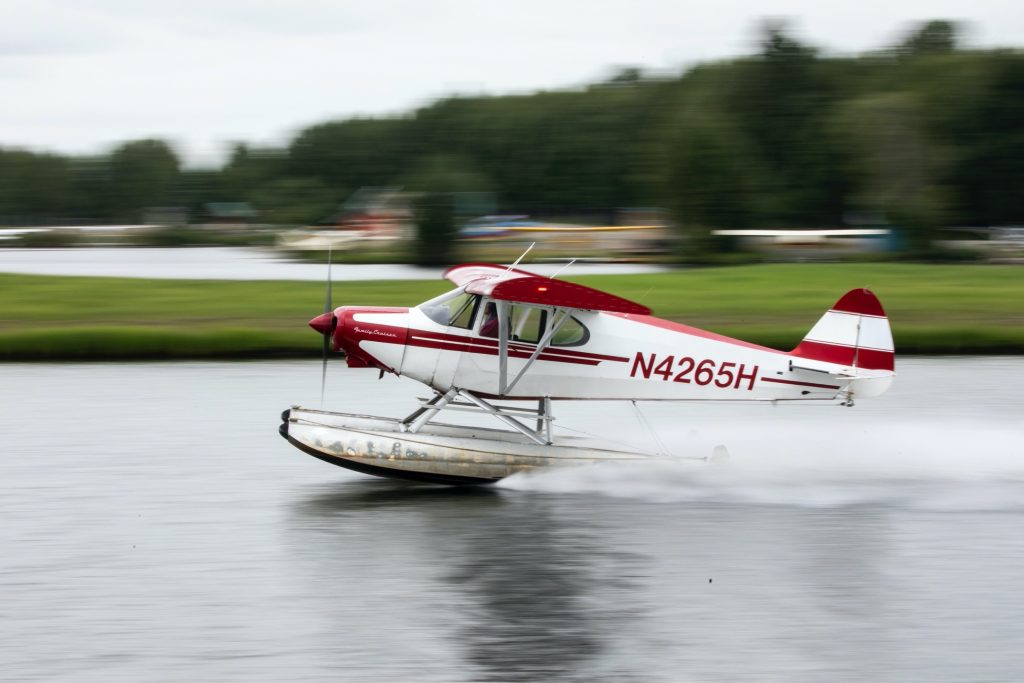
One option you have is to practice on moving vehicles in your own town. I have the luxury of photographing planes at a sea base in Alaska from time to time, and you can see how the same principles apply…
Once you have a shot that you like, it’s time to experiment with different shutter speeds. Start with 1/40, but be ready to move to 1/20, 1/10, or perhaps even faster at 1/60 or 1/80. Remember, “slow” is all relative—1/80th of a second could indeed produce the exact shot you’re looking for.
A quick note on the panning technique I’m talking about…
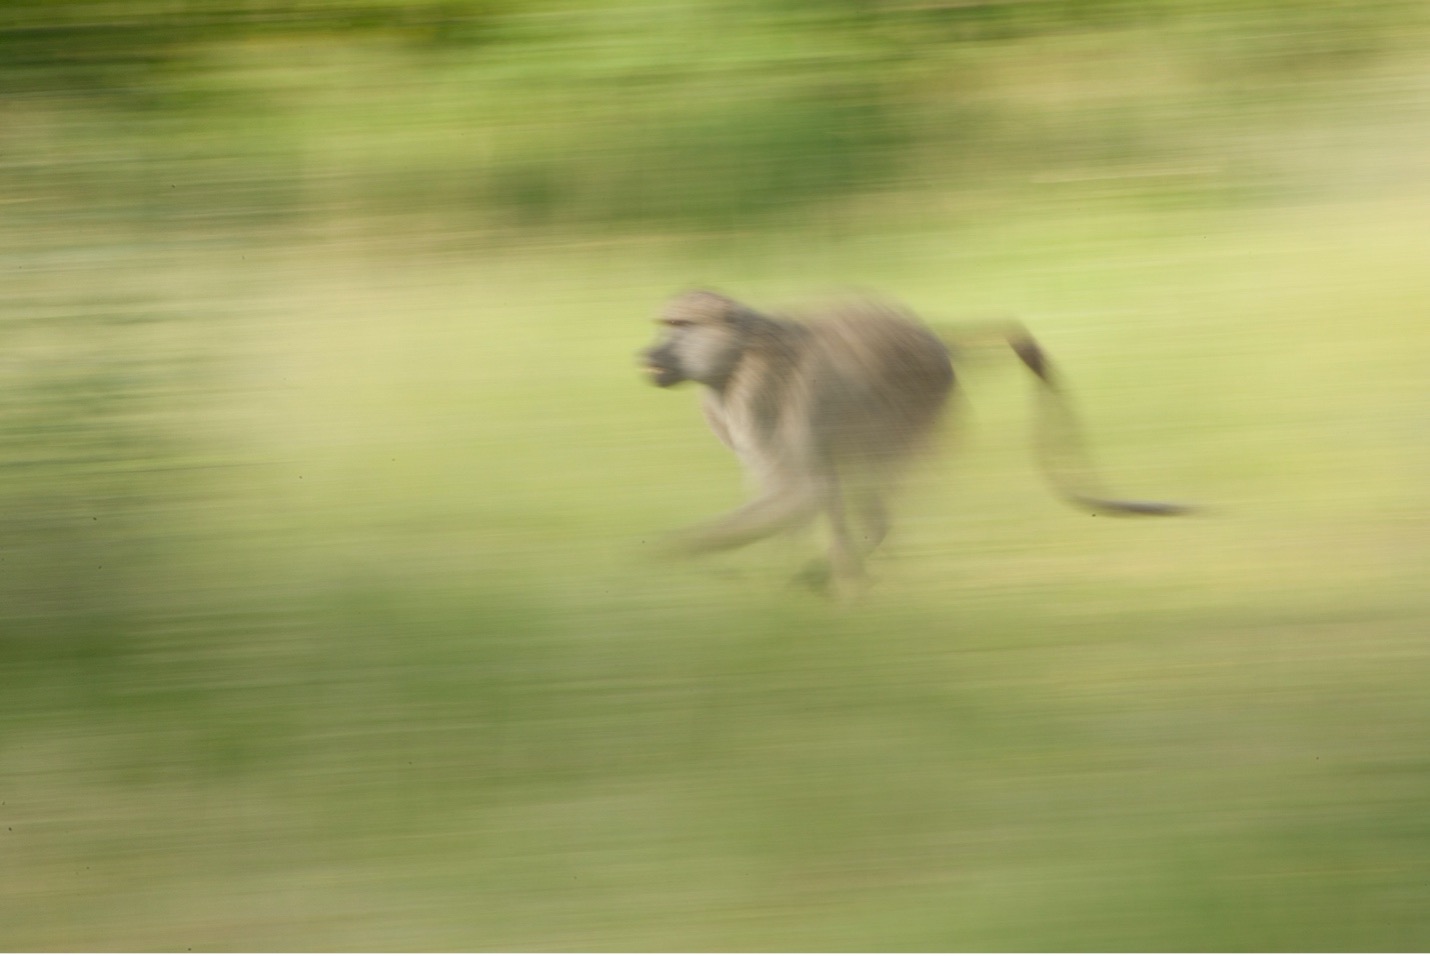
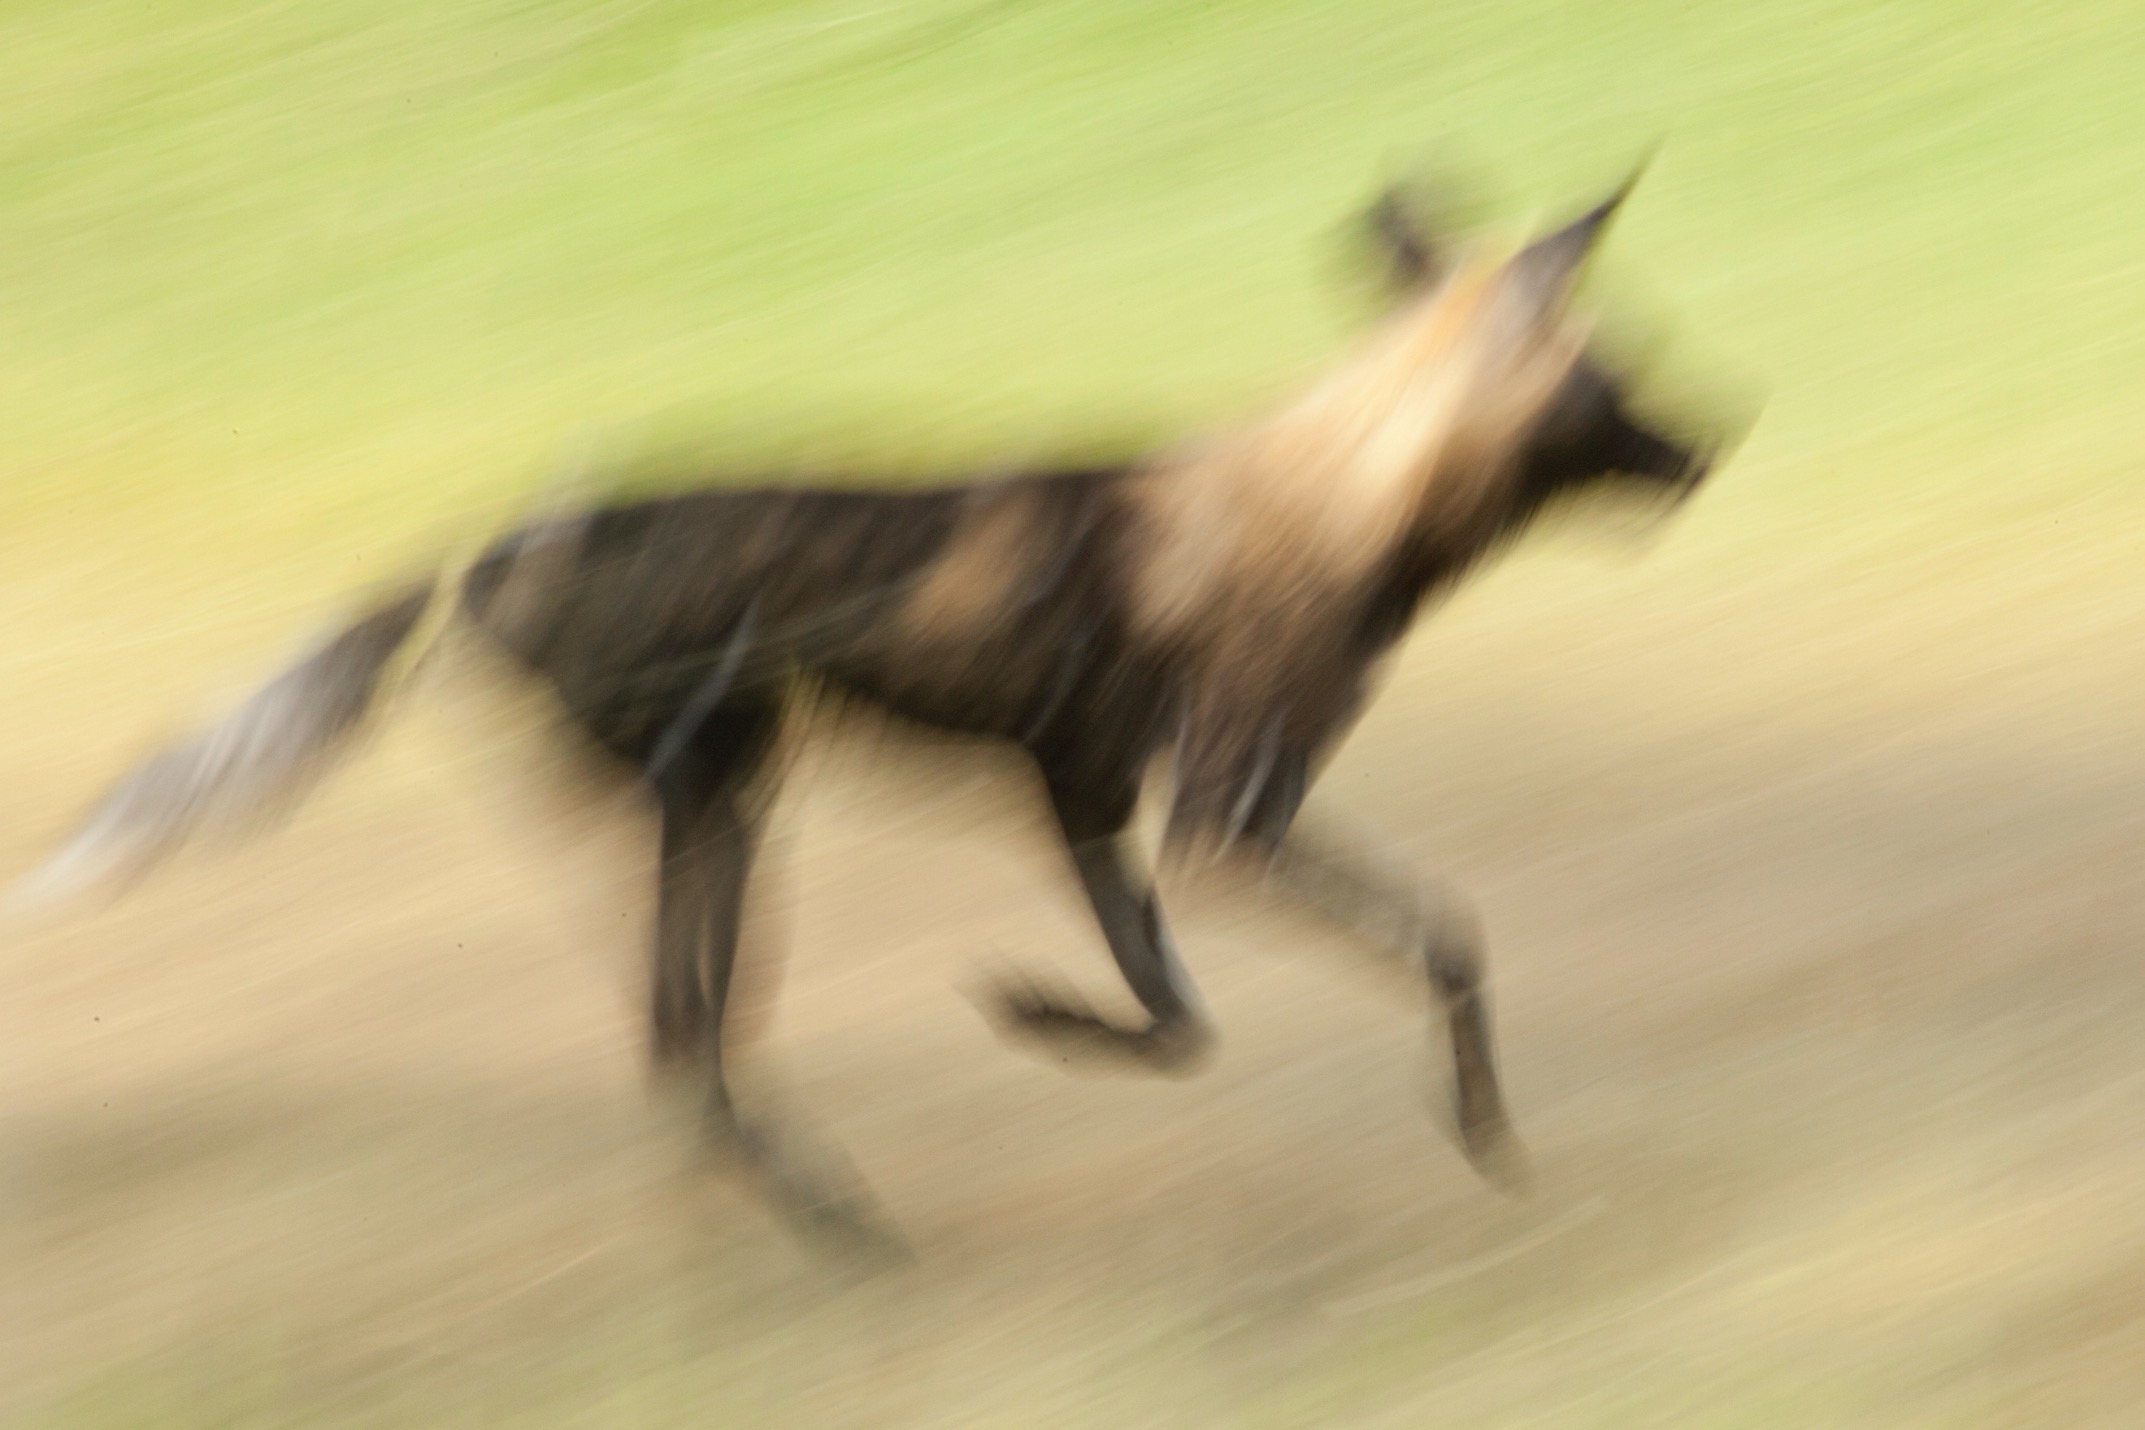
While I have found this to be my favorite style, which I also employ in other wildlife and travel photo ops, I also like to break my own rules and patterns. As you’ll see in the shot below, this slow shutter photo of a wild dog in pursuit of an impala was relatively chaotic, and the motion blur without any sort of pattern to it really showcases the frenetic nature of these predators.
And there you have it—a bit of a photo challenge along with a tutorial here.
As I’ve mentioned, this isn’t a technique you’re likely to nail the very first time you try it. Thus, if you’re out on an African wildlife photo safari, give this a try on day 1, and try to repeat it a few times throughout so that you give yourself plenty of practice.
Once you have learned the technique, I have no doubt you’ll find all sorts of other instances where it can be used!
Cheers,

Court
Leave a reply