
Step by Step Plan for Photographing the Northern Lights
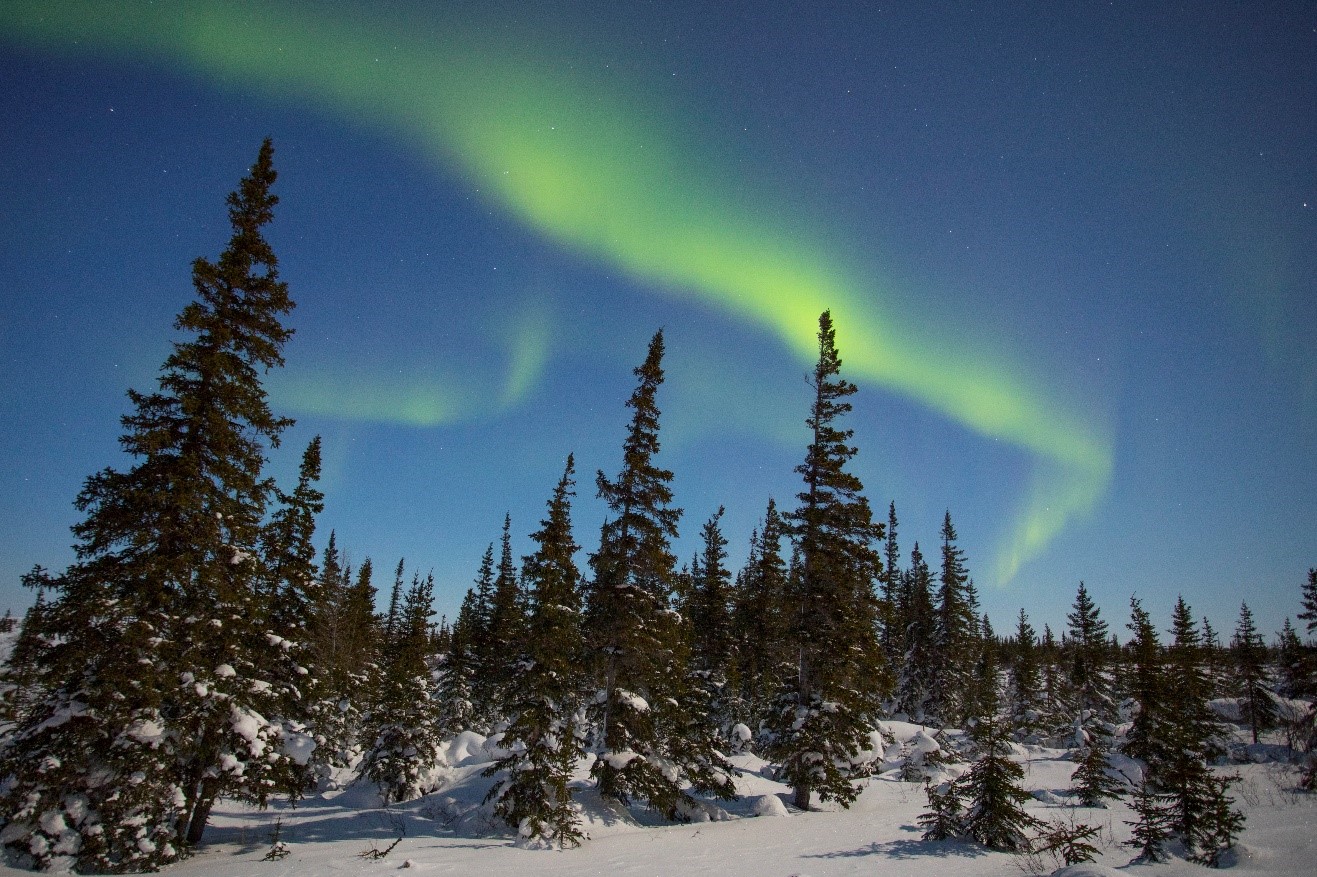
Capturing the brilliance of the aurora borealis is no doubt a bucket list item for all photographers. It’s of course beautiful, but it’s also technical, challenging, and gives you the feeling of tremendous accomplishment when and if you nail it.
If you’re headed on a Northern Lights Photo Adventure, it’s worth studying up on the basic technique ahead of time so when that magic moment happens, it’s just a matter of hitting the ol’ shutter and capturing the amazing-ness.
Long-exposure
If you are versed with long exposure photography, this won’t come as a surprise to you. You need to have your shutter open for a decent bit of time in order to capture the color and light in what is otherwise total darkness. However, what may be surprising is that you don’t need to stretch the limit of normal astrophotography exposures, which are usually in and around 25 seconds.
For aurora photography, you’re generally looking at between 5 and 15 seconds.
Wide Aperture
Aperture terminology can turn people off of manual settings extremely quickly. That’s why I’m going to keep it simple and just say a “small f/stop number” when it comes to aperture settings. Don’t worry about the other terminology, just stick with the smallest aperture number your lens will give you.
Generally, you’re wanting something like f/2.8 to f/4. If you have a lens that’s capable of a SMALLER number than f/2.8, that’s nice, but not really necessary. You’ll be just fine at f/2.8, f/3.5, or f/4. And, you’ll get the added benefit of more foreground in focus if you use those bigger numbers, which translate to a wider depth of field.
If you are looking to invest in a lens specifically for Northern Lights Photography, check out my other article here on The Best Lenses for Northern Lights Photography.
High-ish ISO
Why -ish? Nowadays cameras are getting into such high ISOs that the book is being completely re-written on what’s considered high or not.
For photographing northern lights, you’re really looking at something between ISO 800 and ISO 3200. Where you land between the two comes down to a couple things. 1) how well your camera handles higher ISOs and 2) how bright the lights are.
Generally speaking, newer, more-expensive cameras will be able to give you a good photo at ISO 3200 while older cameras or more introductory models could make your photo look rather grainy and detract from the quality of the shot. It also comes down to your own tolerance for such “grain” or “noise” in your shots. To some, the noise isn’t an issue, to others it turns photos unusable.
Then when it comes to the brightness of the lights, this is where things get quite variable. Lights can brighten and darken within a matter of seconds and the only thing I’m really actively changing on my own camera is the ISO. I usually won’t touch the shutter speed or aperture from shot to shot, but I will try and get the lowest ISO possible. If the lights are starting slowly, I might start at ISO 3200, but then if they brighten I might steadily take the next few shots at ISO 2000, then ISO 1600, then ISO 1000, and end up with ISO 800.
Remember, the bigger the ISO the more light the camera picks up. And every time you double your ISO, you’re letting in twice as much light. Conversely, if you halve the ISO you’re letting in half as much light. Thus, you’ve got to really read your environment and play with your ISO accordingly!
Shutter release
There are several different tools for remotely taking a photo, including cables, infrared, and even your smartphone via an app. However, I’ve found the easiest way to take a night photo is to set my camera’s timer on a 2-second delay. That way, when I hit the shutter the camera won’t take the photo for 2 seconds, which gives the camera time to stabilize once more after I depress the button.
The risk of not doing any sort of remote button or delay is that the slight bit of pressure you impart by pressing the shutter actually moves the camera little, such that the photo could be slightly blurry. Best to play it safe…
Putting it all together
As I mentioned at first, I don’t normally change these settings much throughout a night of taking photos of the aurora borealis. However, as aurora intensity changes, I will play around with ISO, knowing that the lower the ISO the better the photo quality will be. But at the same time, I must give my camera enough light-sensing ability, so I don’t want to go too low.
The other thing I’ll play around with when it comes to really active auroras, which albeit can be exceptional, is the shutter speed. While I do want to give my camera as much light as possible, sometimes when auroras are moving visibly to the naked eye, you actually must freeze the motion of the aurora. Otherwise you’ll get a blurred entirely green sky instead of distinct and mesmerizing curtains of aurora. For this, I will shoot somewhere between 2 and 5 seconds of shutter speed. Active auroras are also very bright auroras, so we have more light to work with. To compensate, I may need to simultaneously increase my ISO to let in more light (remember, to let in more light you can increase ISO or increase shutter speed). But remember this is only when the aurora is really active and I need to capture a shorter period of time.
Aurora photography is both complex and straightforward at the same time. While the settings are straightforward and don’t vary much, they are indeed a very specific suite of settings beyond which you just won’t get the shot.
Hopefully these straightforward steps put you one giant step closer to getting out there and photographing one of mother nature’s most spectacular natural phenomena.
Cheers!

Court
3 Comments

J Maxwell
July 30, 2019 at 7:36 am

Sally
August 10, 2022 at 12:03 pm

Court Whelan, Ph.D.
August 16, 2022 at 3:16 pm
Thank you for this straightforward (and inexpensive) advice. I am traveling to Lapland in October, so I have maybe a 40% chance of actually catching the Northern Lights (on each of 3 nights). I am very happy with my Lumix FZ200 camera, but had been feeling a little pressure to upgrade my DSLR (I have an old Canon Rebel EOS 300D in the closet). Since the Lumix has a manual mode, an ISO3200 setting, and a 2 sec timer, it seems like the biggest challenge I may face is the disdain of others who have cameras whose price tags dwarf my very versatile bridge camera. Plus, with less worry, I can enjoy the experience instead of learning features on a new camera.
Thank you for your article. I just signed up to go to Churchill in February. I’m beyond excited!! I have something exciting to look forward to now. I soak up information this for my photography because I want to get the best advice possible. So excited!!
Thank you again!
so wonderful to hear, Sally! Maybe I’ll see ya up there! 🙂