
How to Capture the Colors of Canyon Country
The colorful landscapes of the American Southwest are nothing short of jaw-dropping. It’s hard to believe that different concentrations of iron can yield such dramatic scenes! Well, the iron plus hundreds of millions of years of erosion and deposition to create the actual formations, too.
The point is that “red rock country” is so much more than just red rocks…the subtle yellows, oranges, pinks, reds, and even magentas paint an extraordinary picture. If you are planning on a photo adventure to the canyons of the American Southwest, you’ll want to capture these colors in all their glory.
Read on to learn the variety of ways to do so!
Even Lighting
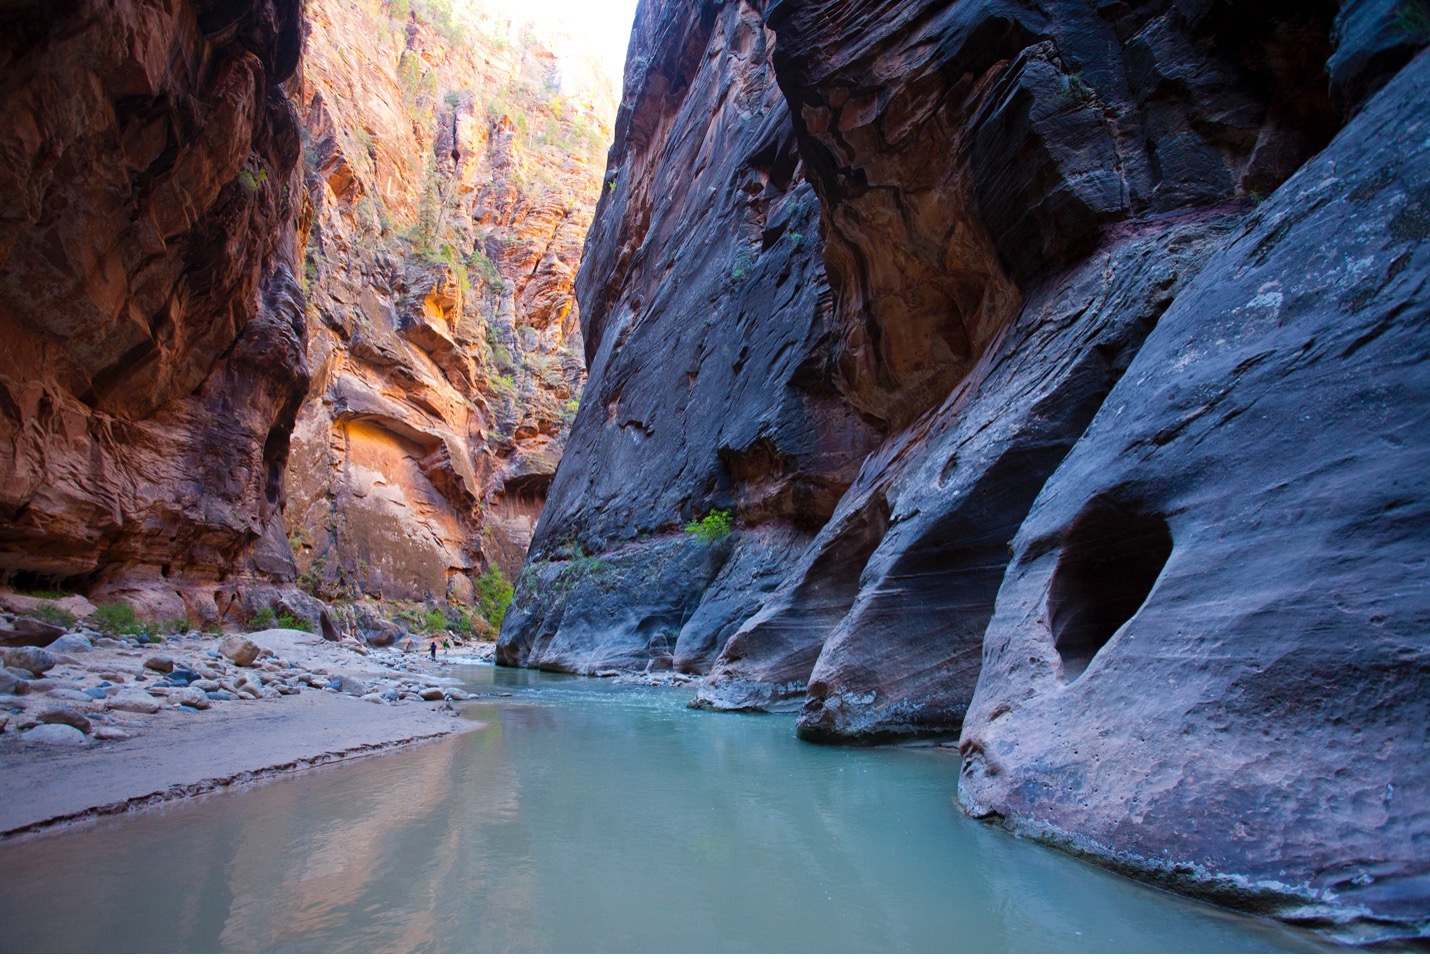
There’s nothing that botches a landscape photo more than heavy contrast of extreme brightness and extreme shadows, mottled throughout your scene. It’s distracting, yes, but even more importantly is that it washes out colors on one hand (with “blown out” bright spots, as we say) and fails to capture any colors at all on the other hand (with dark shadows).
Notice how in the below photos you lose some of the richness of color because of the hefty shadows present? It makes what is otherwise a rather compelling scene relatively drab.
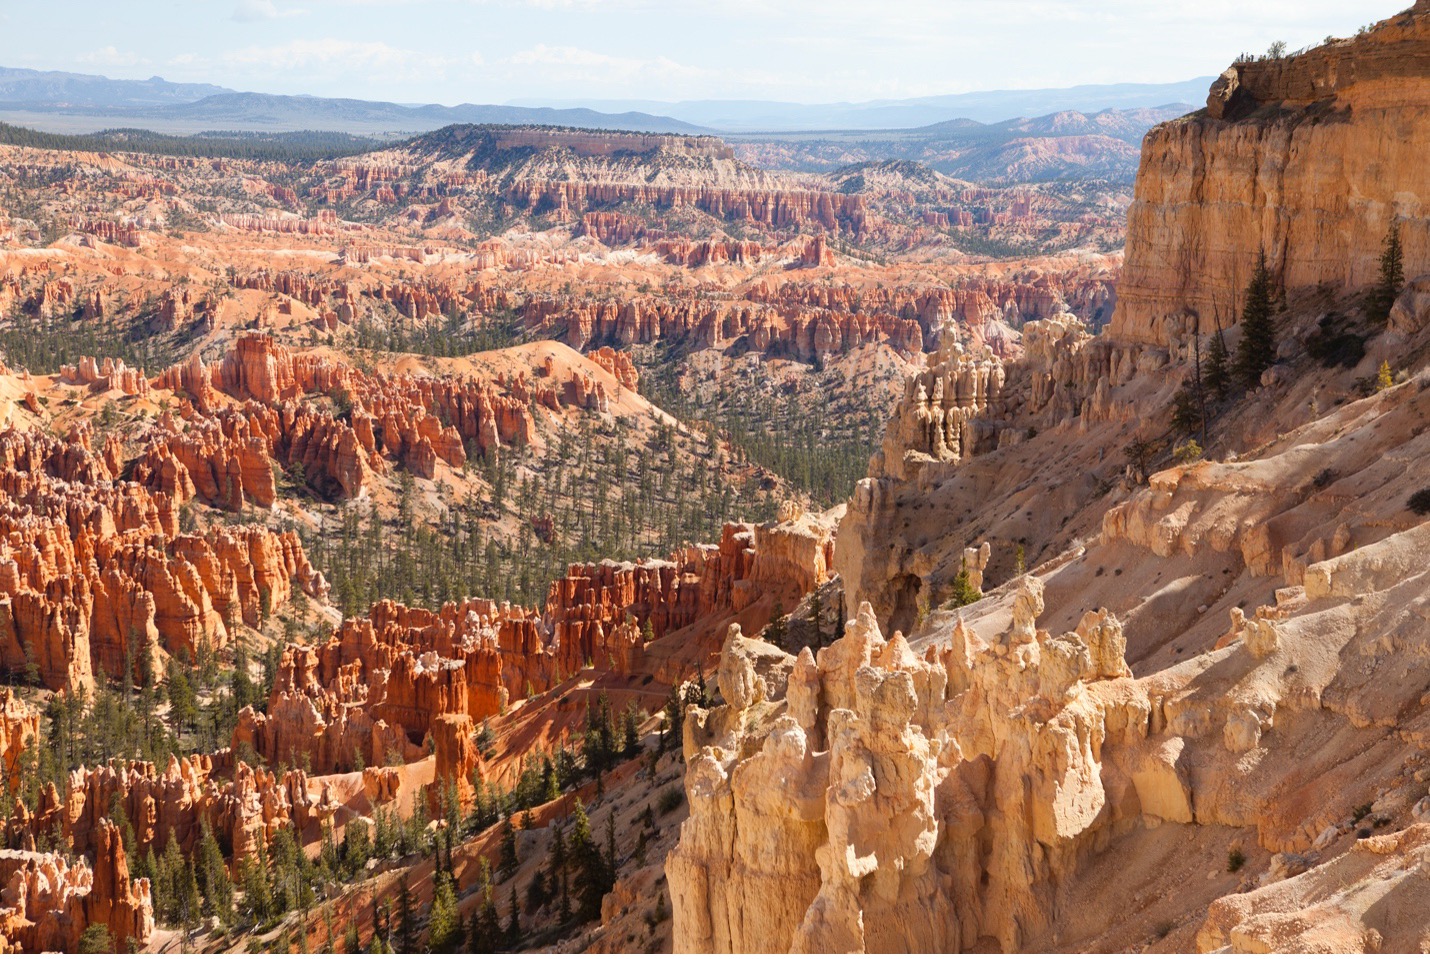
Knowing and photographing both of these areas extensively, I can tell you they are MUCH more brilliant than these photos lead on, and it’s all due to the harsh contrasts.
One of the best ways you can showcase the magnificent colors in the rocks of places like Southern Utah and Northern Arizona is to ensure that you feature mostly soft shadows in your scene. It’s nearly impossible to avoid having any bright spots or shadows, and I’m not sure if that would even yield a good photo, so some contrast is inevitable and desired. However, seeking even lighting is the key here.
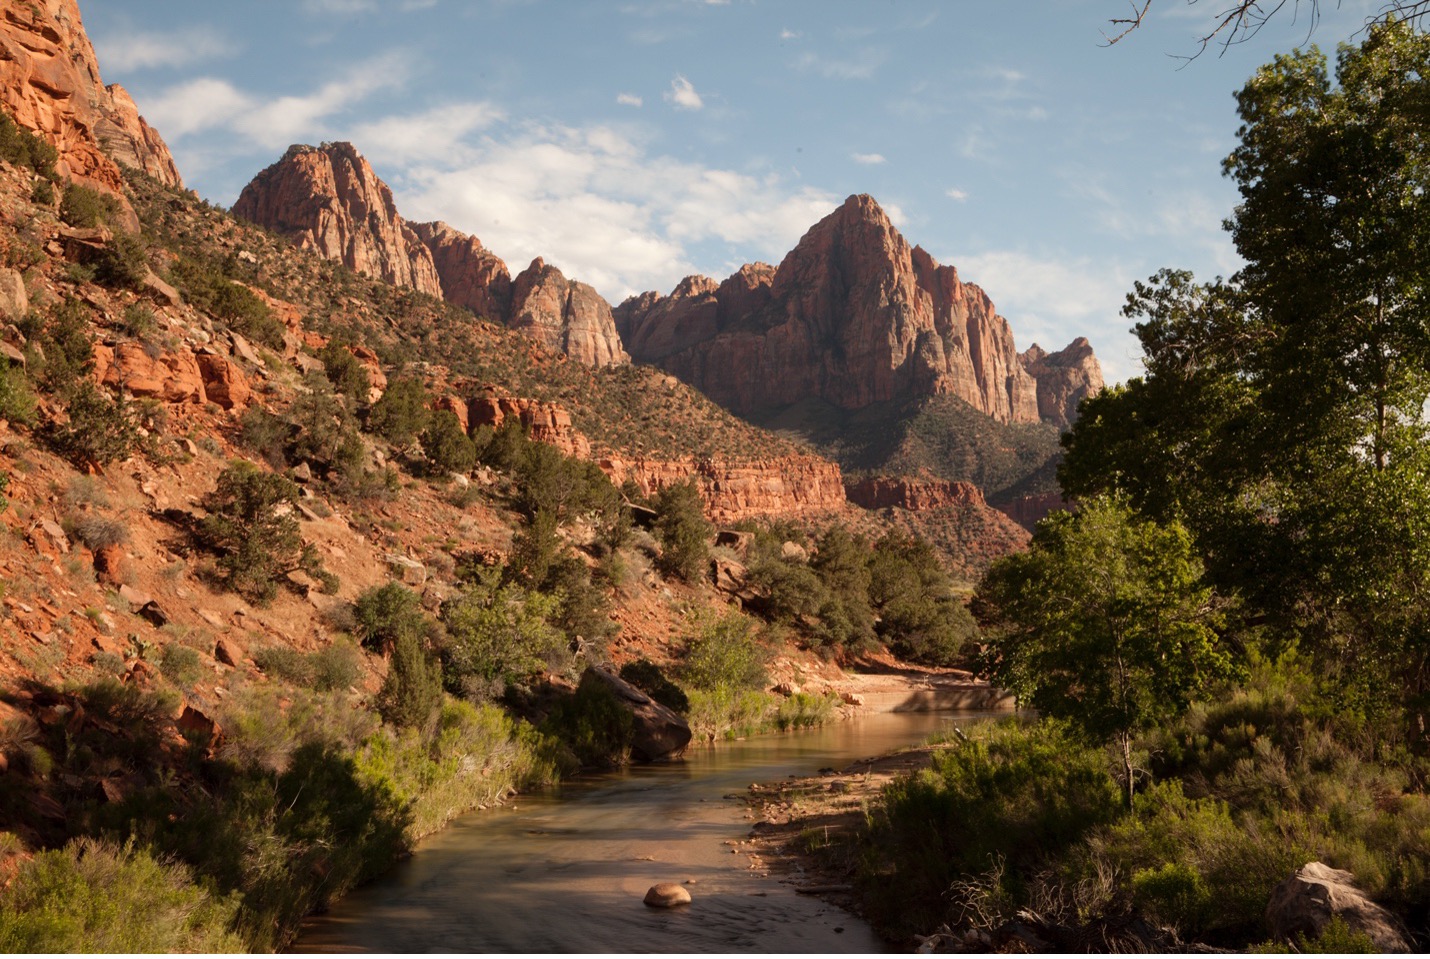
The trouble with the vast landscapes of canyon country is that in some of the most iconic and spectacular landscape scenes you have so, so much landscape in your photo. That is, it can be hard to photograph these big scenes without getting any harsh contrast.
One excellent technique for photographing big scenes, where some areas might be heavily shadowed next to extreme sunlit areas, is to actually break the scene into smaller components. That is, throw the telephoto lens on and actually zero in on the part of the scene that has this even lighting we’re talking about.
Notice how in the above photo we do have some bright spots in the distance, but because the foreground is all evenly lit (i.e., no harsh bright spots, and virtually no harsh shadows) it’s an appealing scene. And the bright background even adds to the allure of it!
The above photo was indeed taken with a telephoto lens, so that I could zero in on this small section vs. the entire 180 degree view in front of me.
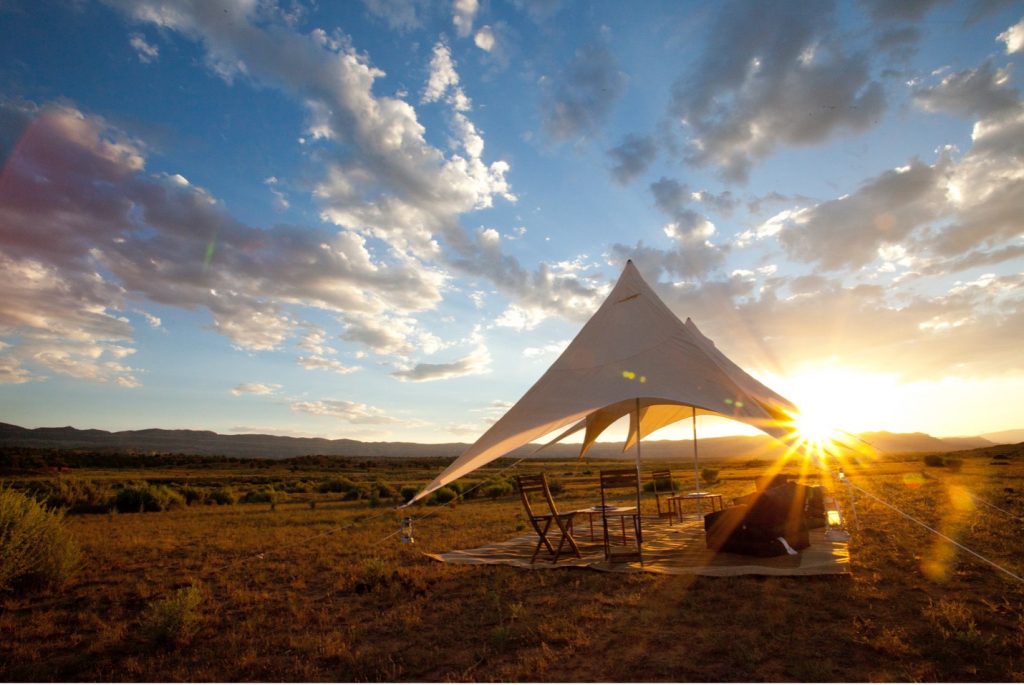
Time of Day
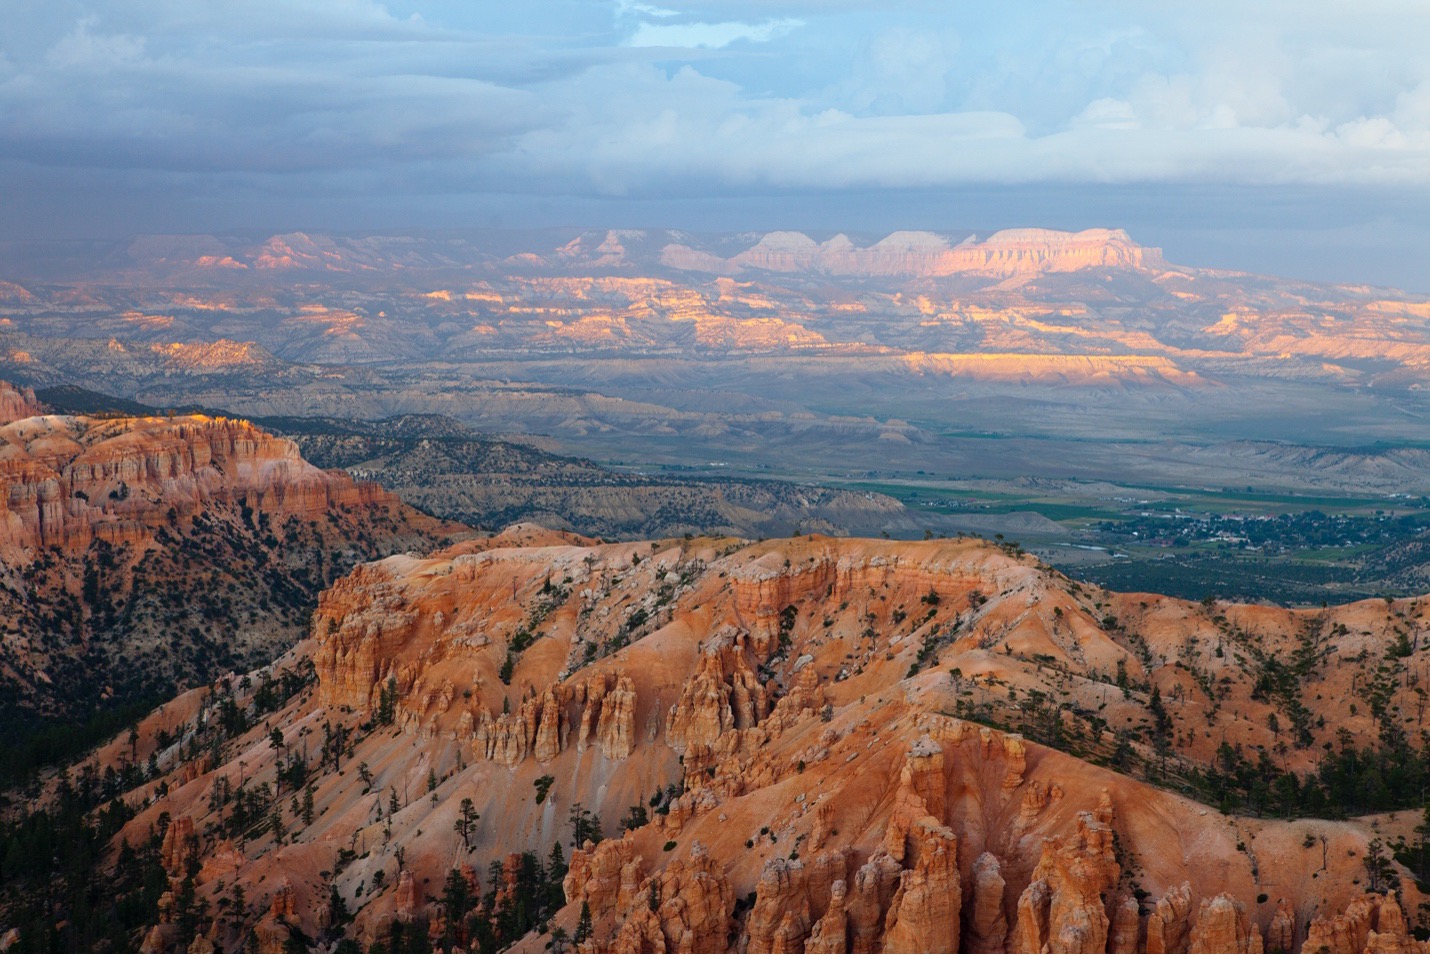
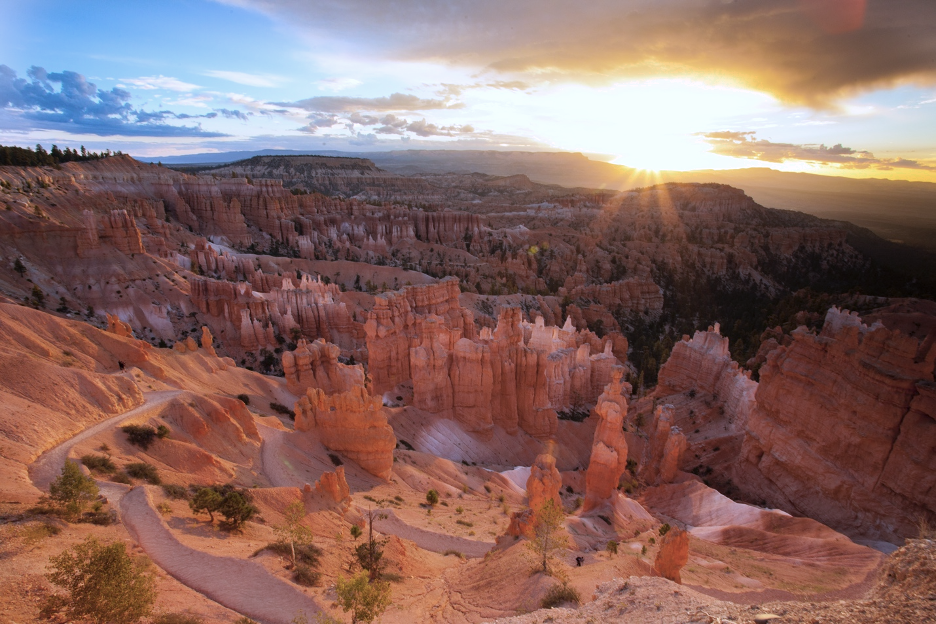
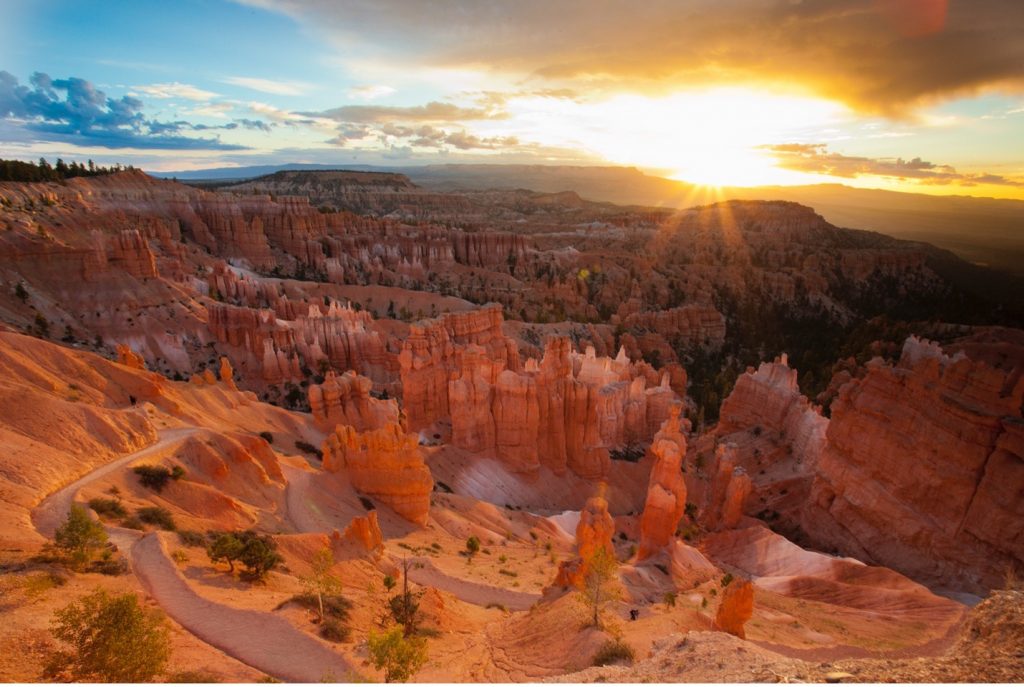
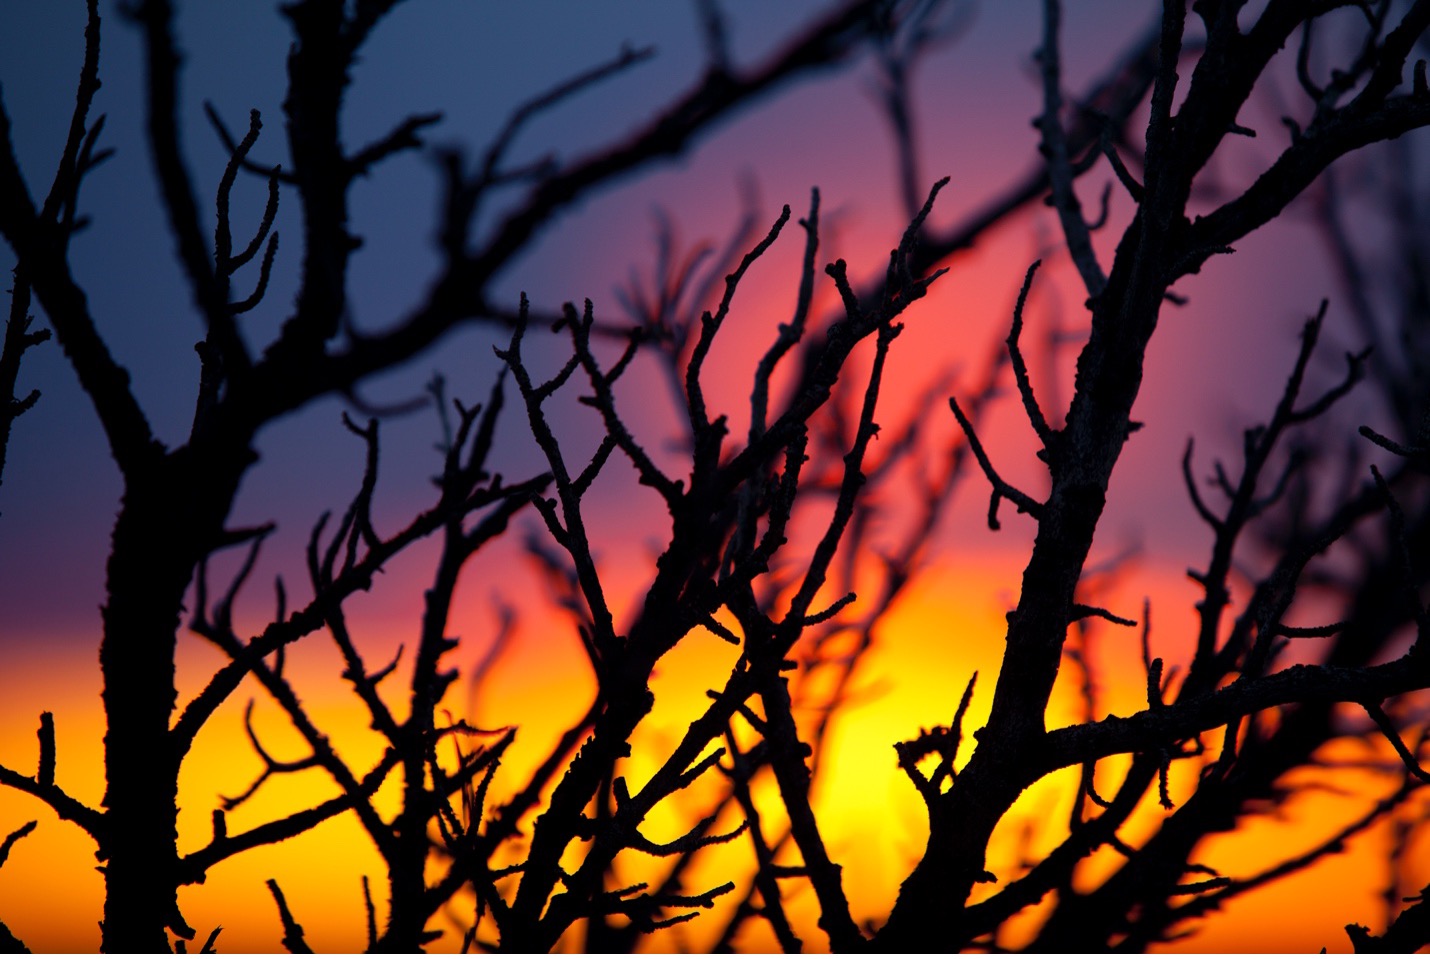
Another excellent strategy for bringing out the rich colors of the desert Southwest is to focus your photography on certain times of day. In particular, the start and end of the day yield some of the best photography.
One reason for this is that low angled sunlight tends to be softer and results in more even lighting—piggy backing on the above section. So, if you are aiming for even lighting, timing your photography is yet another great strategy.
Additionally, the color of light at the earlier and later parts of the day can be quite complementary to the scene.
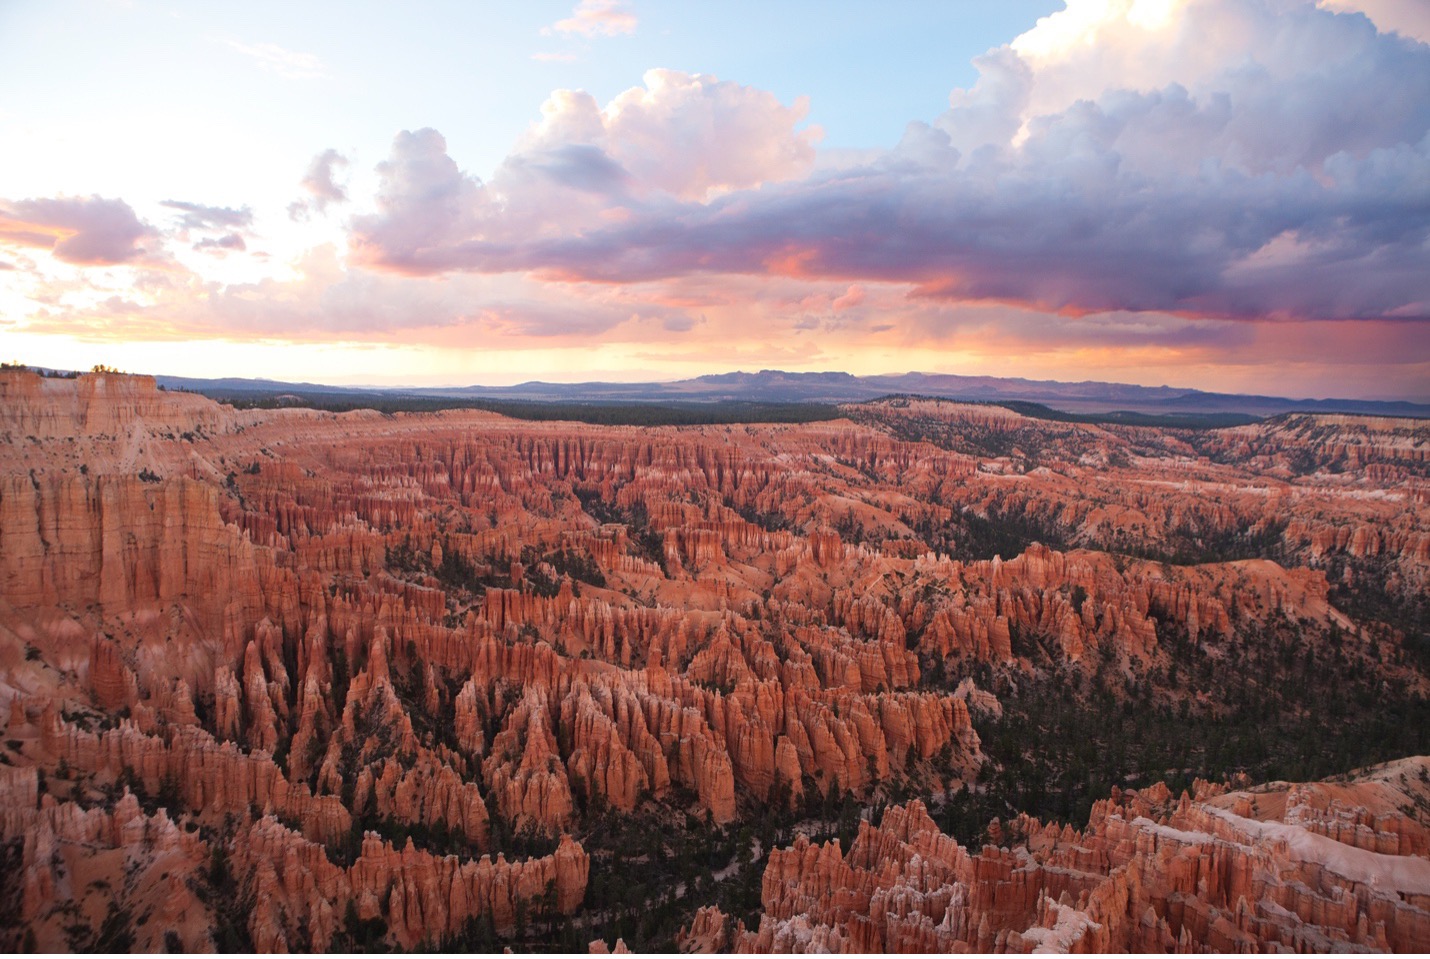
Notice how in the below photo the colorful sunset casts a brilliant hue over the hoodoos of Bryce Canyon National Park. And because you don’t have the harsh sunlight of mid-day lighting, the hoodoos are rather evenly lit, allowing the camera to capture these even tones of brilliant color.
However, your timing can vary significantly from area to area. For instance, while daybreak and sunset times are excellent when you can photograph from the rim of the canyon, like the Grand Canyon and Bryce Canyon, other places when you are physically in the canyon, like Zion National Park have more flexibility and some mid-day lighting can be quite good in fact.
Thus, I always recommend going with a guide adventure with experts that know these advantageous times of day for each location—it makes a world of difference!
White Balance
White balance is a big deal for pretty much all photography. However, when specifically photographing “warm colors” like oranges, reds, pinks and yellows, it becomes paramount to success.
If you’re like me and enjoy the rich colors of these “red rocks” I recommend setting your camera on “cloudy” white balance in-camera. That is, rather than waiting to adjust white balance on the computer after the fact I recommend taking each and every photo with a cloudy white balance vs. auto white balance (usually denoted as AWB in your camera).
The difference in color can be quite pronounced. Take a look at the below two examples…the first being in auto white balance, and the second being in cloudy white balance. Notice how the yellows and oranges are so much more vibrant? Yep, that’s what white balance will do!
Saturation
The saturation of color is something I’ll look at for nearly every photo I ever take, and I do so on the computer while I’m editing my images. Some cameras allow you do “add” saturation in-camera, and jpegs automatically do so. However, when shooting in raw, your photos will be deliberately de-saturated in order to capture as much data from the scene onto your sensor as possible. It’s just part of the deal with digital cameras.
Thus, adding saturation is something I feel is rather critical, especially for the colors of desert scenery. In addition, because of the golden light that often bathes the National Parks of Utah and Arizona, photos hold up particularly well as you increase and increase saturation.
You may notice similar effects as what was described above in the white balance section, but take a look at the below two photos…the first is more like the original that came out of the camera, and the second is one with some added saturation.
While we’re on the topic, you may notice a “vibrance” slider next to the saturation slider on your editing panel. These both do rather similar things, but think of vibrance as an “intelligent” saturation tool. Certain colors start to look really botched when saturated, such that they begin to look over-saturated before the rest of the colors. In particular, we’re talking about oranges and greens.
I do often use vibrance in place of saturation because of this added benefit. However, just note that when photographing deserts and the colors of canyon country, you actually want to emphasize the oranges, so plain ol’ saturation might be your best move. Try both and see for yourself!
Prioritize Colors in your Composition
This final tip may be obvious, but in order to showcase the colors, they need to become a dominant part of your scene! That is, prioritize the mesmerizing colors by turning them into key compositional elements.
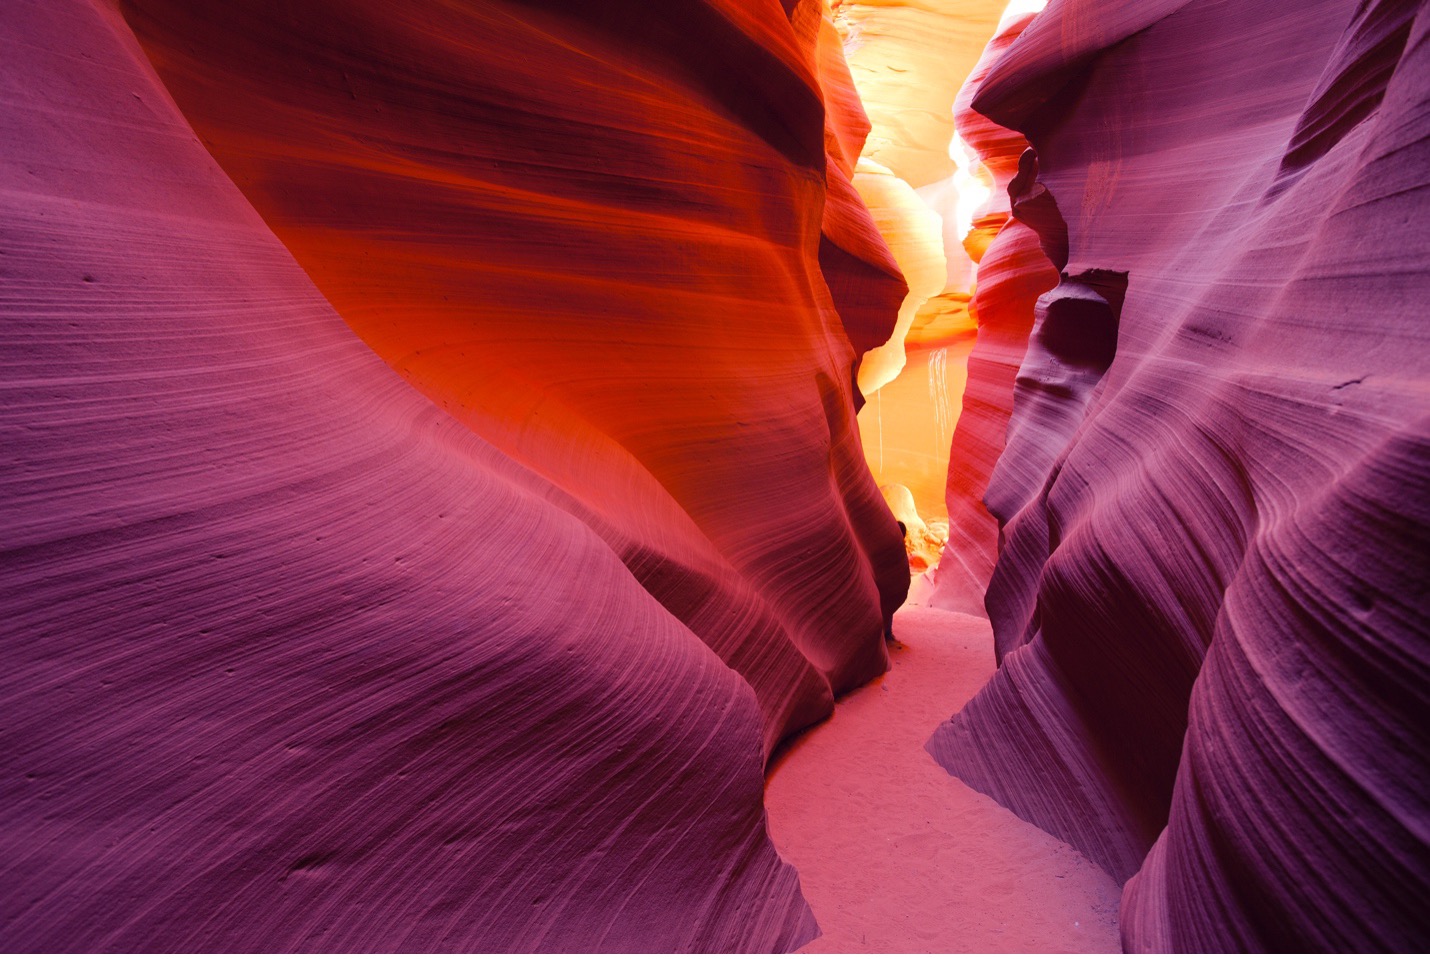
Do you see a gradient of color in a slot canyon? Line that up with the rule of thirds, or create leading lines with the striations of texture and color.

Does one color lead into the next, creating a flow that naturally directs the eyes to the next part of the scene and the next color?
The point is, start thinking in color vs. texture of distinct landscape elements. When you can mix all three together, that’s great, but prioritizing color is the key takeaway here.
There is just oh so much to love about the American Southwest and its vibrant landscapes. As you’ve learned here, it’s not always about the biggest part of the landscape. Sometimes is about breaking the scene into smaller components, nailing the time of day, and then knowing what things to control in-camera vs. in post processing.
Mix that all together and you’re going to return home from a desert photo adventure with shots of a lifetime!
Cheers, and hope to see you out there!

Court
Leave a reply