Different Styles of Polar Bear Photography
Polar bears are not only an icon of the arctic, but an icon of wildlife photography the world over. Perhaps it’s a bit about their rarity and partly due to the extreme ecosystem and weather they so easily deal with. But I’m sure the biggest reason for their supremely iconic status as “the holy grail” of wildlife photography is due to their sheer beauty. Simply put, they’re quite photogenic!
When it comes to “the best” animals to photograph in the wild, it’s hard to take a “bad photo” of such an amazing critter. However, with such an opportunity as photographing polar bears in the wild, you tend to want more than just one amazing photo.
This article is designed just for that—to show you several ways to photograph wild polar bears in the arctic, with advice on how to get each shot.
The “big shot”
Let’s start off with one of the biggest and best photos of polar bears—the big shot. This is the photo that every photographer yearns for, as it showcases the bear in full size, big, stupendous glory.
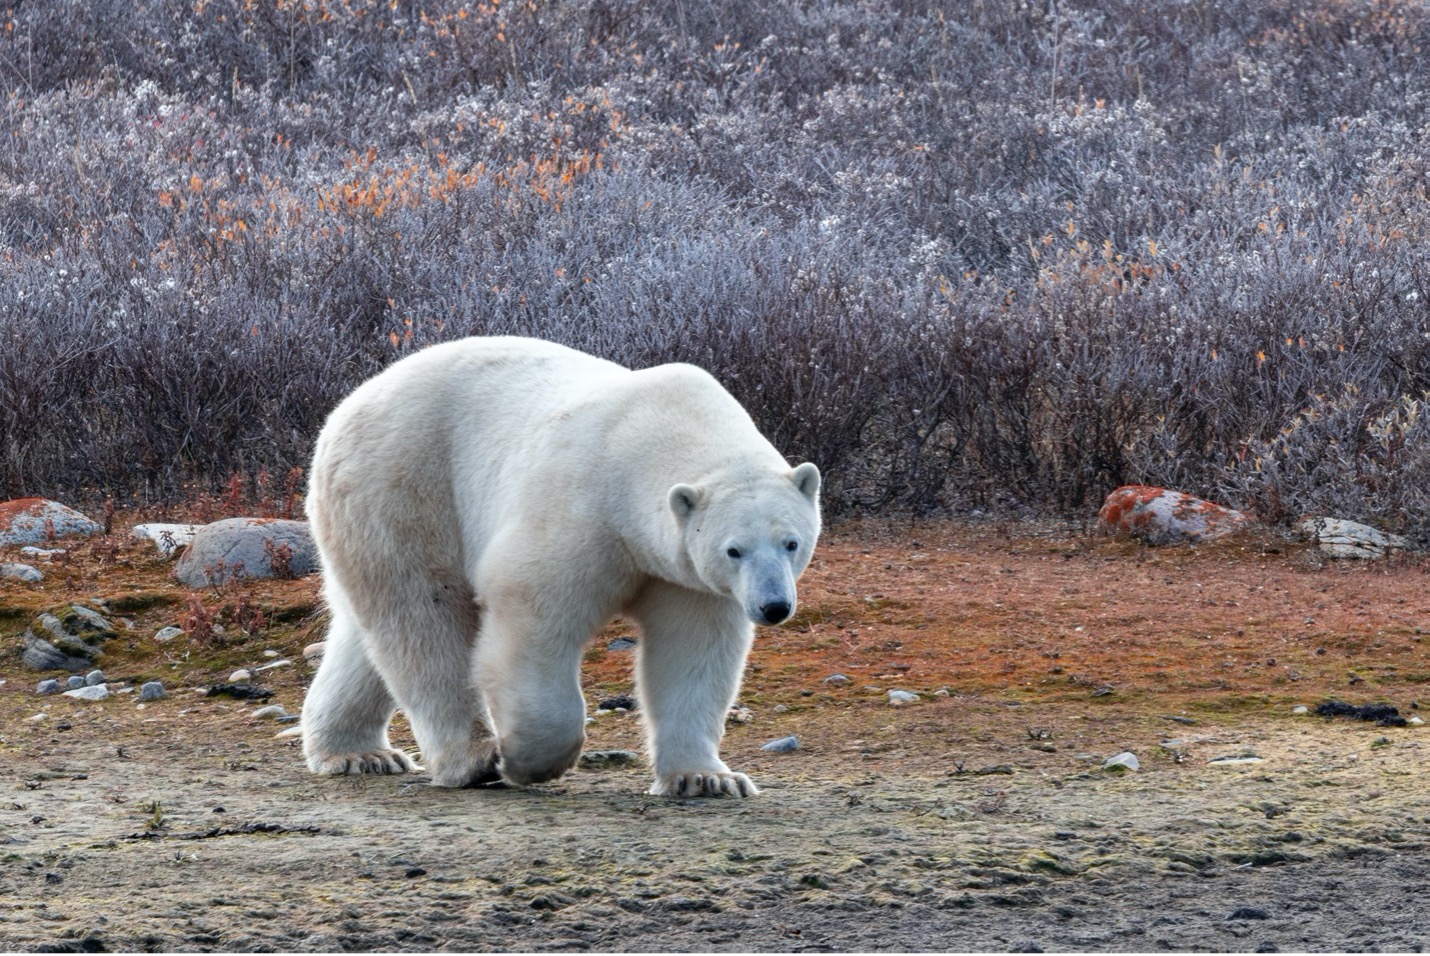
It is exhibiting behavior (walking) and you capture it right at the moment when it peeks up to look at its surroundings.
Aside from being in the right place at the right time (which of course is helped by being on a proper polar bear photography adventure), you’ll want to nail the settings and stack the deck in your favor to nail the specific timing, too.
General camera settings are pretty straightforward…nothing wild here. A standard aperture between f/5.6 and f/8 is great, and a shutter speed fast enough to freeze motion comes in at a reasonable 1/500th of a second. ISO is dependent on the exact lighting conditions, with this being ISO 800.
But the more important settings come in with regards to your frame rate. You’ll want to shoot with a high frame rate so that as you depress the shutter button, your camera takes 4, 5 or even more photos per second. This allows you to have multiple photos of a given scene such that you can pick out the exact moment the bear lifts its paw AND looks up to give you this entrancing photo. (some cameras refer to this as “burst mode”)
The other key consideration here is to photograph wider than you may initially think. We tend to zoom in all the way to make the bear as big as it can be in the scene. However, this comes at a cost.
If you frame the photo exactly as you want it you have no ability to adjust the composition in post processing. This is a huge deal when it comes to moving wildlife with a variable background. Trust me, you want to have the ability to adjust composition to really nail the rule of thirds or other composition tactic you want, without having to worry in the moment about perfection composition with a moving animal (quite tricky).
The “wow this landscape is so vast” shot
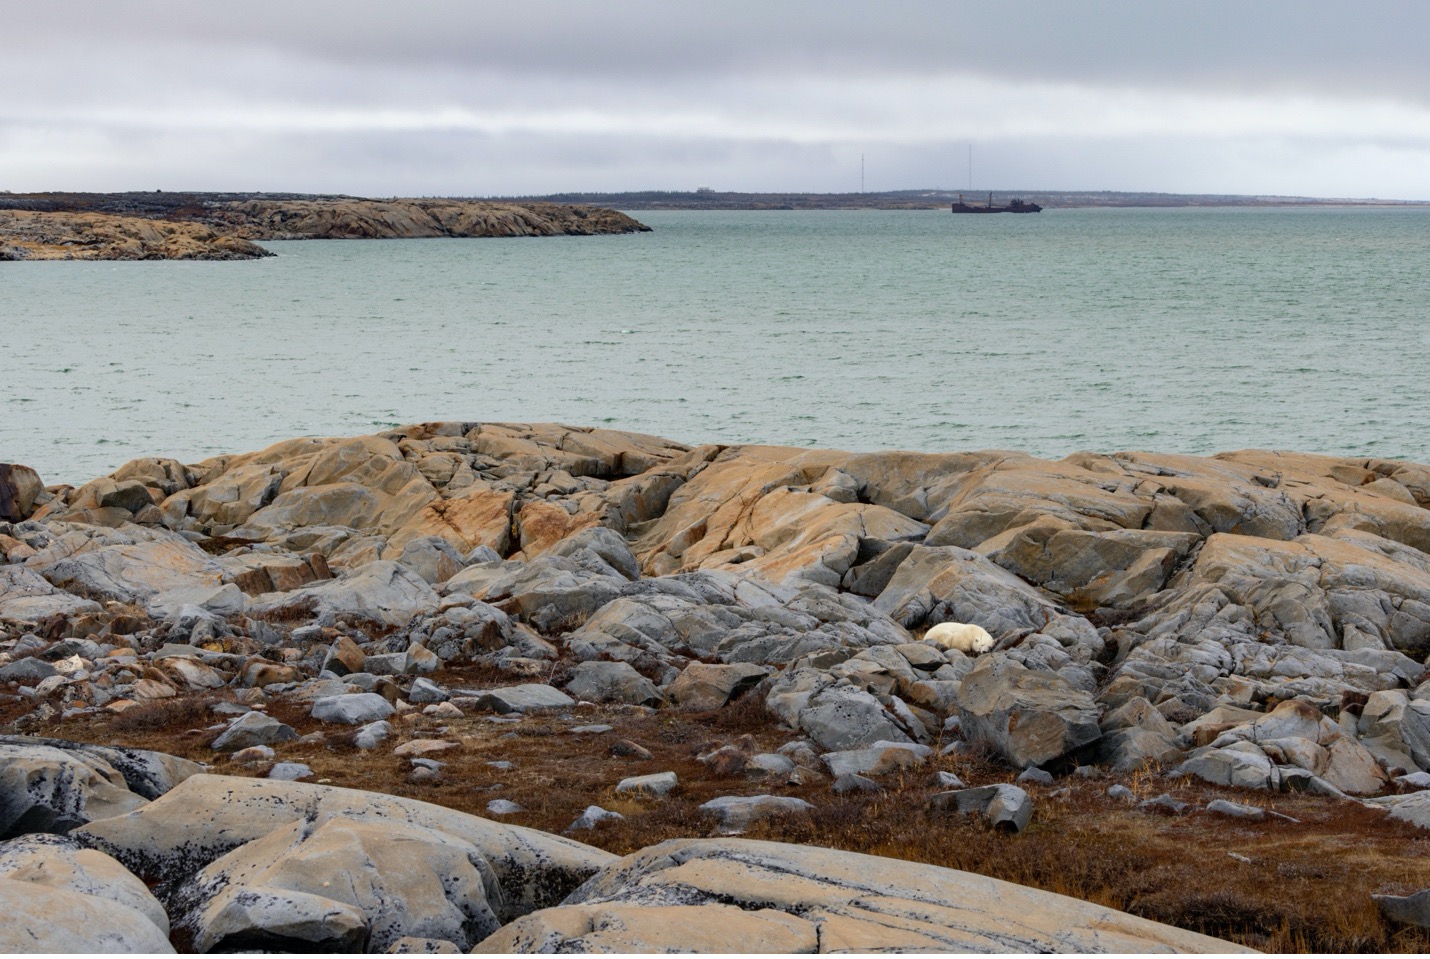
One of the most difficult things to remember when photographing wildlife is to zoom all the way out, even if you are able to optically get much closer. Photos like the one above may not be the “album cover” but it certainly helps complement other photos of the environment as well as the wildlife.
It really shows a key part of the life of the animal you’re photographing. Much more so than a fully zoomed in photo, in my opinion.
To get this photo, you should use classic landscape photo settings with a wide depth of field, like f/8 to f/11. Because of the wide angle nature of this (this was at 24mm here) you can also get away with a much slower shutter speed, like around 1/100 to 1/200th of a second (it also helps that the bear is sleeping). This in turn allows for a slightly lower ISO, such as ISO 400 or even 200 if lighting allows.
The key thing with this photo is that because you have the time to compose the photo in the moment, you can maximize resolution by indeed lining up your photo just as you want it. With moving wildlife you’re not so lucky, but here you can take a few extra moments to get the photo perfect in camera rather than needing to make major cropping/composition adjustments in post processing.
Most of your time in setting up a shot like this has to do with picking out which landscape elements you feature in the photo. And there is no perfect way to do this.
In this photo, we see the old Ithaca shipwreck in the distance, beautiful pre-cambrian rocks in the foreground, and a nice balance of water and earth adhering roughly to the rule of thirds.
For photos like these, I deliberately turn off rapid frame rate photos, as, frankly, I don’t want to have hundreds of the same photo to sort through. I indeed take the extra moment to think about the right shutter speed, the right aperture, and the right composition to take several photos and then look at different angles and focal ranges.
The “look at that face” shot
We often connect with wildlife via the face, and there is no better way to really hone in on that than zooming in to fill the frame with the face of the polar bear.
This can certainly be easier said than done, as bears aren’t always within such a range or angled in such a perfect way. But over the course of a few days photographing polar bears you’ll absolutely get an opportunity like the below.
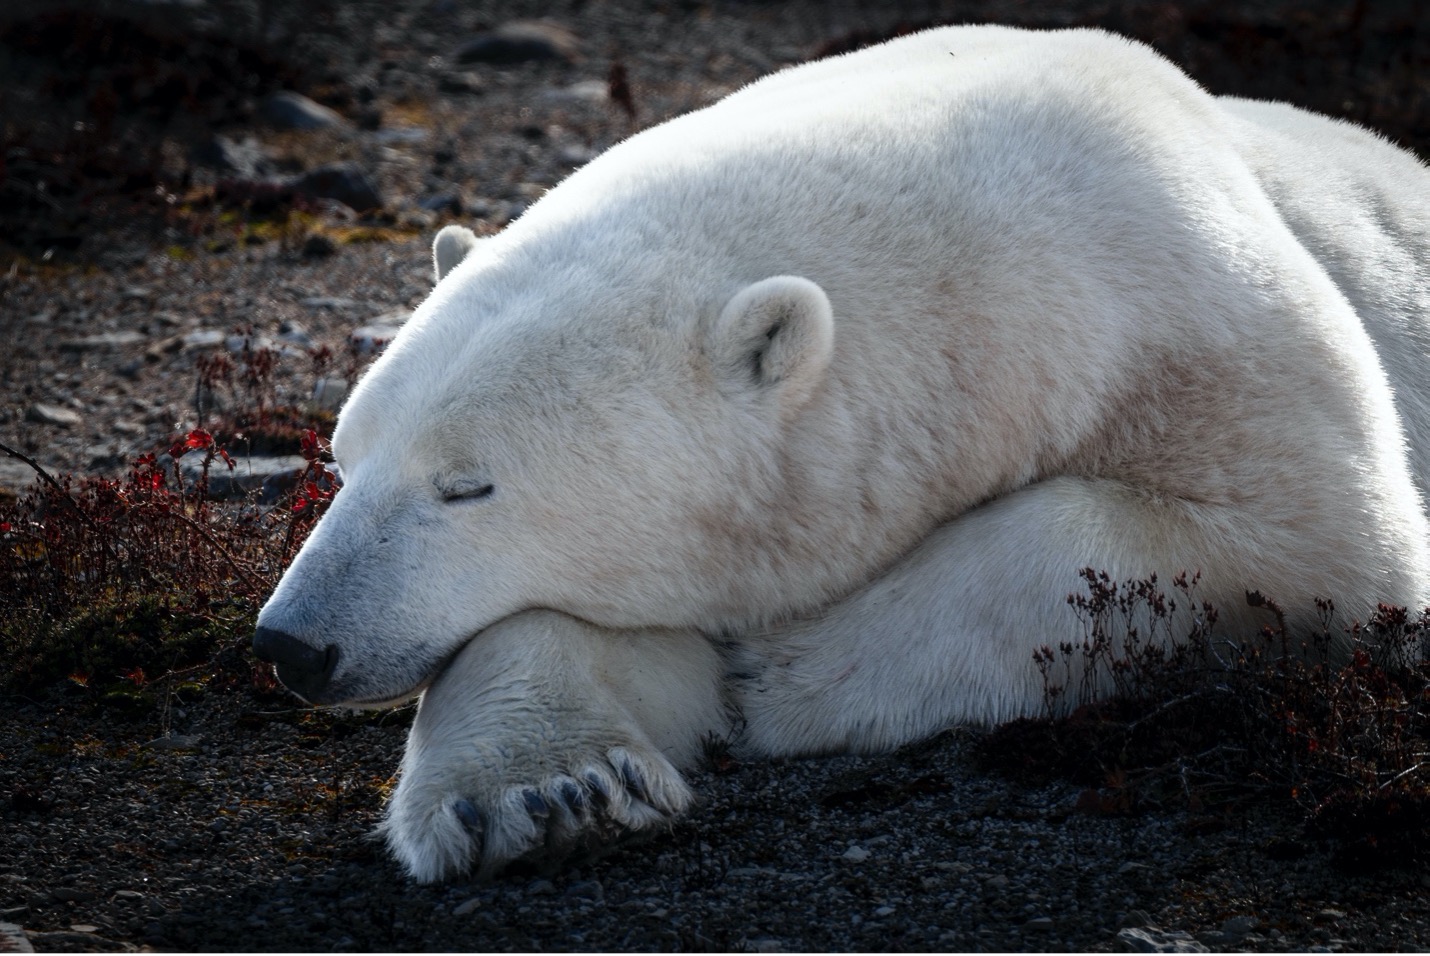
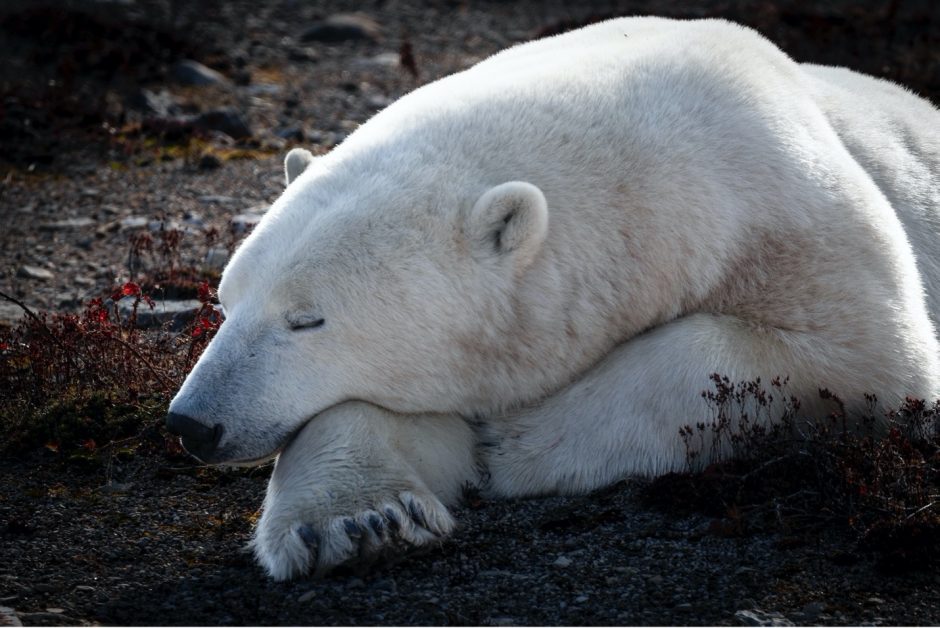
Even with the eyes closed, there is still a fantastic connection to the animal here, made stronger by zeroing in on the face.
This is what I would consider a form of classic wildlife portraiture. And to me, one of the main tenets of classic wildlife portraiture is to minimize distractions around the subject (fore or background) to help emphasize the animal you’re photographing.
This can be done in two ways.
First, you can (and should) have a relatively shallow depth of field to ensure the animal is in focus, but the background is blurred. I say relatively shallow because if the face of the animal takes up most of the frame, you must be cognizant of too shallow depth of field such that the nose is in focus, but, say, the ears are not. Or, the eyes are in focus, but the rest of the face is blurred—this is just not ideal.
For this photo, I’m looking at an aperture of between f/5.6 and f/8. It may be tempting to photograph at f/4 or f/2.8 if your lens will allow, but do be aware of any sort of focus clipping that will happen to the margins of the face with such shallow depth of fields.
The second way to de-emphasize the background is via lighting. This is where you can get creative. Depending on lighting conditions, this can happen in-camera or may be something you do in lightroom or photoshop after the fact.
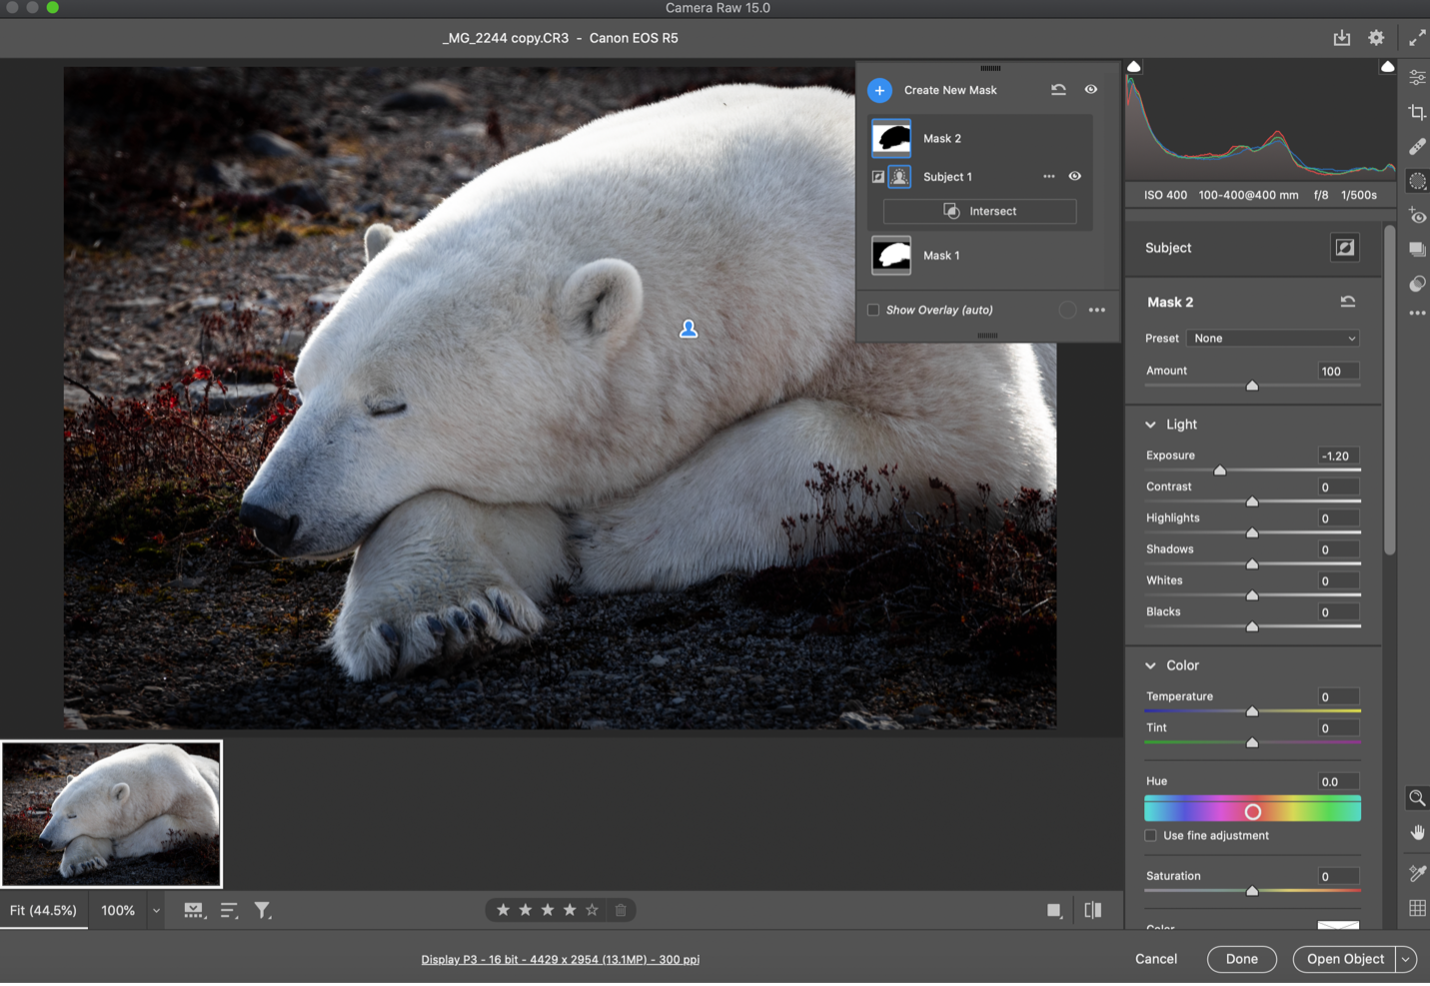
The unique thing about polar bear photography is that when filling the frame with the bear, you can manually underexpose the photo quite significantly while still preserving the whiteness of the bear. This is due to the fact that the bear is rather stark white to begin with. This is exemplified in the above photo. However, I did also map the bear using Adobe’s new “select subject” tool, then hit X to inverse and select everything but the subject.
Then, by decreasing the background by nearly 1 full stop, I get that nice contrast of a white bear and dimly lit background…captivating, no?
This is by no means and exhaustive list of ways to photograph the venerable king of the arctic. However, you can see how even these variations can lead to and inspire other style variations, such as more focused action shots, different types of landscape photos featuring the bears, and ways to emphasize and de-emphasize parts of your photo to draw attention to your polar bear subject.
I hope this is a primer for you in preparing for an upcoming polar bear trip, but if this is still just a dream of yours, to one day photograph polar bears in their natural habitat, we’d be honored to guide you on an adventure of a lifetime on a specialized Polar Bear Photography trip!
Cheers,

Court
Leave a reply