A Step-by-Step Guide for getting “Silky” Water Photos
It’s the first thing that comes to my mind when I see running water—how to get that amazing “silky” effect in my camera.
You’ve likely seen it before and it’s no doubt an attention-grabbing feature to a beautiful shot.
If you’ve always wanted to learn how to do this, or wish to perfect your strategy on capturing such shots, read on—it’s silky water time!
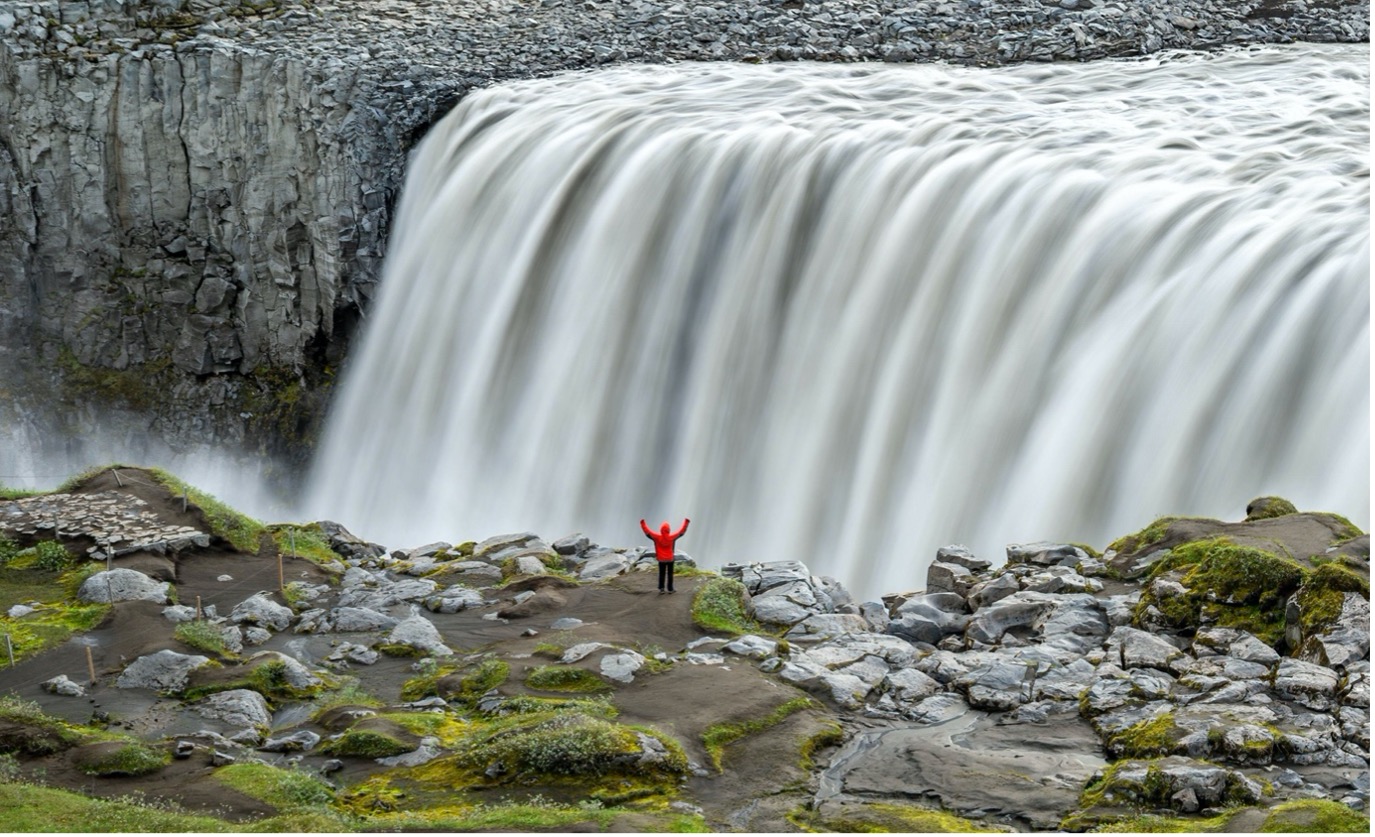
First, some of my recommendations for the best places on earth to photograph silky water effects. Iceland is no doubt one of those near the top of the list, but when it comes to Natural Habitat Adventures’ Photo Trips, there are several other that I personally recommend.
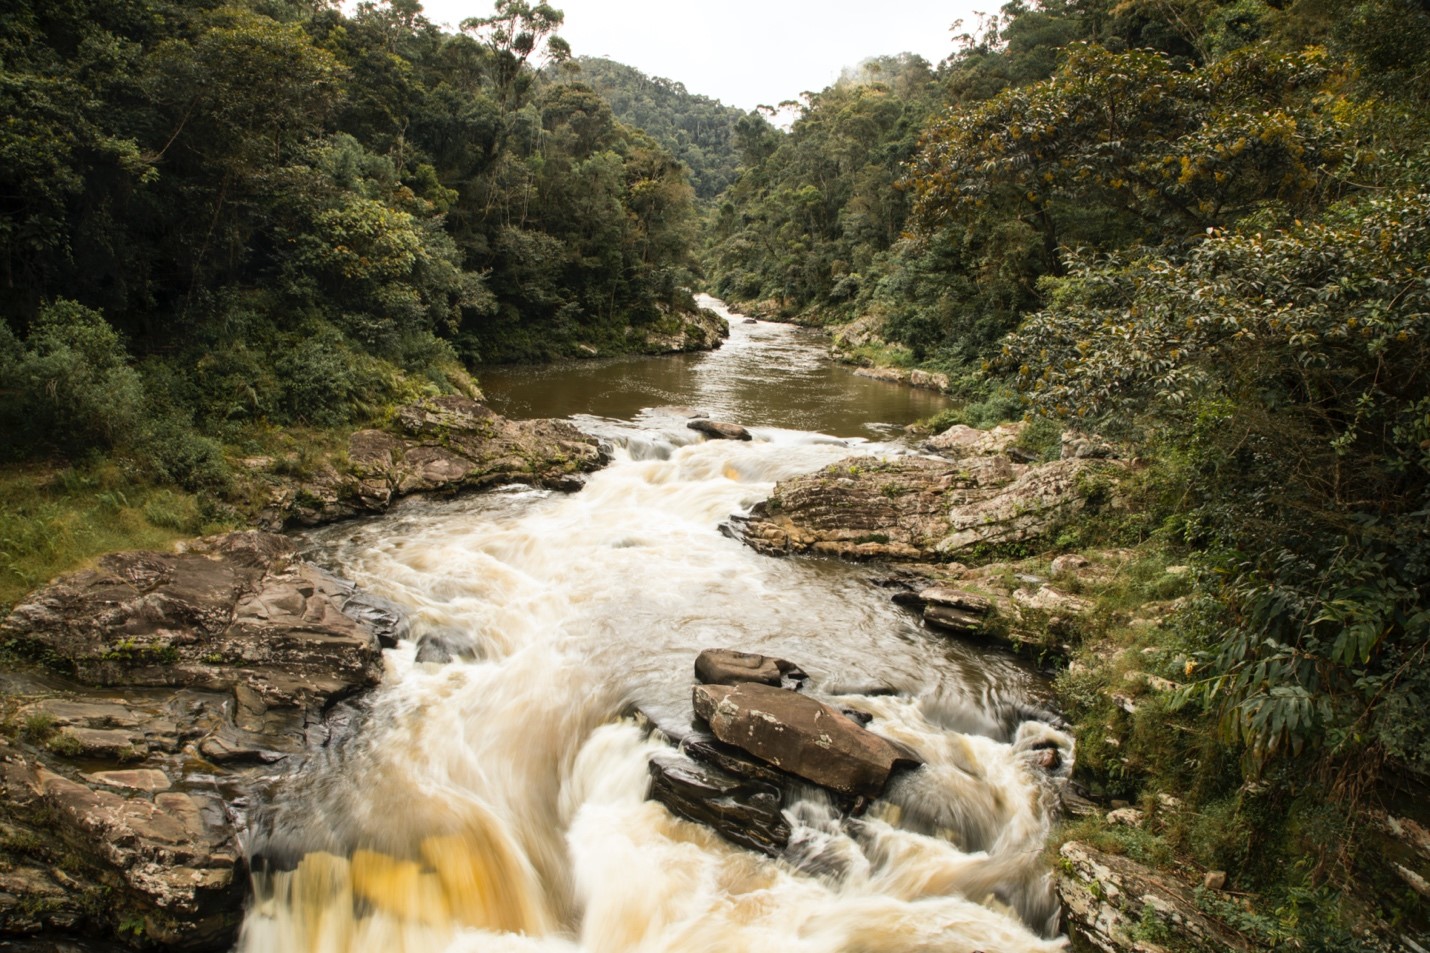
Tropical areas like Costa Rica and Madagascar have extraordinary opportunities, and even on our quintessential Monarch Butterfly Migration trip, you’ll encounter a spectacular waterfall that is absolutely prime for creating that silky effect (in the above shot).
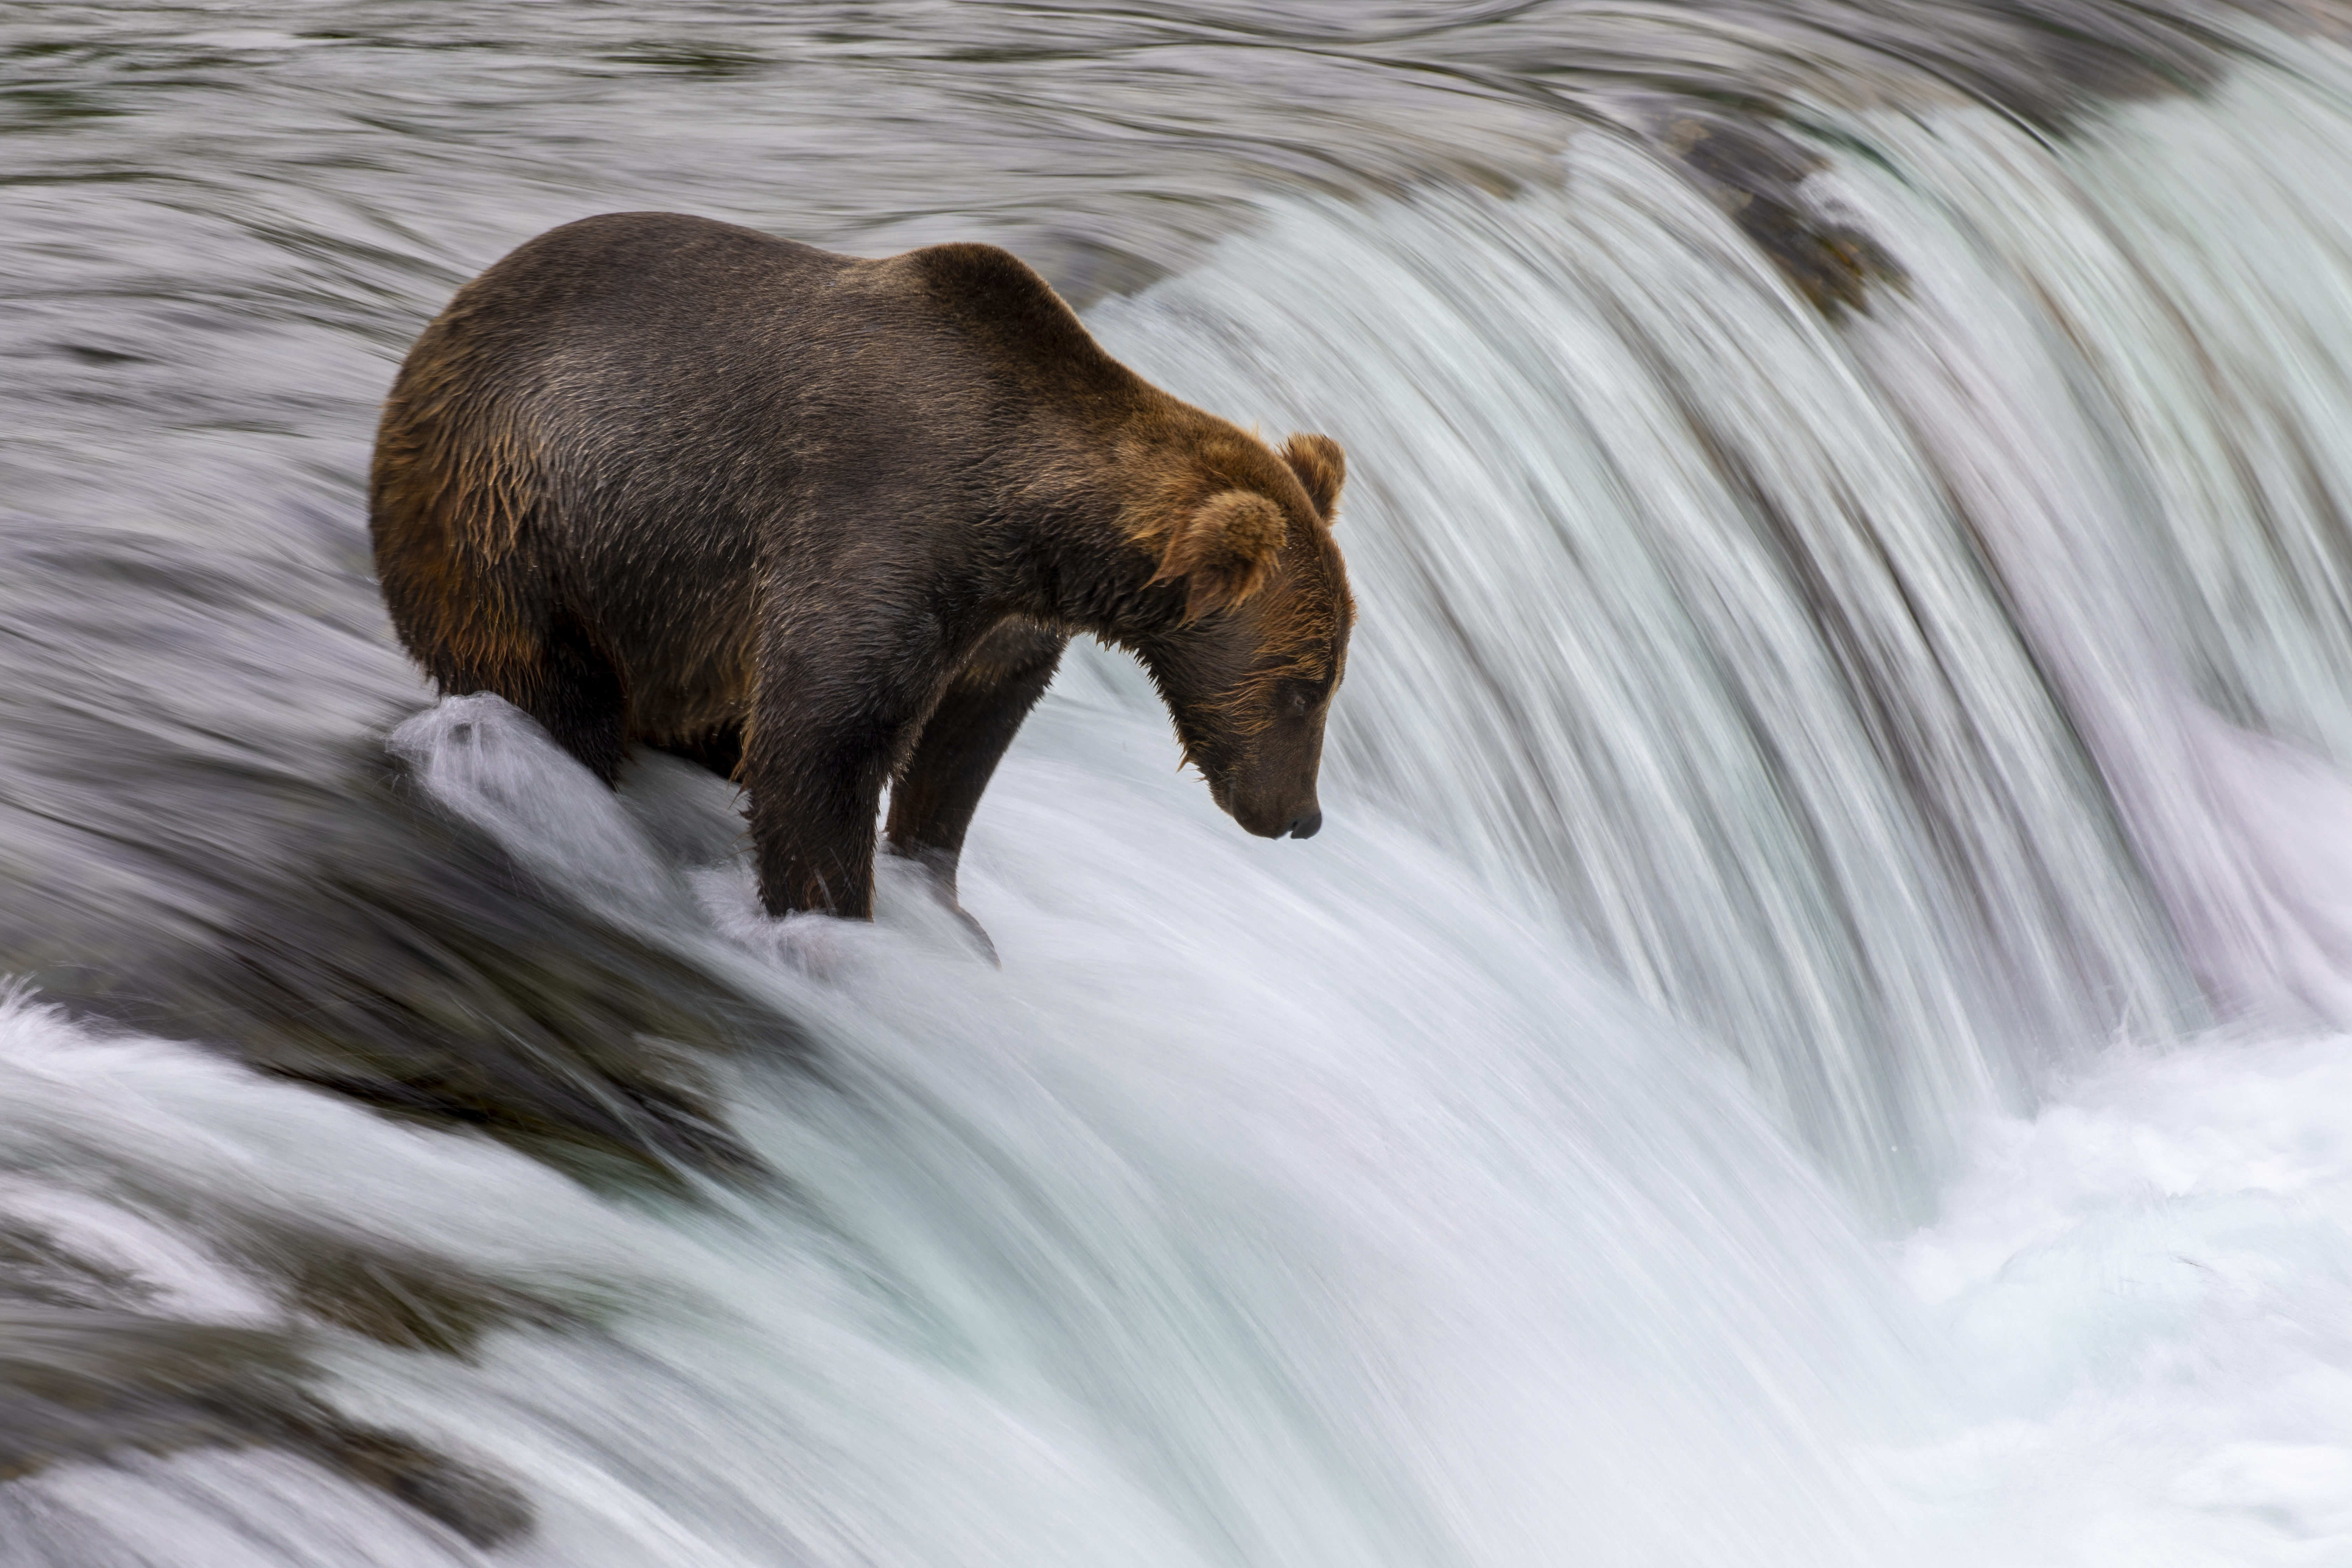
Finally, I’d be remiss if I didn’t mention the ever-iconic Brown Bear and Silky Waterfall shot you can get at Brooks Falls, Alaska on the Ultimate Alaska Photo Tour.
Finding the right scene and frame
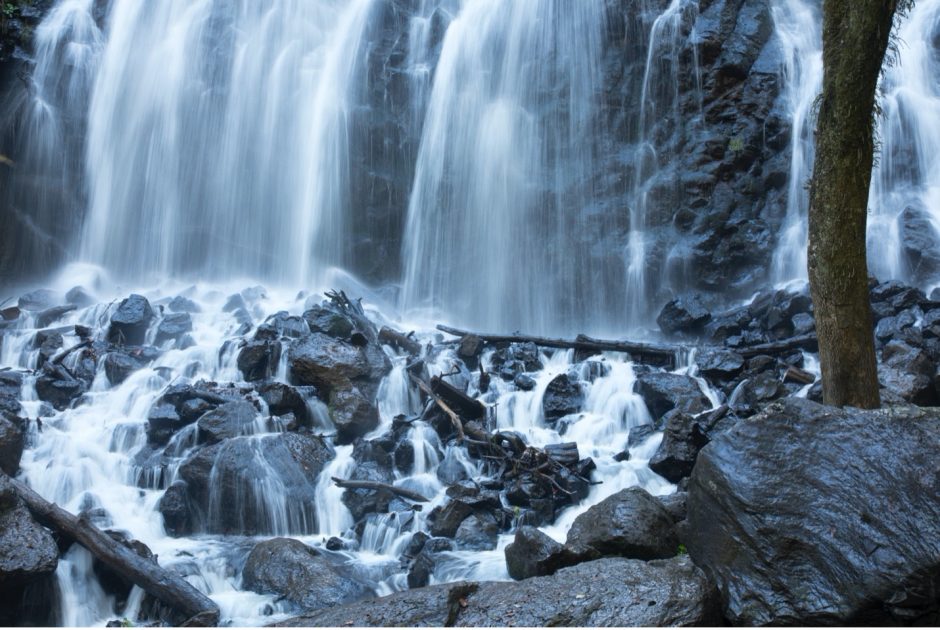
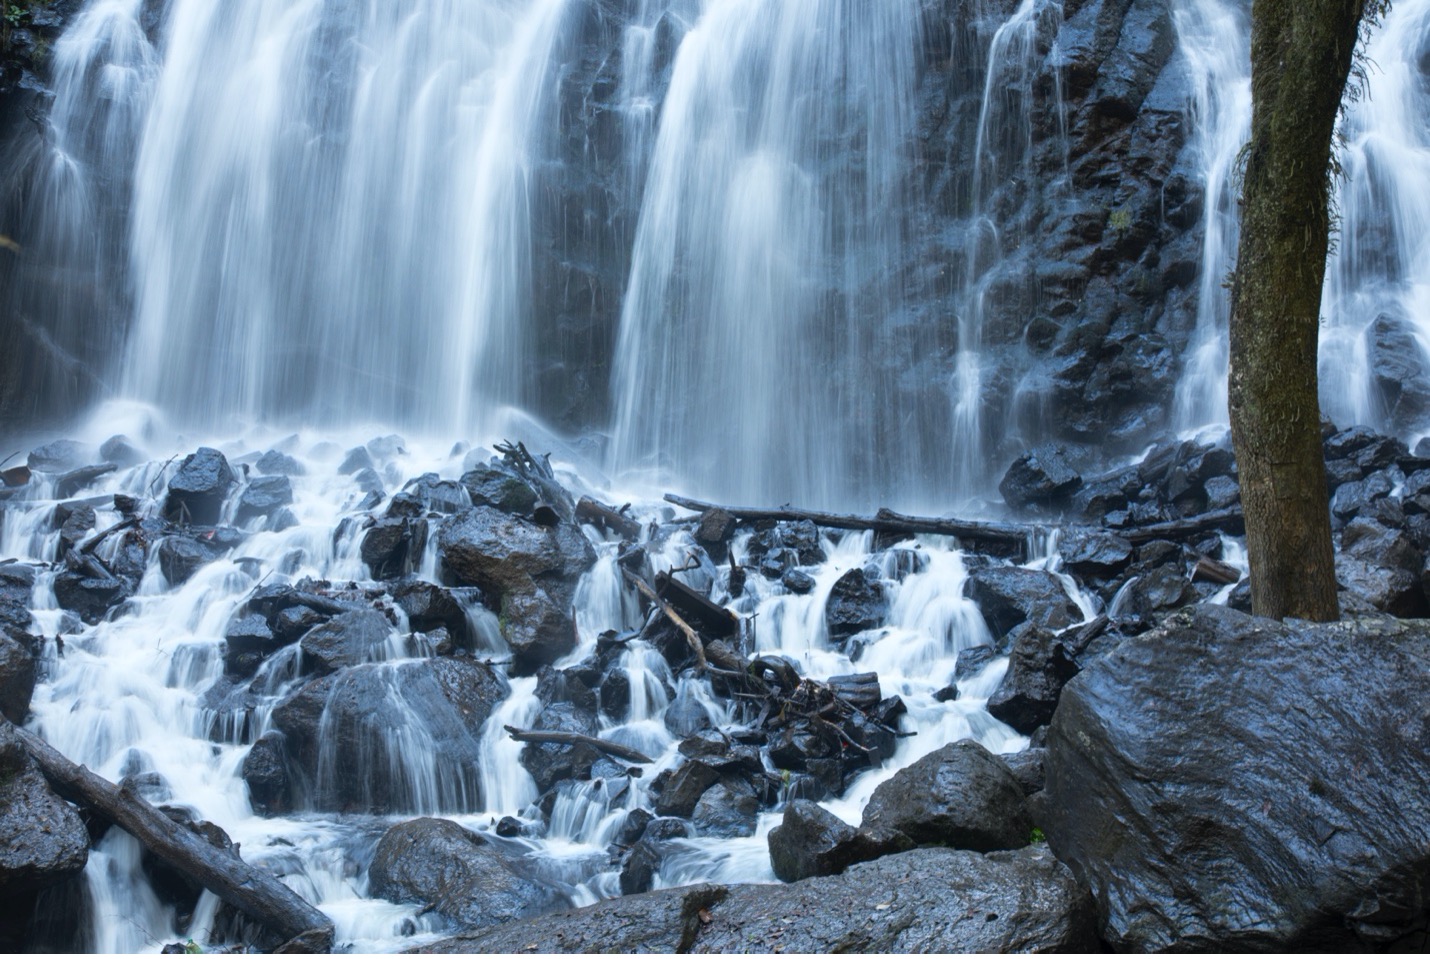
Not all moving water is created equal. The best shots are those that have some special features to them.
First, and easiest, is that there should be some sort of permanent structure in and around the water that helps give context to the shot. What I mean by this is that while you’ll create the effect of “movement” in the water, you’ll want to have some solid surfaces tack sharp to show that contrast. Rocks, a tree, whatever…no need to overthink it, you just need something besides a shot of just water.
Second, you’ll have a much easier time if the waterfall, river, or creek that you’re photographing is shaded. If it’s in the full sun the shot is still doable, but you will have some added steps, which I’ll cover in a bit (the need for a Neutral Density filter).
Third, as amazing as silky water is, the best shots are those that are already special for some reason. In other words, silky water isn’t going to perfectly rescue a boring shot. The silky water definitely elevates the scene, but if you can find an already beautiful scene and then capture the silky water effect, that’s what sends it to the moon.
Your camera placement
You ideally will have a tripod with you when photographing silky water, as it’s your camera’s long exposure that single-handedly creates this effect.
While you can eek out some silkiness with shutterspeeds like 1/20th and 1/30th of a second, and those technically can be handheld with some of the advanced image stabilization in cameras these days, the best shots get into the 1/10th, 1/4th, and even 1 full second and slower. For those, you really need to have your camera firmly braced on something.
I’ve resorted to bracing my camera on a handrail or bridge many-a-time, but it’s of course not ideal. But, just keep in mind you indeed still can get this shot even if you don’t have a tripod by creatively using your surroundings to get a rock-steady bracing (but rock-steady is indeed 100% necessary…no movement can happen whatsoever).
Your camera settings
This is where most of the work comes in.
The only setting you are really concerned with is that shutter speed. Thus, you don’t really care what aperture you’re at, and you don’t really care what ISO. However, because you are shooting at a slow shutter, you’ll find that in order to compensate for shutter speeds in the 1/10th and slower range, you will be at huge f/numbers like f/16 and f/22 while also requiring super low ISOs like ISO 200 and ISO 100. These are good things! Much easier than if you are shooting in the dead of night and forced into small f/numbers and big ISOs.
To me, the most effective and efficent way to get your camera settings correctly is to go to Shutter Speed Priority in your dial or menu (usually denoted as a Tv or S on the mode wheel).
Next, set your ISO manually to ISO 100.
Then, set your shutter speed to 1/20th of a second for starters.
Next, find something to focus on. This is usually a rock in the middle of the river, a tree nearby, or some other feature that you have chosen to include in the shot. No need to overthink this, just make sure it’s something that is nearby and easy to focus on. Due to the big f/numbers, most everything in the scene will be in focus anyways.
Now, after you have locked focus, I recommend setting your camera to manual focus to avoid having to refocus each time you wish to take a shot. This allows you to try different compositions and different shutter speeds easily.
Finally, take your shot and review. The review part is actually quite important, as the speed of the water creates wildly different images such that you will no doubt want to try many different shutter speeds until you find “that perfect speed” based on the flow of the water.
For instance, faster water requires faster shutter speeds or else everything will just look pure white. Concomitantly, slower water can benefit from slower shutterspeeds.
As a very rough rule-of-thumb, if the water has “white water” in it, like a raging river, you are probably going to find the best shots at fractions of a second vs. 1 second or even slower.
When you may need a neutral density filter
A neutral density filter is very simple—it is basically just a sunglass tint to darken the scene.
But why would you want to do that?
If you are photographing at long exposures in daylight conditions, your camera simply cannot compensate for the plethora of light coming in by closing its aperture past f/22. That’s its limit. Thus, you have to manually limit the amount of light coming in. That’s the only job of a neutral density filter, and they do their job well.
And there you have it! A step by step guide to photograping moving water to get that “silky” water effect. And as a summary, here are the steps in quick form:
- Find some moving water, ideally in a shaded area or at low light times of day. If the water is in full sun or brightly lit, use a Neutral Density Filter to dim the scene
- Put your camera on a tripod and find an area that combines the moving water with permanent structures, like rocks, trees, etc. Anything that “isn’t moving” will provide that nice relativity in the frame to the moving water
- Set your camera to shutter priority and start at a fraction of a second, like 1/10th or 1/20th. Set your ISO to 100 and let the camera set the aperture (it’ll likely be high)
- Focus and then lock focus by switching to manual focus
- Take a number of shots and different compositions and different shutter speeds, working the range from 1/40thof a second all the way to 4 full seconds
Good luck out there and enjoy it!

Court
Leave a reply