
A Simple Trick to Improve Your Landscape Photography
Landscape photography is one of the purest forms of nature photography and is as enjoyable, captivating, and breathtaking as ever. While cameras, lenses, and editing programs improve, the ability to capture lights, contrasts, and color constantly evolves.
However, as the tech improves, the raw elements of your landscape photo come into critical importance. That is, the content of your photo—what’s included and how those elements complement each other to create a photo that’s greater than just the sum of its parts.
Read on to learn the easiest and quickest way to instantly elevate your landscape photography. I promise you’ll love the outcome!
Include a Foreground Element in Your Landscape Photo
A foreground element, aka a “subject”, will take your landscape photos to another level. And we are often presented with multiple options to choose from when it comes to what this element actually is.
Shall we feature a person? Or perhaps there’s a nice tree or small patch of vibrant wildflowers?
The possibilities are extensive! You need not overthink it to begin practicing this technique.

Starting Off Simple: Finding a Subject
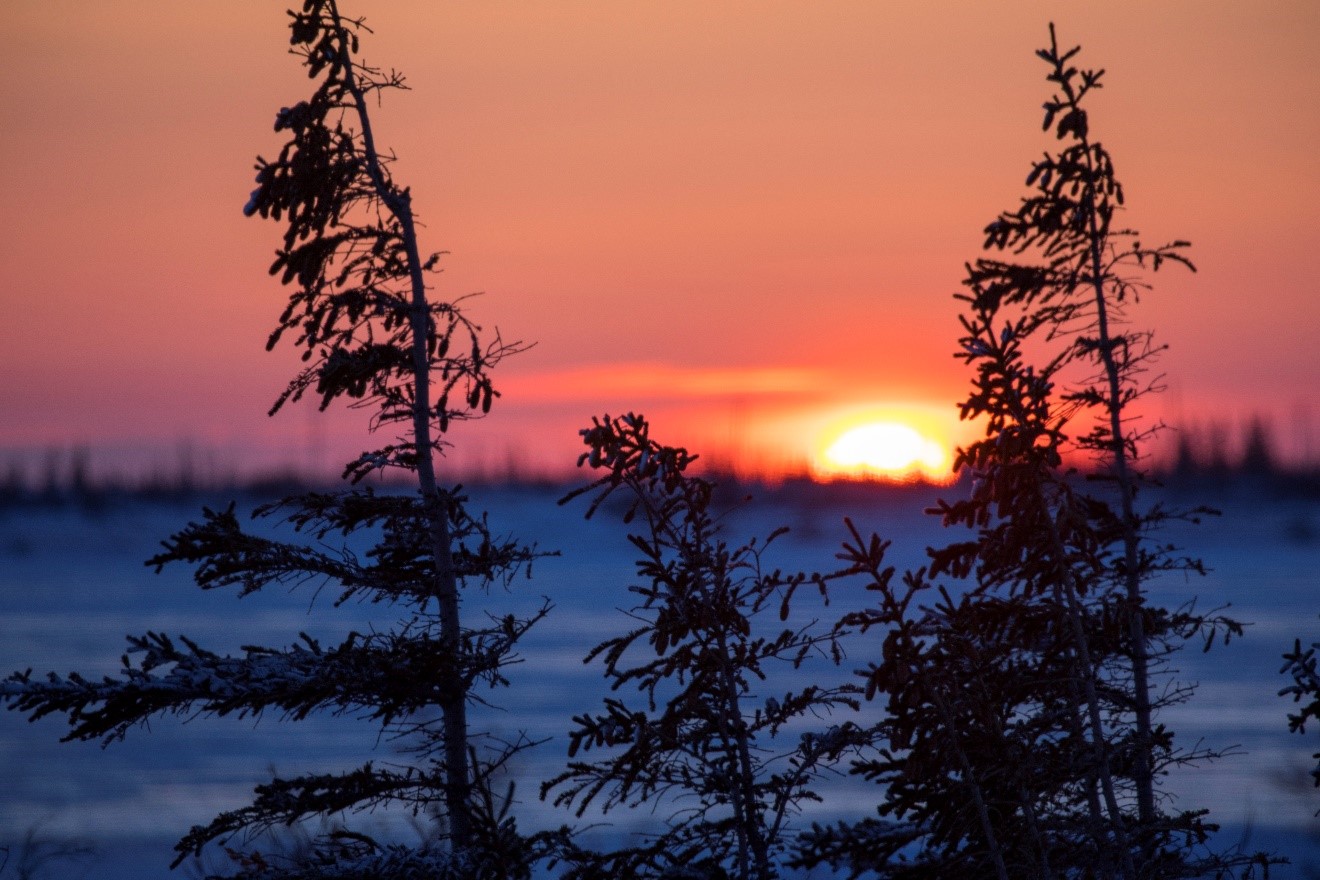
Upon finding yourself in an extraordinary landscape, immediately begin looking for something unique, individual, and set apart from the rest of the scene. In the above photo, I chose to incorporate the train and its tracks, rather than omit them, as they offered a unique foreground element to the snow-capped range in the background.
But the subject/foreground element doesn’t have to be right in front of you. It can be a ways away, as long as it’s distinct within the scene.
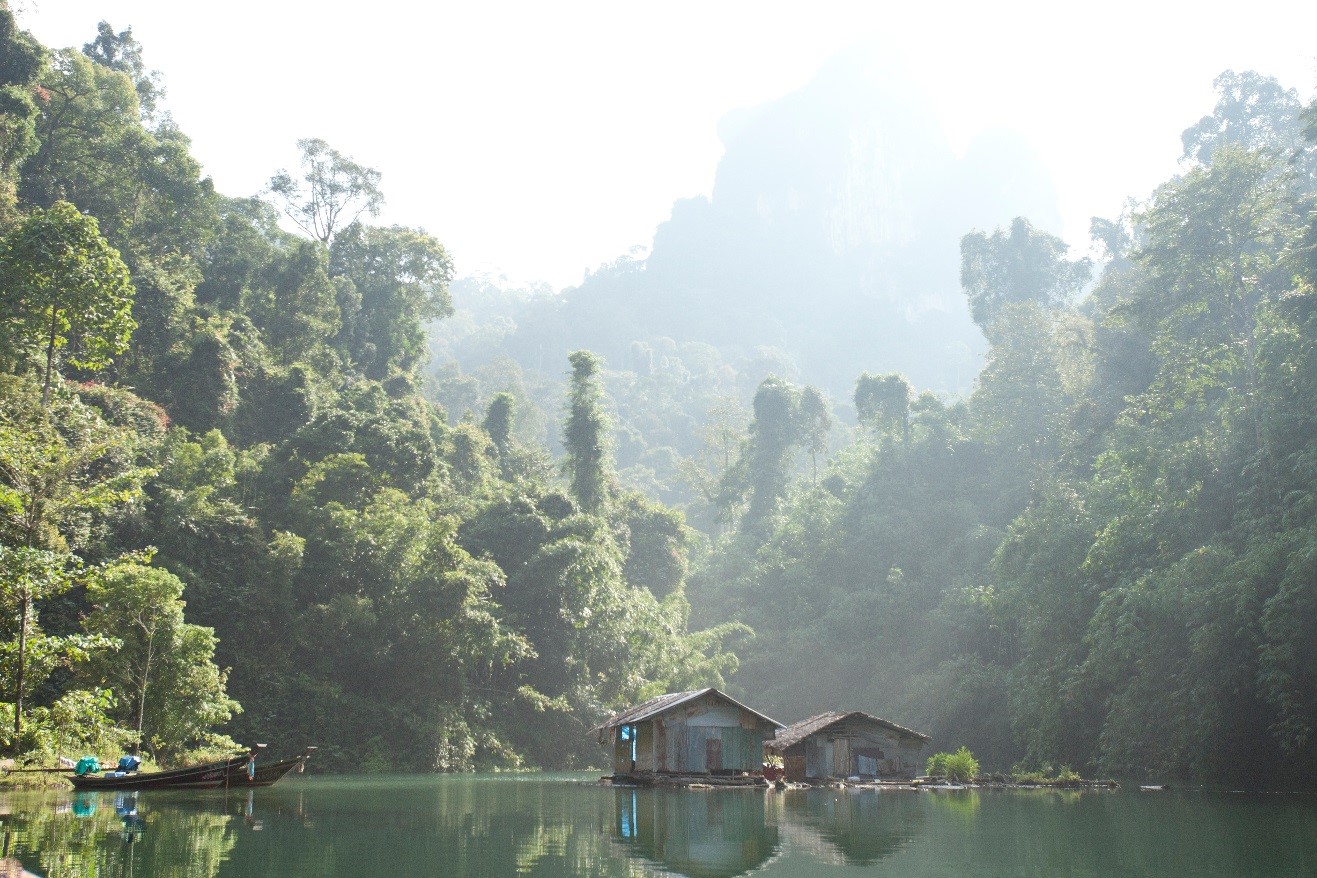
Take a look at the below photo. Although the two huts aren’t necessarily close to me (I shot this with a telephoto lens), they offer a foreground element to provide some scale, context, and story to the rest of this watery jungle scene.
Taking It a Step Further: Making a Move
The next step is to try to see past this foreground object and analyze the background in context to the subject.
Ask yourself: From where you’re standing, is the background as good as it can be? Or, if you move to your left or right slightly (while keeping the foreground element in your scene, of course), does the background change for the better?
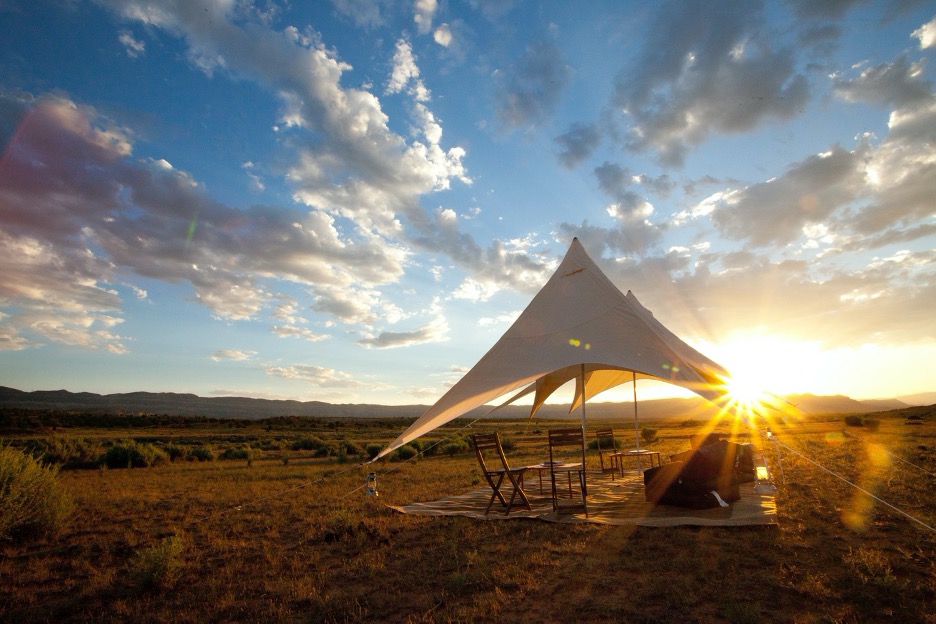
For example, in the above photo, I moved myself to perfectly place the setting sun at the base of the tent.
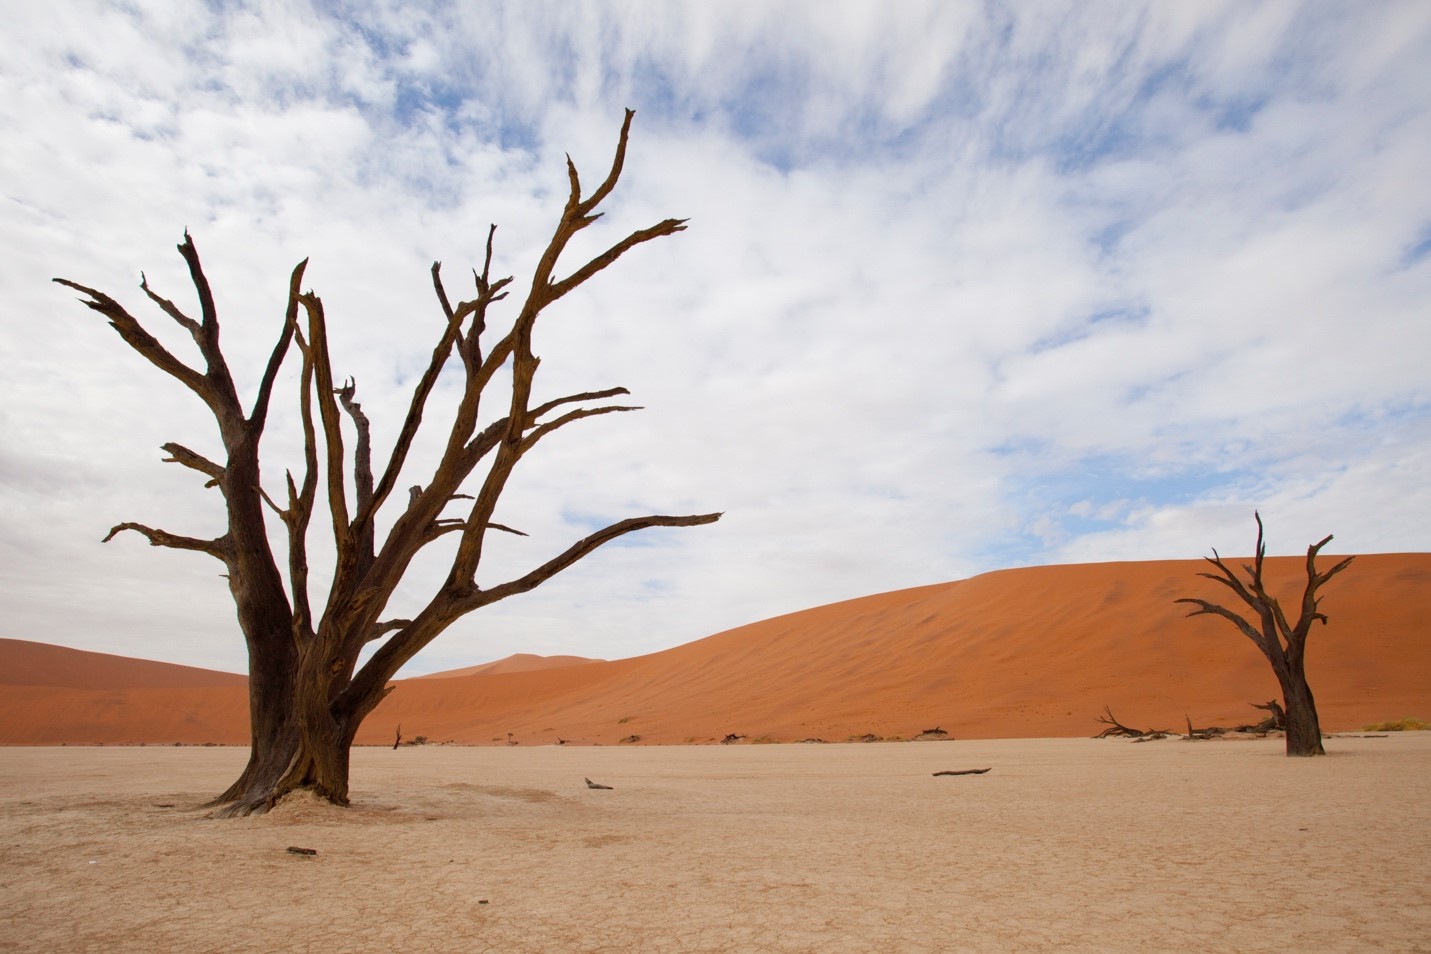
The quality of a photo can often improve markedly when you move a little, like when a beautiful wildflower is in front of the towering peaks of Glacier National Park, or an inuksuk standing tall against the shimmering northern lights in Churchill, Canada, or perhaps a particular tree positioned right in front of the sand dunes of Namibia.
By pivoting slightly, we may be able to improve how the foreground element works with the background. Is it centered, slightly askew, or perhaps overlaying on top of it? There’s no perfect or one way to do this! The point is that you can improve your photo with minimal extra work by asking yourself what the resulting photo would look like if you moved slightly to realign the foreground and background.
A Final Consideration: Determining Depth of Field
One more way to improve on this simple “add a foreground element” tactic is to think about how close you are to the foreground element. Not only does this have an impact on the composition of your photo, but it has a lot to do with the depth of field you will be able to achieve.
Simply put, the closer you are to the foreground element, the more your background will be blurred. In some cases, this can yield a pleasing blur, known as a bokeh. This is a common practice in wildlife and portraiture photography.
However, for landscape photography, we generally want to minimize the background blur, as the background is often the main feature of the photo, with the foreground simply a lovely accessory.
In the below photo, we want the distant sandstone wall in focus—as well as the person—so we are careful not to get too close to the person, or else the background could become blurry.
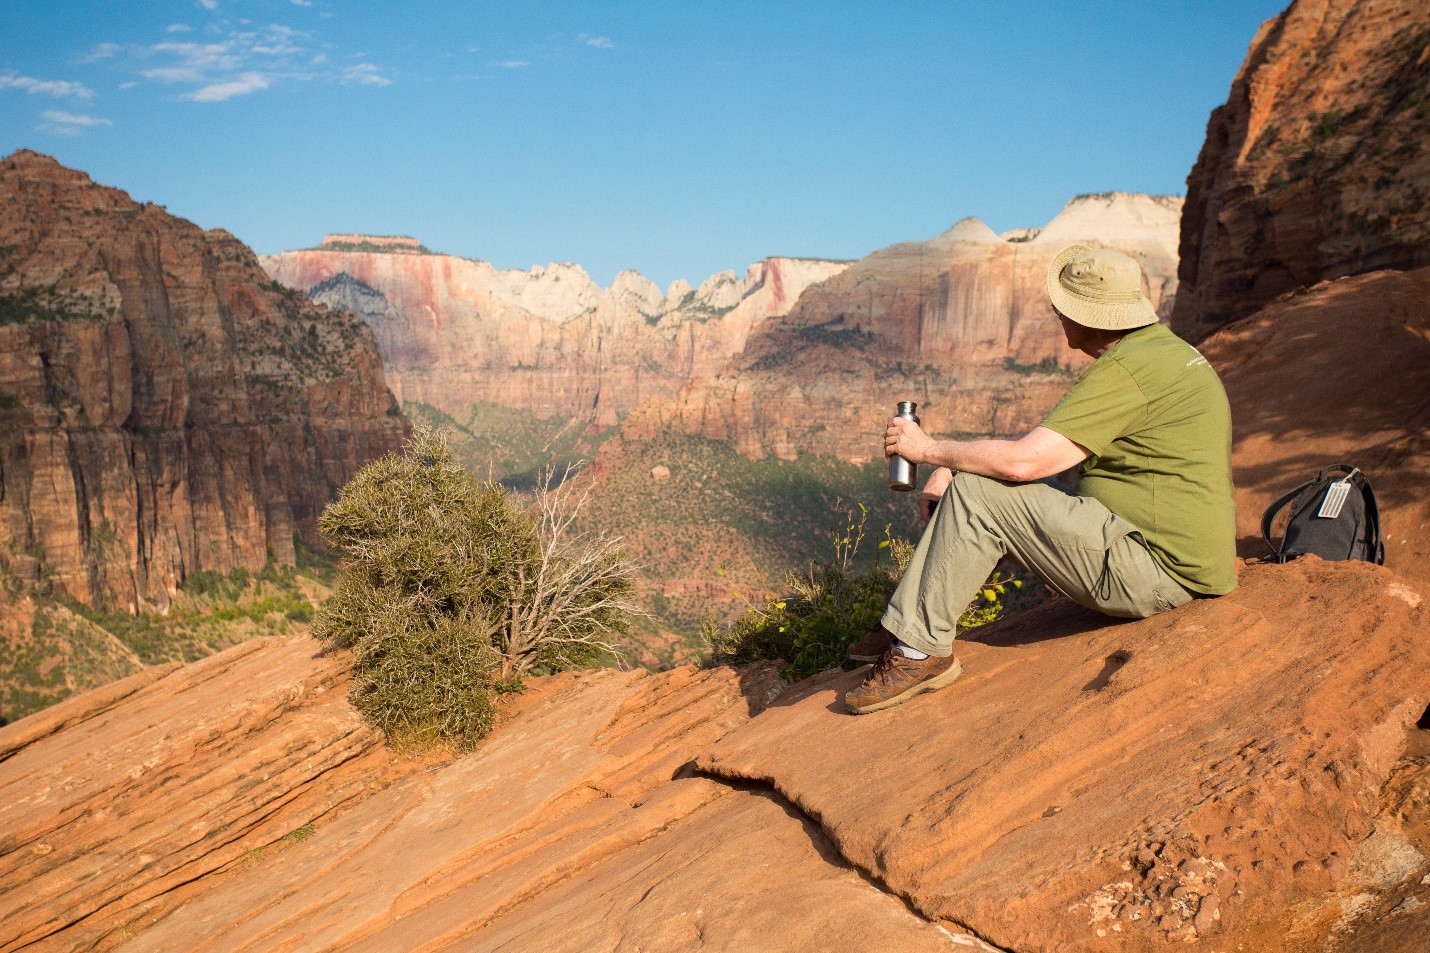
Thus, you may want to consider moving further away from the foreground element as a way of ensuring both it and your background stay in focus with an average aperture rating (like f/8 or f/11). Even with a big f/number like f/22, being super close to your foreground will result in a still-blurred background.
Of course, there are limits to how much you can finagle all this.
You can’t necessarily move left, right, forward, or back in some cases due to the terrain. You might have to just deal with what you’ve got. But that’s fine! Work with it however you can.
In those cases where you do have some flexibility, though, it’s a vital lesson in photography that you can pick your foreground and background to improve your photo. It’s all about training your eye and your brain to seek and see opportunities as they arise in the field.
I hope this helps next time you’re out on a photo adventure in front of our planet’s glorious landscapes!
Best,

Court
2 Comments

Faith
March 3, 2022 at 6:05 pm

Court Whelan, Ph.D.
March 9, 2022 at 4:45 am
I found this really helpful, and will look forward to more tips to use for my many outdoor adventures. thank you.
Faith Garfield
Santa Fe, New Mexico
thanks, Faith!