How to Keep your Camera Gear Safe and Functional During Cold-Weather Expeditions
Isn’t it still summer, and don’t we still have autumn before it’s winter… and we’re thinking about cold-weather photography? Well, somewhat, but in the world of travel and photography, there’s always some place cold to go!
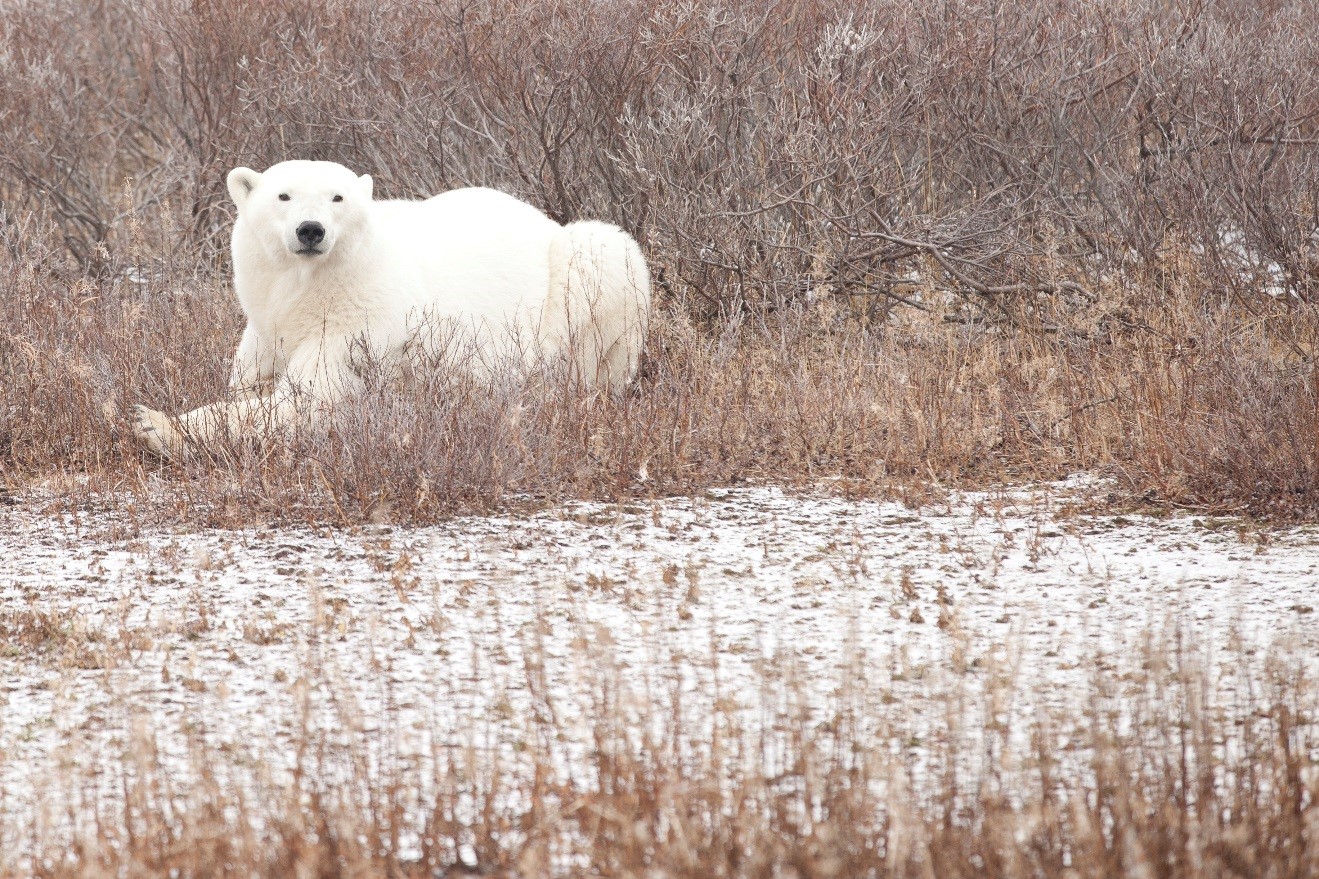
In addition, one of nature’s greatest spectacles is about to commence in mid-October, as 1,000 polar bears from Western Hudson Bay migrate through the tiny sub-arctic outpost town of Churchill and position themselves for the first ice on the bay. This post is to help all those planning to photograph in cold weather make the most of their gear and thus make the most of their photography!

At the risk of oversimplifying this relatively broad topic, there are two issues that come up with cold weather. First is battery life and second is condensation forming on or in your camera when going from outside cold to inside warm temperatures.
Let’s dig into it…
How to Maximize Battery Life in Cold Weather
This is no doubt one of the biggest issues, as oftentimes cold remote places are synonymous with fleeting moments to charge your batteries (ie, relying on temporary base camp power and/or full days spent photographing to maximize light).
It’s a plain fact – cold weather saps battery life. No need to go into laborious detail as to why, but it’s good to know that it happens. This goes for batteries in the camera as well as any that may be in your camera bag. The best and quickest solution? Keep spare batteries in your pocket, allowing your body heat to keep them warm. Voila!
Now, what to do with those batteries in your camera, since you can’t keep it in your pocket? Well, the main thing is to figure out what processes in the camera drain the battery fastest. You can’t do much about the cold, but you can eke out as much life as you can from the batteries themselves. Simple answer: the LCD screen. The backlit display screen is notorious for sucking the life out of batteries. One way to minimize this is to turn the “review time” of each photo to “off.”
By default, most cameras show you the photo you just took for 2 seconds. Yes, it’s great to automatically see every photo, but not if it means you kill your battery life. If you still want to review shots, you can certainly do so by manually pushing the review button. Even if you still review most of your shots, and this technique only saves you 25% battery life, that’s better than nothing.

How to Minimize Camera Condensation
Condensation is not a good thing…at all. Condensation on your lens causes you to have to either patiently dry it off with a cloth or wait minutes for it to clear, which could be many lost minutes of photography.
However, what condensation appears on the outside of your camera can be equated to the amount of condensation inside your camera, too. This is a bad thing for computer chips, optics quality, and much more. In fact, some lenses have been found to have fungus growing inside the parts due to repeatedly being exposed to condensation. So, let’s talk about how to avoid this entirely. The good news? It’s easy!
The basic gist is that when your camera is out in the cold for a while, it becomes cold itself. Then, when it goes into a warmer and more humid environment (anywhere indoors in the winter is warmer and more humid than the outside), it instantly turns the gaseous humid air that comes into contact with your cold camera body into liquid…that is, condensation. So, any surface that is cold and then has contact with air is susceptible to condensation.
So, how do you avoid it? Before you come in from the cold, put your camera in your camera bag so that it doesn’t come into contact with the plethora of warm, humid air when you go inside. Voila! Yes, there will be a small amount of air in the case, but think…that’s just a small fraction of the air in the entire building, so there will be very very minimal condensation. The trick is that you cannot open the case and start reviewing your photos while inside. It’s tempting, I know! But, if you’re in for the day or night and don’t plan to go out into the cold again, allow your camera to warm up slowly, inside the case. I recommend being patient and waiting at least an hour.

Hopefully these tips and tricks help solve the two most common issues with cold-weather photography for you, and you’re able to enjoy limitless photo opportunities on all your upcoming adventures!
Go forward and give it a shot,
8 Comments

Mike Williams
September 7, 2016 at 11:14 am

Mike Williams
September 8, 2016 at 5:21 am

Brian
November 21, 2017 at 12:31 pm

Court Whelan, Ph.D.
January 19, 2018 at 12:31 pm

Donna
April 15, 2019 at 3:08 pm

Court Whelan, Ph.D.
April 30, 2019 at 11:57 am

Goetz Bruehann
April 16, 2019 at 8:36 am

Court Whelan, Ph.D.
April 30, 2019 at 11:57 am
The other way to save batteries is to turn off stabilization on your IS or VR enabled lenses. This is powered by the camera battery and sucks power especially if you are using AI servo
Hint carry a tripod
Bulky yes but will save your batteries
On the moisture front if you can’t wait to review your pics carry some large zip loc bags and put your camera in these. Then you can review to your hearts content.
On big lenses trash bags work great to prevent moisture build up and hence fungus growth inside the lens
What about keeping your lens warm while out in the cold, using hand warmers, has anybody tried this?
Hey Brian,
Unfortunately hand warmers really don’t work well when exposed to the cold. When they’re in your pocket, they work considerably well, but if they’re out and exposed to the elements, not much heat comes from them.
Hi I heard that using descant packages in the camera bag/ or plastic bagwill
help also.
yes indeed! Desiccant packs do help. But keep in mind these take a long time to work, so always best to prevent the moisture in the first place.
just take the storage card out of the camera while still outside if you want to review your photos.
Same aplies to the battery if you want to charge it.
yes indeed! good tips!