How to Get the “Sunburst” in Landscape Photography
Whether it’s a stunning sunrise, sunset, or even just mid day, getting the sun’s rays to show up in your photo is a nice addition to any photograph. And the really great thing is that it’s quite easy to do! The main thing is that you will need a camera that allows you to customize the aperture setting, while also allowing you to get a very large aperture number (typically speaking, f/16 at least, with f/22 being ideal).
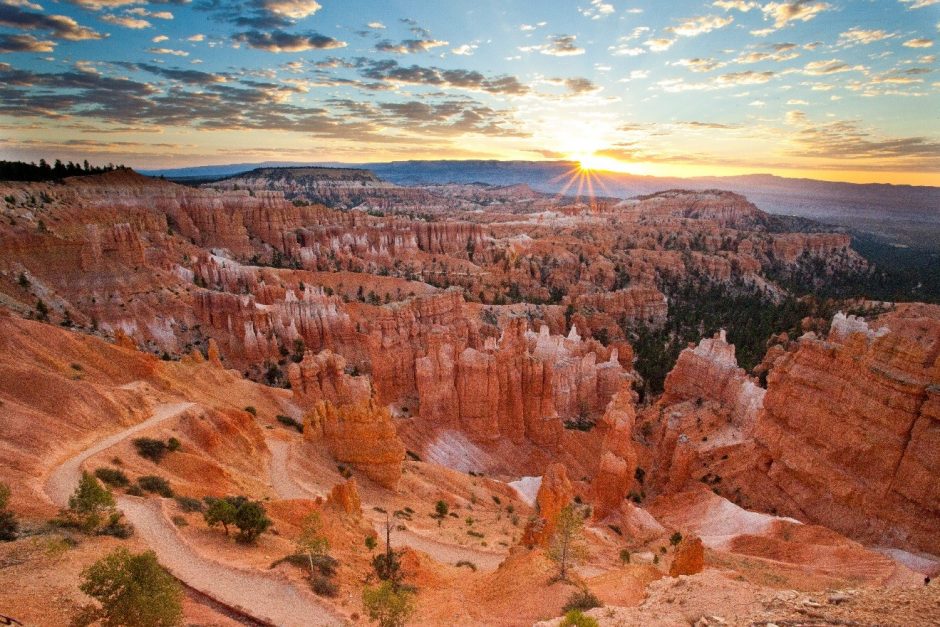
The first step in shooting the sun’s “starburst” is to recognize a situation in which you can get the sun only partially visible, with about half of it hidden and half of it in full visibility. What does that mean? Well, basically it means that you don’t want the full power of the sun in your view, as that would be too bright. Similarly, you need enough of the sun so that you can actually capture the rays emanating from it. This is why sunrises and sunsets are so great, as you can time it such that half the sun is below and above the horizon. However, if you have something physically blocking part of the sun, that will work too! Here are two examples below.
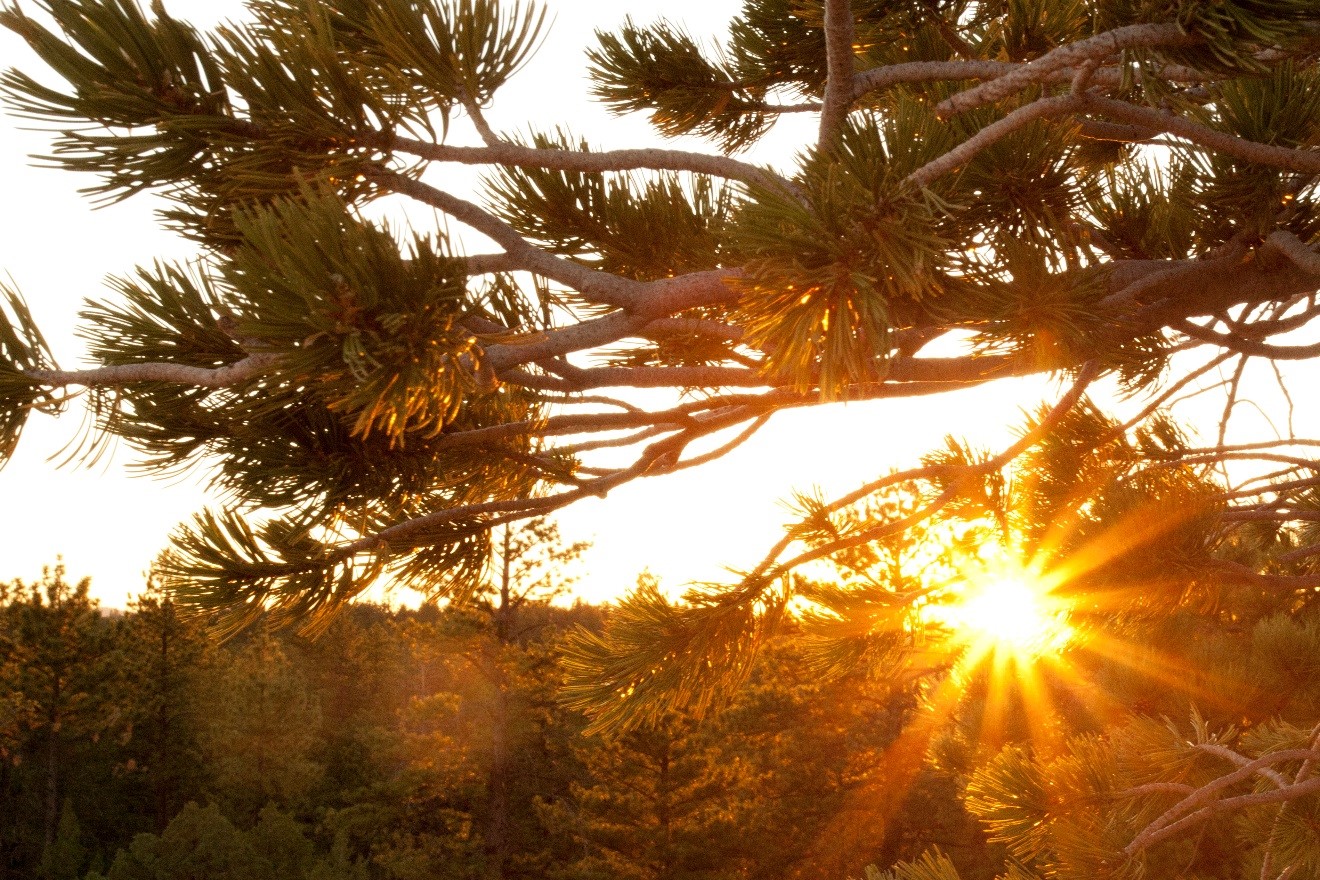
Note that both of these scenes allow you to get the great sunburst effect, even though the sun is not starting to dip below the horizon. Instead, the branches and cliff walls allow the sun to be only partially visible from where the photographer is physically standing.
Again, the first step is to position yourself such that the sun is only partially visible. For sunrises and sunsets, this is pretty easy, as the horizon does the work for you. But, if you plan on using something else, like a mountain, tree, or building, you may have to move back and forth to find the “sweet spot” where the sun is about half hidden. This is extremely important, so I’ll say it again. You will have to experiment with this sweet spot, as if you don’t enough sun, your resulting photo will look rather drab. If you have too much sun, your photo will be way to bright and almost difficult to look at, just as if you were trying to stare into the sun itself.
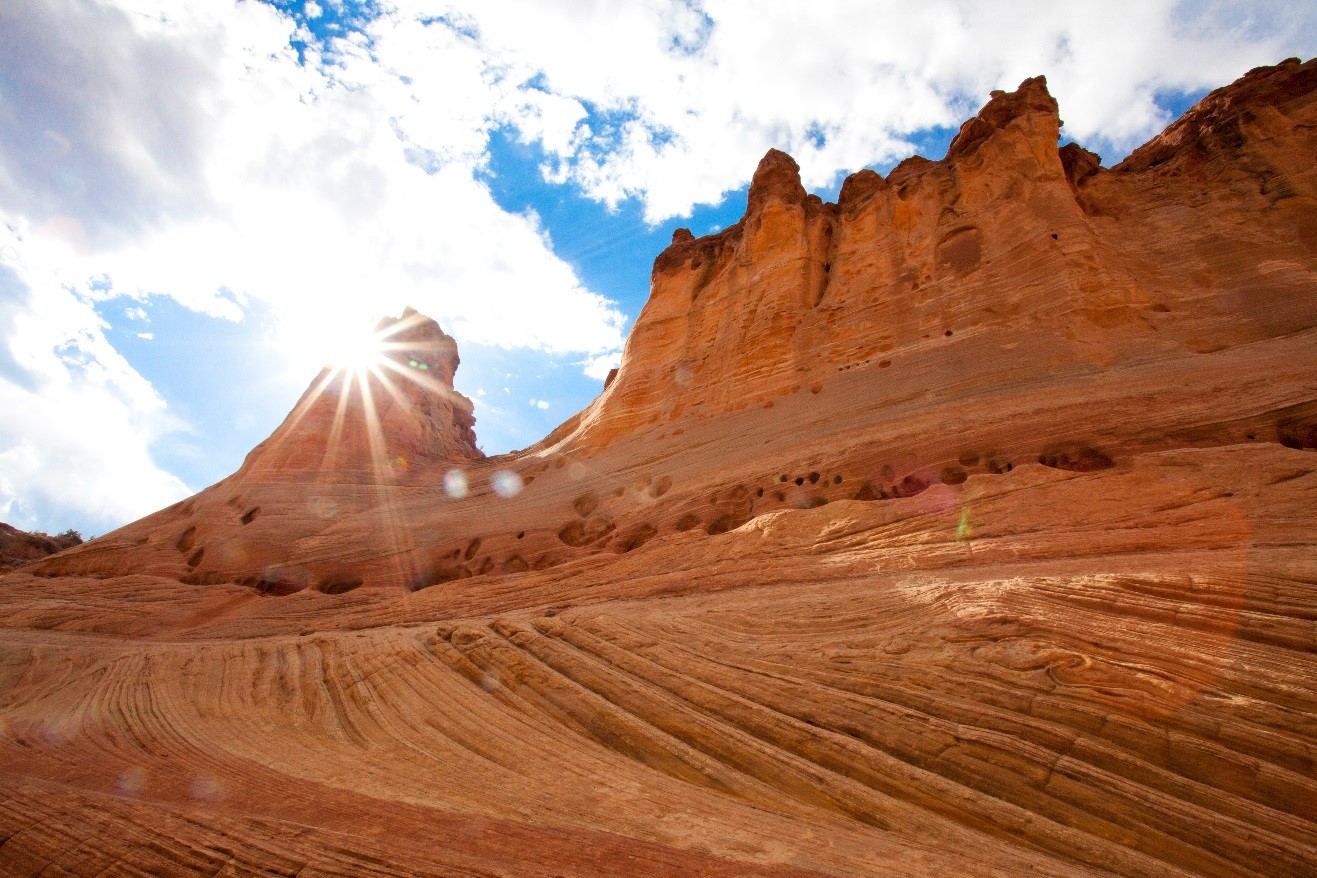
The below photo is about as much as I’d ever personally want to go in terms of brightness and intensity. But, look at those rays!
(this brings up another important point – be very careful not to stare right into the full sun as you experiment with different levels of brightness…staring at the sun through an optical viewfinder is just as hard on your eyes as if you staring at it without the camera).
The next step is to dial your camera’s aperture setting to as high of an f/number as you can. Unfortunately point and shoot cameras typically can only go to f/8, which may not produce as strong of a sunburst effect. You’ll get some, but maybe not as much as if you have a DSLR camera. If you do have a DSLR, crank the aperture up to f/22 or as high as your camera will let you. This will give you a very small aperture pinhole opening through the lens (don’t worry about this, but if you want to learn more about aperture and lens physics, click HERE).
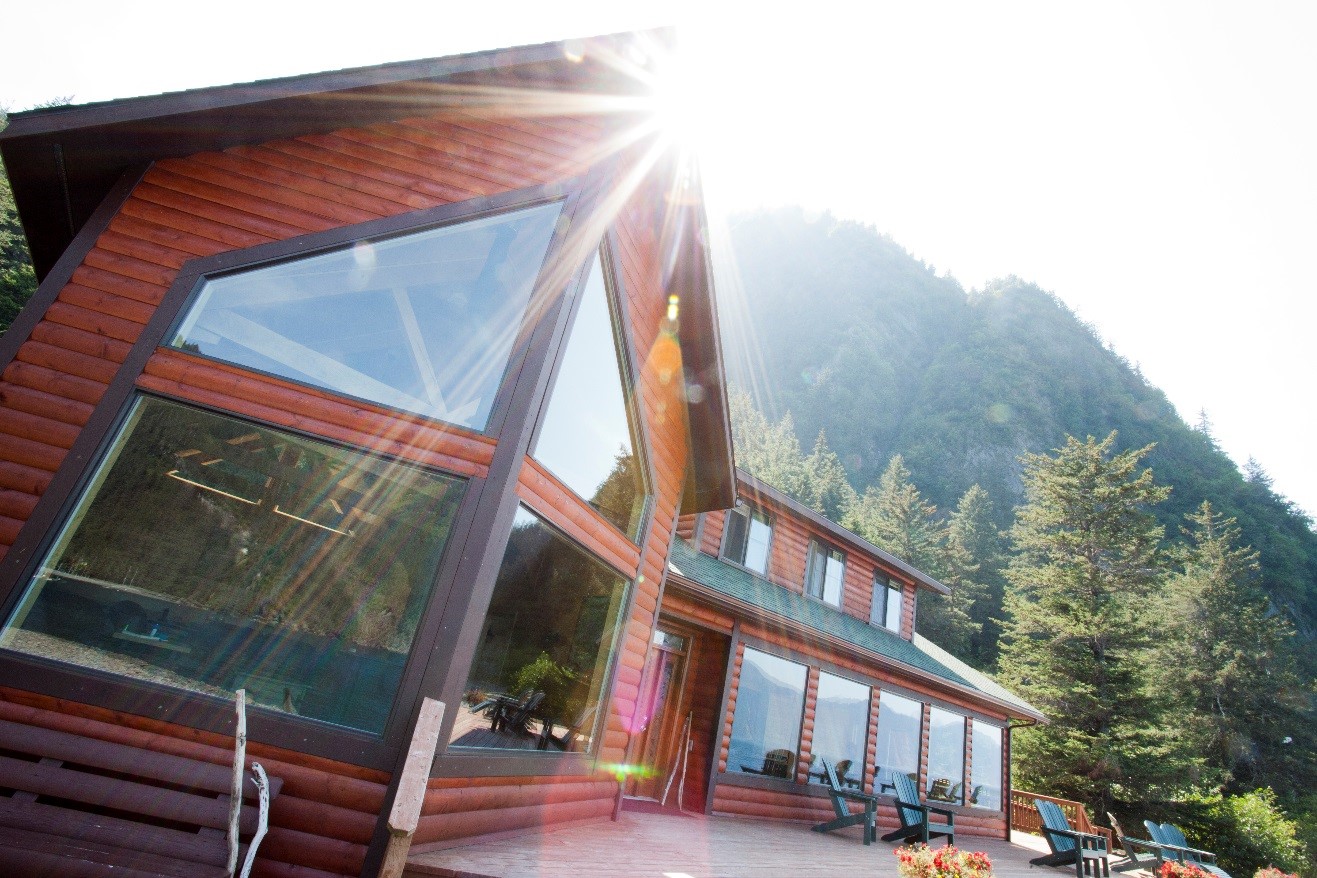
Finally, you need to focus and meter on a part of your scene that will a) give you the focus you want and b) give you the lighting you want. Generally, focus and metering are all done in one motion, by depressing the shutter button down partially, which locks both the focus and the metering. The challenge with these photos, is that you need to have the sun dark enough so that it doesn’t appear as a big white blob, which will give you zero sunburst effect. However, if you make it too dark, the rest of your scene will be nearly black. Thus, you may need to mess with your exposure compensation to brighten or darken the photo based on where you are focusing/metering. If you’re not familiar with this, look for an image like the one below, or read our Lighting and Exposure section for more information.

Once you bring it all together, you’ll likely still have to do some photoshop work to lighten the foreground, as it usually is a bit too dark. As a general rule, it’s always much easier to lighten a dark foreground in these instances, than to darken an over lit sun in hopes of bringing out the beams of light.
This technique definitely requires practice, as it’s not easy to master on the very first go at it. However, what you’ll find is that once you do get it, it’s very easy to do over and over again, and you’ll quickly start noticing opportunities in your travels. Getting sunburst photos can be great for turning somewhat plain photos of trees, buildings, or mountains into very compelling images!
Go forth and give it a shot,