When and how to adjust your camera’s exposure for arctic photography
Photographing the arctic is invigorating in oh so many ways. To me, it’s got the three key elements for extraordinary photography—landscapes, wildlife, and culture. However, it is indeed a wildly different environment in many ways and can often throw off the first-time visitor with unique light and contrast challenges.
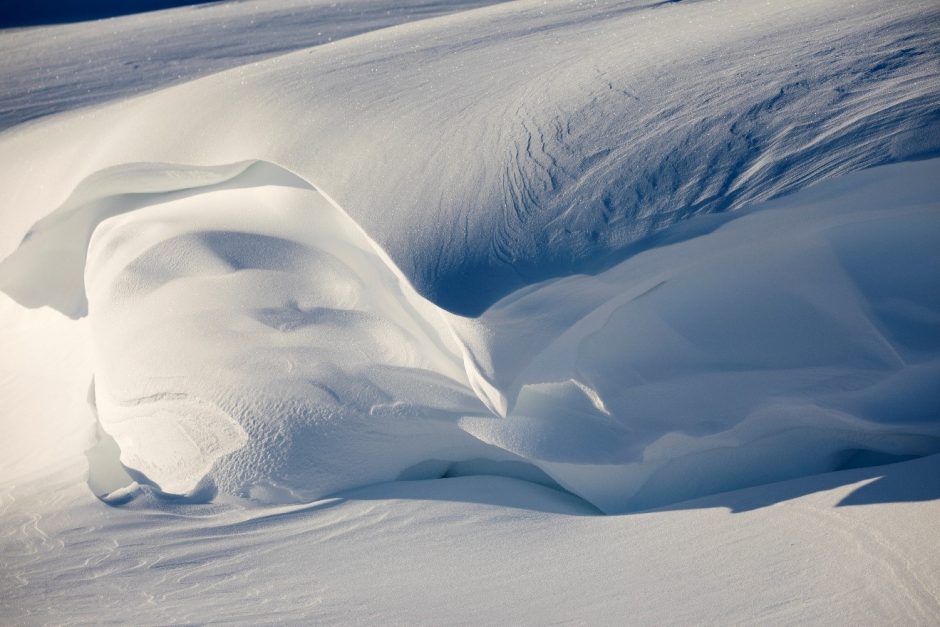
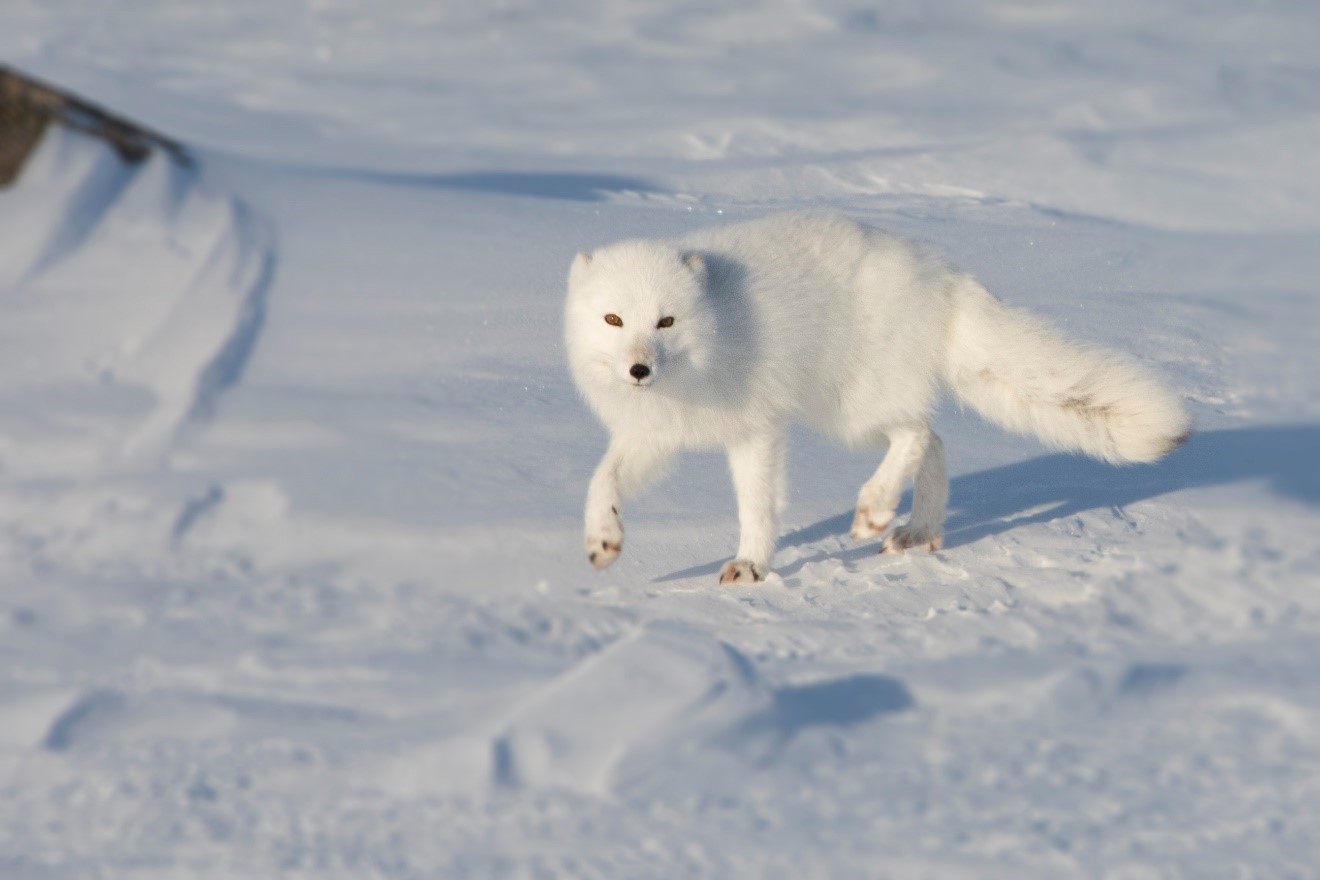
While the light of course is beautiful, one key consideration is the amount of light and dark you have in your own frame. That is, what proportion of your frame contains ultra-white snow, or the bright plumage or fur of an arctic animal?
See, the issue is that if you are shooting on any camera mode other than full manual (i.e., you’re shooting on auto, aperture priority, shutter speed priority, etc.), your camera will use its own metering to try and get the right balance of light and dark in the scene. This is a great asset and I myself lean on my camera often to do this, saving me precious time when the moment’s right.
However, nearly all cameras choose the light level (aka, metering) to yield an average of 18% gray across all pixels in the shot. For most photography, this is great, and is a rather good starting point. However, something goes awry when you’re photographing a scene that is predominantly white or black. The camera, using this 18% gray technique, will end up darkening your shot and making your pristine white snow, and/or your lovely arctic fox or polar bear, rather gray and dingy.
This is because the camera doesn’t know you want a lot of pure white—it’s still metering to give you 18% gray, and thus you get a artificially dark snowy field or gray-looking polar bear photo.
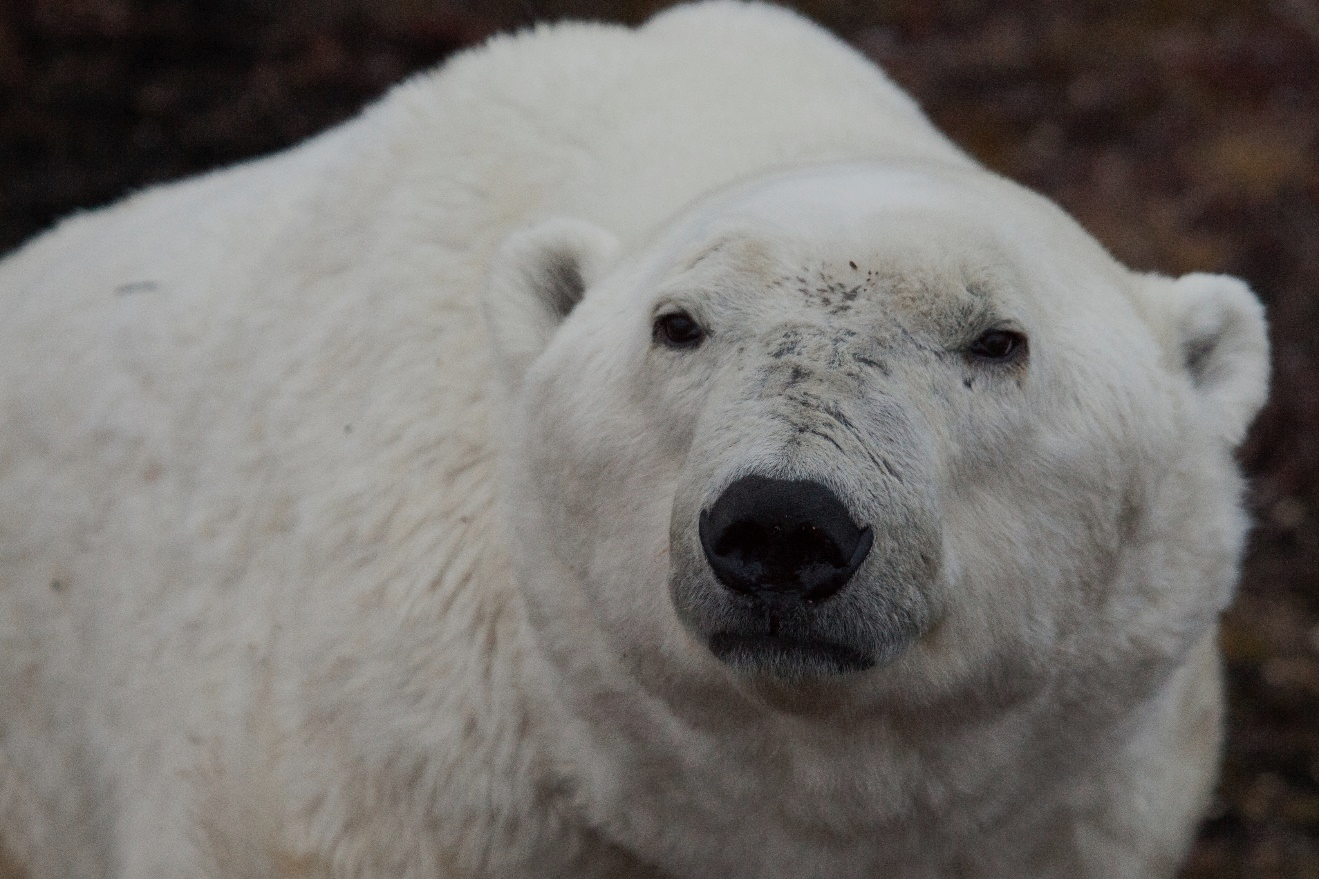
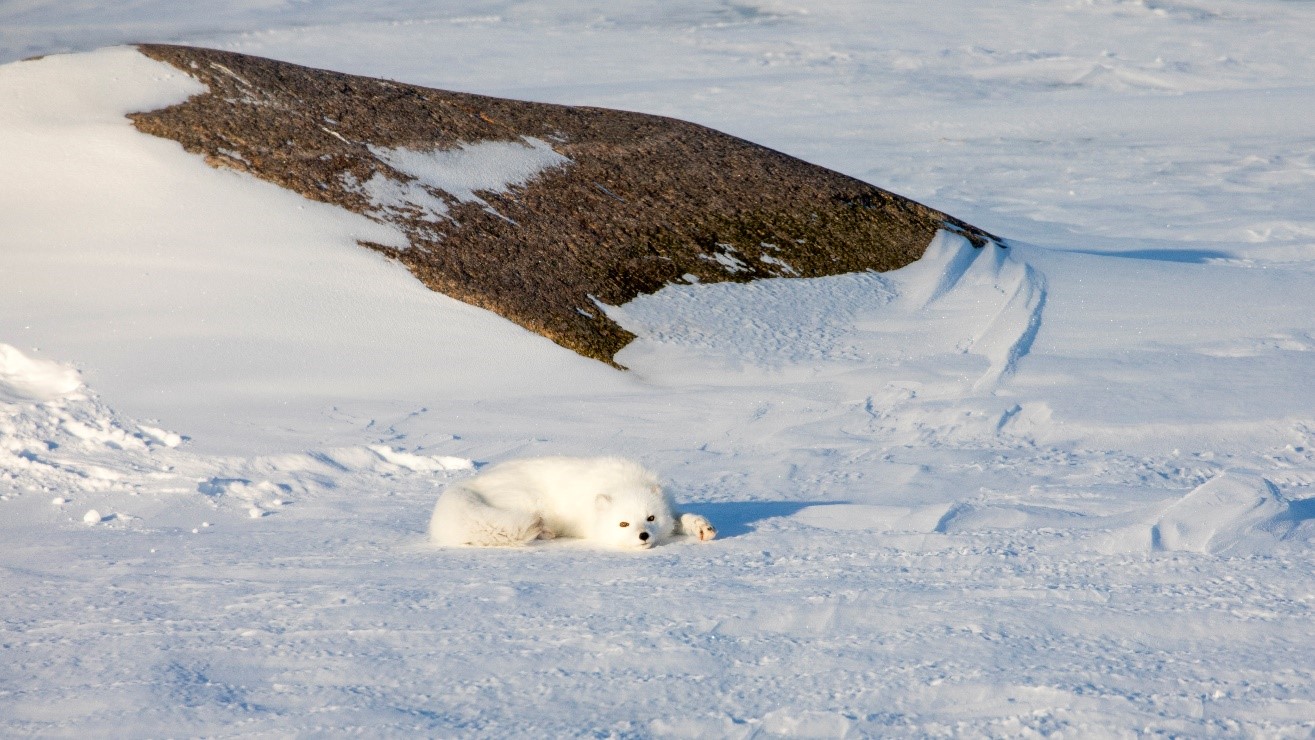
The above photo is a great example. If you do what you normally do, and keep your exposure settings untouched, and fill the frame with a white bear or a white landscape, the camera will give you a rather dimly lit photo. The camera thinks it’s right, but we know it’s wrong.
So, what can we do?
Fortunately, the solution is SUPER easy! You must simply tell your camera that you’re ok with the shot being brighter than the camera thinks it should be. And to do so, you increase the exposure compensation a little.
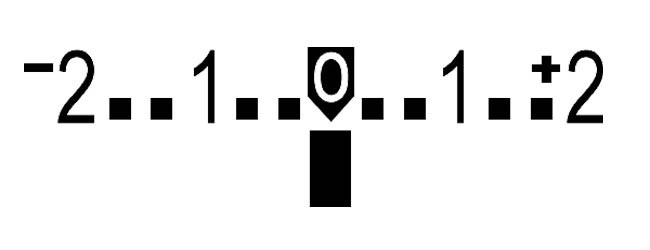
The above exposure meter and menu can be accessed on nearly every single camera out there, ranging from big fancy DSLR or mirrorless to the most basic point and shoot. And many smartphones have a comparable menu, too!
My general recommendation is as follows…
When you are photographing a predominantly white landscape or animal, such that you want to highlight the fact that it’s a snowy field, or white fur, increase your exposure compensation to +2/3s for starters. Then, take a couple test shots and see what you think about it in the back of your camera.
Very rarely will I go further than one “full stop” (hint: these are in increments of 1/3, so 2/3s will be two clicks to the + end, and 1 full stop is three full clicks). However, I will indeed adjust as needed.
The end result will get you whiter whites and more “classically arctic” looking landscapes and wildlife.
However, all rules are always mean to be broken, and with the right scene, you can actually use the darkness to your advantage and get a nicely ominous scene like the below.
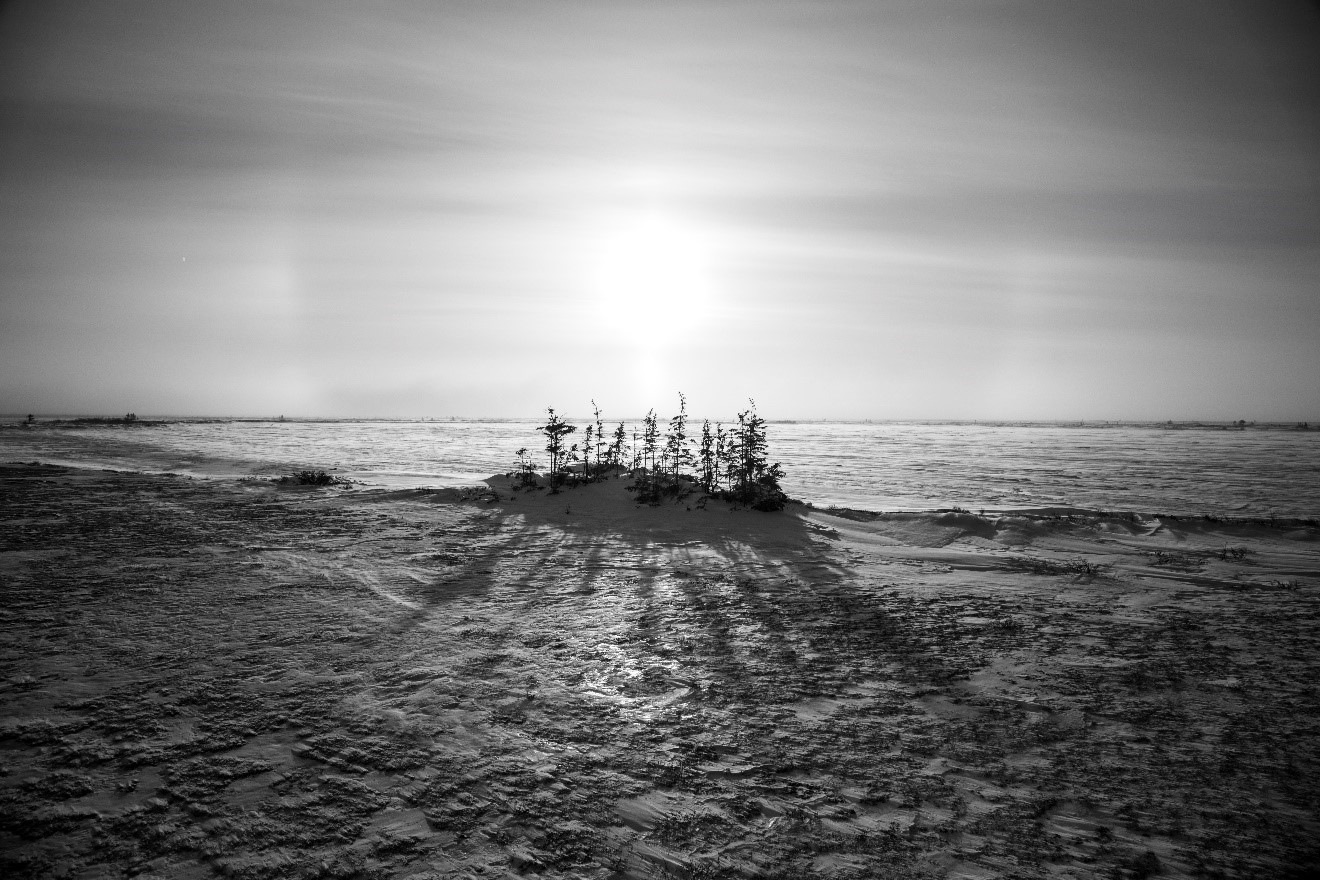
Here, I’ve used the harsh contrasts of shadows to really make the darkness come out. I then converted it to black and white to make for an even more dramatic look.
However, at the end of the day, my go-to setting when walking out the door in the morning for a day of photography in the arctic is to force your camera to take a brighter photo. You don’t need much, but just a little extra bump will make for more accurate photos that I’m sure you’ll enjoy much more in the end.
Go forward and give it a shot!

Court
Leave a reply