5 Things to Learn from your Camera’s Manual before your Next Photo Expedition
With each passing year, cameras are becoming more sophisticated and more versatile. The good news is that this means you have better opportunities than ever to take stunning photos no matter what the conditions are on the ground. However, the downside is that the menu systems are getting more complicated.
While “auto” mode might yield you the photo you want 80% of the time, we want you to get the shot 100% of the time. I do think it’s essential to bring your camera’s manual in the field, but as you might imagine, it’s virtually impossible to read the whole thing and instantly memorize every one of your camera’s capabilities. Thus, I’ve whittled it down a bit to the most useful things you should read up on before you leave for your photo expedition.
One quick note is that the names of each of these settings can differ from camera brands. I’m going to use the terms most familiar in the industry, but don’t despair if you don’t find the exact same term. While Sony might call autofocus something different form what Canon calls it, rest assured, they’re still the same thing.
Servo Autofocus
This is an incredibly helpful thing to know when photographing moving animals. Basically, by setting your camera’s autofocus on “servo” mode, it is actively focusing the entire time that you’re holding your camera’s shutter button down. That is, it is correcting itself continuously as the bird flies across the sky or the lion runs across the savanna. This drastically reduces the amount of time between your camera reaching perfect focus and when the shot is taken, which gets you the shot.
Not only should you take a look at your camera’s manual to see how to set your exact make and model to this mode, but also try and practice before your trip. Although it’s incredibly useful, it may take a few practice shots to get the hang of it.
Exposure compensation
Ever get photos that look a bit too dark or a bit too light when reviewing them? Yep, we all do. This is probably the most helpful thing to know about your camera, which is finding where your “exposure compensation” setting is. Again, this exact term might be different on different cameras, but the idea is the same. It usually shows up as a button with a plus and minus icon, and the meter itself usually ranges from -2 to +2, with a number of increments in between.


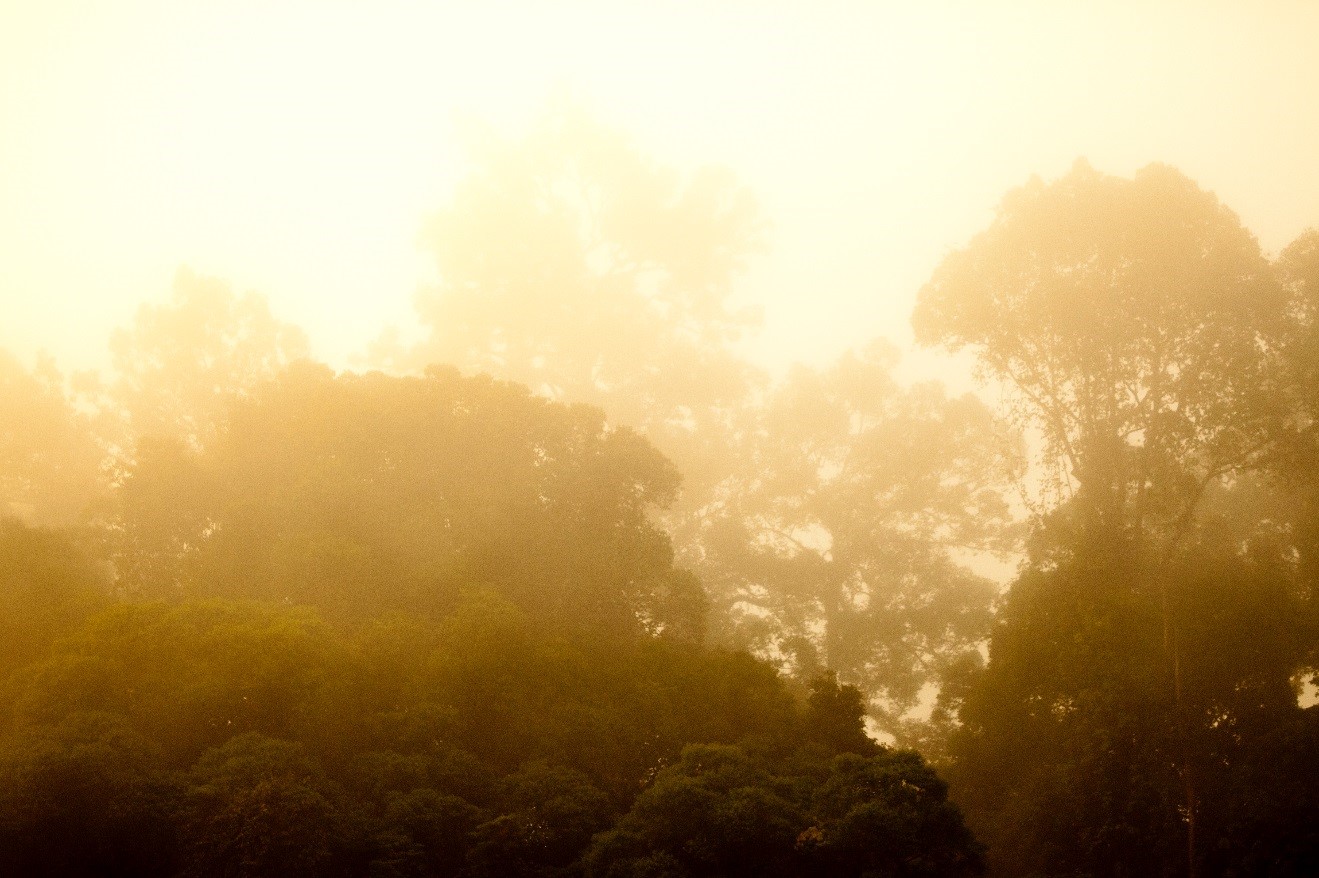
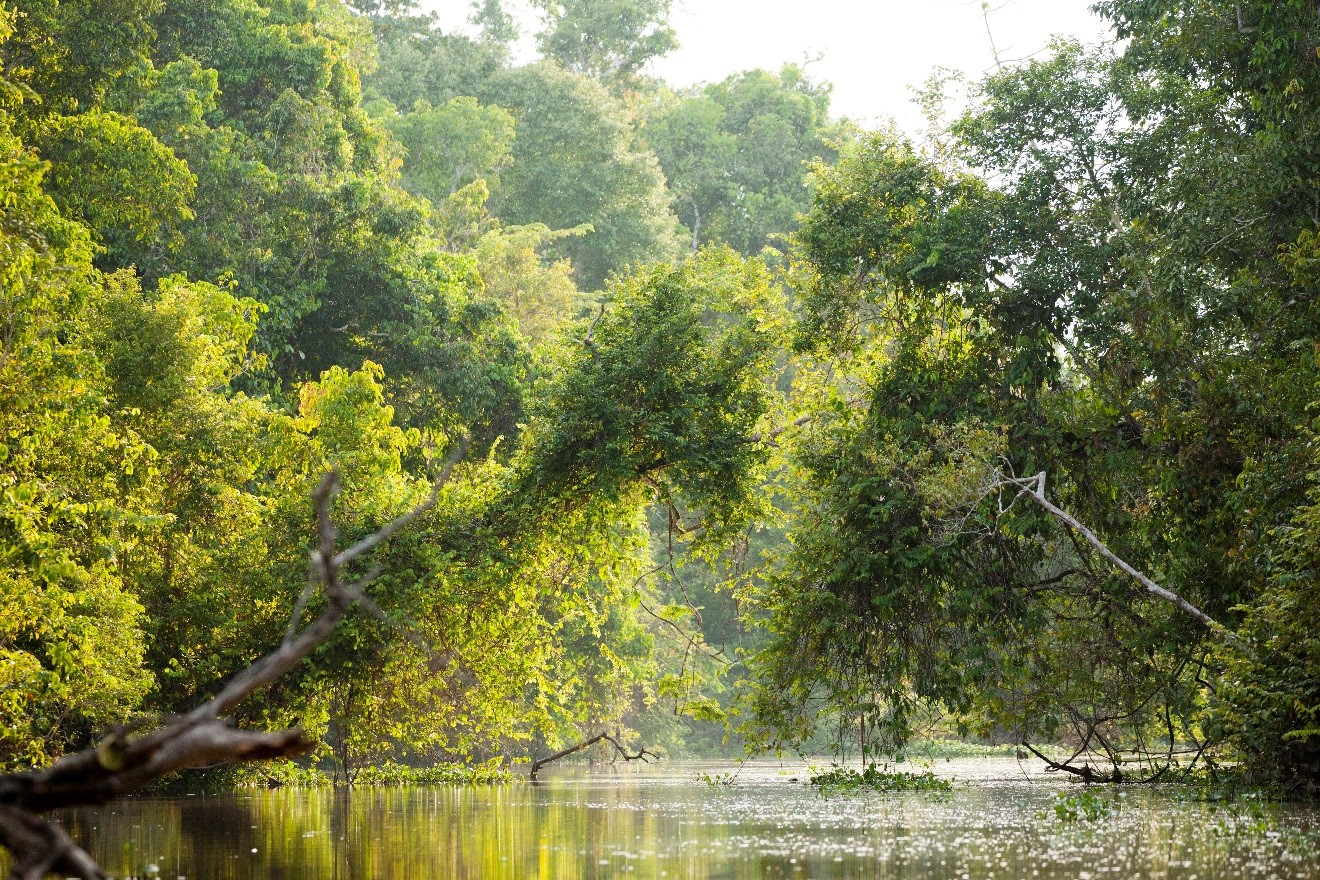
Use your camera’s manual to figure out how to shift your camera’s exposure to either direction to force your camera to lighten or darken the subsequent photos. If you dial your exposure compensation to the positive end, it lightens all future shots. If you dial it to the negative end, it darkens all future shots. Sometimes overexposing shots can make for evocative scenes, as in the below golden sunrise over Borneo’s Danum Valley.
In theory, you want to keep your camera set to the “0” (zero) setting, as cameras are pretty intelligent with figuring out what the best light looks like. Try and let it do it’s thing before you change it. However, there are always times on photo trips that you’ll need to adjust this. Personally, I use this technique daily while on expedition. First, I’ll take a test shot, then see if I need to adjust. Most of the time I do not, but in cases with really bright sun, or strong contrasts, you may indeed need to adjust.
Exposure evaluation
The way your camera evaluates perfect lighting is directly tied to the above compensation technique. For most cameras, they have at least 3 ways they “evaluate” the amount of light in the scene you’re photographing. The most common method is called “evaluative”…go figure! This is the camera’s internal computer trying to make its best decision using all sorts of fancy internal software. I leave my camera on this 95% of the time, and then use the above-described “exposure compensation” to fix it if it didn’t choose correctly.
The other methods cameras use place more emphasis towards the center focal point. Read up in your camera’s manual to understand this a bit better, but the main use for this is when you have pinpoint wildlife that may not be properly lit. For example, when you have a bird sitting in a tree, often the sky behind it is much much brighter than the bird. Using normal “evaluative” exposure, the camera will make the bird too dark, because it’s trying to adjust for the intensely bright background, effectively darkening everything. However, with spot exposure or center exposure, it exposes exactly for whatever is in that center focus box.
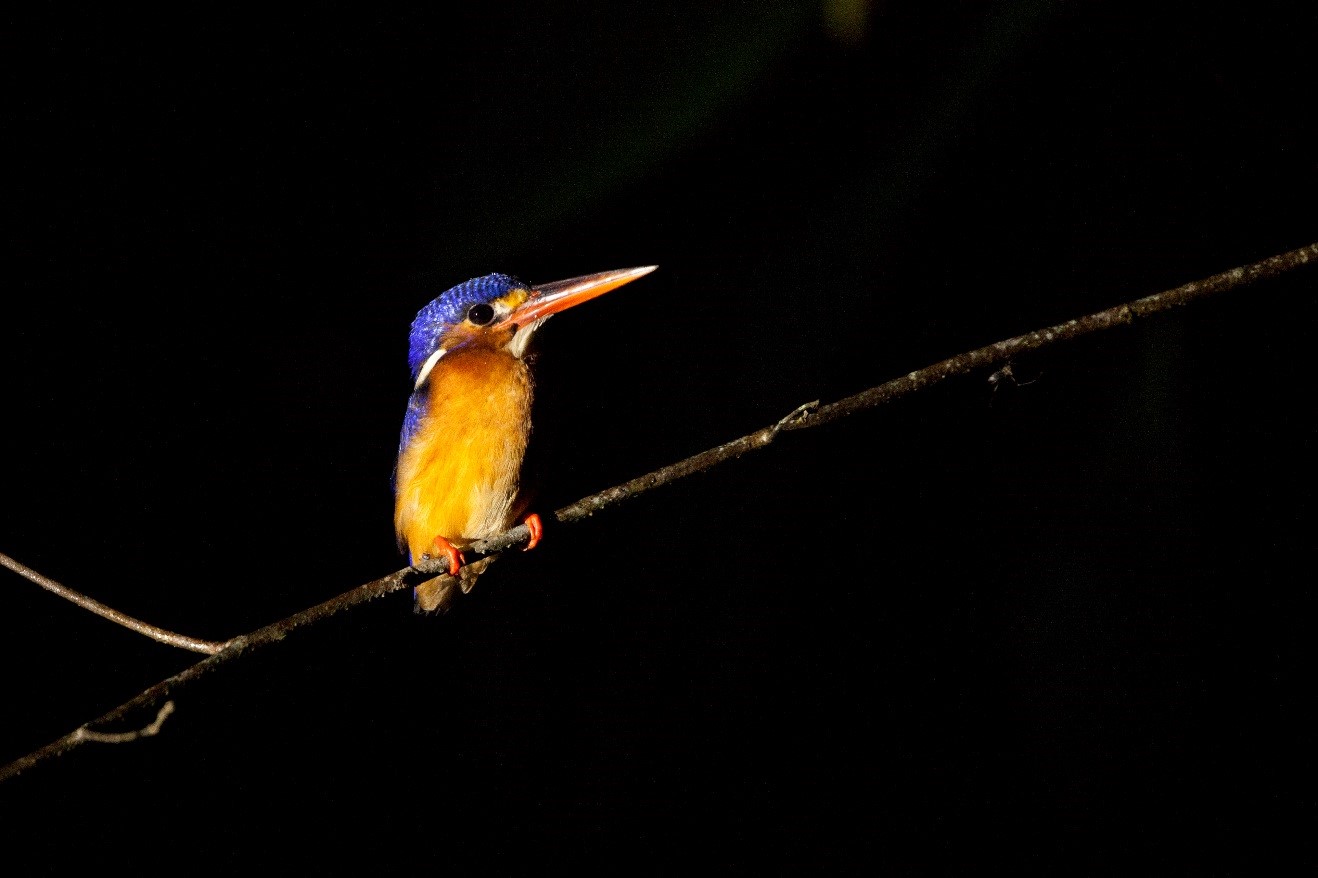
In the below photo, a small flashlight can illuminate the subject to yield the converse effect…the minimal amount of light perfectly exposes the kingfisher here, but the background is completely black. In this case, I feel that this worked nicely and provides a really unique looking photo.
Again, I rarely use anything but the general “evaluative” setting, as cameras are usually good at figuring this out.
Change your ISO
This has everything to do with how well you can photograph in low-light conditions. Fortunately, newer cameras are getting better and better at having high ISO ranges, along with yielding better photos at such high ISO numbers. If you aren’t familiar with ISO, it is the equivalent of ASA rating and film speed in film days. “Normal” range is from 100-800, but oftentimes with wildlife, we’re forced to use ISO 1600 and sometimes even ISO 3200.
Without going into laborious detail, a higher ISO setting makes your camera’s sensor more sensitive, allowing it to perceive more light than it normally would. The higher the number, the better it deals with low light.
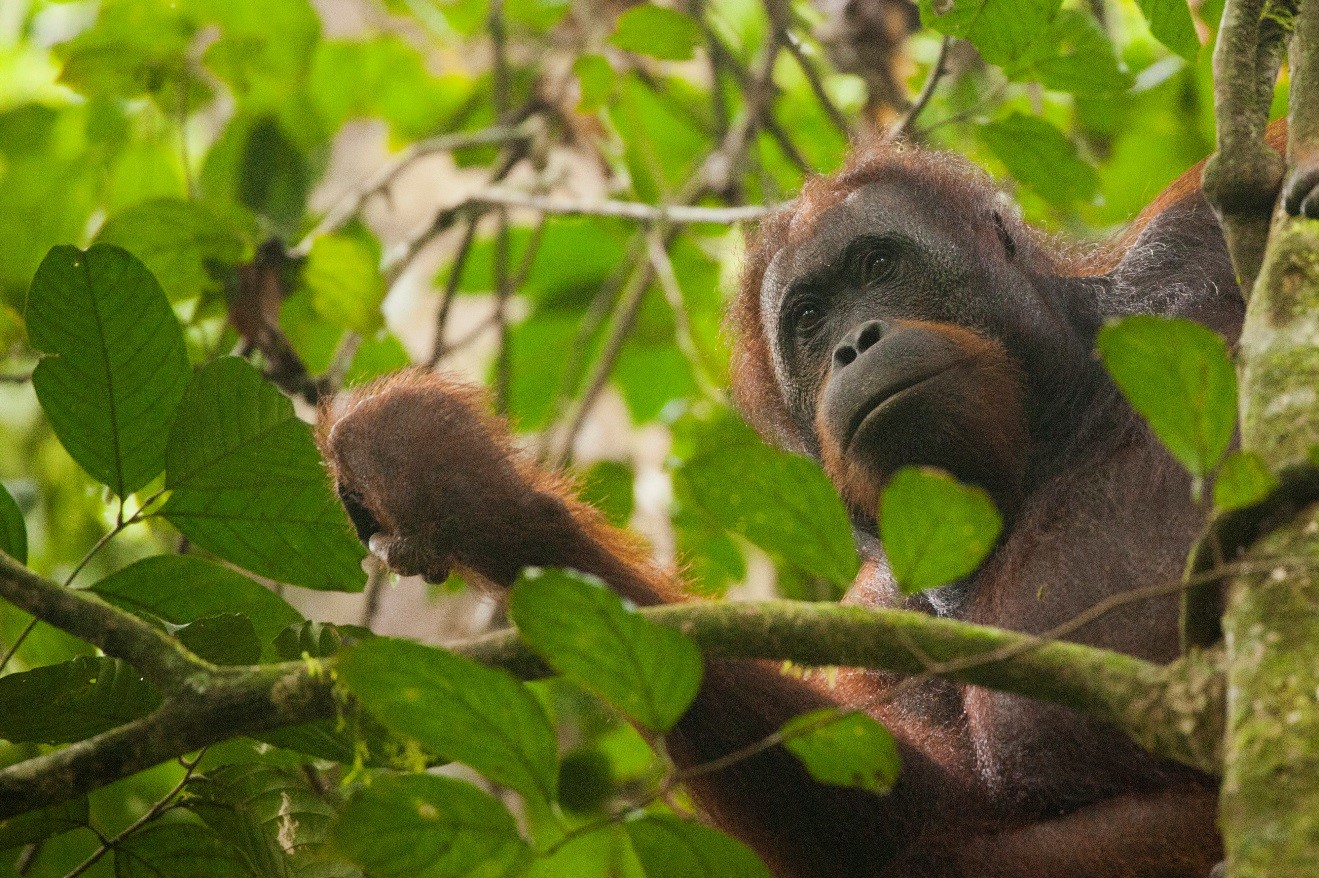
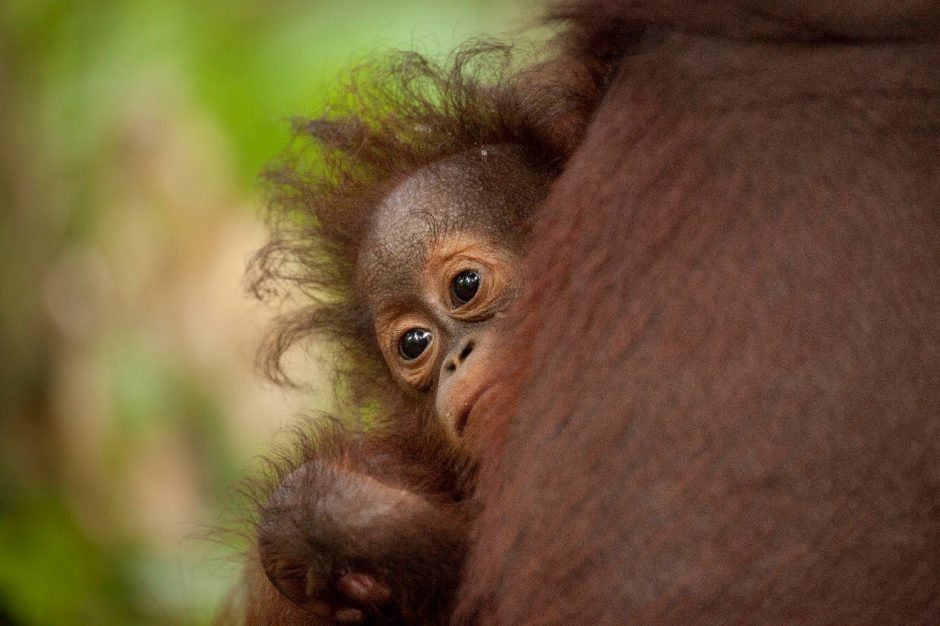
Above, a female orangutan perches high in a tree of the Bornean jungle, requiring a high ISO number to get the shot. Notice how it’s a little bit grainy…you still get the shot, but the quality does degrade a little.
In the world of nature and wildlife photography, we must use high ISO values often, as we’re photographing at dawn and dusk, or in dark rain forest or jungle environments. However, there is a downside to high ISO, as this increased sensor sensitivity makes the resulting photos not quite as crisp as when photographing at lower ISO numbers.
Thus, you really need to shoot at the minimum ISO possible all the time. With practice makes perfect, so don’t be overwhelmed. But, do take time to read in your camera’s manual to learn how you can change your ISO easily. In some newer cameras, you can even set a range of “acceptable” ISO numbers, such that your camera can help find that perfect number when you may not want to take the time to do so.
White balance
This is another case where your camera defaults to “auto”, but you may wish to change it throughout the course of your adventure.
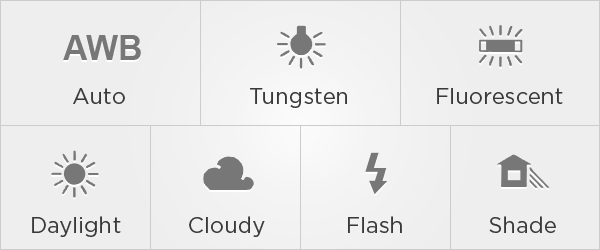
Basically, white balance is a setting that tells your camera how it should perceive “pure white”, in order to calibrate all other colors. Thus, the setting you choose determines the overall color of your resulting photos. In other words, this is kind of a big deal. Usually, the range of options looks like something below.
Here is a case when I personally just don’t like what “auto white balance” does…
In my humble opinion, it tends to make photos look a bit overly “blue.” I know, weird, right? But don’t take my word for it, just spend a little time before your next photo adventure to learn how you can change the white balance settings and take some test photos. Personally, I keep my white balance setting on “cloudy” nearly 95% of the time, as I just like the “warmer” look of the photos it produces. But, another area where a few minutes of practice and experimentation before your trip will go a long way.
I hope these tips and tricks were of help. There are certainly other things you may want to read in your manual, but these are key enough to spend a little time before your next trip so you can hit the ground running while in the field.
Go forward and give it a shot,
Court
4 Comments

Marian
May 24, 2017 at 10:18 am

Court Whelan, Ph.D.
July 13, 2017 at 10:54 am

David
August 26, 2019 at 1:06 pm

Court Whelan, Ph.D.
August 31, 2019 at 10:07 am
Thank you Court! I learned alot from your information, how the ISO at a higher # takes the crispness out of a photo. And about what white balance really means.
Much appreciated, Marian
Hi Marian, so glad to be able to help! Thanks for visiting our site!
Going to travel to Borneo in September, hopefully I’ll get some great shots of the orangutans my only concern is having to turn up the iso to deal with the low light conditions, my cameras a canon 7d m2 hopefully it will cope ok . Would you advise taking a monopod for lower shutter speeds?
Regards David.
Hey David, great to hear! Yes, high ISOs are a must. Fortunately the 7dii has decent low light capabilities. But do indeed plan on shooting at ISO 1600+ a decent bit of the time. Frankly, a monopod won’t work all that much, as you’re balancing both low light and moving animals. Thus, taking your own hand shake out of the equation (via monopod) is nice, but it won’t do anything for the oft-fast-moving animals. Thus, really the only catch-all solution is getting more light via ISO so you can freeze movement. I’m usually aiming for something around 1/250 or 1/320 of a second. In the orang sanctuaries, they may be more sedentary and I’ll adjust as possible…maybe down to 1/100 if the orang is sitting perfectly still. Hope this helps a little!