When and How to Change your Camera’s White Balance Settings
First of all, for those that aren’t familiar, your camera’s “while balance” is the way that your camera perceives “pure white.” Imagine a sheet of copy paper as an example of universal pure white. It’s going to look differently based on what kind of light is hitting it. If it’s a golden fall day, that pure white might be getting some low angle sun, or color reflected from the trees. Similarly, if you’re in Antarctica, the way pure white appears in a photo will be unique because of the cool blue surroundings.

Simply put, with each new environment you encounter, there will be differences in the color and intensity of light, largely due to sciency stuff like reflection and refraction of light in the atmosphere. Don’t worry about the intricate details for now, just know that it exists.
So, what is there to do about it?
Because camera manufacturers know this is an issue, they have built in a white balance setting that calibrates the camera depending on what the light is doing around you. If you look at your camera dial, or menu, or manual, you will likely see something about WB…for White Balance.
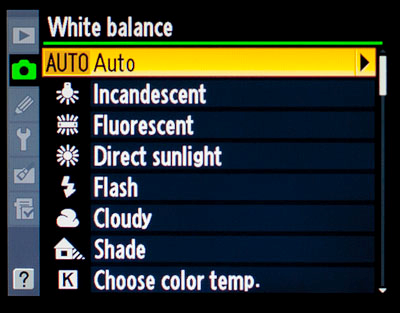
Most likely your camera will be set on AUTO white balance, sometimes abbreviated as AWB.
There are two great bits of news I can share with you now. A) Auto white balance is usually just fine, and B) it’s actually pretty easy to change the white balance of a photo after it was taken through computer software.
Before I go into point B, let’s talk about when you may want to take your camera off of AUTO white balance.
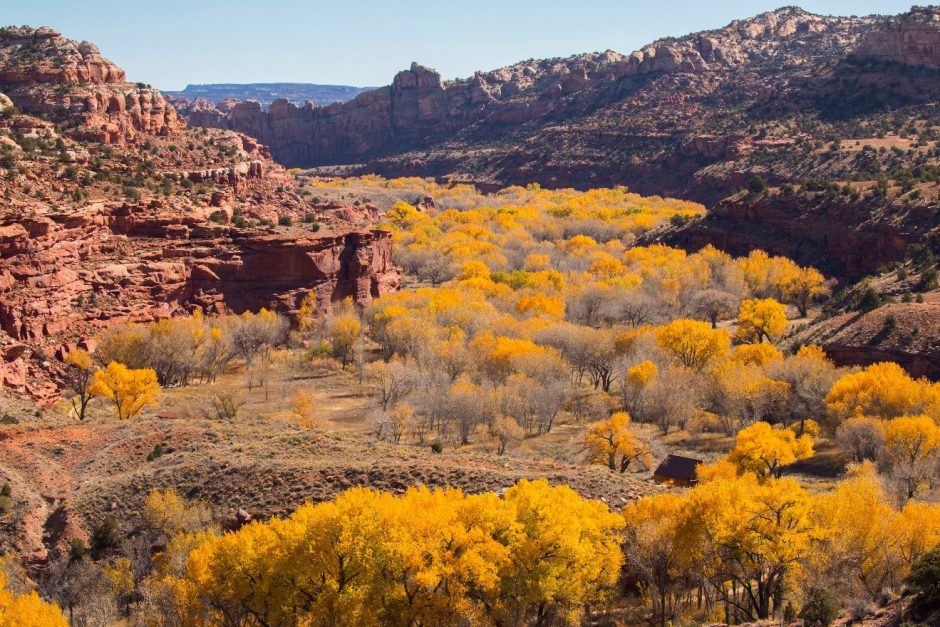
#1 – You’re photographing in Canyon Country

The orange, yellow, and red rocks of deserts are sensational to photograph. And while the Canyons of the SW Deserts in the US are perhaps some of the most well known, there are also incredible deserts in Namibia, and even lesser-known deserts in Madagascar (and of course many other places around the world, too). This is all to say that desert areas with lots of rocks are very scenic and lend themselves greatly to setting a special white balance. Your camera will do ok on auto, but not as good as if you tell your camera what you want.
To maximize colors in deserts and canyon areas, I recommend you set your white balance on “cloudy.” This brings out the yellows and emphasizes the intense desert colors without risk of oversaturation by means of using the saturation tool in photoshop or similar. (note: “shade” white balance setting will produce similar effects)
#2 – You’re photographing in harsh polar conditions
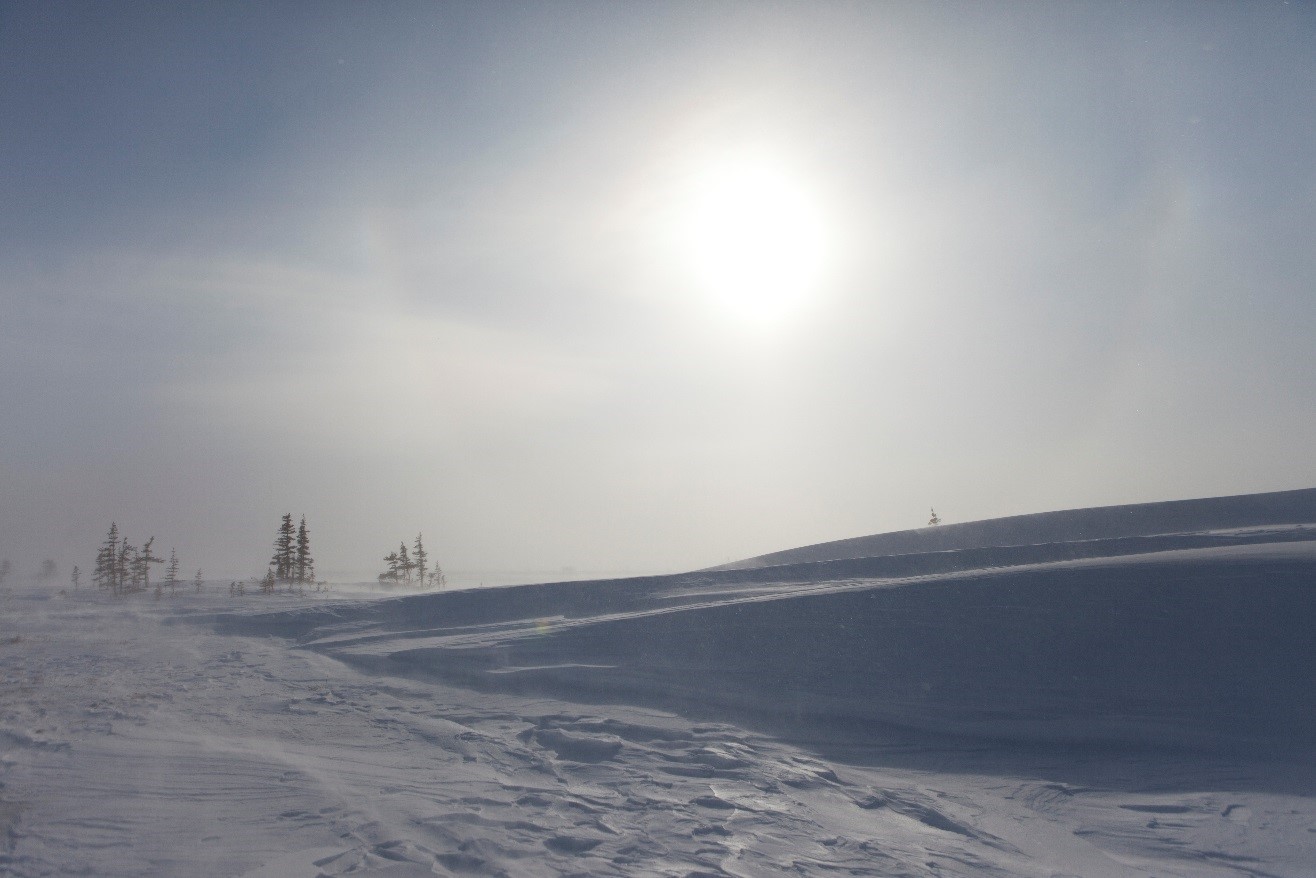
On the opposite end of the spectrum, when photographing in snow and cold environments (think, Antarctica, the Arctic, polar regions around the world), I recommend you set your camera on “sunny” setting, which injects more blue into the photo. This emphasizes the icy and cool tones of the landscape and lends itself very well to photographing snowy scenes.
#3 – You want to Warm or Cool your photo
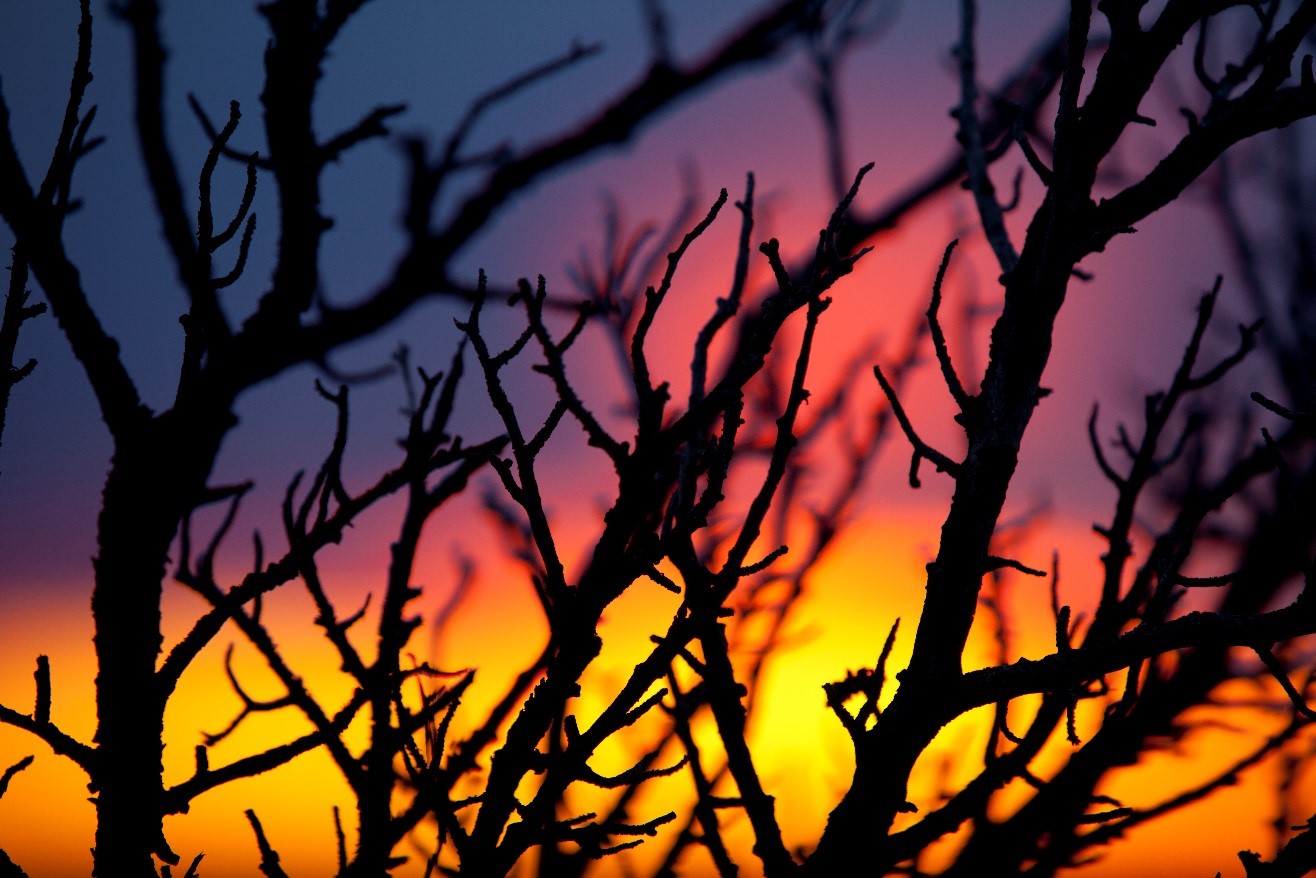
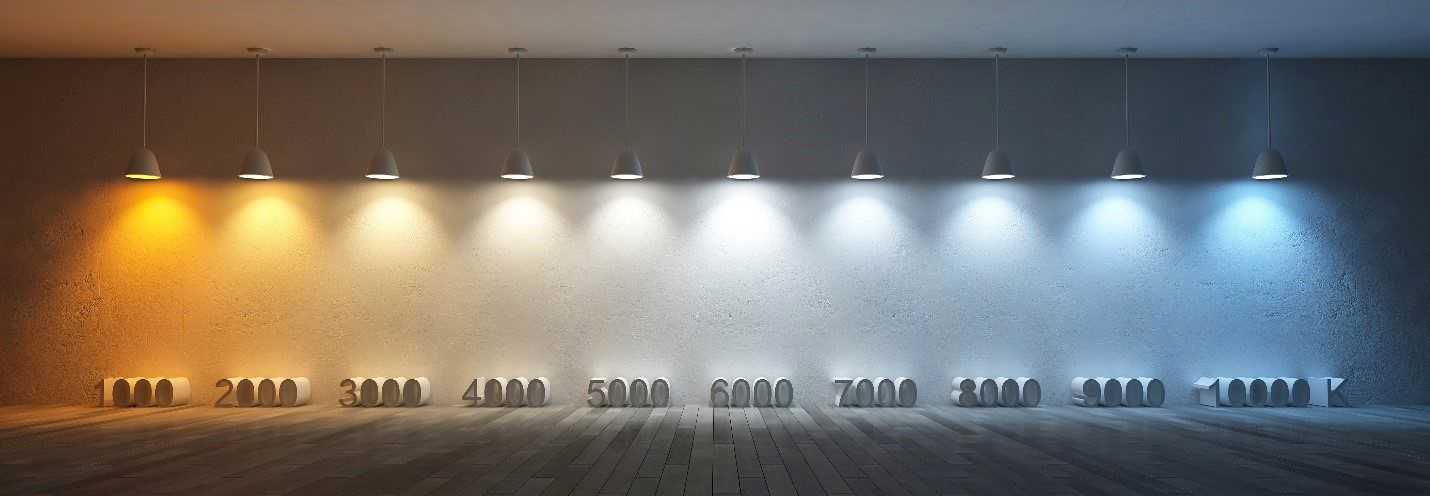
Photography is all about light and color, and the better grasp you have of these the better photos you’ll have in your portfolio. Basically the first two points are actually about whether you want to warm (inject more yellow) or cool (inject more blue) your photos. Canyons and deserts are great for warmer photos, and the tundra is better with a cool look. Part of this has to do with actual temperatures of the places, but don’t lock yourself into that way of thinking. There are many exceptions to the rules.
White balance (aka color temperature) is basically a spectrum from warm to cool… yellow to blue.
Frankly, to get the best understanding of all this, it’s worth spending some time experimenting with different white balances under different conditions. And to better understand how these changes affect the resulting photo, do the opposite of what I’m recommending and compare the two shots. You may very well like the look of a cool desert scene, or a warm arctic tundra – rules are always meant to be broken.
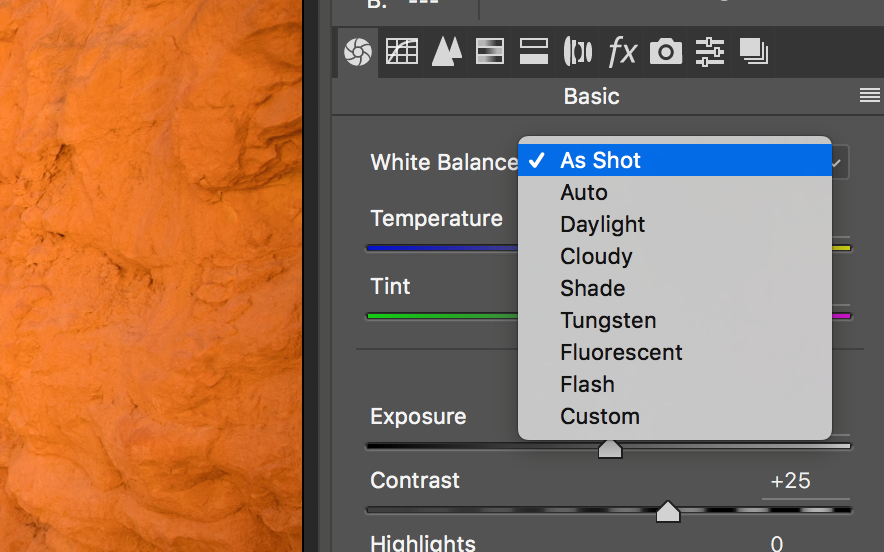
Changing white balance after the photo is taken
Most editing programs have quick and easy drop down menus that look just like the camera menu used to change white balance settings in the first place. However, you get the best results when you do this with RAW photographs compared to JPEG.
But my final point is this, which somewhat ties this all together. Because different white balance settings cause rather major changes to how a photo looks, it’s always best to shoot it the way you want it. What I’ve personally found is that if I try and change the white balance on the computer, having already looked at the native white balance, there’s a stigma in my mind that I’m over editing, because the change is so drastic. However, if the photo comes out of the camera one way, changed prior to taking the photo, I’ll almost never bat an eye because it seems less extreme. And since my end goal is to make the resulting photo most like how I remember seeing it, I don’t have to try and remember 10 days later, after I’m done with the trip – I can do it live, while I’m physically taking photos.
Hopefully these tips help you not only understand white balance and when to consider changing it, but most importantly it gives you the confidence to experiment with it.
Now go forward and give it a shot!
Best,
Court
1 Comment

Marian Schultz
November 26, 2017 at 7:18 am
Thank you for your great tips. I am learning about photography, Photoshop and just learning the camera. I bought a Sony mirror less camera, the size and weight was a big part of that. Your tip and advise are extremely helpful, my Instagram is @nature_worldhabitat Any comments would be greatly appreciated.
Thank you again.