
What’s in the Camera Bag? Polar Bear Expedition
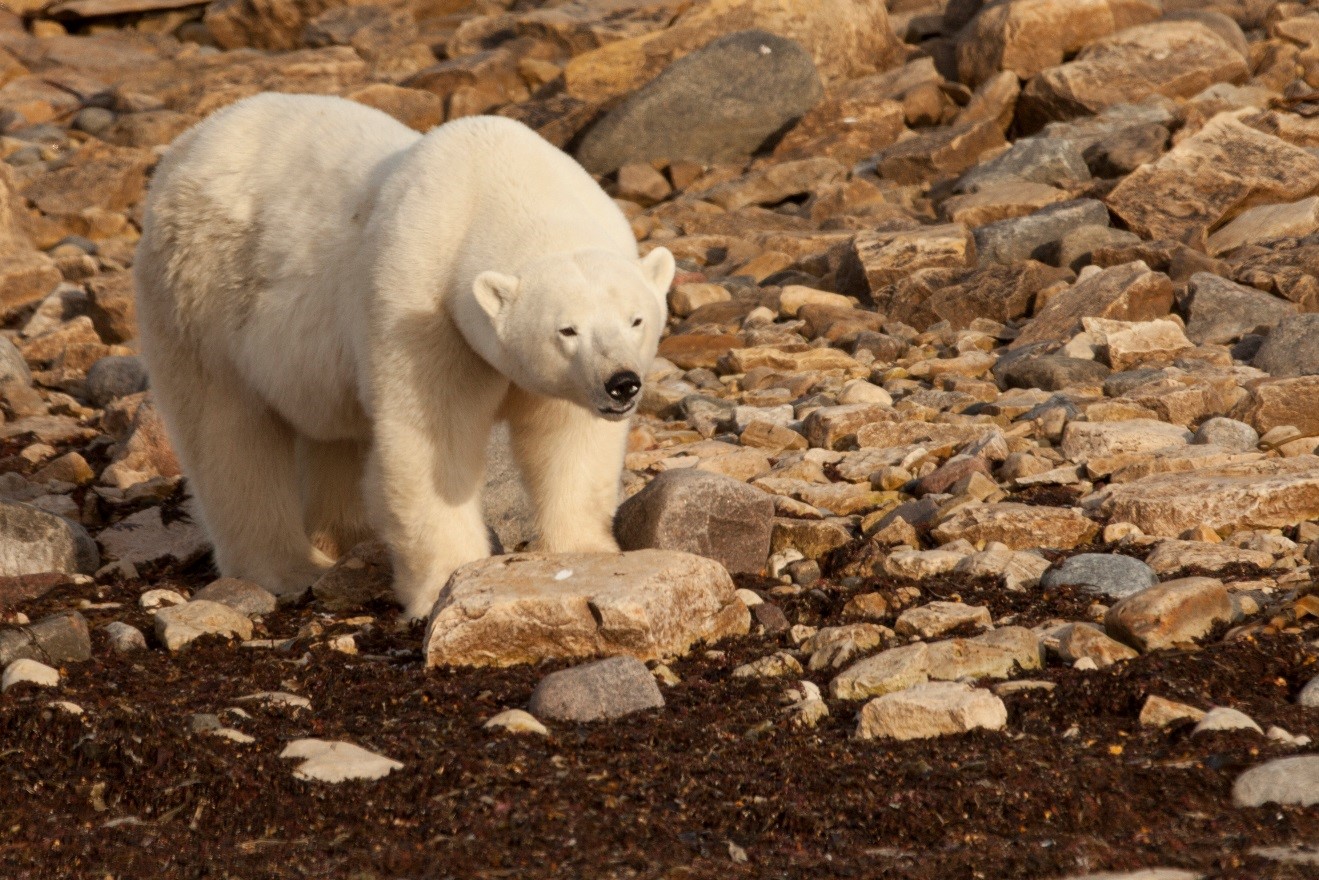
The king of the arctic is an amazingly photogenic animal. As behaviorally charismatic as they are simply beautiful, Polar Bears are incredible to photograph. When gearing up for an expedition to the north to photograph these spectacular animals, be sure to bring the right gear to get the best shots.
Wide angle zoom
This “multi-purpose” lens is something that will rarely not be included in your photo bag wherever in the world you go, and this trip is no exception. A great “walking around” lens, you’ll no doubt use it to photograph the landscape as well as the experience of traveling to such a remote and mysterious area. Something in the range of 18-55mm, 24-70mm, or 24-105mm is ideal.
Telephotos
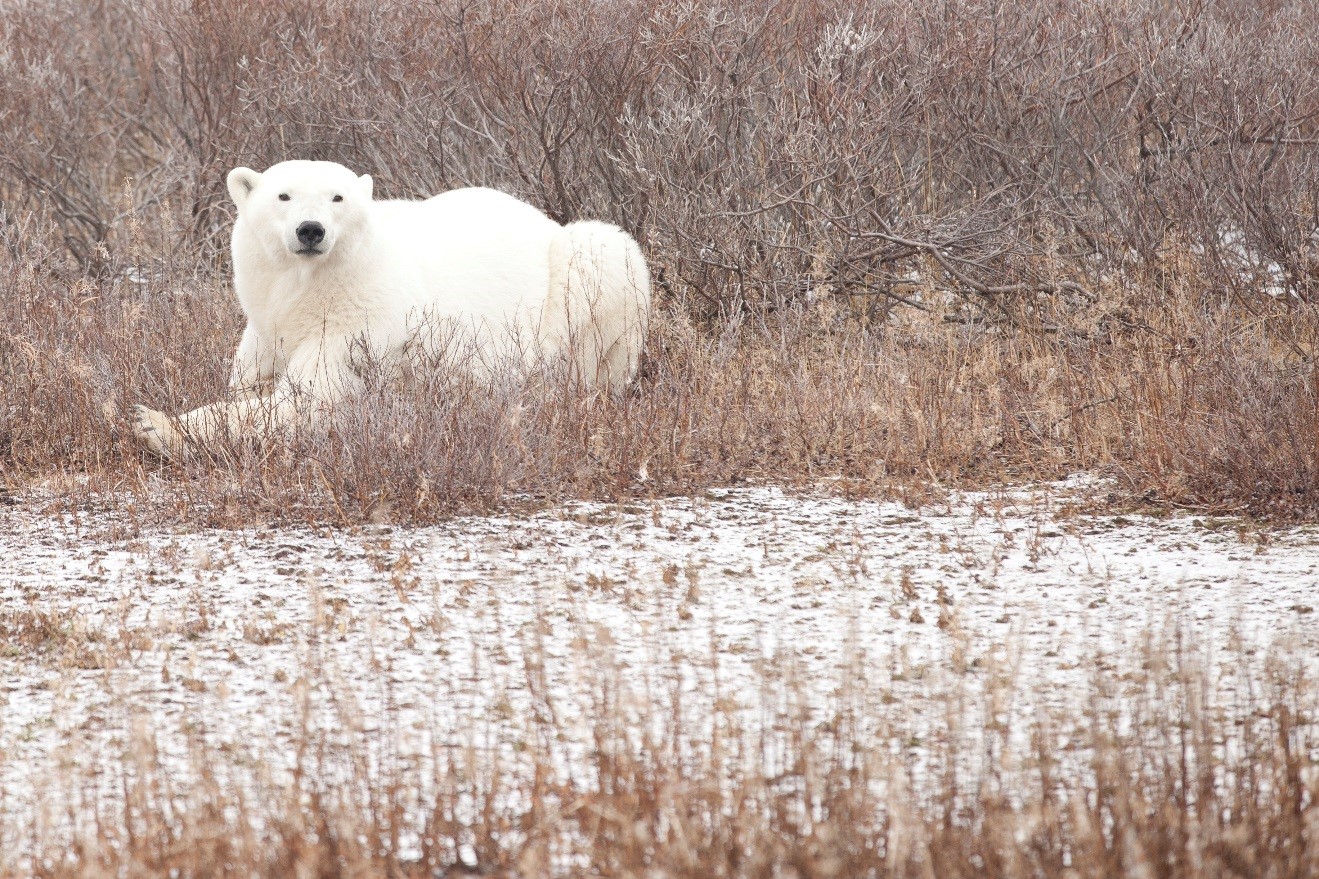
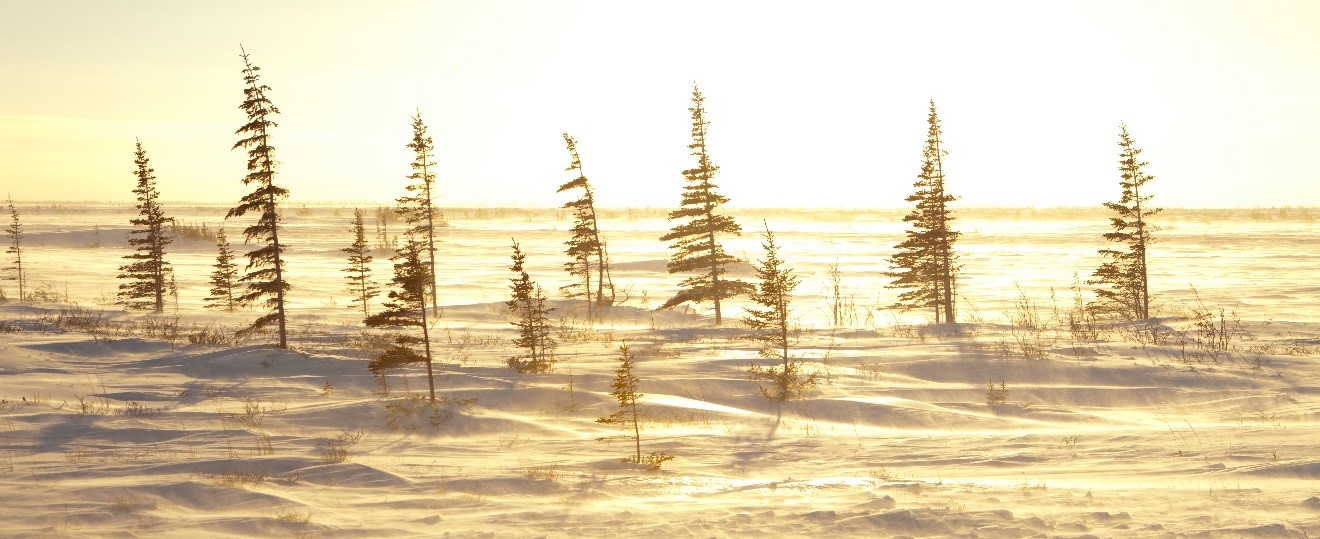
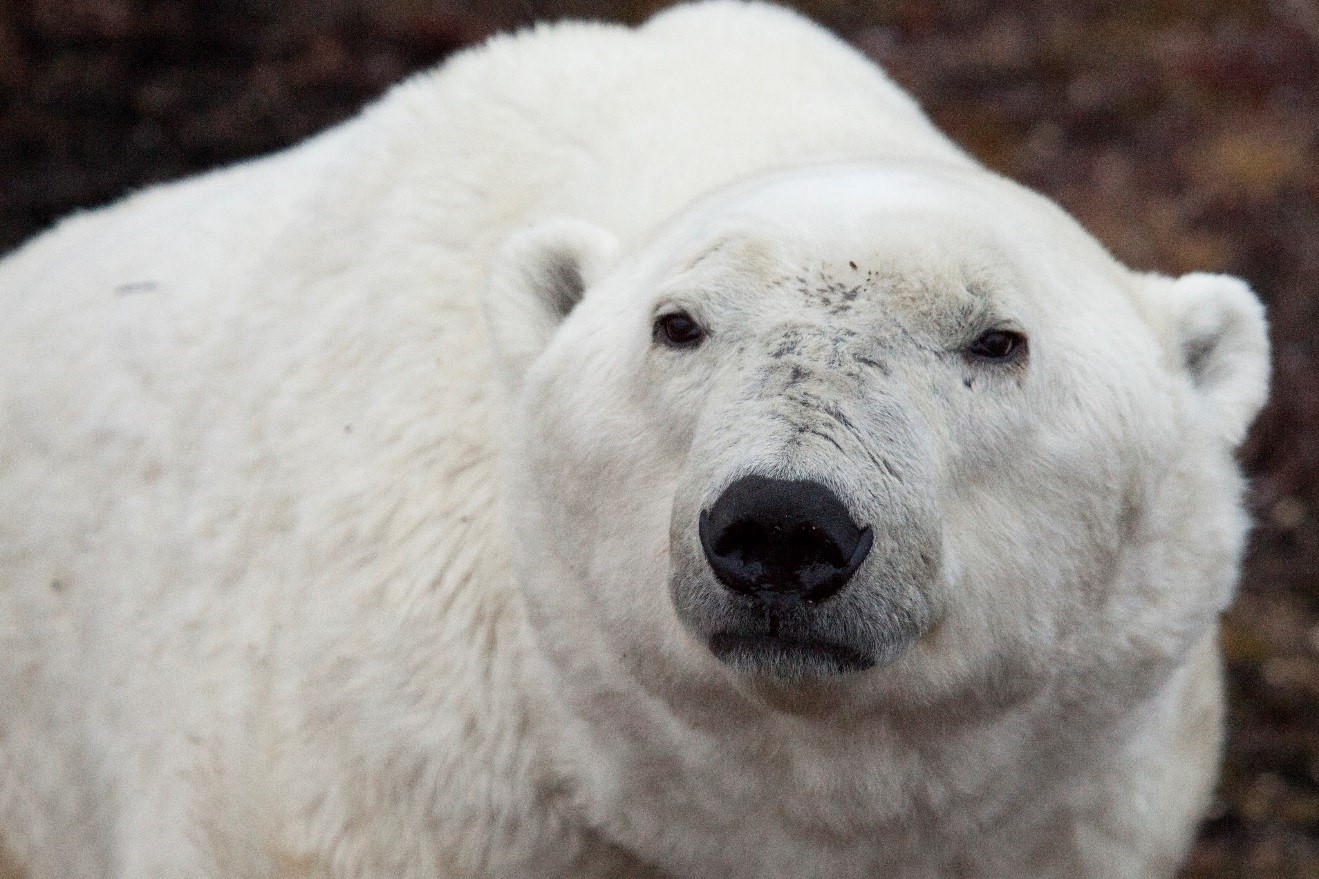
Having a lens that will get you “photographically close” is important for this expedition. Not so much because the bears are far away, as they often will come quite close such that a wide angle may be more appropriate, but more because of the diversity of shots you can achieve with one. The trick here is versatility. A “zoom telephoto” in the range of 70-300mm, 80-400mm, or 100-400mm may be the most useful lens you’ll bring, as it allows quick action no matter what’s happening in front of you. Whether you’re photographing a line of spruce trees in the distance for a dramatic “compressed” landscape shot, targeting a bear nicely tucked into the willows, or simply wanting a “fill the frame” shot with a bear’s full face, a telephoto is extremely useful.
Ultra telephoto
It’s a big question as to whether you need/want something larger than a 400mm while on a polar bear expedition. It’s quite a common adage that you’ll really never have enough zoom when on a wildlife safari. There will likely be times that you want something larger than a 400mm, especially if you have a full frame camera. However, depending on the conditions for the day, this may be useful for one photo all day, or a few dozen. The question is whether you want to lug something like a 500mm or larger around with you for what could be only a small percentage of your total shots.
One compromise is to select a nice “fixed focal length” lens, or prime lens. This type of lens is “fixed” at a set length, such that you can’t zoom in or zoom out. Why would this be helpful? Well, it really comes down to quality. Bang for your buck, you will get a much better quality photo from a prime 300mm vs. the same shot on a 70-300mm fully extended to it’s zoom at 300mm. The ramification is that if you are photographing something you know you’ll want to crop later on the computer (ie, because you don’t have enough zoom), you will retain quality by having a prime lens and ultimately be able to “digitally zoom in” farther by cropping on a computer.
X-factor Lens
The x-factor lens for this trip would have to be an ultra wide angle. Something like a 10-22mm or 12-24mm on a crop frame camera or 16-35mm or 17-40mm for a full frame camera can produce dramatic results. You’ll likely use it mostly for shots in town and more “immersive” shots, like in the polar rover, or while dog sledding. Because this is “x-factor” it’s certainly not a must-have, and some shots can be accomplished by your trusty walking-around lens, it’s not nearly as high priority as a telephoto.

Batteries & Memory Cards
The cold environment means that you’ll need to think about extra batteries, as they generally lose their power quicker when they’re exposed to cold. One trick is to keep extra batteries in your pocket, allowing natural body heat to keep them a bit warmer. Often they’ll last anywhere from 2x to 5x longer that way!
Much like other wildlife destinations, you’ll be surprised at how many photos you take. Estimate a number and then double (or triple) it to gauge how much memory to bring!
Extra camera body?
This can be helpful, especially if using a fixed focal zoom of any magnitude. It can be frustrating to have a sublime 500mm lens, capable of photographing the claws of a polar bear from 50 yards away, but then to not be able to zoom out to a full body shot if said bear is very close, stretching out its paws up onto your rover! In addition, a photographic polar bear expedition may very well be the photo trip of a lifetime, so having a backup body (even if an older camera) can be a good idea. But don’t let this scare you if you don’t have a second camera, just be sure to have a lens that is a bit more multi purposed so you don’t have to change lenses too too often.
Tripod
Not really necessary, and certainly a hindrance when on the rovers. Flexibility and maneuverability is key when photographing polar bears. Being able to switch from one side of the vehicle to the other, or from the front window to the back deck, is crucial when bears are close or on the move. Bringing a photo beanbag to brace the tip of your lens on is excellent. If joining a photographic safari, check with your outfitter to make sure these are provided, as the best companies anticipate this need.
One case in which you may indeed want a tripod is if the northern lights come out. Churchill, Canada, happens to not only be one of the best places to spot polar bears, but also a zone of extremely high aurora activity. However, autumn, when polar bears are at their peak density, also happens to be a difficult time to spot the lights due to extreme cloud cover. Nevertheless, if you are on of the lucky ones to spot the aurora borealis while in this northern frontier, you’ll be glad to have a tripod to photograph the show! View tips on Northern Lights photography here.
We hope these tips are helpful, but if you have any questions or your own recommendations, please feel free to leave a comment below.
1 Comment

Mike Williams
August 1, 2016 at 8:54 am
I took a 600 with both 2x and 1.4 X converters and then a 200 fifixed and a 24-70.
I used the 600 90% of the time. Was it too much yes occasionally but boy when it was on it was perfect. I recommend this to anybody bigger is better ( but with small fall back
Pics can be found at
http://www.pbase.com/twilly666/polar_bear
http://www.pbase.com/twilly666/arctic_fox