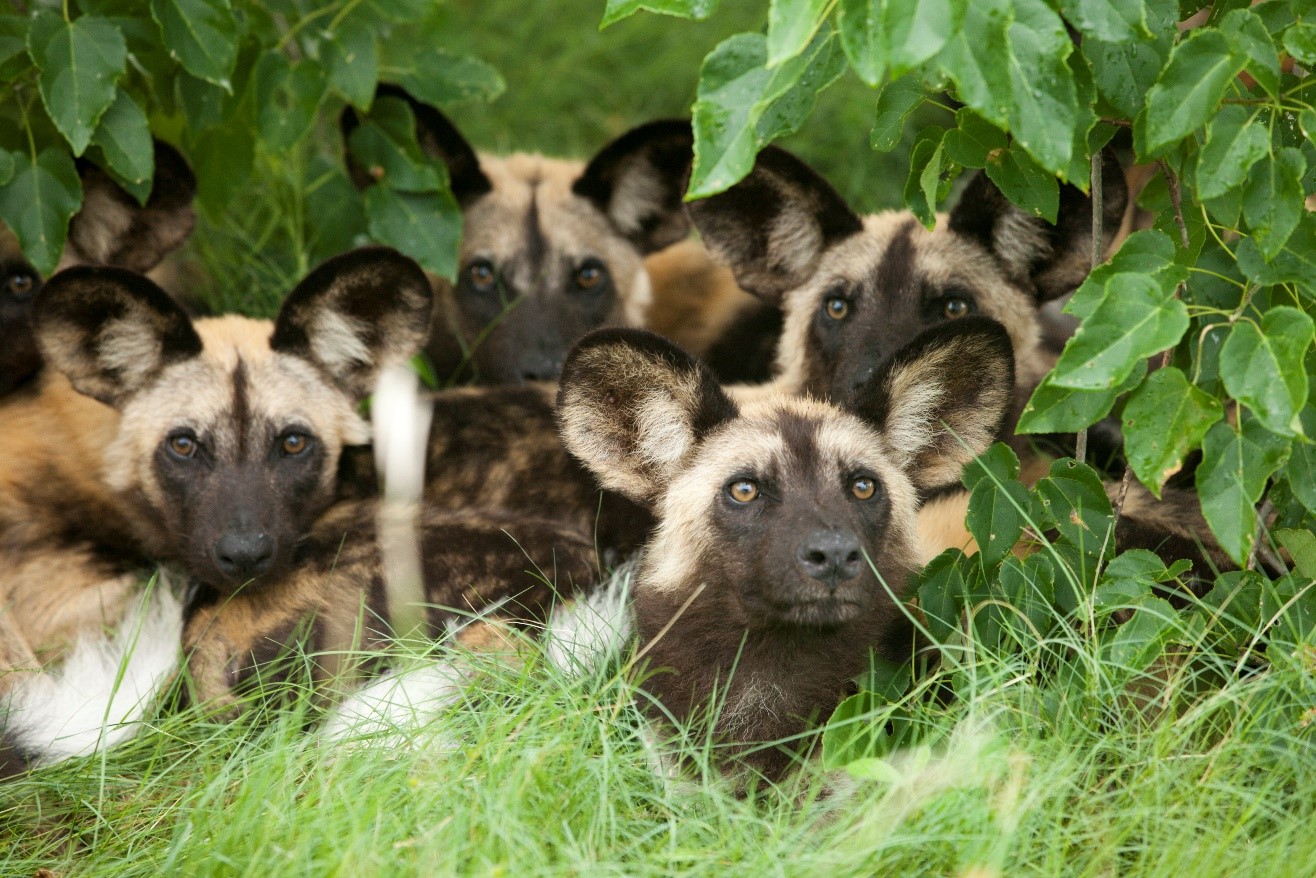
How to Get Perfect Wildlife Portraits in Africa
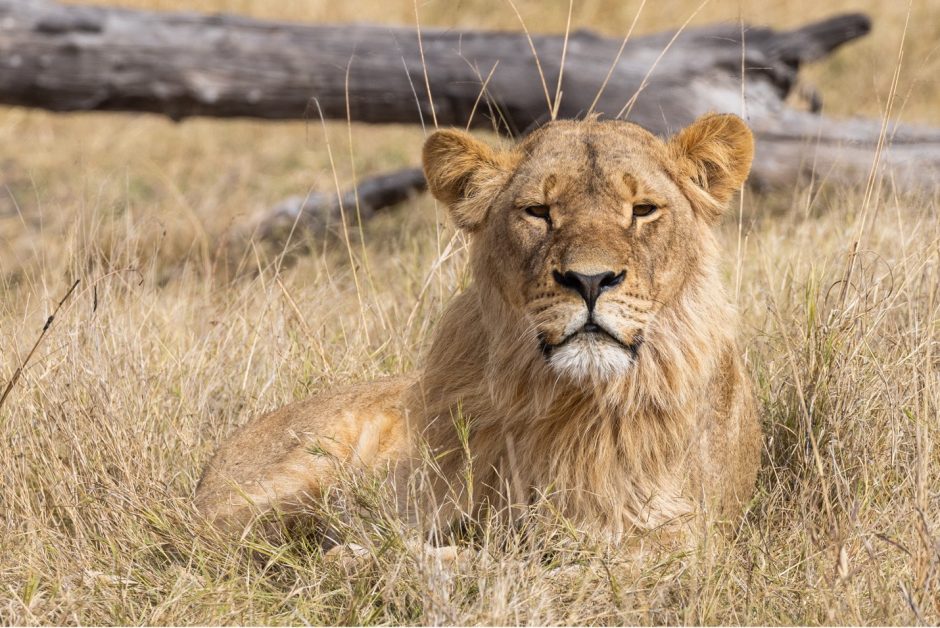
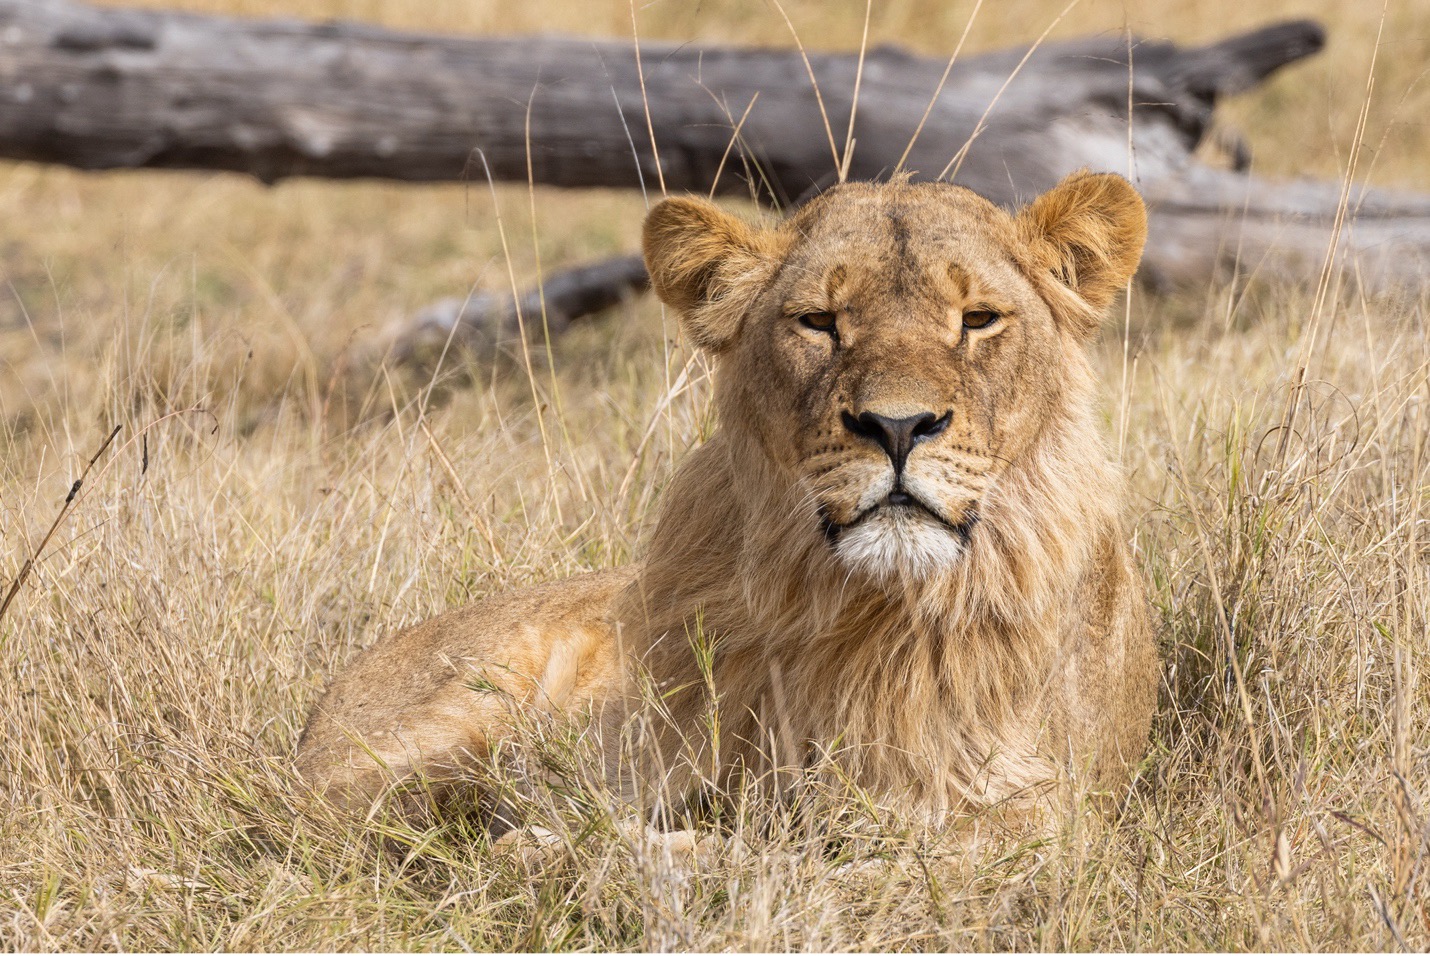
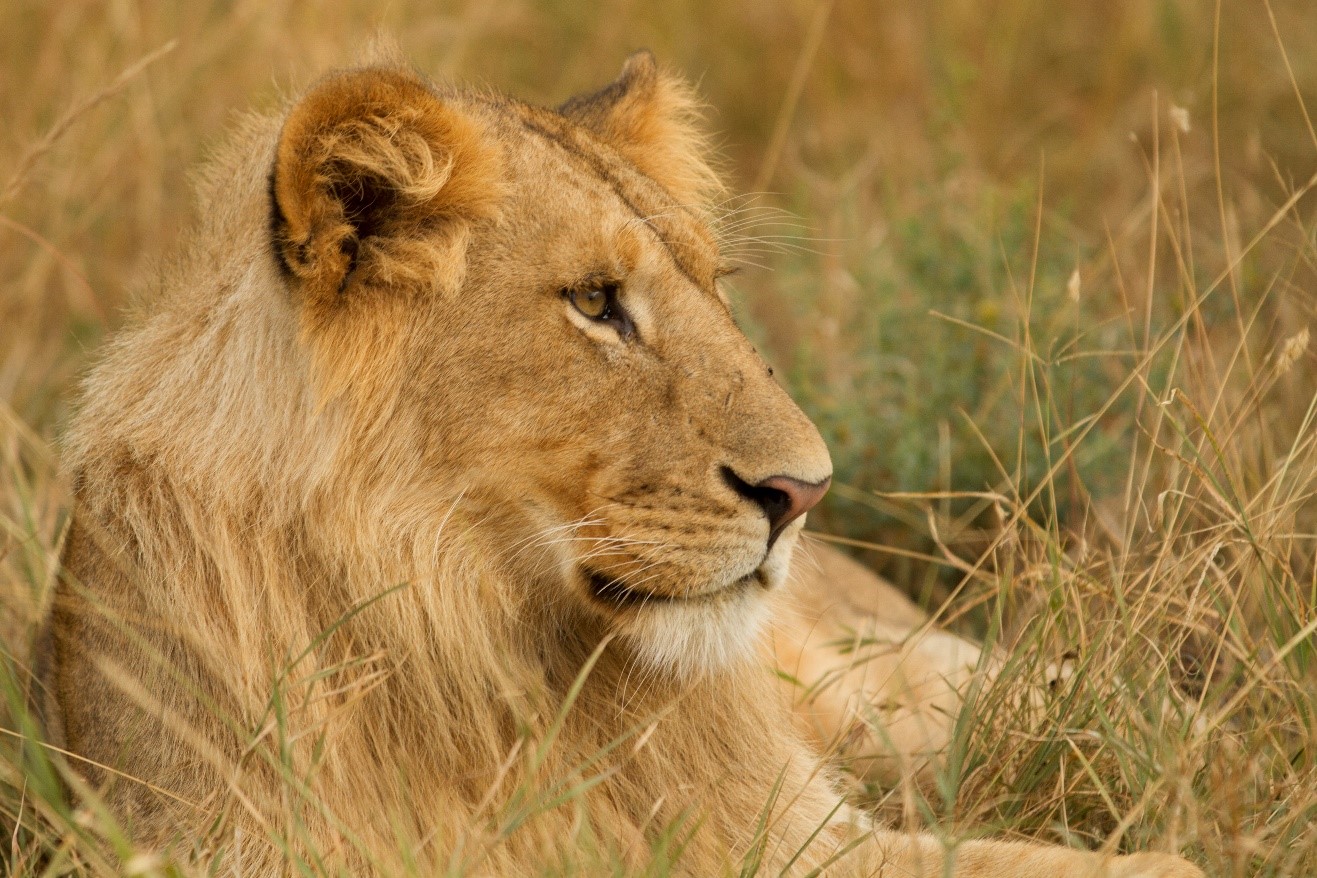
The classic wildlife portrait is one of the first photos we aim to achieve in any given wildlife encounter—especially those as extraordinary as you are likely to have in Africa. These photos are big, powerful and often evoke a connection between the animal and the viewer. You know the ones…they are usually of a single animal, filling a dominant part of the frame, with the animal in tack-sharp focus and the background nicely blurred.
Wildlife portraits may look simple on the surface, but don’t let that fool you—there’s a lot of deliberate strategy and technique here. And if you sidestep or glaze over any of the key considerations, a photo that could have been a best-of-trip may fall flat.
If you are headed to Africa on a wildlife photo adventure (or anywhere you’re likely to photograph wildlife, really!), read on to learn how to nail the classic wildlife portrait with each phenomenal sighting you’re sure to have!

Shallow Depth of Field
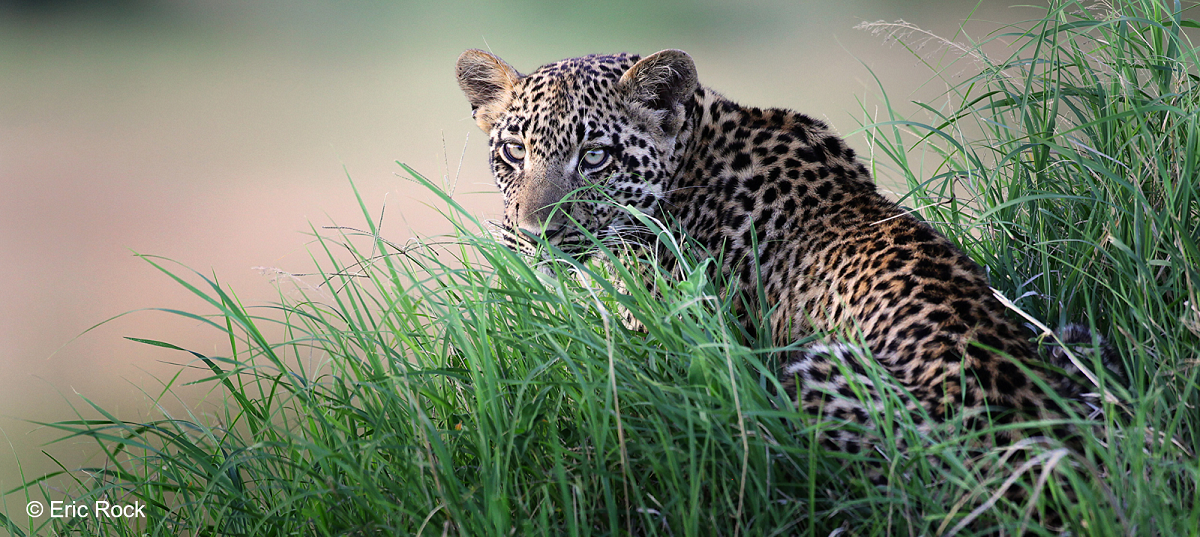
This is one of the attributes that is usually most striking in wildlife portraits. They are clearly not a landscape photo, because the focus is entirely on the animal subject. In fact, the background and environment is often entirely blurred.
This does two things that are highly beneficial:
First, it helps minimize distractions behind the animal. If you want to feature the animal front and center and give maximum emphasis to your subject, minimizing the textures and distractions of the background is key.
Second, the out-of-focus background will make your in-focus animal look extra sharp. This is huge, as the sharper the subject, the more they jump out from the page (or website, or print, etc.). This sharpness is what really connects your viewer to the subject.
In order to achieve a shallow depth of field, you’re going to want to prioritize setting your aperture. You can be on aperture priority mode or manual, but you’ll need a way to control for aperture. Next, you’ll want to set your aperture at the lowest possible number, like f/4 or f/5.6. (Sometimes this is confusing, as small f/numbers are actually “big apertures” because the opening of your aperture increases in size as your f/number gets smaller and smaller.)
A really important pro-tip here: Your lens’s focal length has the ability to increase the effect of aperture on depth of field. To put it another way, a bigger focal length will make the background at a certain f/number look more blurry (a good thing) than a smaller focal length. So, practically speaking, an f/5.6 at 400mm will give you much more background blur than f/5.6 at 200mm.
The key takeaway here is that if you want the best wildlife portraits, you actually should use a good bit of focal length, aka telephoto power. It will get your background to look more out of focus, and that’s great!
How about another way to make the background even more blurry and soft?
Find an angle where the background is more distant from the subject. This technique is brilliant, and while it’s not always easy, it can be surprisingly effective.
Next time you’re in front of an animal on safari and you’re gearing up for one of these classic wildlife portraits, see if you can frame the shot where you are closer to the animal than the animal is to the background. Now, this doesn’t mean you can walk up and photograph a cheetah from 2 feet away! But what it does mean is that if you see an angle where the background behind the cheetah is distant—like the horizon or a very distant hill—that’s the shot you want, as it will cause the background to melt away: a key ingredient to great wildlife portrait photography.

On the other hand, if the background is relatively close to the cheetah, let’s say 10 or 15 feet, no matter how small an f/number you have, the background will still be relatively defined and textured.
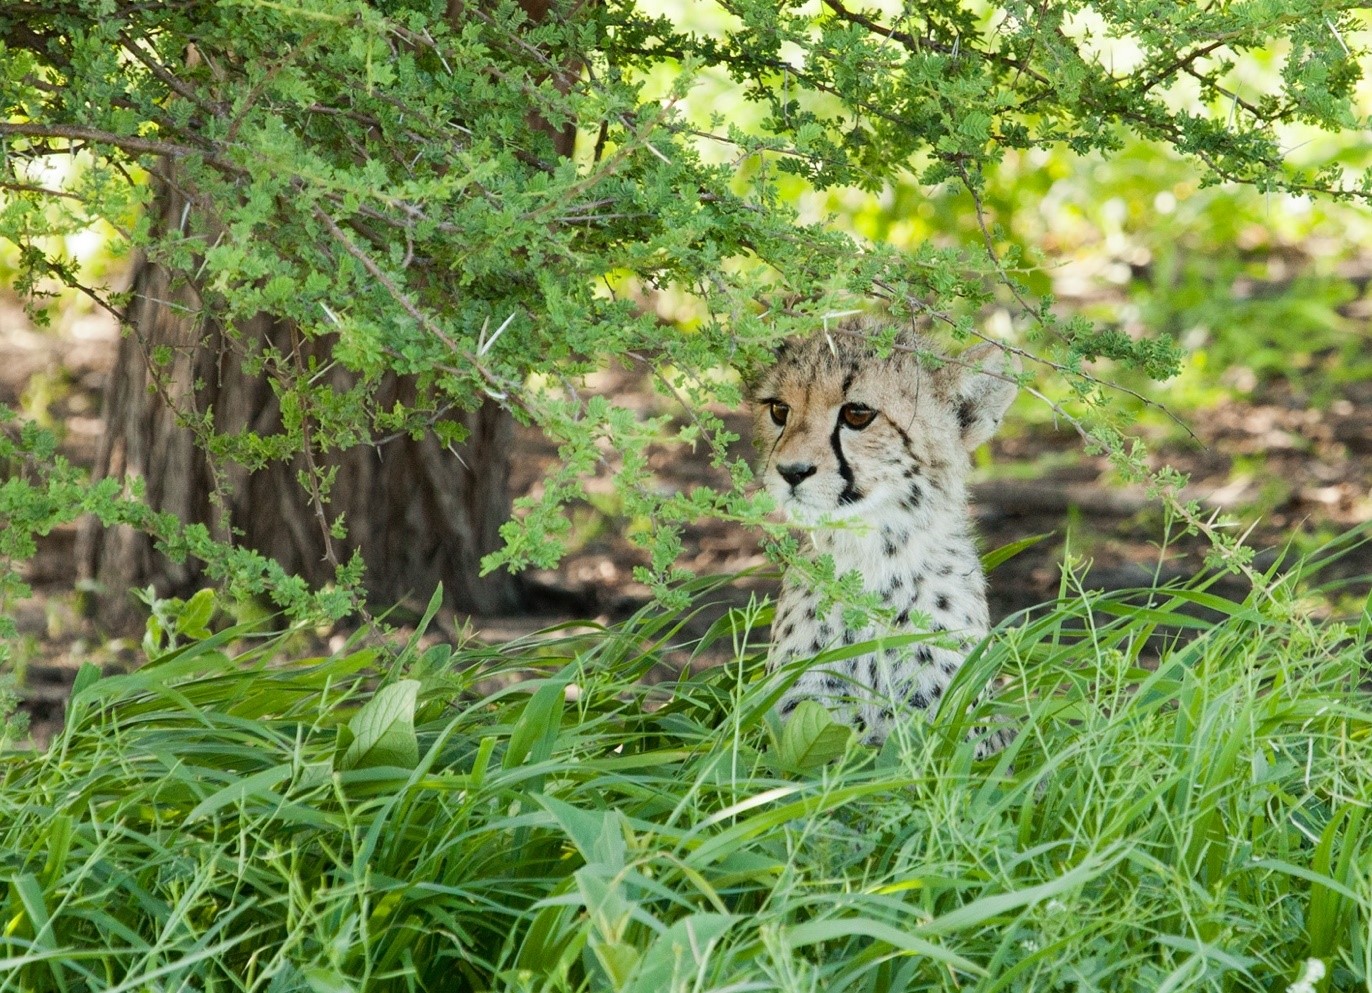
See how in the first cheetah shot, the background really helps draw the eye to the cheetah, whereas in the shot directly above there are so many distractions that it causes you to look all around the frame, scanning for elements of the photo and sharpness? Because there was no angle in the above photo where I could get a distant background, I made do with what I had and went for a framing shot. It’s a nice shot, but less of a classic wildlife portrait compared to the first one.
In summary, the best way to get a shallow depth of field, which will help your subject look sharper and more eye catching in the photo, is to use a big telephoto with smallest f/number, all while ideally positioning yourself so the background of the animal is as far as possible—and yes, just another 10 feet further can make a huge difference!
Focus on the Eyes
You’ve got to focus somewhere, so where is it going to be?
I can say confidently that you should focus on the eyes with wildlife portraiture 999 times out of 1,000. The eyes are the windows to the soul, and it’s usually the first place people look when viewing a photograph. If the eyes are soft, the viewer’s eyes will immediately go to whatever is in focus. If it’s the forehead, ears or nose, the photo should be quite creative and intentionally done. I’ve absolutely seen this work, especially when at close range of big wildlife, but it’s the exception instead of the rule.
Composition is King
Although composition may seem less crucial when the animal fills the frame, composition is still critical to a great safari photograph. With a big wildlife shot, each part of the animal becomes a key compositional element. Where are the eyes vs. the ears vs. the shoulders? Do they split the frame into thirds, or are there any leading lines or framing to consider? Did you leave space in the direction that the animal is looking?
If you haven’t reviewed the core compositional elements of photography in a while, it could be beneficial to go back and take a look at this article for a deep dive into various strategies.
The point here is that putting the animal smack-dab in the middle of the frame and calling it a day won’t necessarily cut it. I highly advise being very deliberate and meticulous with the positioning of key parts of the scene, even if that means cropping in or straightening your shot.
One trick I often share when photographing wildlife portraits is to shoot the photo a bit wider than you’d ideally like it to be in the end. In other words, back off the zoom a touch, even if it means you have to crop every photo to get it exactly how you want it.
The reason is that this extra room gives you a chance to straighten and adjust your photo after the shot, instead of being stuck without any ability to “crop out” to help balance the photo. I’m not talking about much, but say instead of shooting at 400mm, try 350mm or 380mm. This little bit of room could be a game changer for really nailing composition, giving you some time to analyze the photo on the computer when you have more time and a bigger screen.
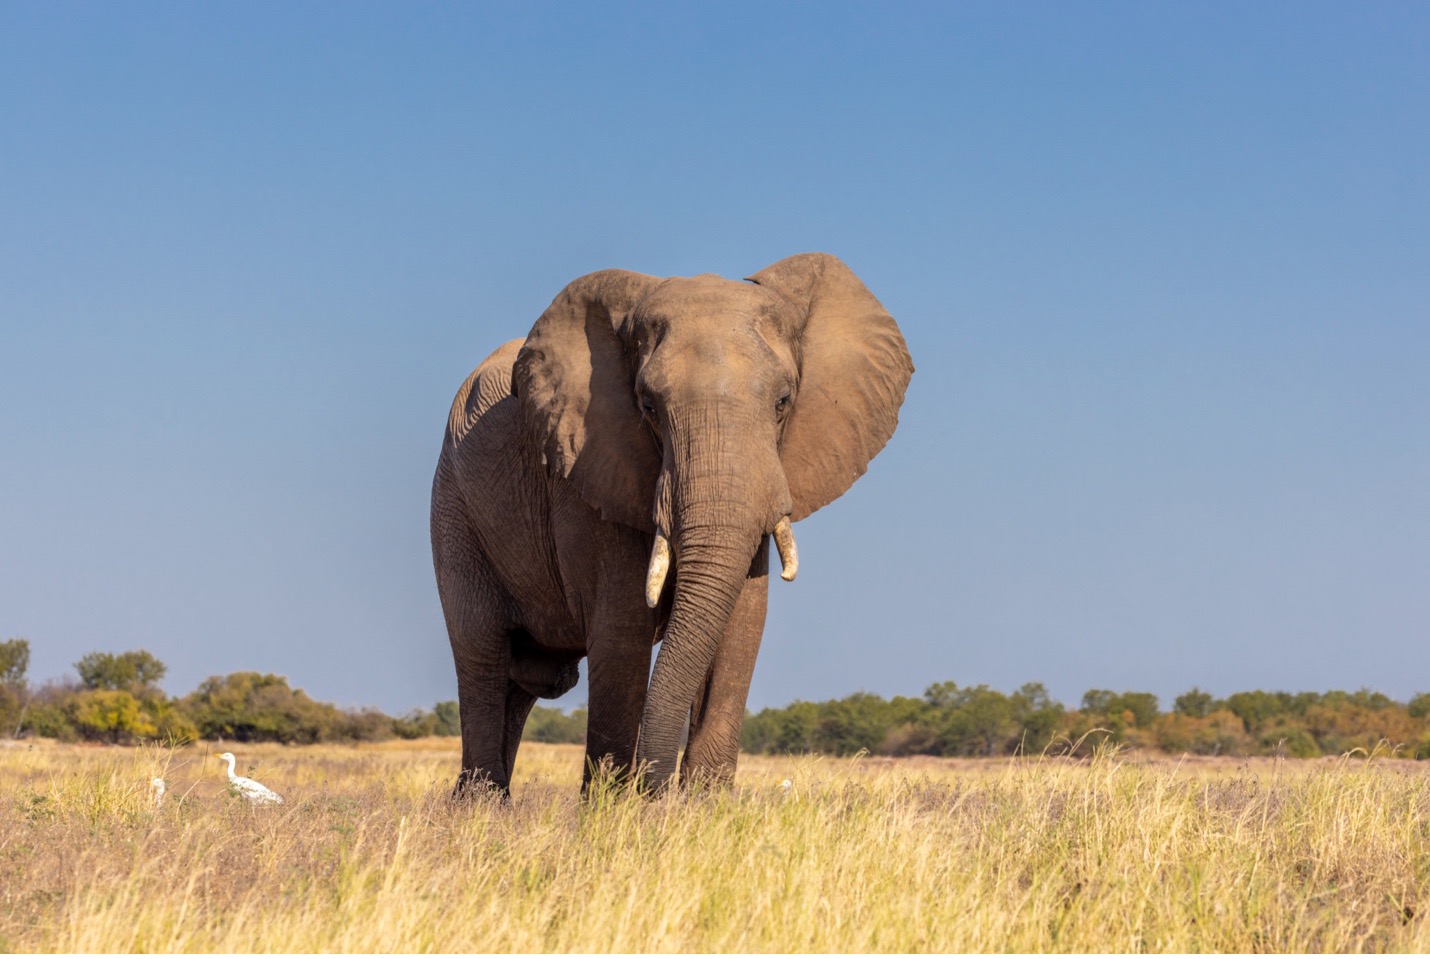
I was so close to this big elephant in Zimbabwe that I could have absolutely filled the frame with it. However, I took a few shots deliberately wider so that I had the option during post-processing to adjust the composition and place the animal in different parts of the frame.
Another key consideration is that when you are in the midst of an extraordinary wildlife sighting, as are common on an African photo safari, you may not have the ability to place the animal at the exact part of the frame you want for the final photo. You’re excited, the vehicle is moving—maybe even the animal is moving. Thus, I actually deliberately place the animal in the middle of my frame, shooting somewhat wide, knowing that once I crop in on the computer I will have enough room to re-adjust and then place the animal where I want it within the frame.
Using Sharpness and Blur in Post
Editing on the computer is a must-do in today’s world of digital photography if you want the best outcome. Although photos are looking better and better these day straight out of the camera, editing capabilities are getting so good that you simply must edit photos if you want to keep pace. But trust me—it’s for the best. Your photos will become better and you’ll enjoy your memories even more as they become works of art!
Now, I’m not talking about doing anything super crazy here, like removing entire lions from the image using Photoshop. The two adjustments I’m going to recommend are actually quite minor in the grand scheme of things, so even those on the purist end of the spectrum can rest easy knowing they aren’t altering their photos too much.
For every wildlife portrait photo I take, I will add a touch of sharpness via Lightroom to the animal’s eyes and perhaps face, too. Again, nothing crazy, but I brush over their eyes, the bridge of their nose, and perhaps cheeks and forehead lightly and then apply a sharpening adjustment. Honestly, I can barely tell that I even did anything—it’s that slight. However, it helps add emphasis to my focal point, which is always the first thing people look at.
To further help draw attention to my focal point, I will also deliberately unsharpen the background to add a little more blur to the already smooth, soft background. To do this, I can either create a background mask and then send the sharpening slider to the far left (negative side). Or, I can go into Adobe’s new background blur feature, which uses its own smart filters to do essentially the same thing. This is still new tech with Adobe, but I have to say, I do like it! I’m quite used to “the old-fashioned” way of creating a background mask, but I do like the ease of using the software-based background blur.
Sometimes—and it’s very dependent on the scene—I may also darken or desaturate the background ever so slightly and/or brighten the subject…usually just one or two-thirds of a stop, maximum. This is yet another way to make your subject pop while minimizing distractions in the background.
And there you have it, friends, a deep dive into safari wildlife portrait photography!
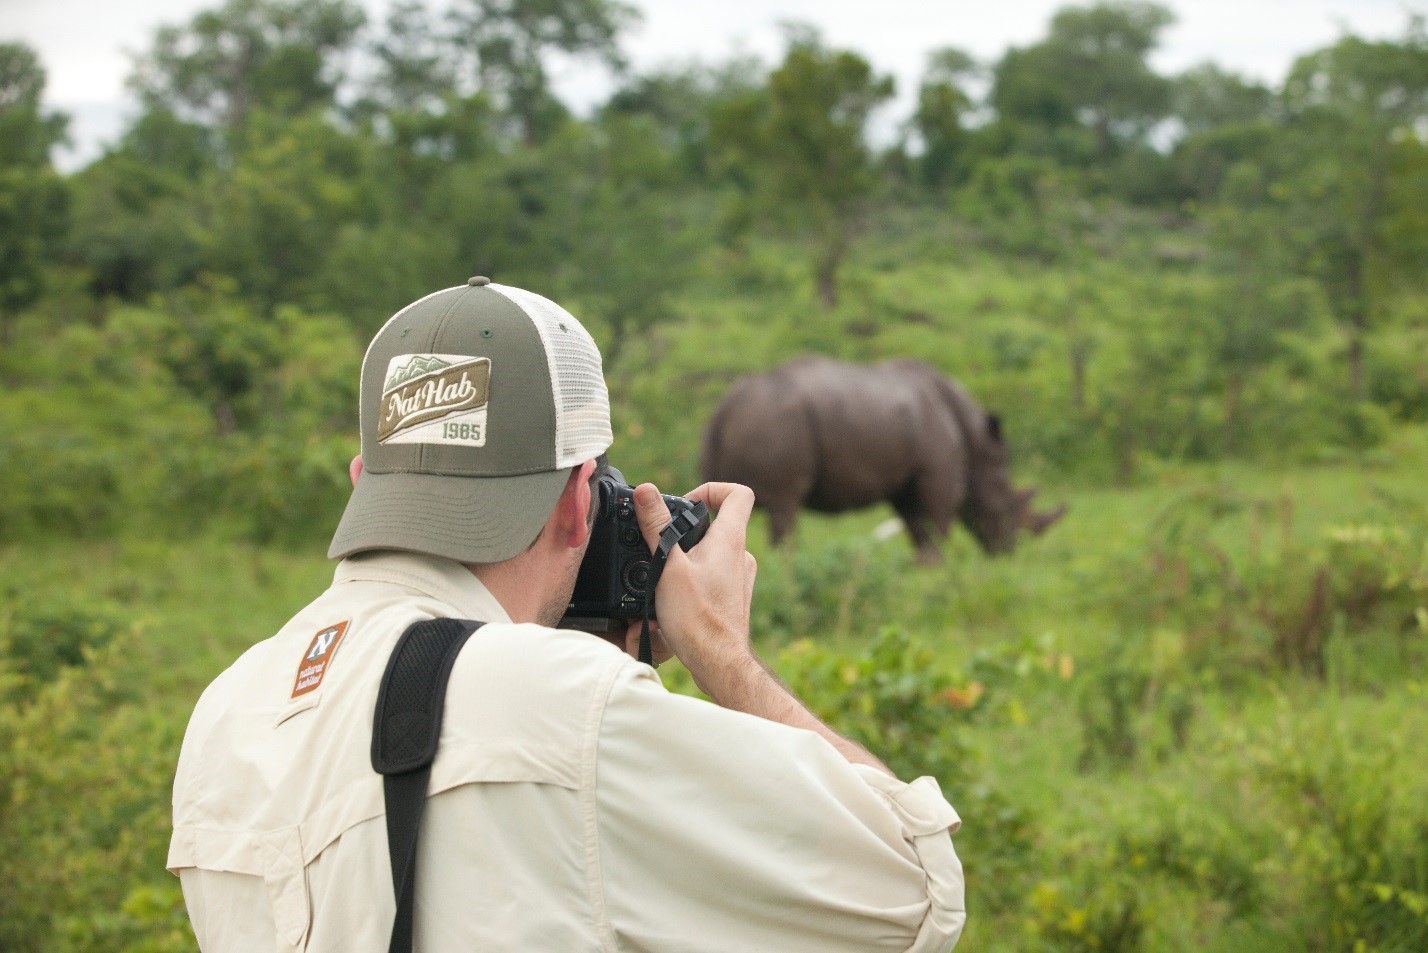
As you can hopefully tell, it’s both simple and complex at the same time. However, one of the most important elements that we haven’t yet covered is getting in front of wildlife to allow you to do all this. As you can tell, you do need to be reasonably close, which means you need to go with a fantastic photo expedition company that knows where to position you and how to safely get close while causing no alarm or harm to the wildlife—that’s vital here!
If you want specific recommendations, please feel free to leave a comment below and I’m happy to recommend specific itineraries and the best photo safari groups to go with.
Cheers, and happy travels!

Court
Leave a reply