
The Best Settings for Bird Photography
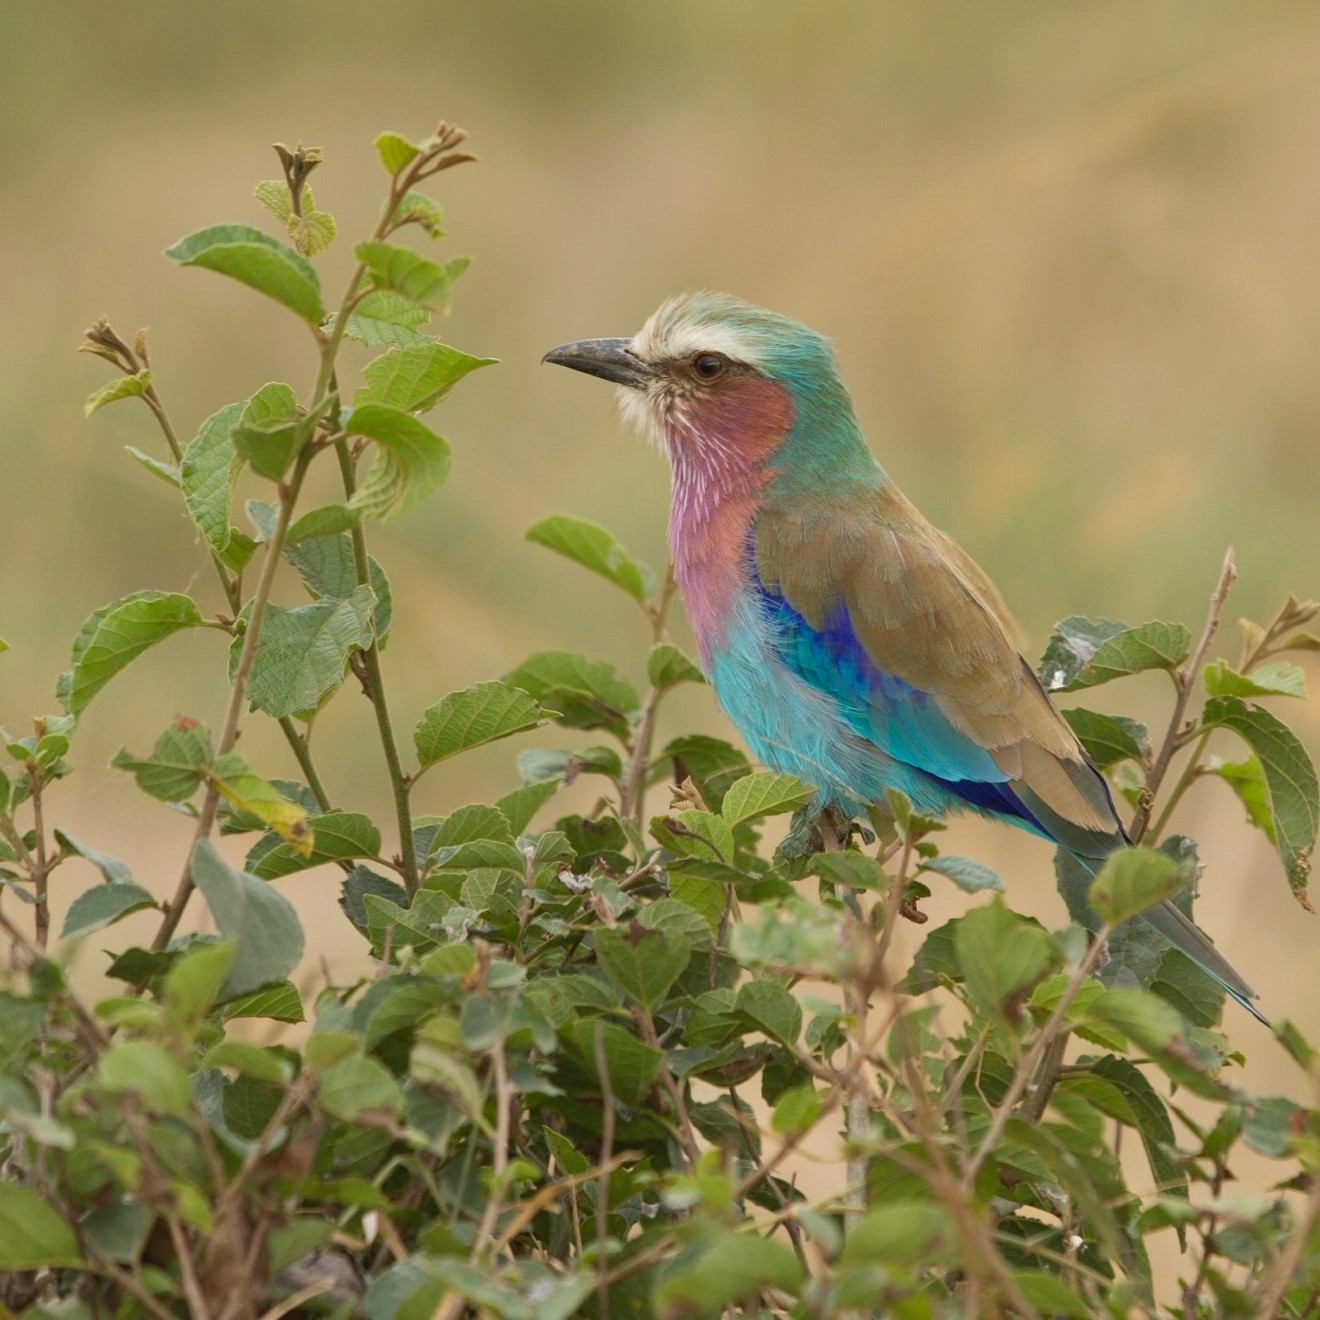
Wow – the best settings, huh? Well, truthfully, saying that one combination of settings is the best is a bit like saying you only have one kind of food that you like. You’ll no doubt find that there are in fact many combinations of settings that you’ll love and need when photographing birds. But, for the sake of this post, we’re going to focus on my personal favorite settings to produce photos like the one above.
The first thing you need to do is get the right setup for a shot. Birds are notorious for flitting around, landing only for brief moments, and then taking off again only to land further away…or in a part of a tree or bush that has an obstructed view. So, the first thing is to be patient and wait for a moment like the one above. Shots of birds in flight are great, but that’ll be the subject for another time…
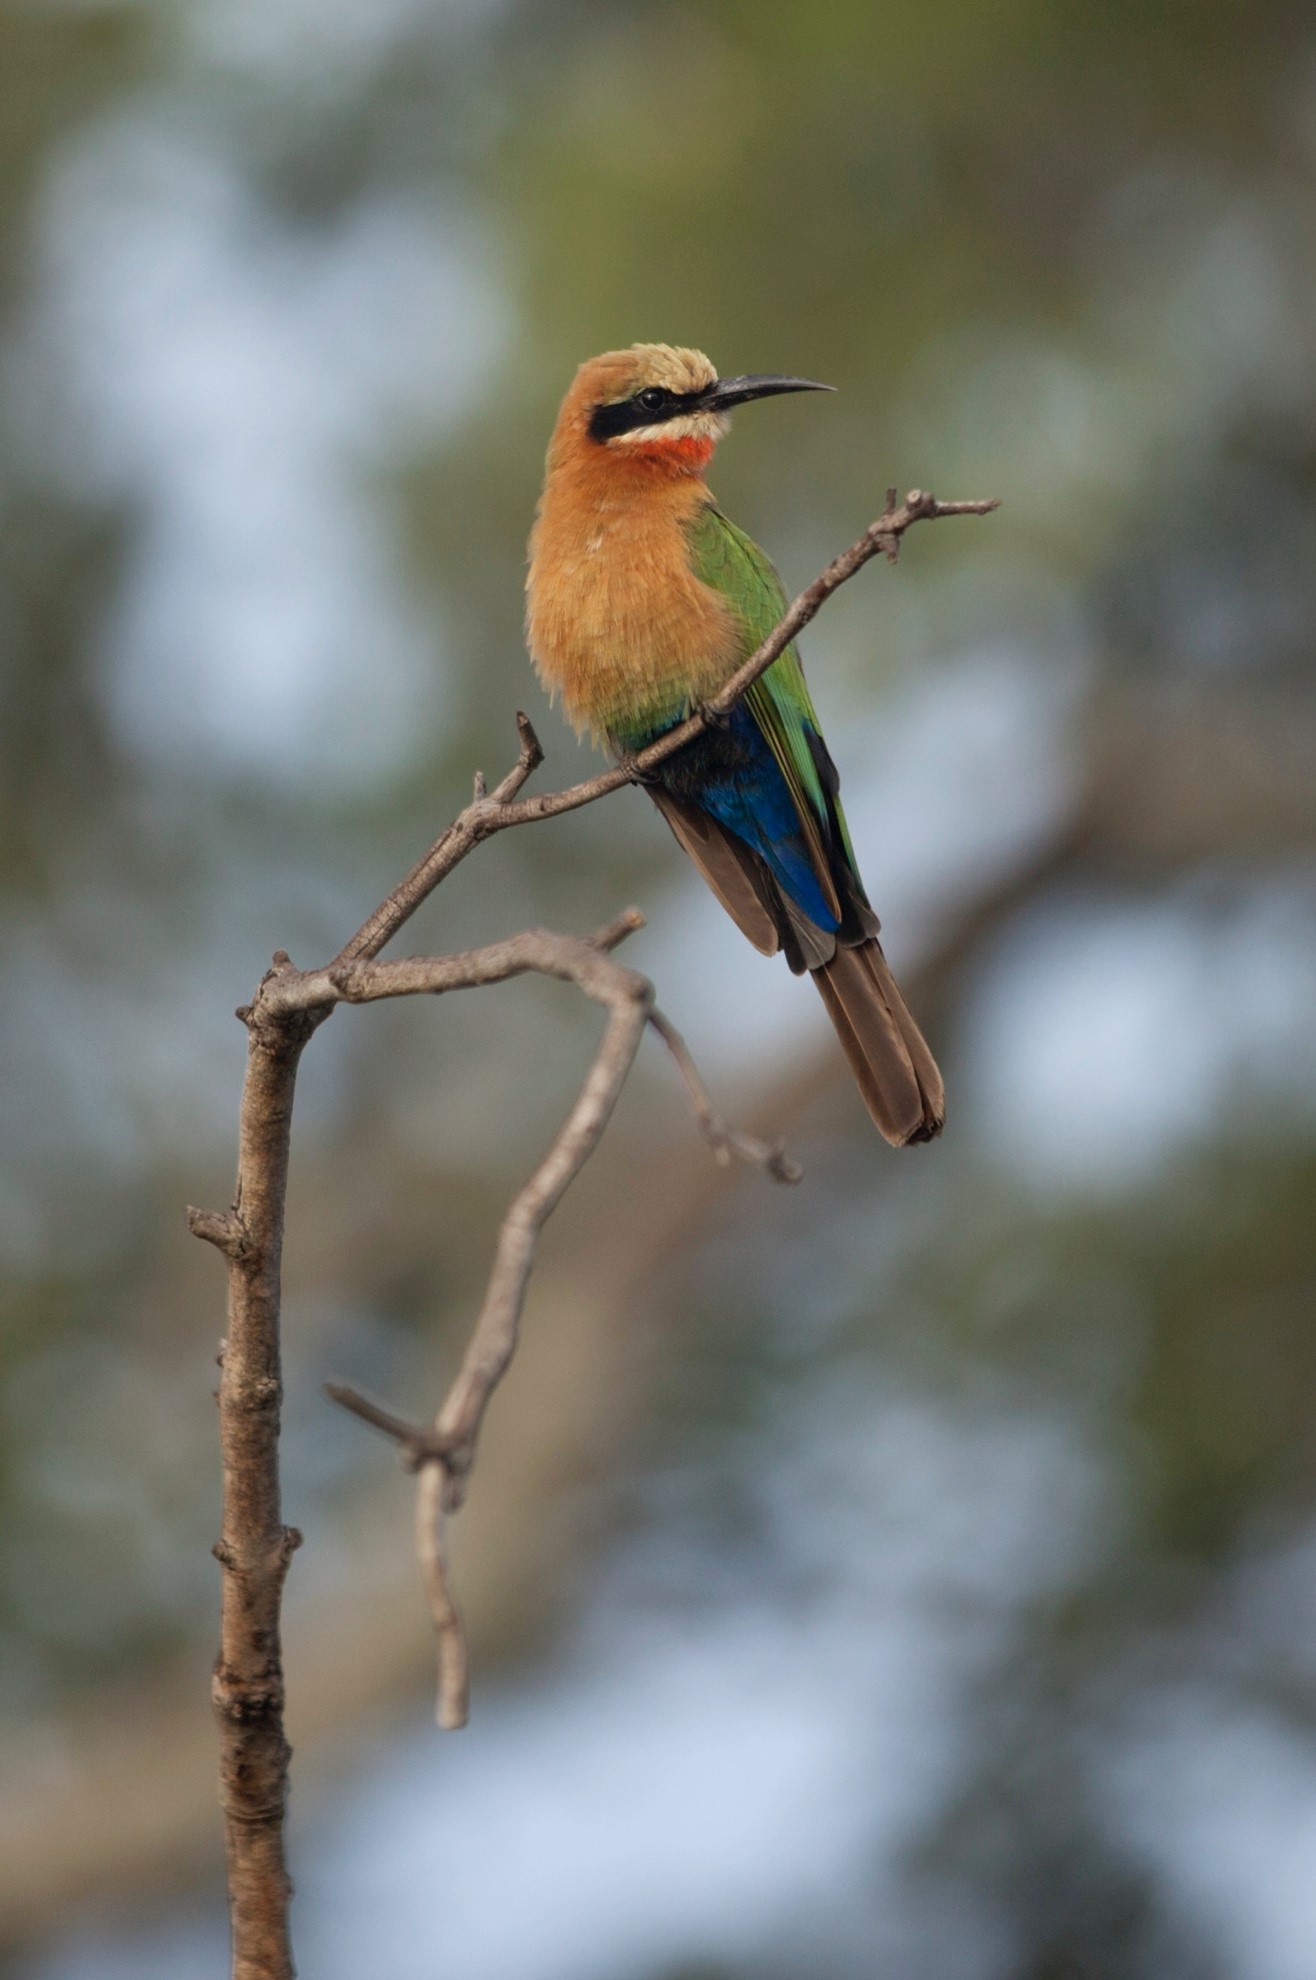
Once you get such a moment, when a bird lands, you don’t have any time to waste with dialing in camera settings to match the exact scene before you. You’ll need to have your settings dialed on your camera before the bird is even there, for the shot has got to be a knee jerk reaction. You almost have to assume that the bird will land with a clear view, away from distracting branches or shrubs, and hopefully far enough away from the background to allow you to create the pleasing blur or bokeh as seen in the above photo. Really, the only thing that should be left to do is to focus the shot and compose it as best you can. It helps to zoom a little further out than you’d think, so that you can crop and re-compose the shot on your computer later (in case you didn’t get the composition you wanted in-camera).
So, let’s talk about how to get that nicely blurred background. There are two main considerations. The first is that you need to have a very wide open aperture (ie, low aperture number, like f/4 or f/3.5 or f/2.8). The next thing is two-part — you must maximize the distance between the bird and the background, and minimize the distance between your camera and the bird. This fact is critical, so I’ll say it again – to get a nicely blurred background, you must maximize the distance between the bird and the background, and minimize the distance from your camera to the bird.
Thus, part of the strategy in getting great bird shots is to find an open branch with a clear background behind it. Depending on what you like, you may look for a certain color background. For instance, if you’re in a forest, you may look for a nice dark green background behind the bird. Or, perhaps you’re on a beach or rocky coastline and can find a nice sandy-colored background. Or maybe you’re in the African savanna and can use the gold and green color of the grasses as a nice backdrop.
So, in essence you have two parts of the equation. One is your camera settings, but equally important is your own positioning. You can have the best camera, dial in the perfect settings, but if you are dismally far away from the bird, and it’s right up against it’s background, you’re not going to get that beautiful blur at all. Conversely, if you have an intro camera, fudge the settings a little, but find yourself strikingly close to a bird with the background 100 yards away, you’ll nail the shot and get that professionally looking photo you want.
As a final point, I want to clear the air on that blur I’m focusing on (pun intended). In the industry we call it bokeh (pronounced boh-kay’ or bohk’-uh…personally I prefer the former) and it is a big reason why we strive for high end lenses capable of wide apertures. In other words, it’s very much a “professional look”. But keep in mind that a) you need to be happy with your photos – if you don’t like that look, then it’s not important, and b) blur is only good for the parts of the shot outside of the subject. Your subject still should be in focus to be an appealing shot. As a result, you need to find an aperture balance that gets you the blurred background, but also gives you a very crisp subject. Read more in our F-stops & Apertures section to learn more about this. But to summarize, sticking with something around f/3.2 to f/4.5 is a good round number. Sure, you can still get the shot by going lower, to f/2.8. But, if you aren’t familiar with custom aperture settings, you run the risk of getting too much blur in your photo, thus blurring out your subject, too.

Specific techniques like those described in this post are often tricky to master. So your best bet for success is to get out there and practice! You probably won’t always have a bird perfectly positioned in your back yard to practice with, so try something else – whether it’s a soup can or a stuffed animal, the technique will be the same. And when the real deal is in front of you, you’ll be ready to get that fantastic shot.
Go forth and give it a shot,
Leave a reply