The Best Camera Settings for a Tanzania Wildlife Safari
It’s always a bit lofty to call any camera setting “the best”, as people have different styles and preferences, and the environment is always changing. However, you have to start somewhere, so here is a listing of what I view as the best places to start with, in terms of camera settings, so you’re ready to capture the wide range of photo opportunities on a Tanzania Photo Safari.
The Best Landscape Settings for Tanzania
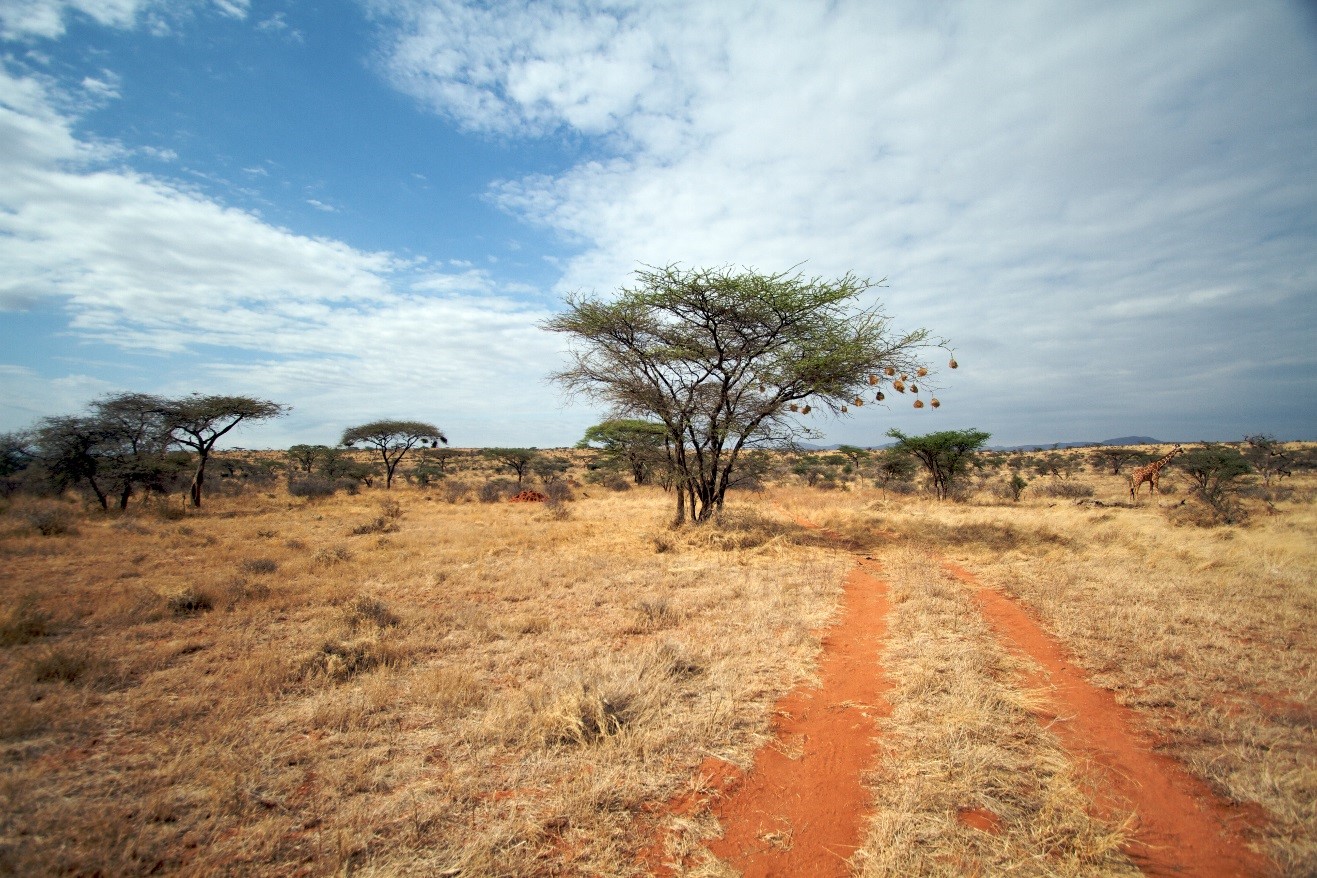
Fortunately, you’ll likely have pretty great light the entire time. The sky is big and the sun is shining. Although you’ll usually be setting out early in the morning, and also be enjoying many evening wildlife drives, there will be plenty of time in between with great light. This means that you can photograph at a wide depth of field without concern for slow shutter speeds.
If you shoot with a point-and-shoot, I recommend setting your camera on “landscape mode”, to force it to photograph at a wide depth of field. If you shoot with a camera capable of custom aperture settings (DSLR or mirrorless), I recommend f/8.0 and above. In a photo like the above, with good lighting, you can shoot at f/11 for maximum depth of field, which translates to a sharp foreground and background. By setting your camera on “aperture mode”, your camera will choose the corresponding shutter speed, which again, because of all the light ought to be plenty fast for nearly every shot.
The Best Settings for Wildlife Photos in Tanzania
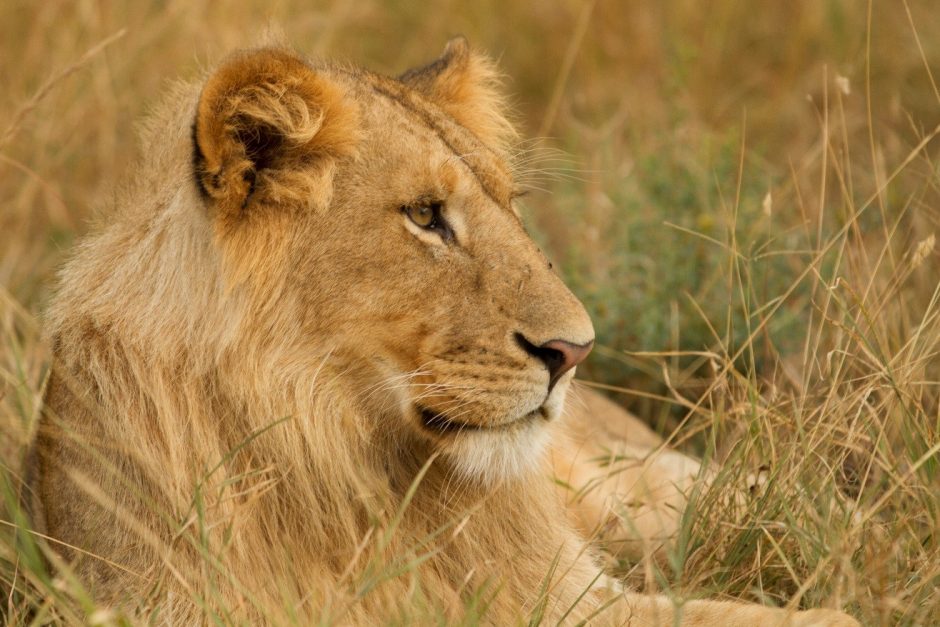
The bountiful light on the African savanna means that you won’t have to shoot at low aperture numbers, but I recommend that you start there. There are two key advantages for photographing at what we call a “wide aperture”, or “low aperture number” (f/2.8, f/3.5, f/4, and f/5.6. The first being that it gives you a very fast shutter speed. This allows you to freeze motion in the photo, which in Tanzania, can be very helpful as wildlife can often be moving fairly fast.
For cameras that do not allow manipulation of your f-stop number, there is an easy shortcut. Simply set your camera to “portrait mode” and this puts your camera at the lowest f-stop number automatically.

The other thing a “low aperture number” does is that it helps blur the non essential parts of the photo. This is a bit more of an artistic thing, but it also serves to help isolate the subject and avoid any distractions from errant grasses or tree limbs that sometimes get into your shot. See how in the above photo the grasses are slightly blurred, helping you concentrate on the hyena? That’s what we’re after.
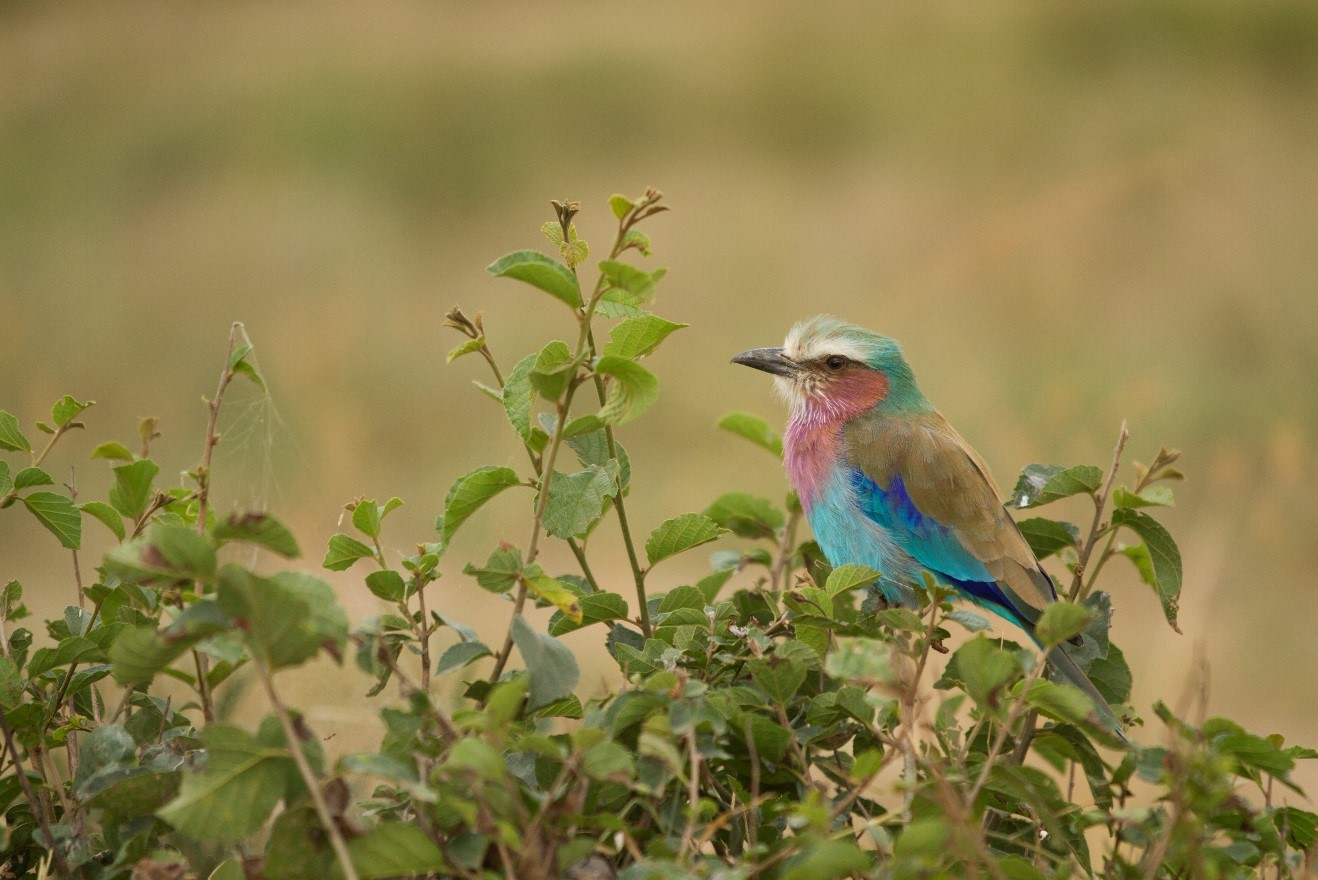
Take, for example, the above photo. If I used the same settings as I did for landscape photography I’d likely be distracted by whatever is in the background – grasses, trees, other wildlife. However, by deliberately choosing a shallow depth of field, my subject really stands out and pops in a very vibrant way.
The Exceptions
Rules are always meant to be broken, right? Here are a few examples with both landscape and wildlife photography where I’m not following my own advice.

When the light gets low, you really can’t afford to shoot with a wide depth of field any longer. You must shoot at low aperture numbers to give your camera as much light as possible. If you’re not sure what I’m talking about here, I recommend reading my Aperture section.
In the above shot, I’m not trying to get everything in focus like I would for a normal landscape photo. Because most of the foreground is silhouetted, I’m not all that worried about how perfectly sharp the leaves and branches are. Thus, by dialing in a lower f-stop number, my camera will give me the fastest shutter speed it can in these lower light conditions. (usually f/5.6, f/4, or even f/2.8 at this time of day).
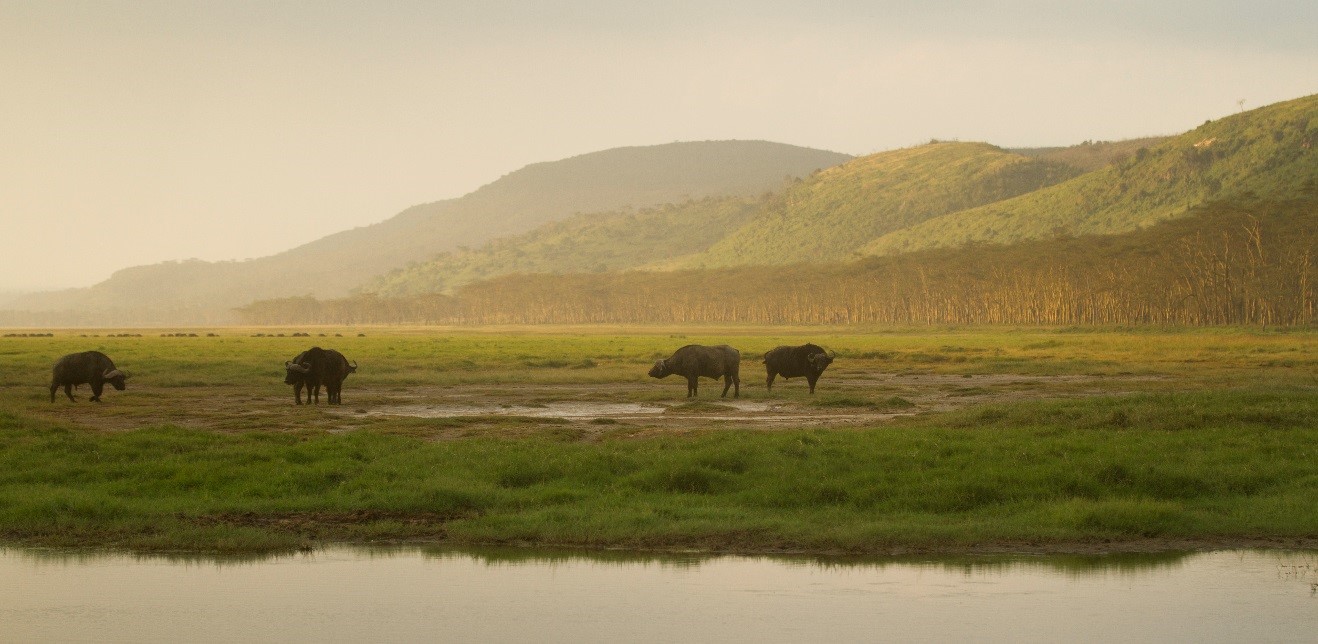
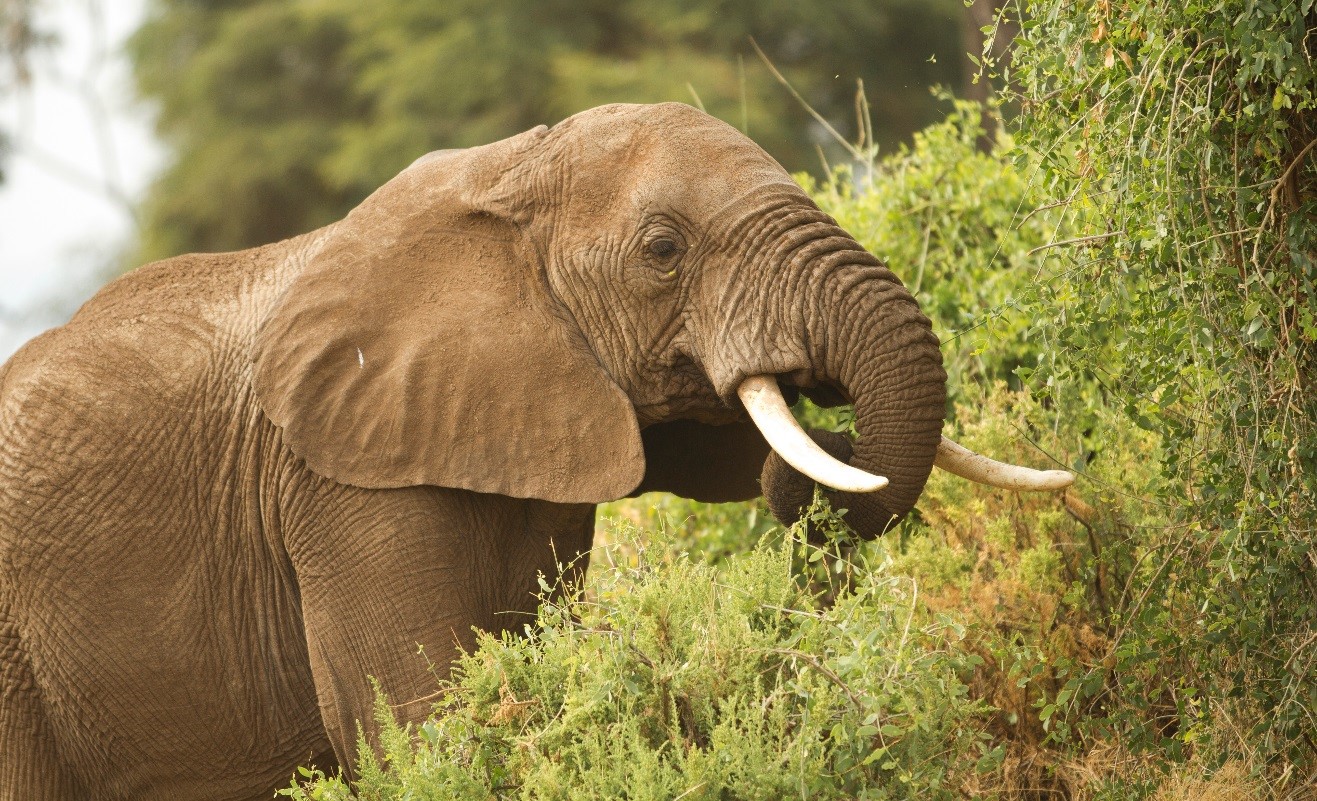
I’m a big fan of photographing African landscapes with animals in them. Why not, right? Well, as a bit of explanation, I personally feel this provides excellent context to the scene. Landscapes always look better when there is a specific thing to look at first (like a stream, rock, mountain peak, or in this case, animal), and wildlife looks better when surrounded by gorgeous landscapes.
While I normally may use a shallow depth of field with wildlife, to get that background blur, I don’t want that here. In this photo, I’m treating it more like a landscape shot that just so happens to have wildlife in it. My settings? Wide depth of field so that everything’s in focus, aiming for f/7.1, f/8 or maybe even f/9. As you may be able to tell, this was early morning light, so I was a bit reserved with the aperture, as a very wide depth of field like f/11 would not let quite enough light for the shot.
There are no doubt many tried and true techniques for photographing in Tanzania. If you have a particular style or tip that is your go-to, please do share with us in the comments!
Go forward and give it a shot,
Court
10 Comments

Sharon Vickery
June 14, 2017 at 2:35 pm

Court Whelan, Ph.D.
July 13, 2017 at 10:56 am

Diana
June 16, 2017 at 4:15 am

Court Whelan, Ph.D.
July 13, 2017 at 10:57 am

Kiran
January 4, 2019 at 7:56 am

Court Whelan, Ph.D.
February 3, 2019 at 1:46 pm

Liza
September 19, 2019 at 6:54 am

Court Whelan, Ph.D.
September 25, 2019 at 5:22 pm

Blake
October 15, 2019 at 8:07 am

Court Whelan, Ph.D.
October 15, 2019 at 10:38 am
Wish I had known this when I went to Tanzania. Great trip but all my pictures are not tact sharp at 100%
Good info for next time
Hi Sharon,
The great thing about Africa is that there is always a reason to go back! Hope you can join us, and sometimes it may be nice to consider a special photographic version of a safari, as your leader will really be able to help get you the perfect shot over and over again. But yes, there’s always a next time — especially in a place as magical as Africa!
What lens selection would you suggest for the animals. I have a 100- 400 which I can hand hold quite well. I also have a 600 which I mostly use for birds but obviously needs a tripod and is bulky.
Many thanks
Hi Diana,
I think we spoke on the phone, but yes, the 100-400 is a great all around lens in Africa. 600 is good, too, but very limiting when wildlife is up close, which can be often on our expeditions! You’ll very likely get more shots with your 100-400 because of its versatility.
Extremely right information
Thanks, Kiran!
What a great post! Leaving for safari next week and just got my first DSLR for the trip and having these recommendations are fantastic and extremely helpful!
so great to hear, Liza! Enjoy the adventure!!
Hi Court, this all sounds good on A setting but my pictures still come out a little dark even at the recommended Aperture settings based on landscape and light. Do you leave ISO on auto as well as Shutter Speed in the A setting? I’ve found when I up my exposure to 0.7 or 1.0 that helps with the lighting but I’m not sure if that’s the best way to do it?
Hey Blake, great question here. First off, and this might seem silly, but it might be worth checking your LCD screen settings. There is an “auto dim” setting that often makes your camera’s screen lighter and darker based on ambient light. I only say this, as I was having a similar problem a few years ago with a new camera, finding everything was WAY too bright. Then I realized it was actually just the screen in the back of the camera, not the actual image and exposure :).
Now, assuming this is not the problem, and the shots are actually coming out too dark on their own, I do have a few comments. First off, AUTO ISO is a great setting, and now that it’s getting more accurate in newer cameras I use that a lot. And shutter speed will always be automatic when shooting on Aperture Priority (A) setting. In fact, the camera is designed to expose properly at whatever exposure setting you have regardless of auto ISO or not. So, I’m kinda thinking it could either be your own preference or tolerance for light and dark, or perhaps an LCD issue. At the end of the day, if that still doesn’t fix it, I would honestly just set your camera to +0.7 or +1.0 on the exposure meter and keep it there as long as you’re seeing the photos as too dark. It’s indeed a good fix and won’t impact the quality of the photos…it’s just a shortcut way to calibrate the light/dark balance :).
Hope this helps!