Techniques for Landscape Photography While on a Churchill Polar Bear Adventure
It’s easy to think of the mighty polar bear as the be all end all of photo goals and opportunities when in the arctic. After all, they are beyond majestic animals and oh so photogenic. However, without a keen eye and equal enthusiasm for the landscapes of the Canadian arctic, you’ll be missing out on a big part of the story and countless photo ops that could yield your favorite shots of the trip.
Read on for a deep dive into key landscape photography elements and techniques for photographing the astounding arctic during polar bear photo adventures.
Capture the Light
Arctic light is famous for its near perfect qualities. It’s typically soft, angled, and takes on enigmatic hues that render a very unique vibe to your photos. As a result, you could probably take a photo of a doorknob in the arctic and it’d look interesting due to the subtle yet very coveted qualities of the light.
So, imagine having that great light quality as well as iconic arctic scenes?
There are many ways you can capture this glorious light but I want to give you a few tricks to maximizing its impact.
Using a telephoto lens is often one of the best ways to give prominence to gorgeous arctic light.
Even the greatest light rarely covers the entire sky evenly. Generally there are pockets where light softly protrudes through the clouds such that isolating that pocket can create a stunning photo that makes it look like the entire environment is raging with arctic light and color.
Another key way to maximize aesthetics in great lighting is to harness your white balance.
Normally white balance is an afterthought and something just to tinker with on the computer as you process your photos. However, I’ll advocate that you actively play with your white balance settings when in the presence of some great arctic lighting conditions.
Oscillating between daylight, cloudy, shady, and auto white balance conditions will produce dramatically different colors. The intensity of the light doesn’t change, nor does the contrast or overall exposure, but the color sure does. There is no “right” way to do this, but you’ll likely have your own personal preference for a “cool blue” arctic scene or a “warm golden” coloration that can be equally striking
Finally, to create unique art out of some great, baseline lighting conditions, experimenting with your exposure settings can yield wonderful and dramatic results.
Exposure settings are basically just the way of lightening or darkening your photo before you take it. Some adjustments to exposure can be made in post-processing applications like photoshop, but it’s always best to do the majority in-camera, and anything dramatic like I’m talking about here should always be done in-camera.
When in bleak or uniform landscapes, swinging your exposure meter to one direction or the other can produce unexpectedly amazing results. Going toward the positive side will brighten your photo dramatically, while going toward the negative side will darken your photo.
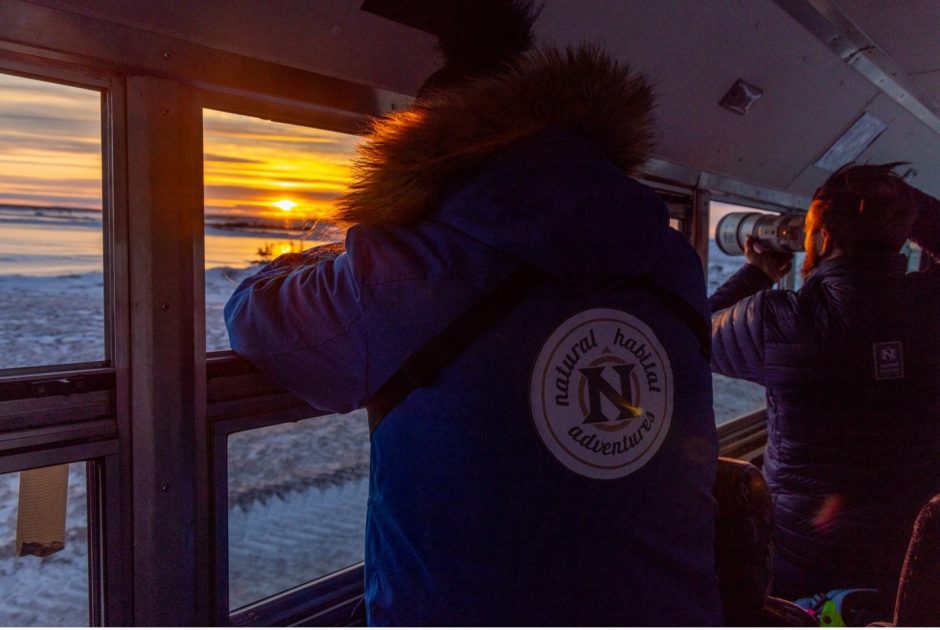
I often will use these dramatic exposure compensations (like 2 or 3 full stops) when I notice one part of my scene, especially a subject, is lit differently than the rest of the scene. Using these dramatic exposure changes can help make your subject pop. It can also add quite a bit of intrigue to the rest of your landscape, even when it’s relatively uniform or somewhat drab.

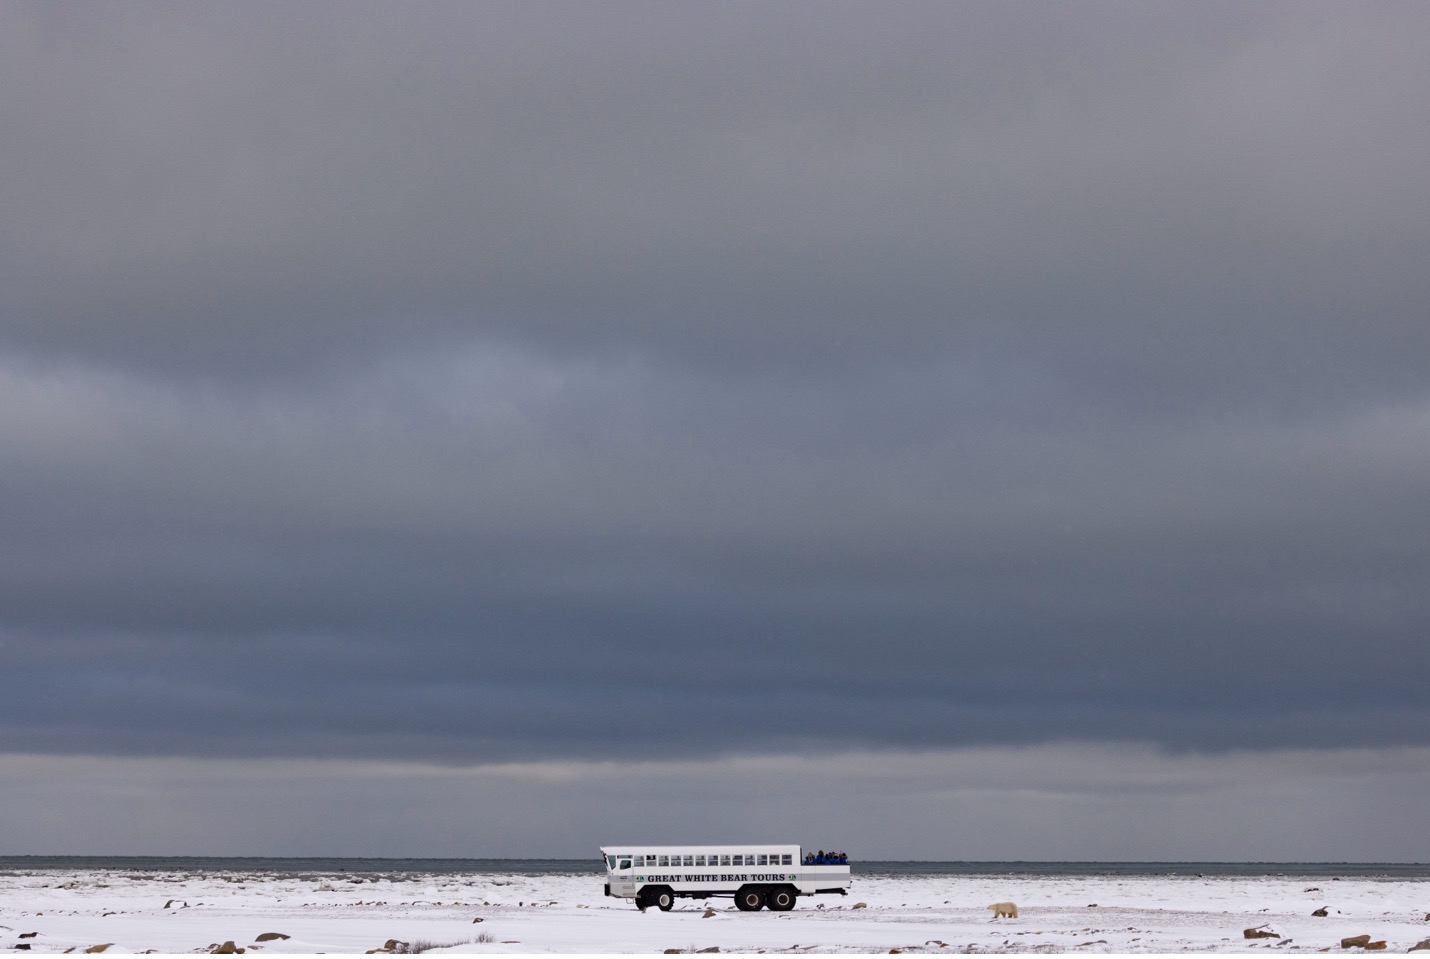
Above we have an example of dramatically underexposing a photo, which serves this scene well. It helps emphasize the sunset and its brilliant colors at the expense of lack of color and light in the foreground, which is intentional–we don’t really need to have perfect clarity of the travelers and jackets.
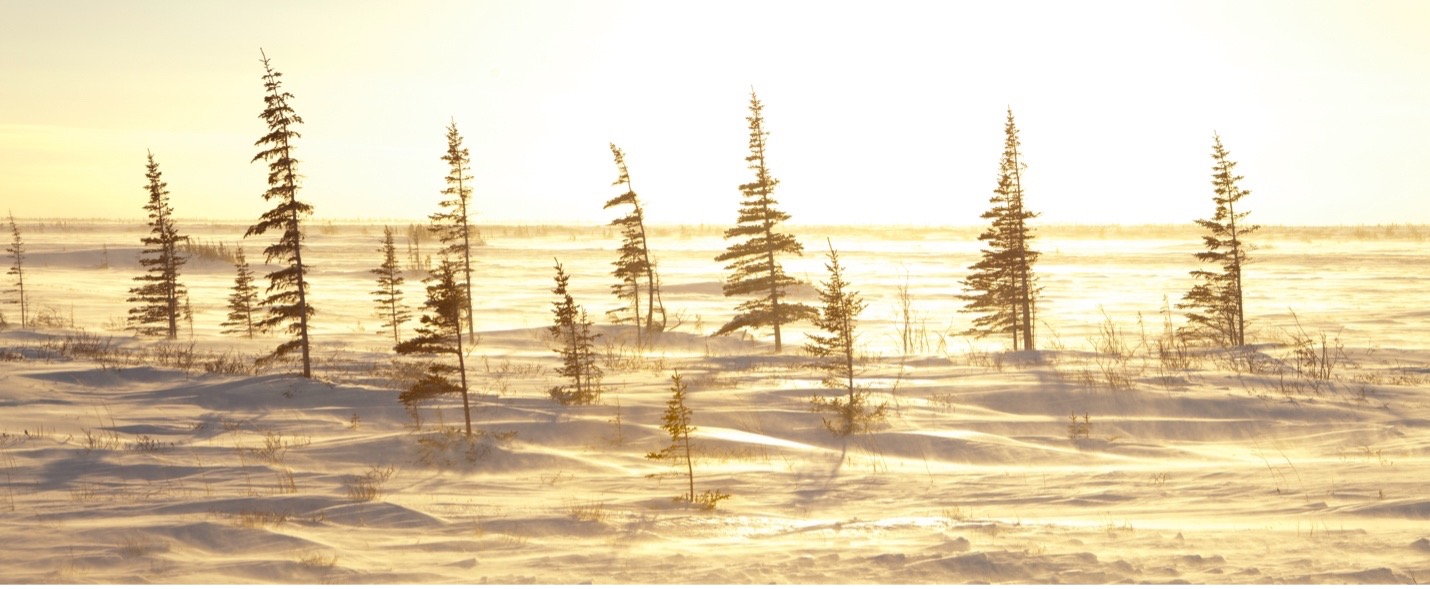
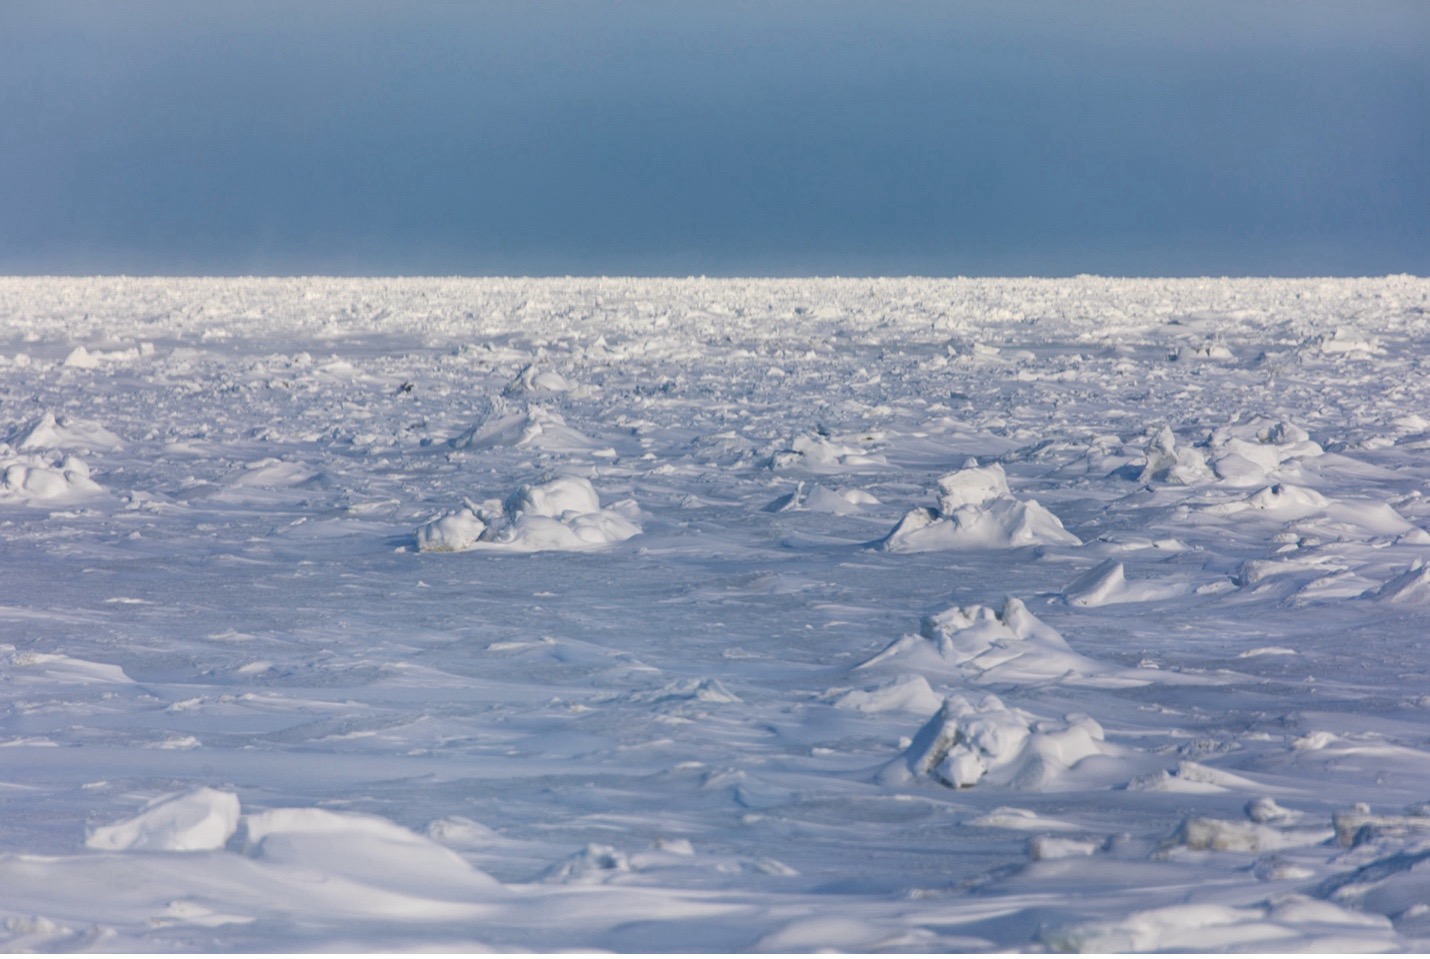
Below is an example of overexposure such that it’s hard to tell what is sky vs. snow. This creates a nice, artsy look that creates allure and intrigue.

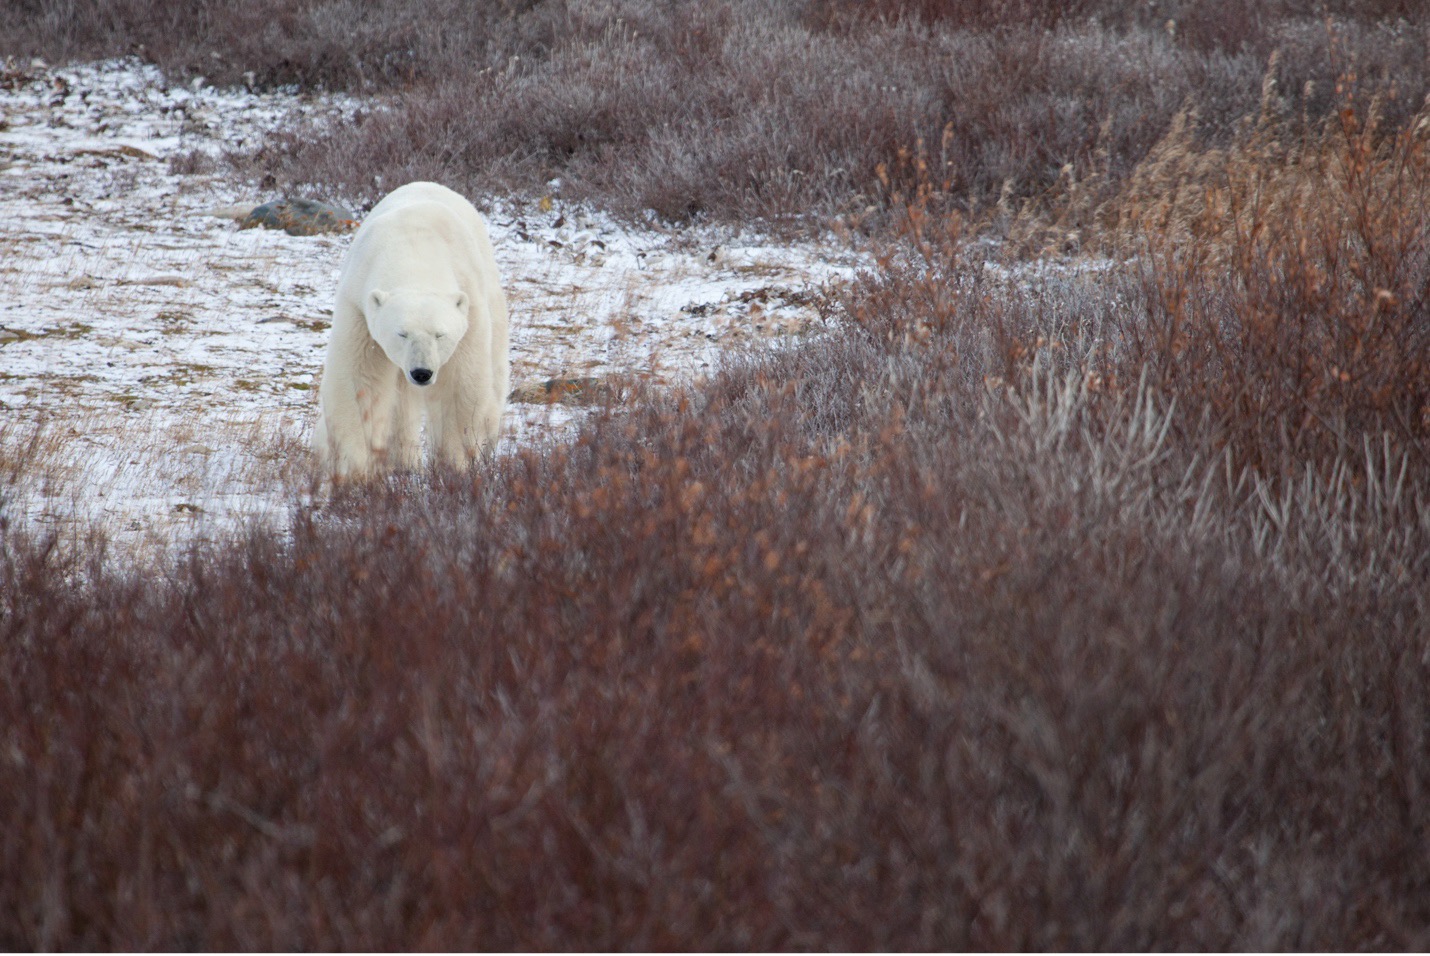
Find a Foreground Subject
Speaking of subjects in your landscape photography, having a specific “thing” to look at as part of your landscape photo can take a decent photo and turn it into something truly great.
Subjects can be so many different things—from buildings, people, trees, sculptures, and even roads, it just has to be something that helps create context to your photo. And in some cases they can even help with composition (we’ll get into that next).
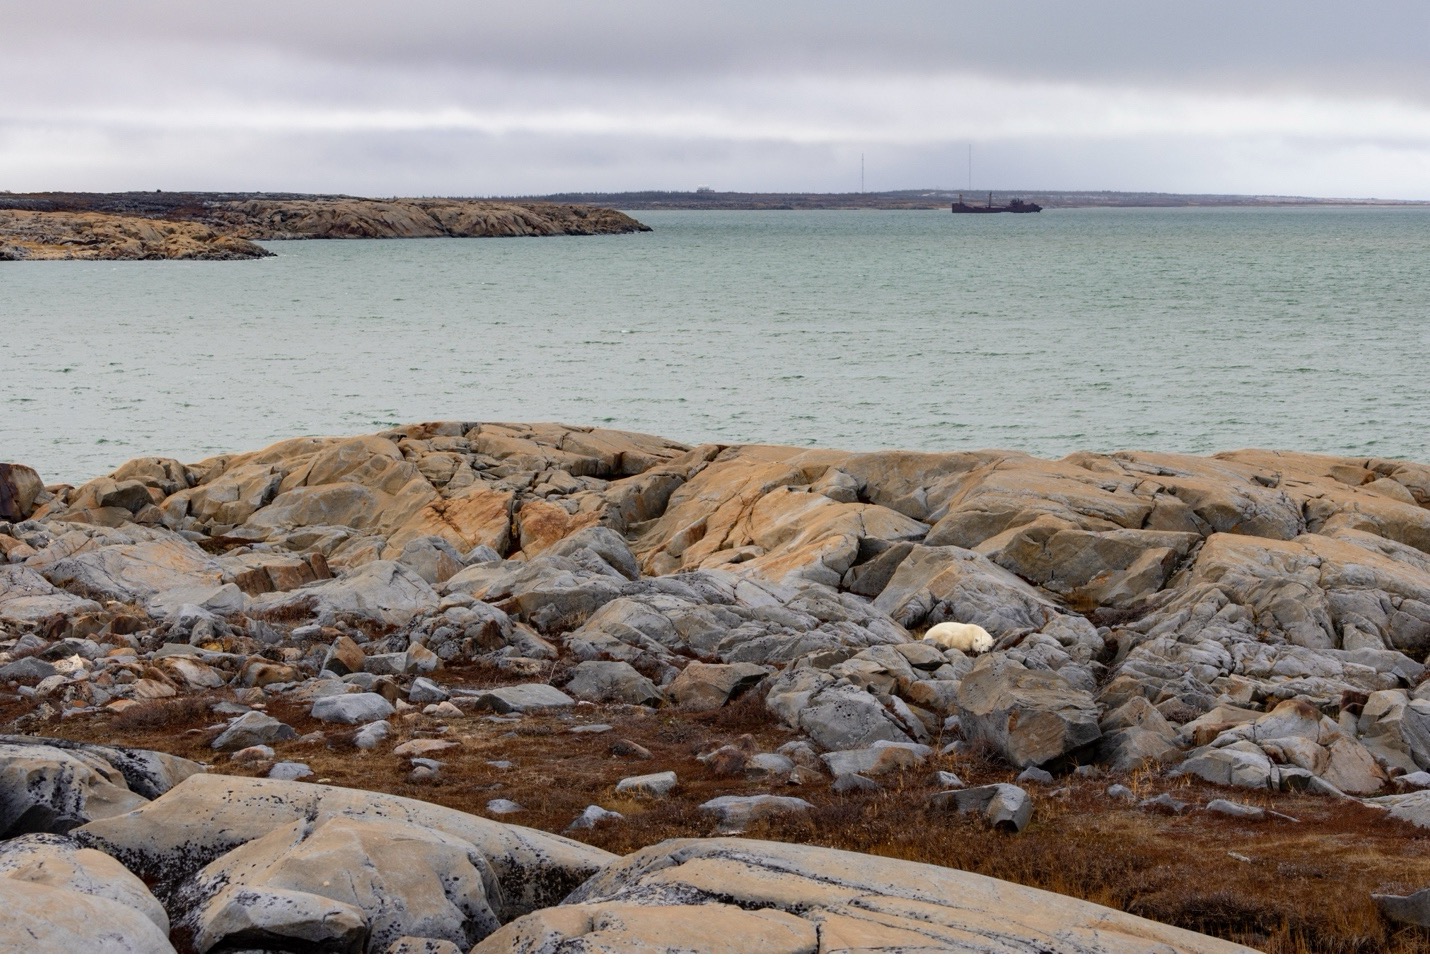
Above we have a nice small subject, drawing the eye across the rocks until finding the white polar bear. It would be a nice landscape shot either way, with great texture and colors throughout, but the singular subject adds emphasis and ties it all together.
The point here is that a landscape photo with a subject, any subject, is likely going to be better than one without. So be sure to scan beautiful, photo-worthy landscapes for something extra to use as your subject to help tie it all together. In some cases, I’ve even used bear paw prints as that subject, so being creative is essential here.
Look for Leading Lines
Something that should run through one’s mind while taking each and every photo is “how am I going to get the viewer to care about this photo.” And when I say care, I don’t mean in the storytelling, sympathetic sense. I am talking about how to get someone to look at a photo and see if for its various elements—how to get someone to really look at your photo.
One great technique for accomplishing the above is to get the viewer to have a little visual journey as they look at your photo. Thus, you need to create the pathway to do so.
Leading lines are that pathway.
Creating that pathway is just like it sounds, but instead of building a trail or boardwalk through a natural area, you are looking for landscape elements that help the viewers’ eyes move throughout the scene in an intentional way.
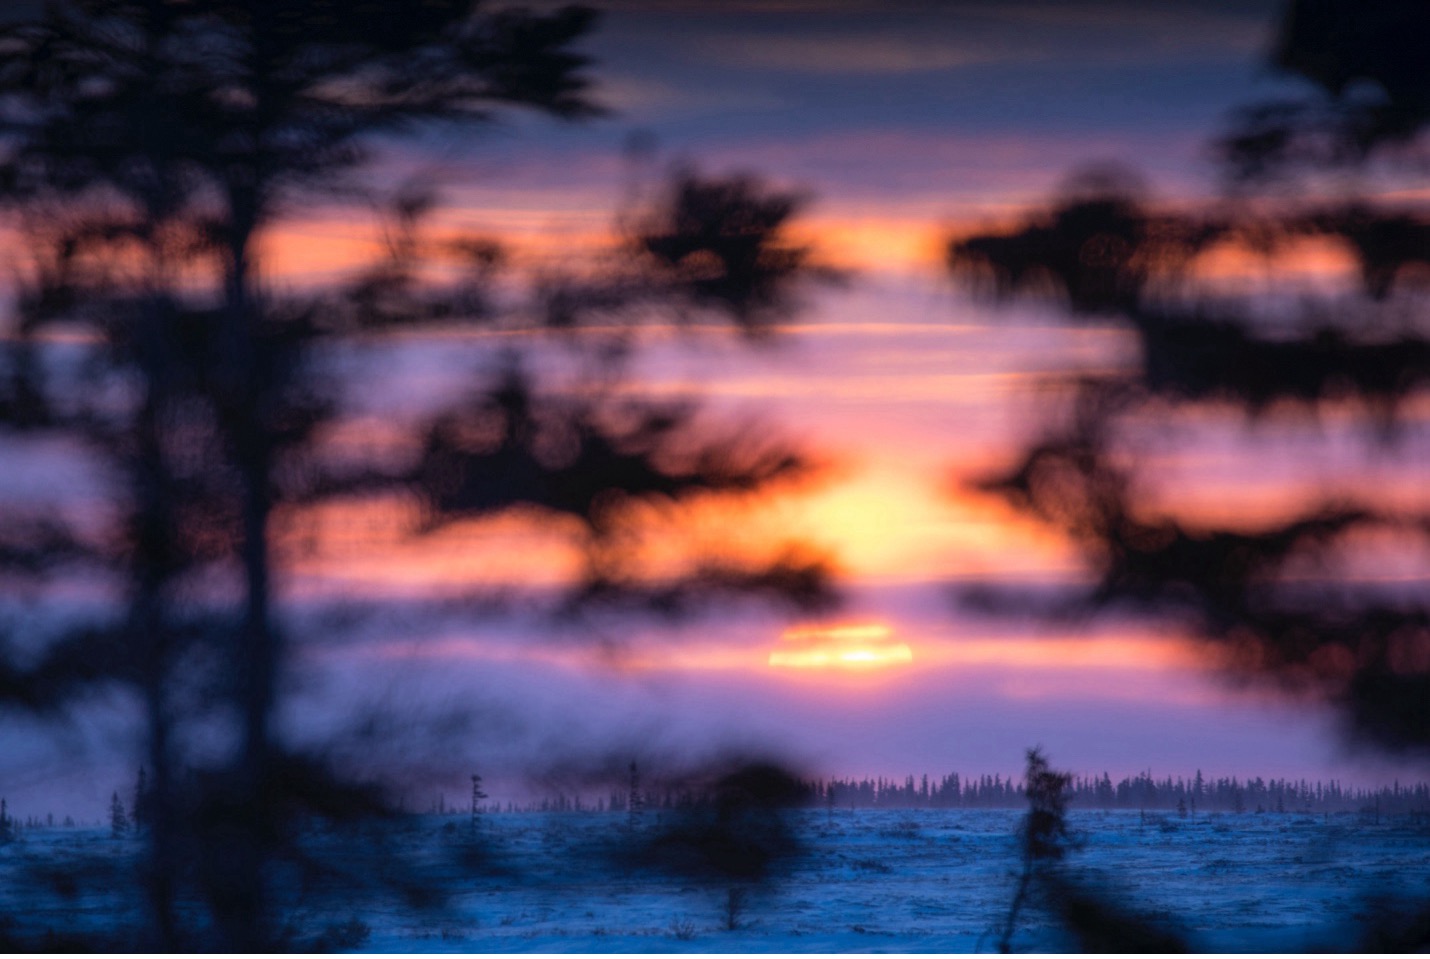
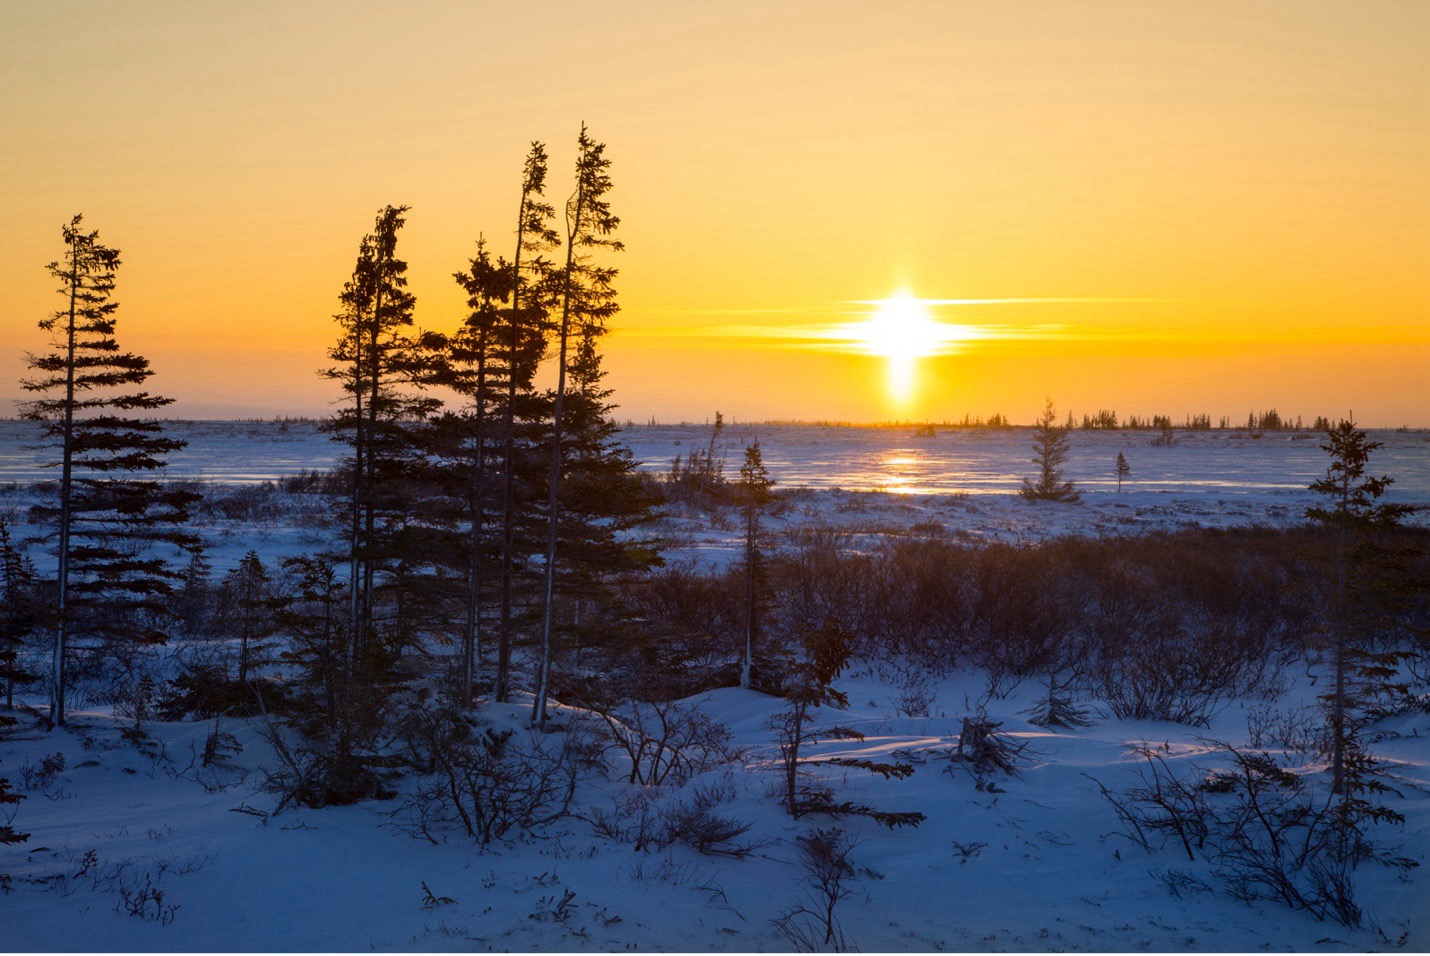
Above we have the soft leading lines of tree branches gently pushing the viewer’s eyes toward the middle where the colorful sunset is positioned. We can also refer to this as framing.
There is no “right way” to position leading lines in a photo, but there are some things to think about.
Do you want the viewer to meander through your photo going deeper and deeper into the scene? Then you might want leading lines to point toward the horizon in the distance.
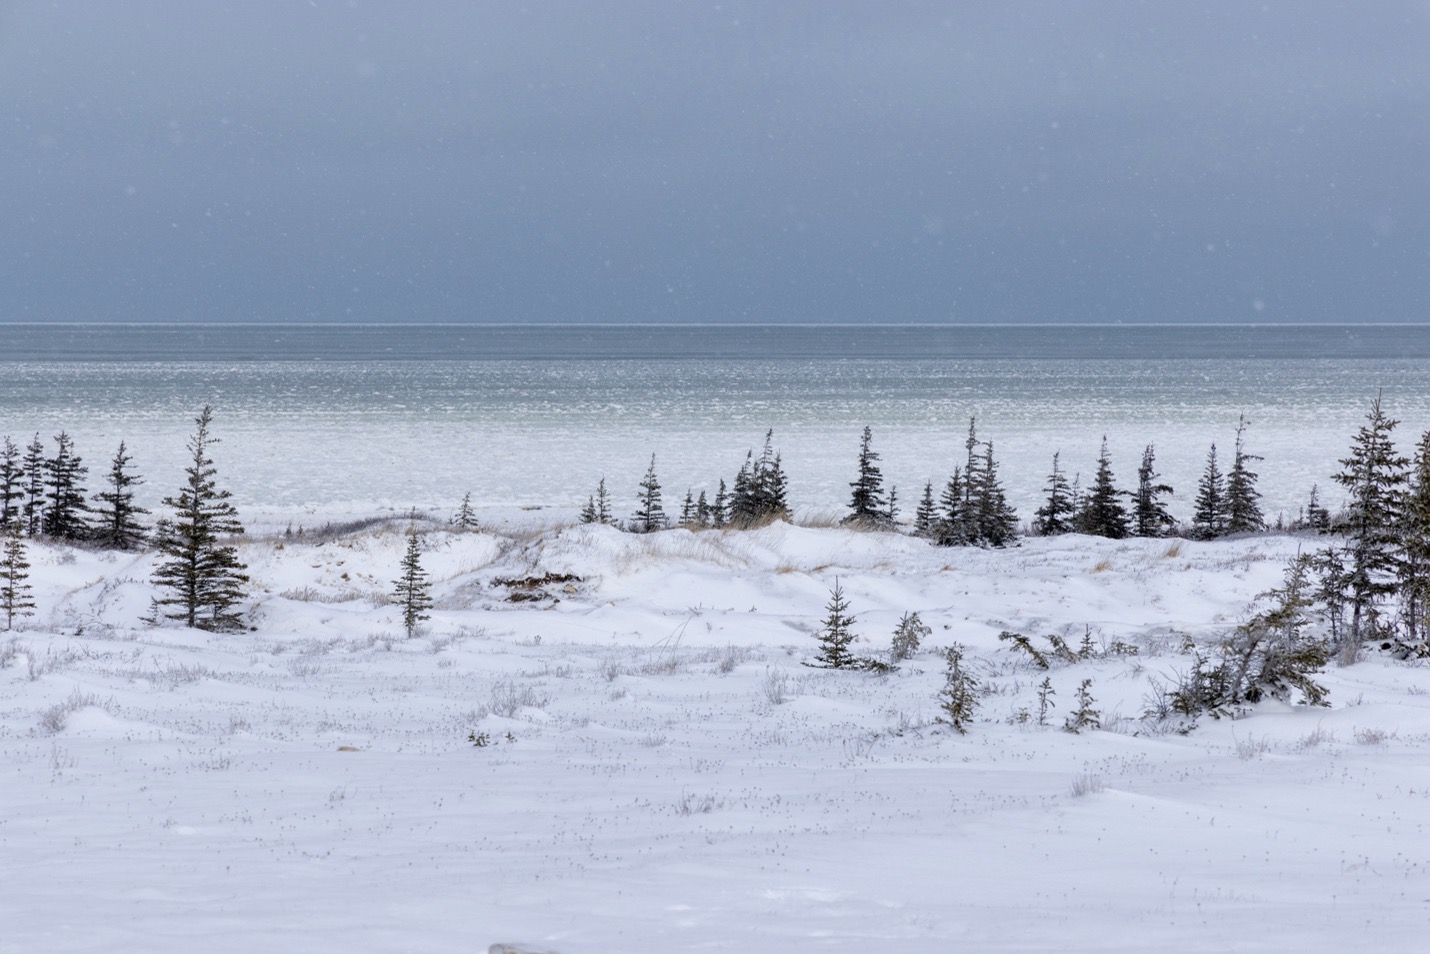
Do you want the viewer to be drawn to the top of your frame, because there is some interesting landscape element or subject to view? Consider finding lines to frame the top of your shot and direct eyes upward.
Leading lines can be complicated to find and certainly to master, but the concept is rather simple in that the lines you find in your landscape act to direct people to look at something you would really like to show off in your scene.
Use them more and more and watch your photos become more and more captivating!
Bonus: Look for Minimalism
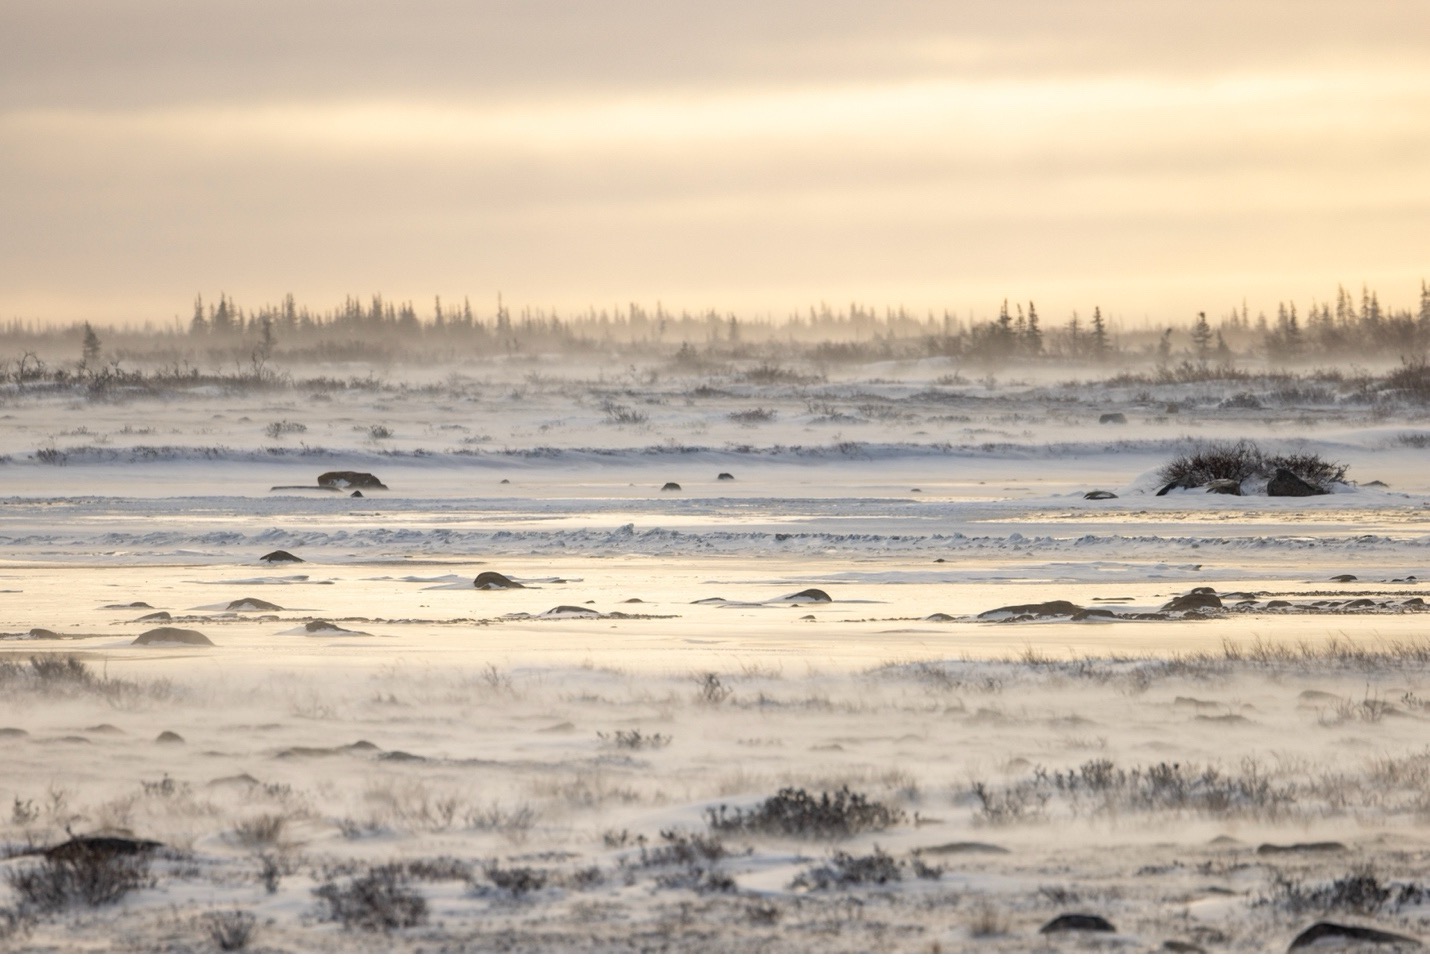
Not every environment lends itself to minimalistic images, but the arctic certainly gives us those opportunities. With the big, uniform landscapes of the tundra, snowy fields, and otherwise, the simplicity of your photo is the showpiece.
If choosing to place a subject in the scene, it can be quite powerful. You may find that using traditional rules of composition like the rule-of-thirds works just fine. Or, oftentimes I look to exaggerate composition in minimalism scenes to help add even more power to the expand and to the void.
Just remember, if creating a photo that predominately features such a void, there ought to be some story to be told of such void. For instance, is it trying to showcase the relentless expanse of the arctic wilderness? Great! A vast, snowy, desolate and minimal landscape does just that.
Hopefully you are now in agreement that the Canadian arctic is full of landscape beauty. There is truly something magical in the vast wilderness that so few people get to see and photograph. I hope with these tips you are equipped with even more ideas for how to capture the grandeur of polar bear country during an upcoming photo adventure!
Go forward and give it a shot!

Court
2 Comments

Tina Schreiner
August 4, 2024 at 8:31 pm

Court Whelan, Ph.D.
August 7, 2024 at 1:07 pm
Wonderful article!
In a future article, Dr. Whelan, will you please discuss software that a photographer could use to get a clean, polished look on Instagram? Eddy Savage, NatHab, does an awesome job of that. Puts a frame around his photos too, sometimes. Thanks!
Hi Tina, yes indeed can do! Generally you can sharpen, add contrast, and perhaps some saturation in IG itself and due to the small nature of the photos it doesn’t look manipulated or fake. And yes, adding a white or black border can really make the photo look ultra professional!!