Smartphone Photo Tips for a Polar Bear Adventure
Smartphones have become an indispensable piece of gear and are becoming increasingly more versatile, higher quality, and of course extremely easy to use.
When talking about “the best camera in the world” we like to say it’s whatever camera you have with you—so today’s smartphone cameras can easily be considered a go-to camera for nearly all of your photography.
Whether you are using your smartphone as your backup camera or as your primary photo-taking device for polar bear photography, these tips and tricks will get you more photos and better photos, while making it easier than ever to capture amazing moments.
Focus
Achieving tack sharp focus is critical for capturing great photographs. If your subject or landscape is out of focus in all the wrong places, the photo just isn’t going to be great.
For most smartphones, the camera is set on auto-focus by default and chooses the focus point for you. The computer that governs this tries its best, and usually does pretty well—especially if there is a dominant subject distinct from its surroundings.
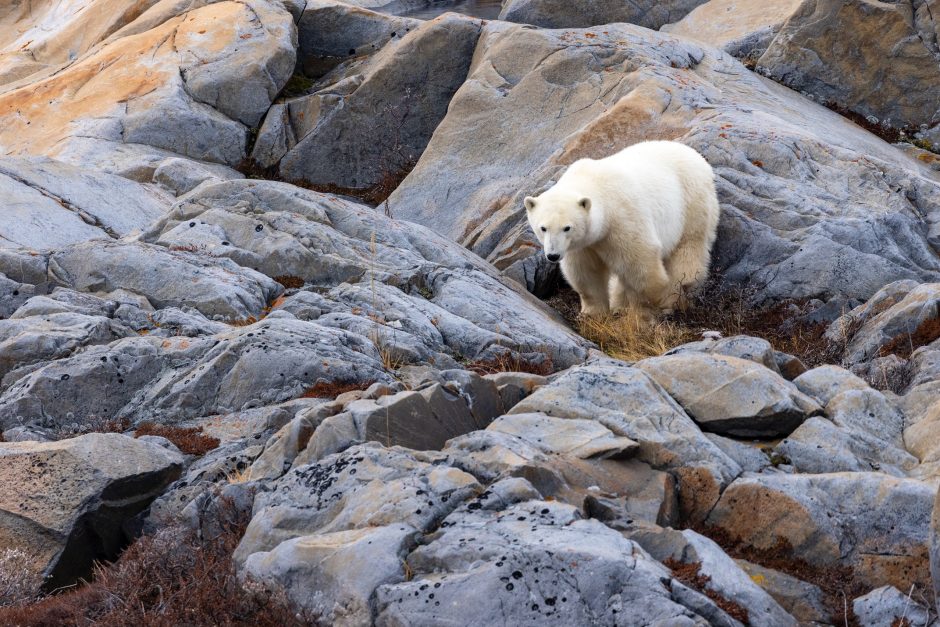
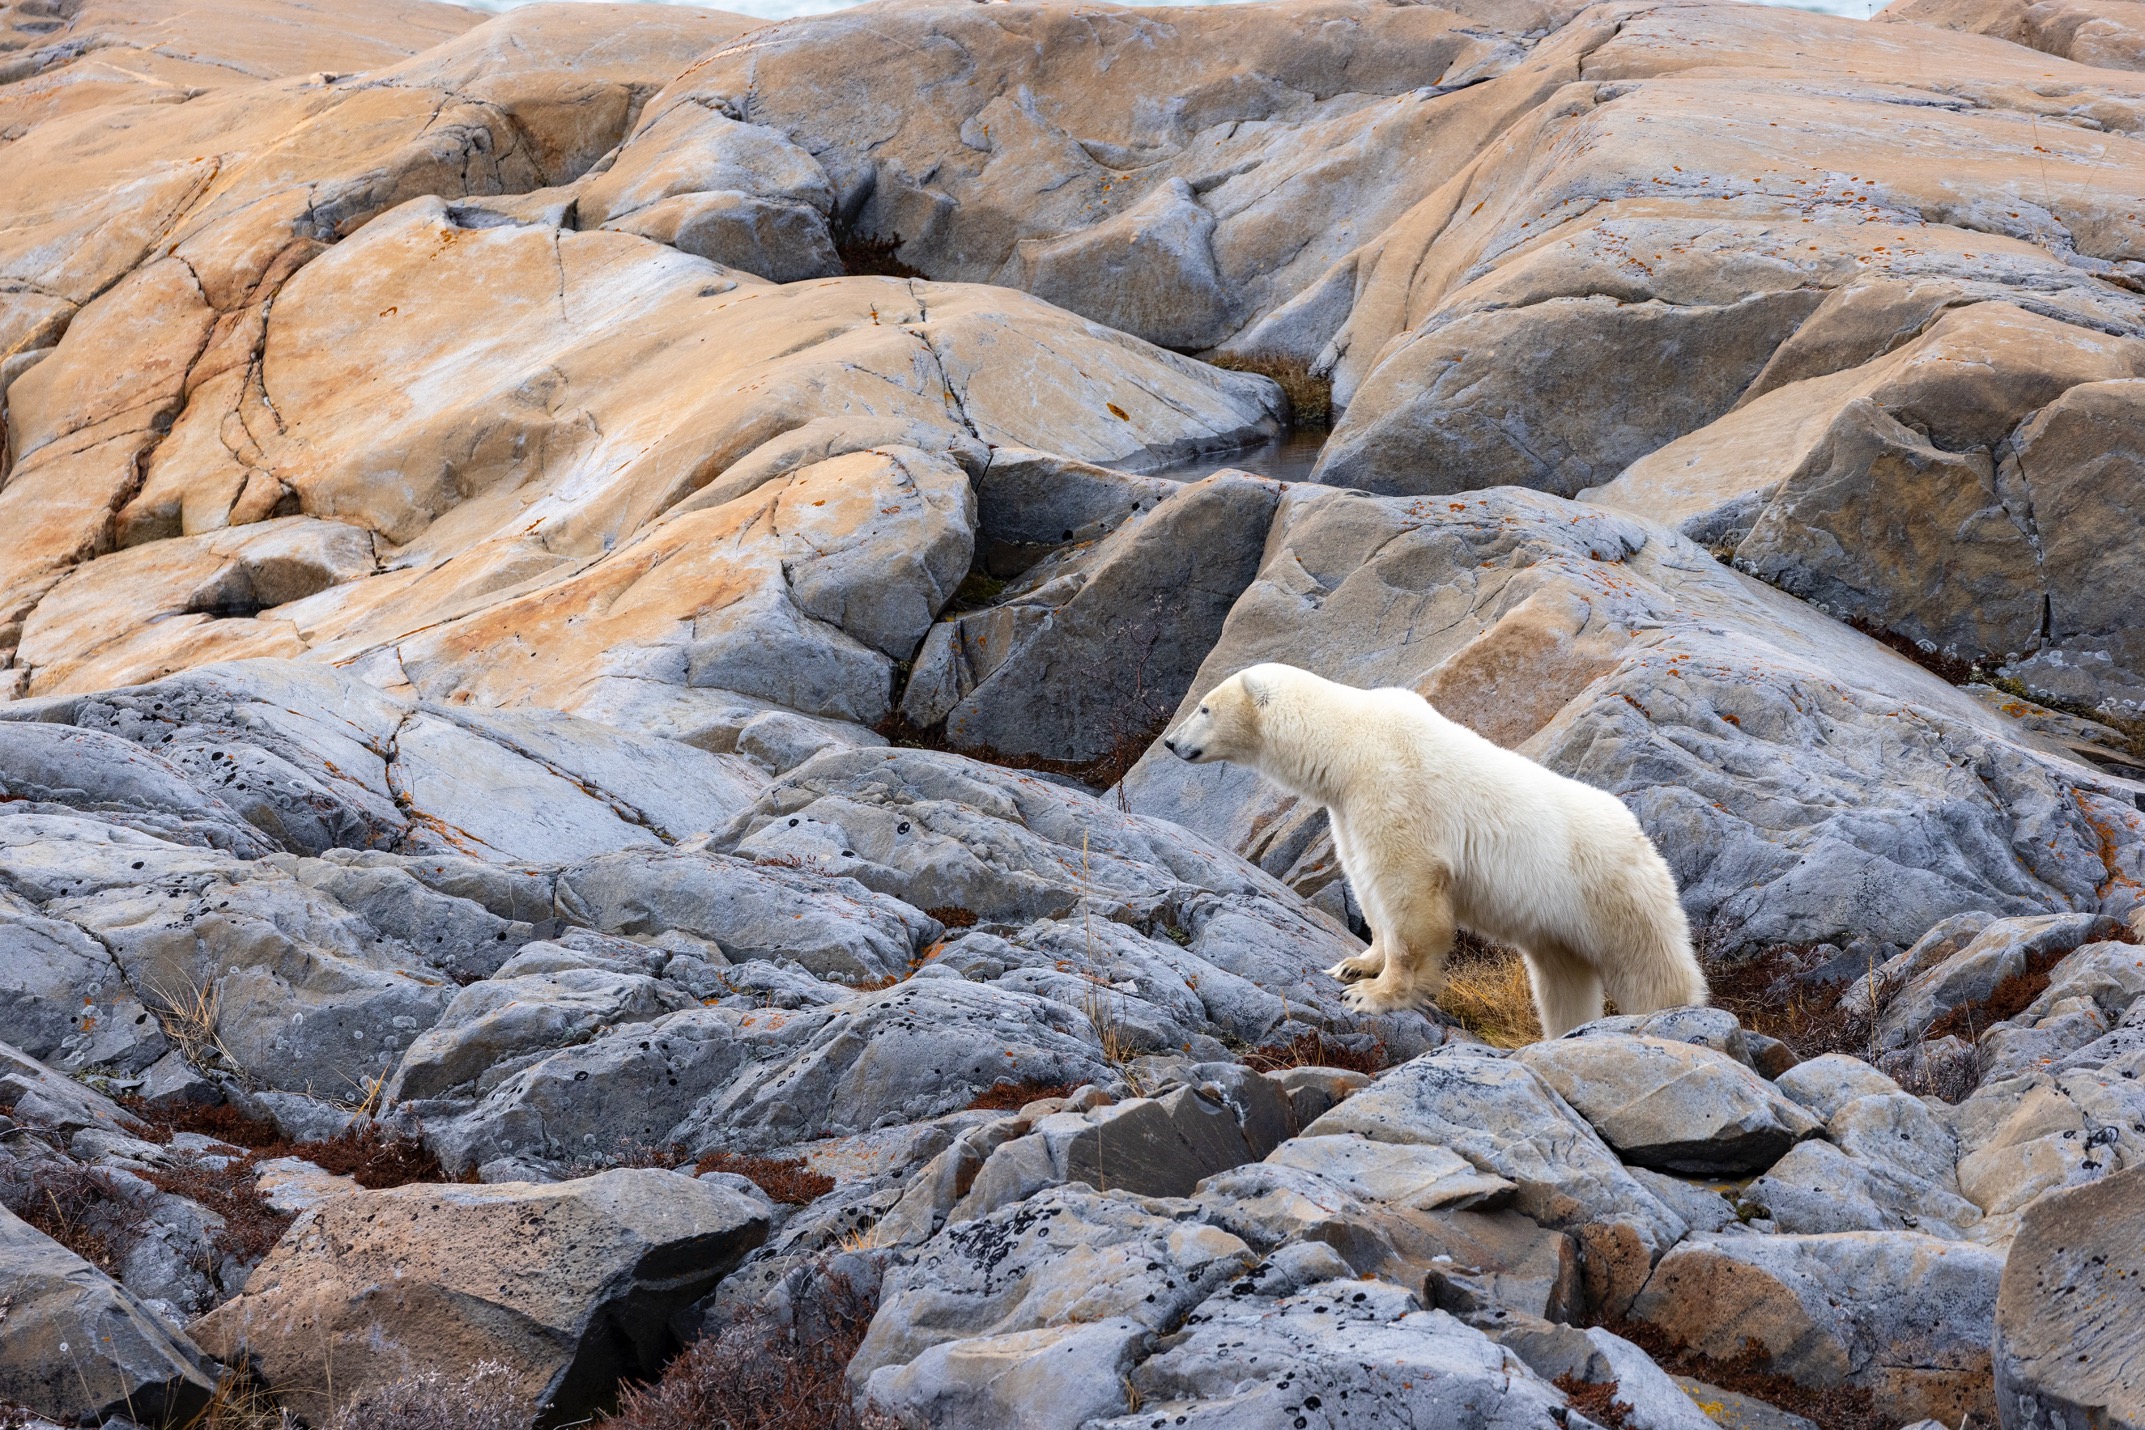
However, with nature and wildlife photography, your subject may be part of the landscape in a way that auto-focus doesn’t know exactly what you want in primary focus. That is, it blends in rather well and thus you will need to pick the focus.
Fortunately, this is extremely easy on smartphones. You simply touch the screen where you want it to focus and then a small box forms around the focusing area. Voila!
Some advanced smartphones will even automatically track moving subjects, but don’t necessarily rely on this. Be ready to re-focus with every couple of shots.
Exposure
Smartphone engineers have made his one easy, too, and it actually starts with the focusing method described above.
To adjust exposure on most smartphones, simply tap the screen to focus and then swipe up to lighten the photo and down to darken the photo.
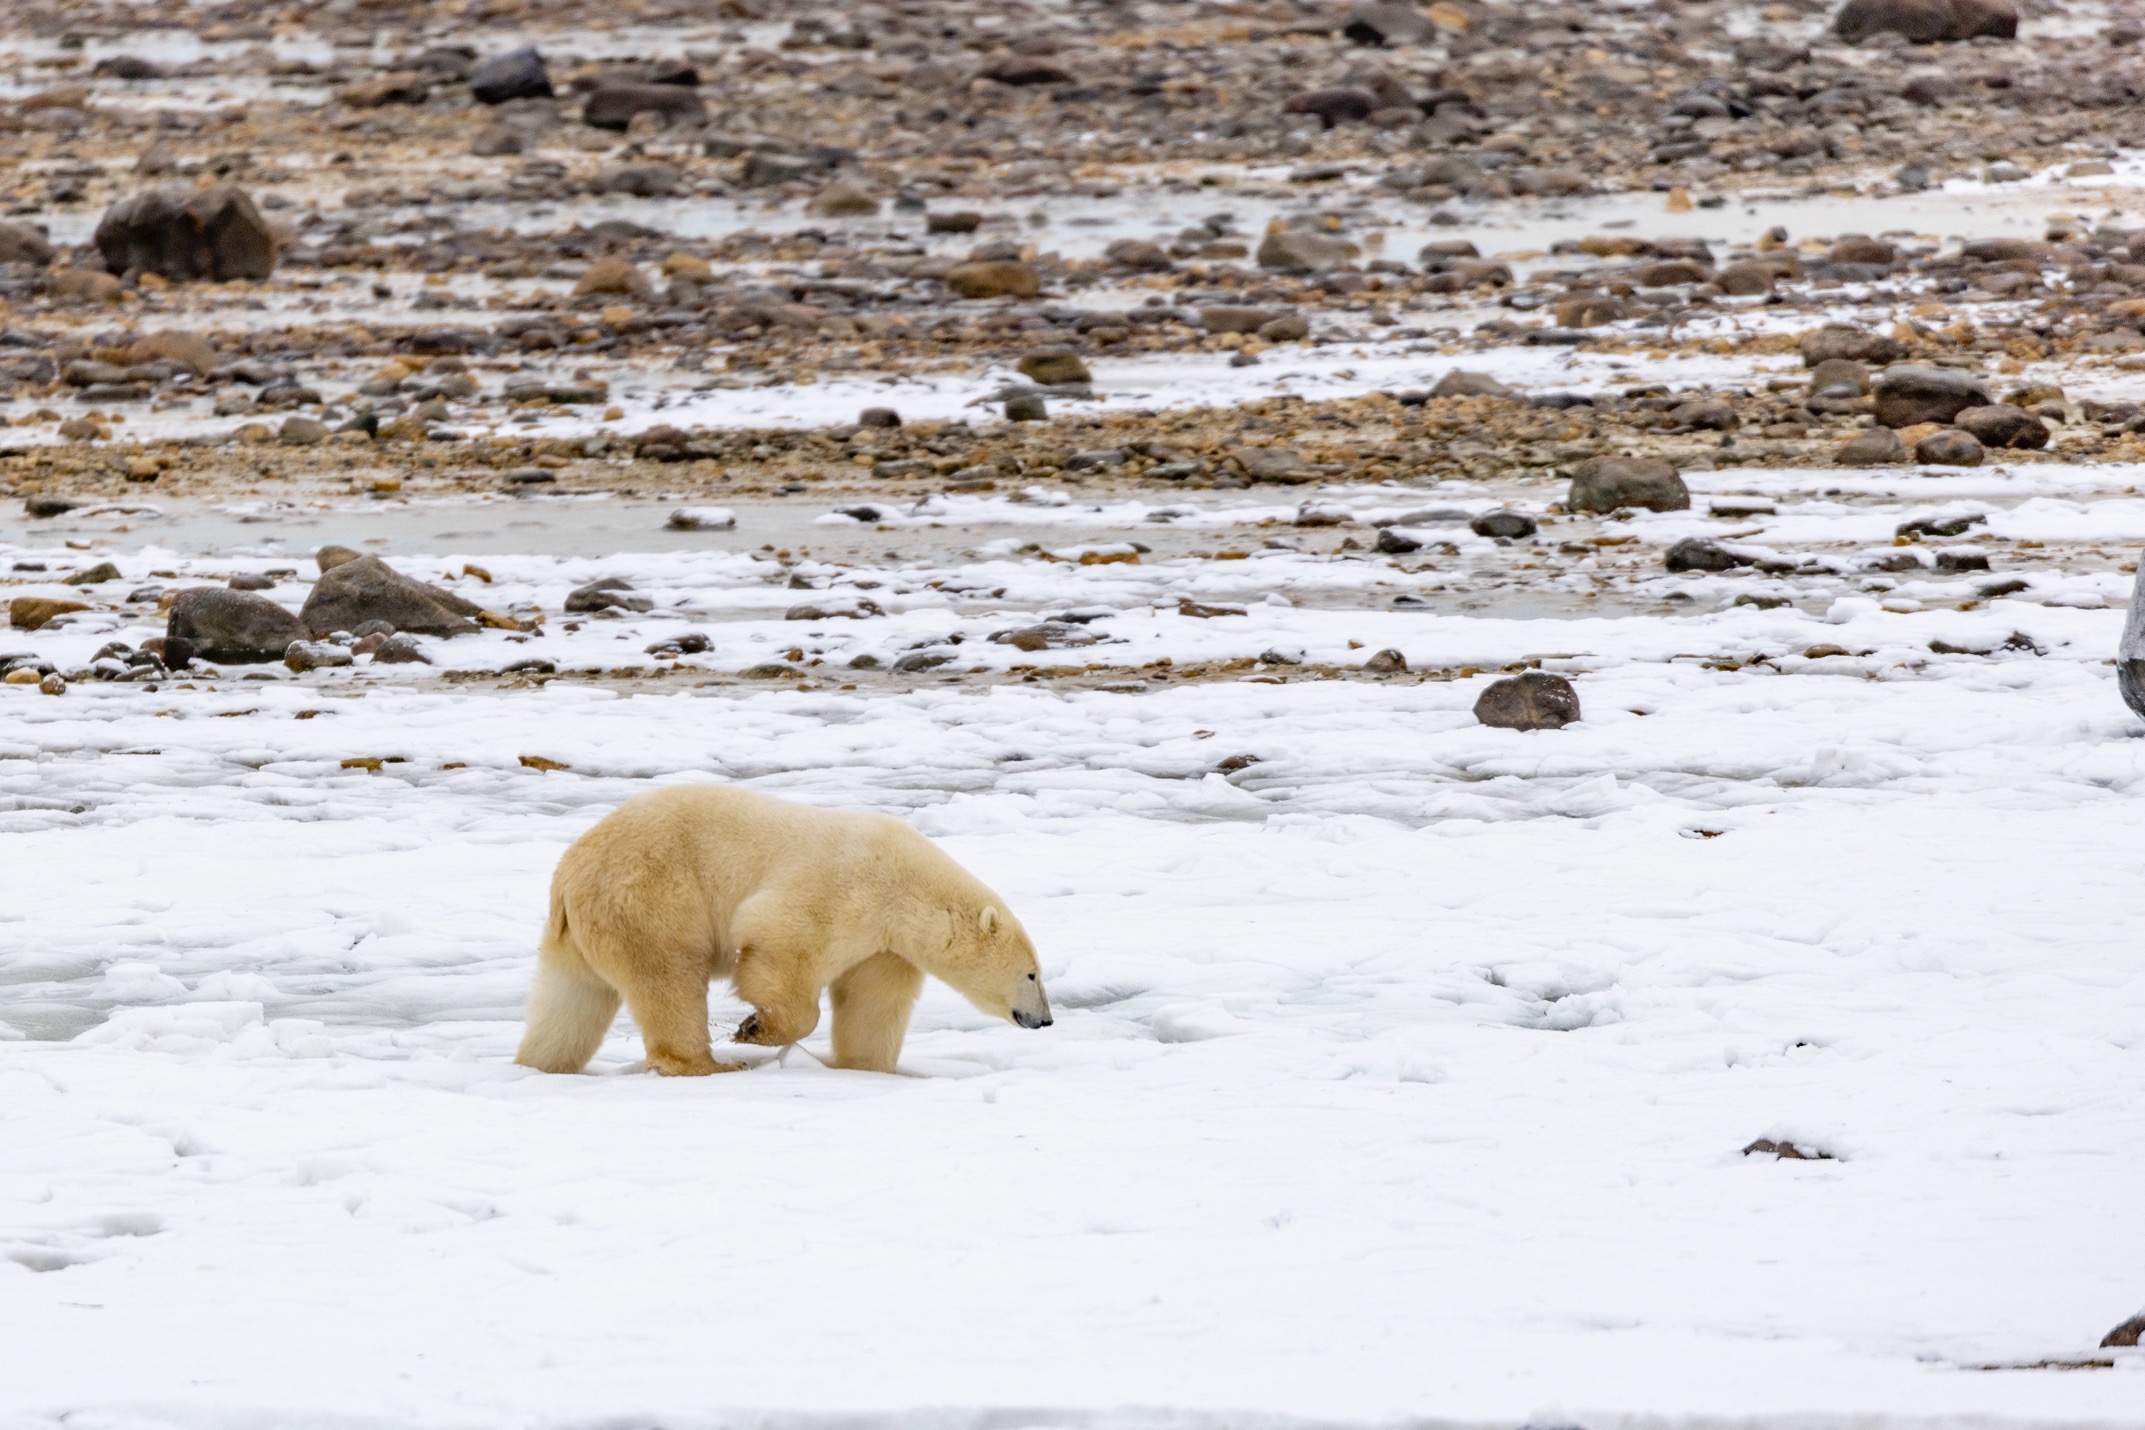
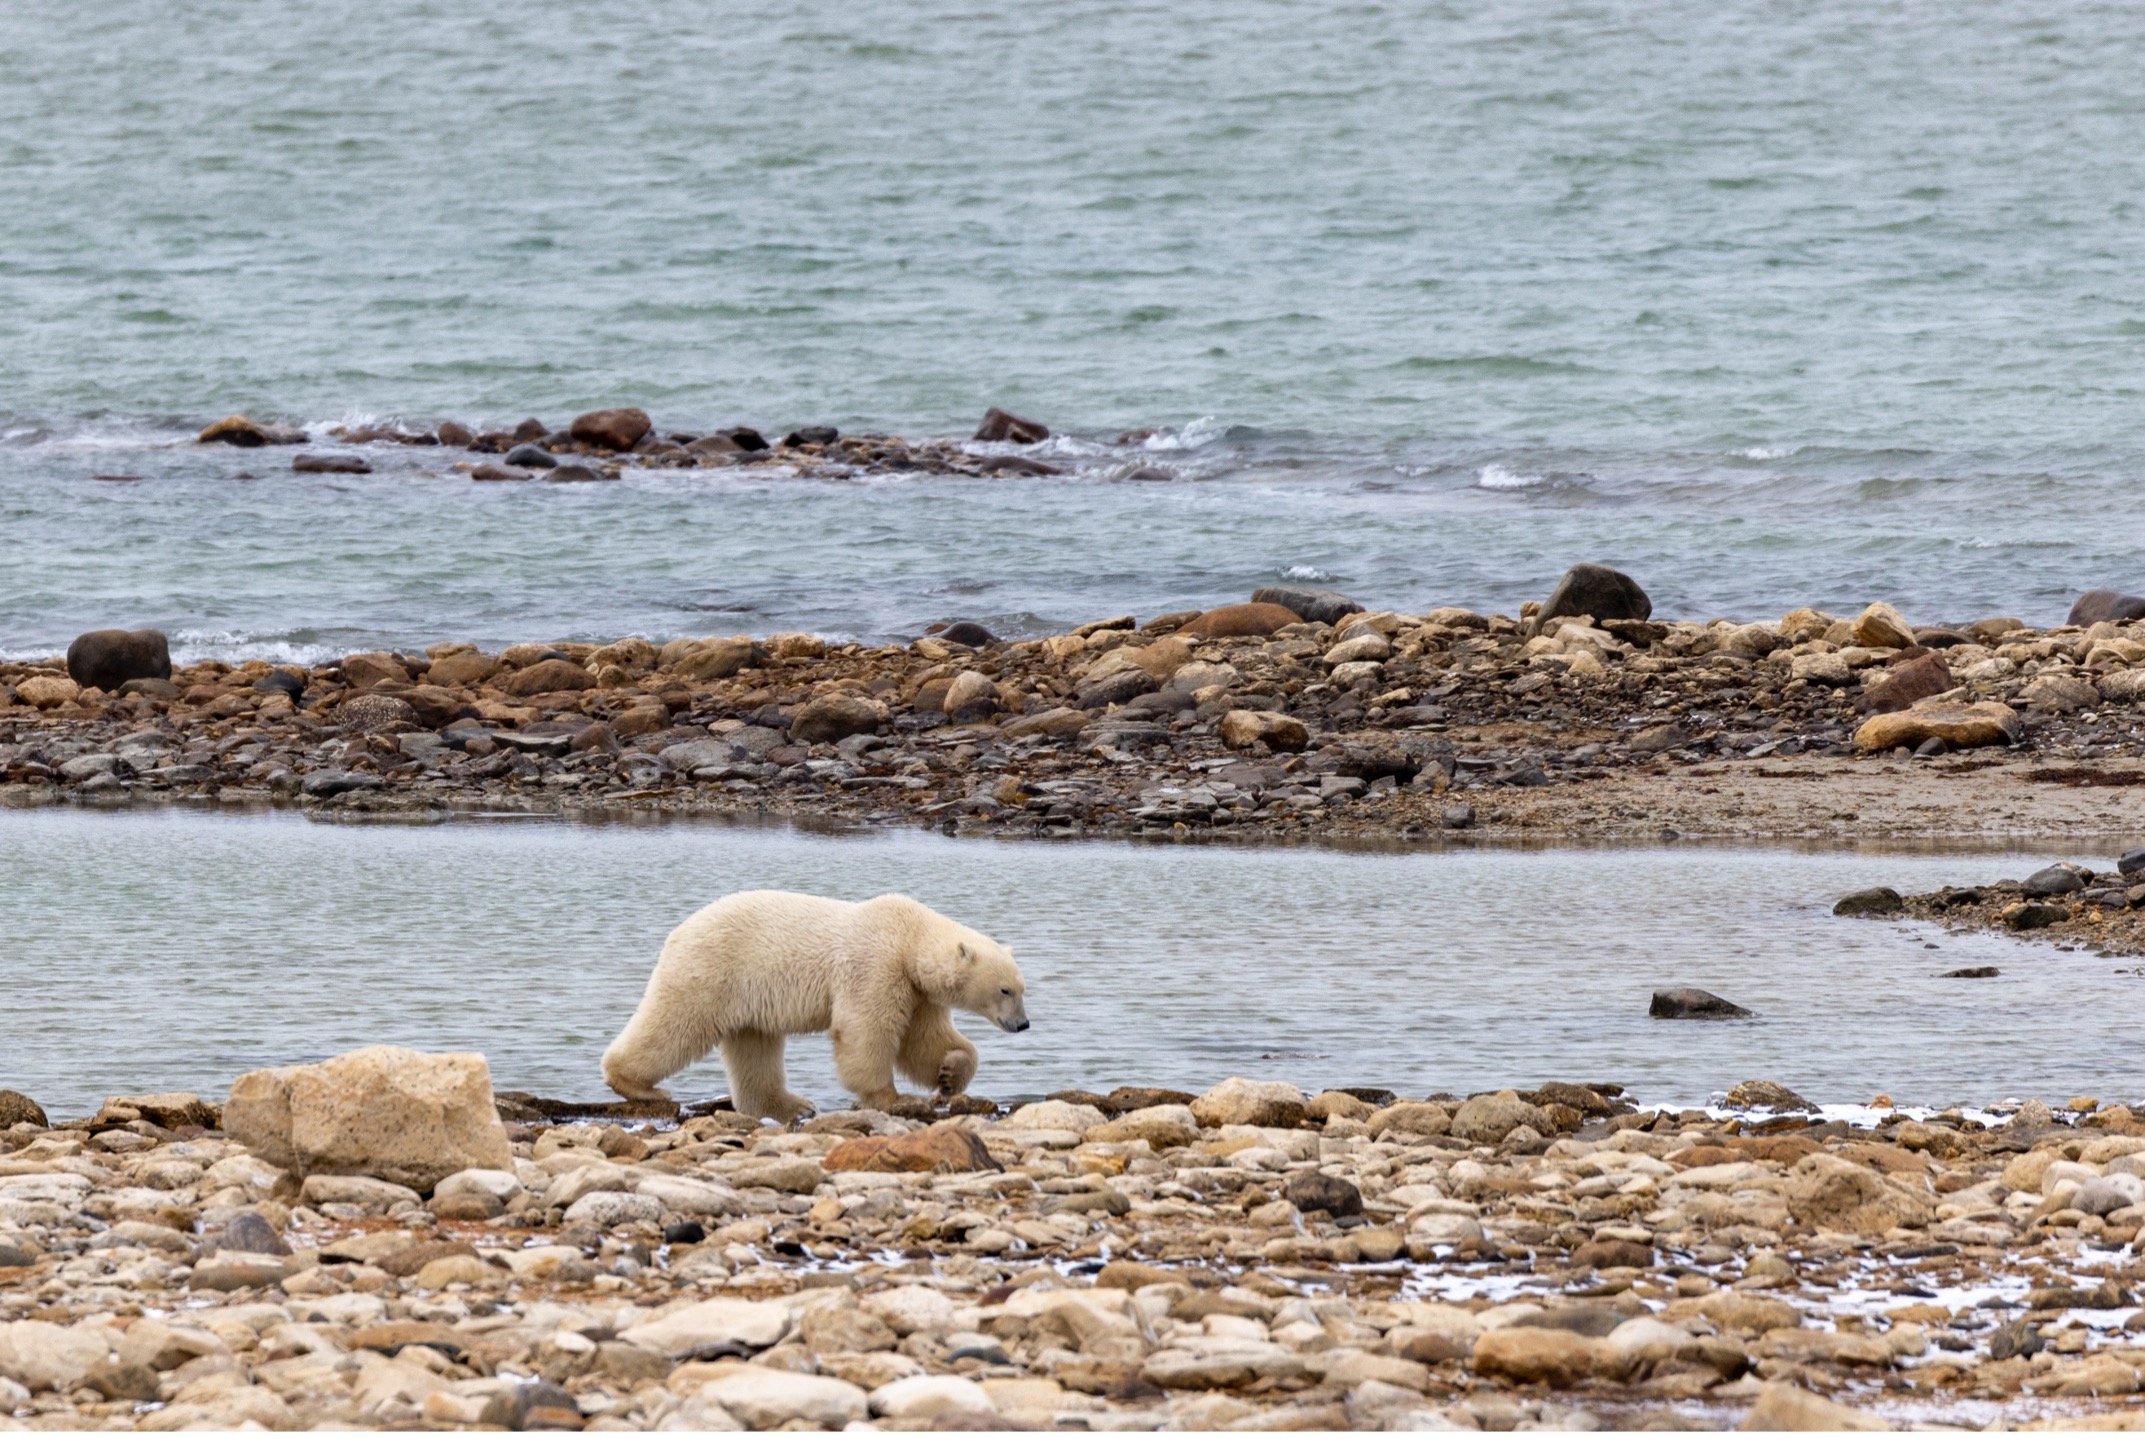
As smartphone cameras get better and better, you usually don’t need to make these exposure adjustments too often. However, when polar bears are either filling the frame or against a background of white snow, you will actually want to overexpose your photos by swiping up to lighten. I’ll admit that it’s somewhat rare for a bear to fill the frame on a smartphone camera, simply because zoom isn’t all that great on smartphones. But white bears on white snow landscapes certainly is possible.
The reason you may need to adjust your exposure is that the camera will automatically darken photos with a lot of white because it’s aiming for an “even” exposure. Since you actually do what to preserve much of the white in the scene, you need to tell your camera that you do indeed want it to be bright—thus, swiping up to increase exposure.
Using Zoom
This tip is more of a cautionary tale, and is unfortunately the only downside of a smartphone–you just don’t have big zoom to work with. But this is changing rapidly with newer models!
Modern smartphones come with two types of zoom in them. The first is optical, which means that the camera actually switches lenses to add a bit of telephoto power. The second is digital zoom, which means that the software of the camera digitally crops the photo to enlarge and create a telephoto effect.
The problem with digital zoom is that it degrades the photo to some degree when cropping and enlarging. Now, smartphone cameras are getting better and better, and they come with software that automatically enhances images, so this is becoming less of a problem. But still, just know that if possible it’s always better to use optical zoom vs. digital.
What I’ve personally seen on my smartphone is that even at zoom levels between lens ranges, the camera will use digital zoom. That is, if you have, say, 3 lenses on your phone that gives you a 0.5x zoom, 1x zoom, and 3x zoom, a 2.5x zoom will take the 1x lens and digitally zoom in and enlarge to give you the 2.5x effect.
Again, there is now built in software to enhance this digital zoom, but I’ve personally found it better to stick with exactly the telephoto zoom at each lens. That is, I only use a 0.5x, 1x ,or 3x. I don’t “scroll” on my zoom, but rather click each zoom setting so that I am positive I’m using the optical zoom of my camera.
If you are tempted to zoom past your biggest telephoto power, you will be 100% in digital zoom territory.
With polar bear photography, you will indeed be tempted. Just keep in mind that the more digital zoom you use, the more degraded the photo will become. Try and keep your zoom as minimal as possible if you are aiming for the best quality photos. This isn’t an exact science, but something less than 6x zoom is safer than, say, 10x and greater. But remember, smartphones are advancing quickly with AI and image restoration in-camera so you may want to do some test shots before your adventure to see where your own camera’s threshold is.
Rule of Thirds grid
Composition is king when it comes to photography. The way your image flows through the frame, from side to side and top to bottom, has huge effects in how pleasing your photo ultimately is.
It all comes down to some pretty hefty mathematics, but it can be simplified with the rule-of-thirds. If you’d like to learn more about the rule-of-thirds and other compositional elements, I recommend you check out our full article on composition here.
But the point of this section is this…On smartphones, you have an easy way to add an overlay of the rule of thirds to your screen, allowing you a very easy way to align your photo in concert with this rule.
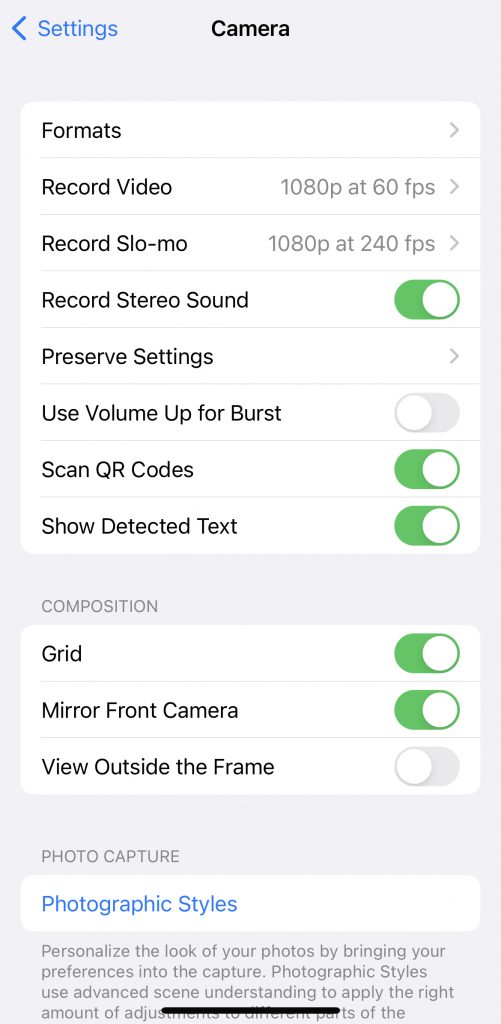
For iPhones specifically, simply turn on the “Grid” function in the camera settings menu and a thirds-grid will show up on your camera next time you take a photo.
The rule, in short, is to break your scene into thirds vs. halves (horizon at the upper or lower third, vs. bisecting down the middle) and place subjects like wildlife or people at one of the four intersections, preferably facing in the direction of the open space in the frame.
Shutter button
It can be so frustrating to hold the phone in your hand while also trying to hit the on-screen shutter button with the same hand. It’s a pretty awkward contortion of my fingers, and mix that in with wearing gloves and/or dealing with cold weather, and it’s easy to miss shots from not hitting the screen just right.
Fortunately, most smartphones have a secondary shutter button, and it’s an actual button! Simply hit the volume down button while in the camera app and voila, picture taken. For some phones I’ve seen this as the volume up button, so be sure to test this out (for iphones, it’s volume down, and the volume up button gives you a “burst” mode of shooting so that you take multiple photos in quick succession).
Airplane Mode
Not only is this a nice way to disconnect when on remote adventures in the arctic, but it’s a very helpful way to preserve battery life when cell signal is scarce.
If you have your cell phone on, searching for signal, it tends to run the battery down quickly. Mix that with the cold, while using your phone as a camera, and you may find the phone camera barely lasts half a day.
A simple fix is to remember to put your phone on airplane mode the moment you leave your hotel room and your phone can last for days. Gamechanger!
Portrait mode
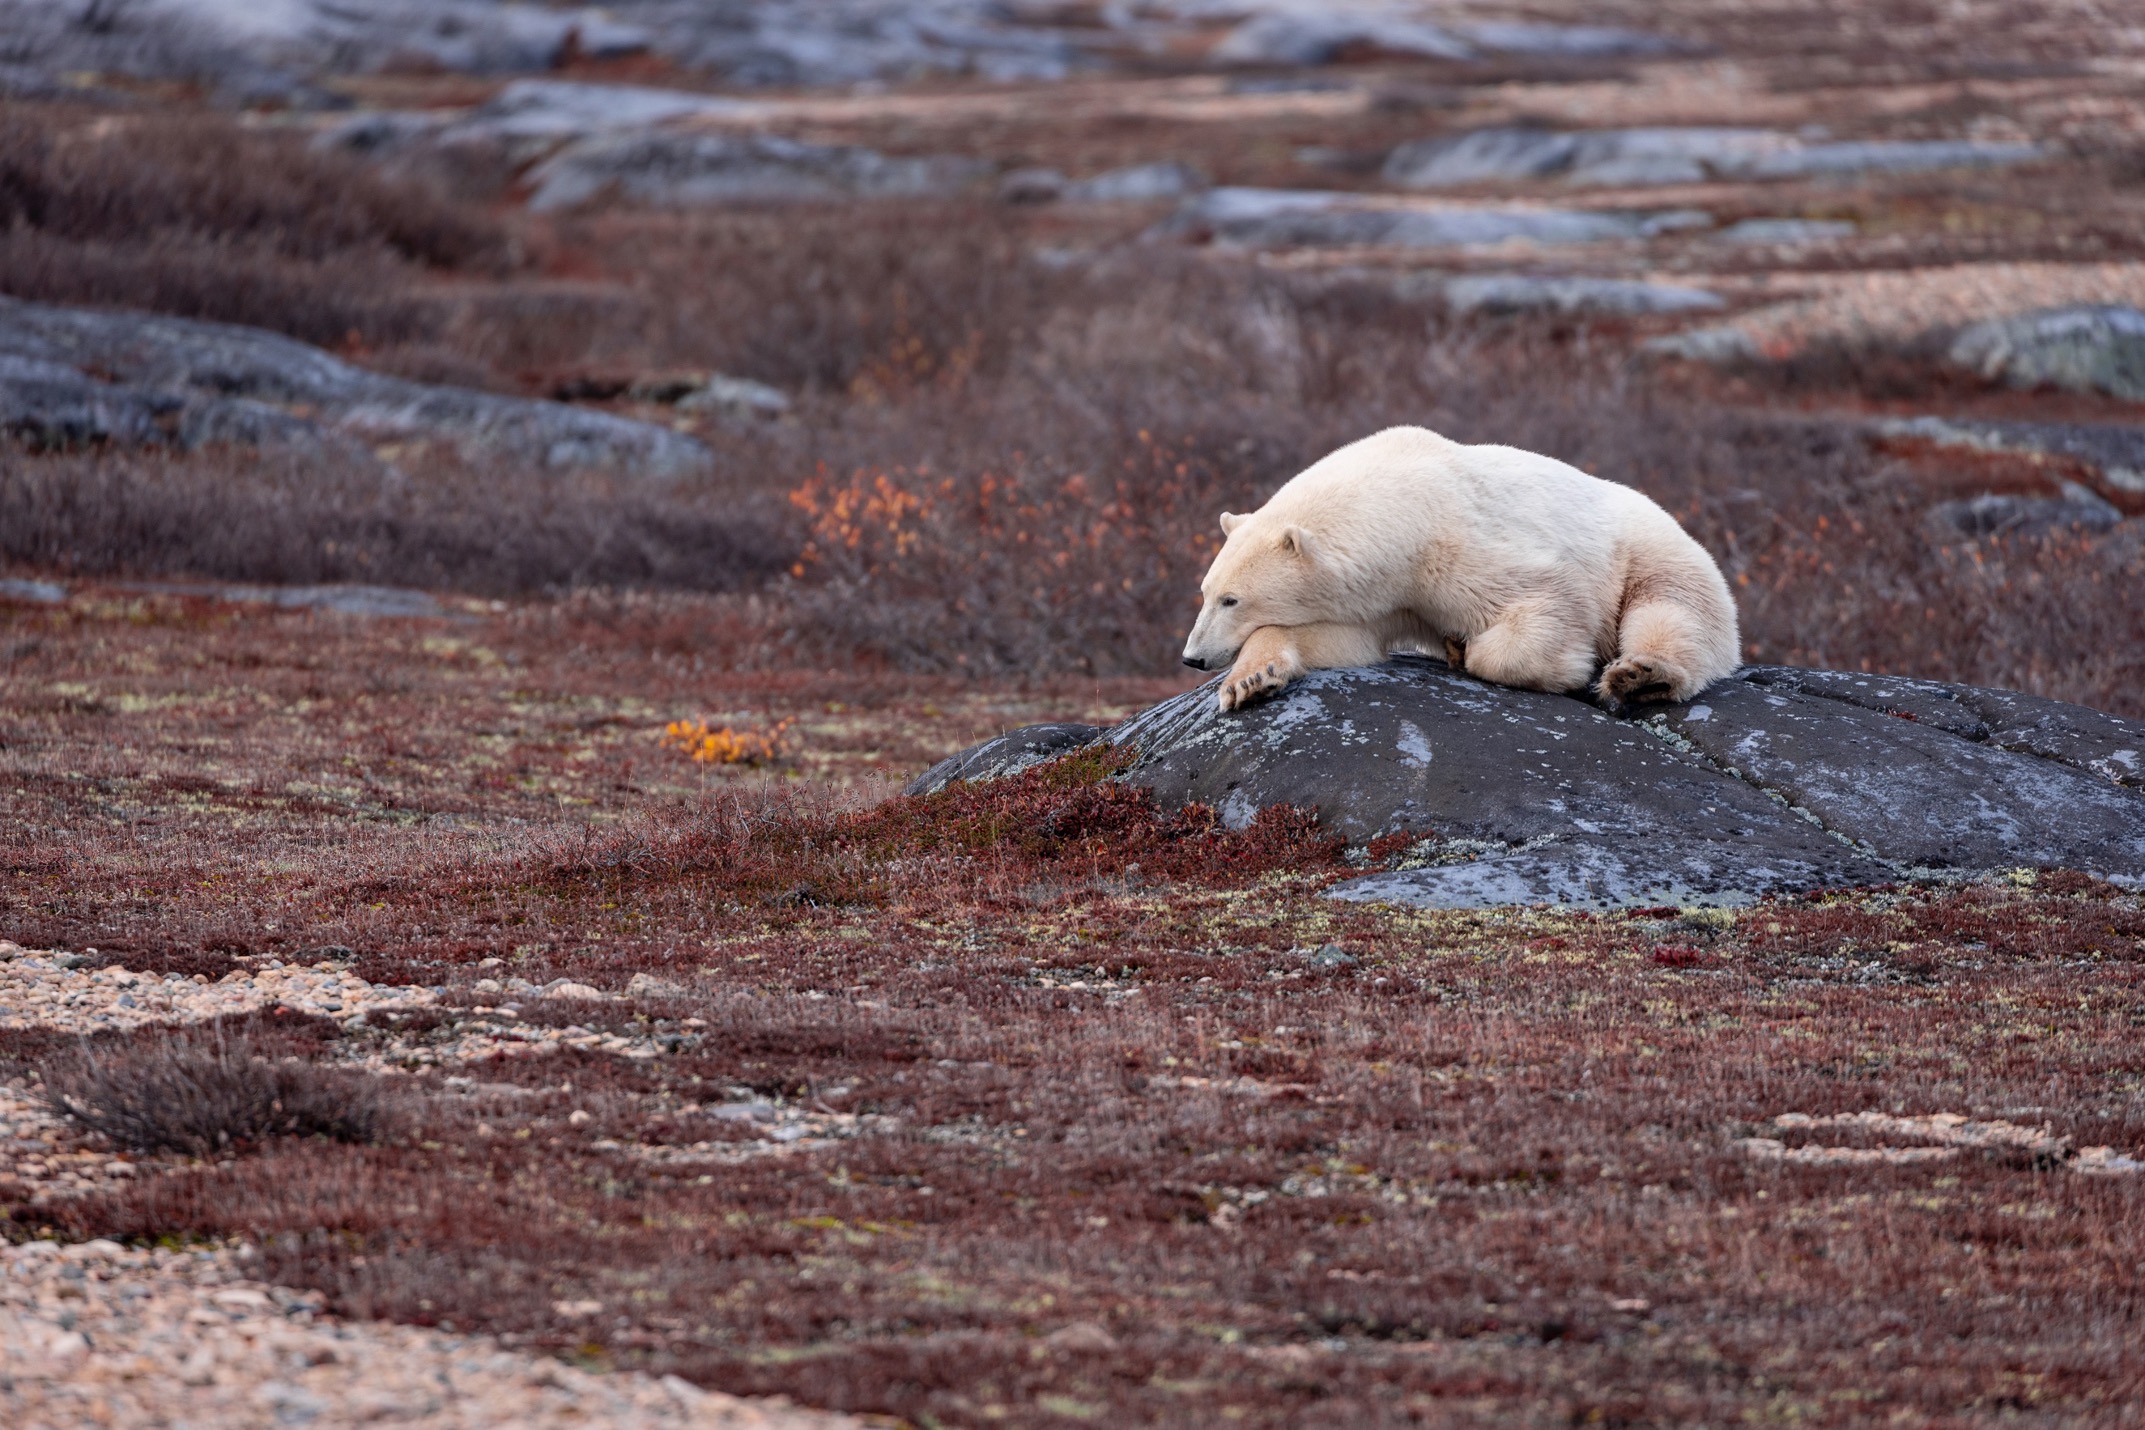
Finally, one of my favorite modes for people photos, close wildlife, and general travel photos, portrait mode prioritizes all camera settings for a very shallow depth of field, giving your photography that really professional look. When the background or foreground melts away in a nice blur, it helps draw attention and focus on the subject, making it look more powerful and even sharper in the photo.
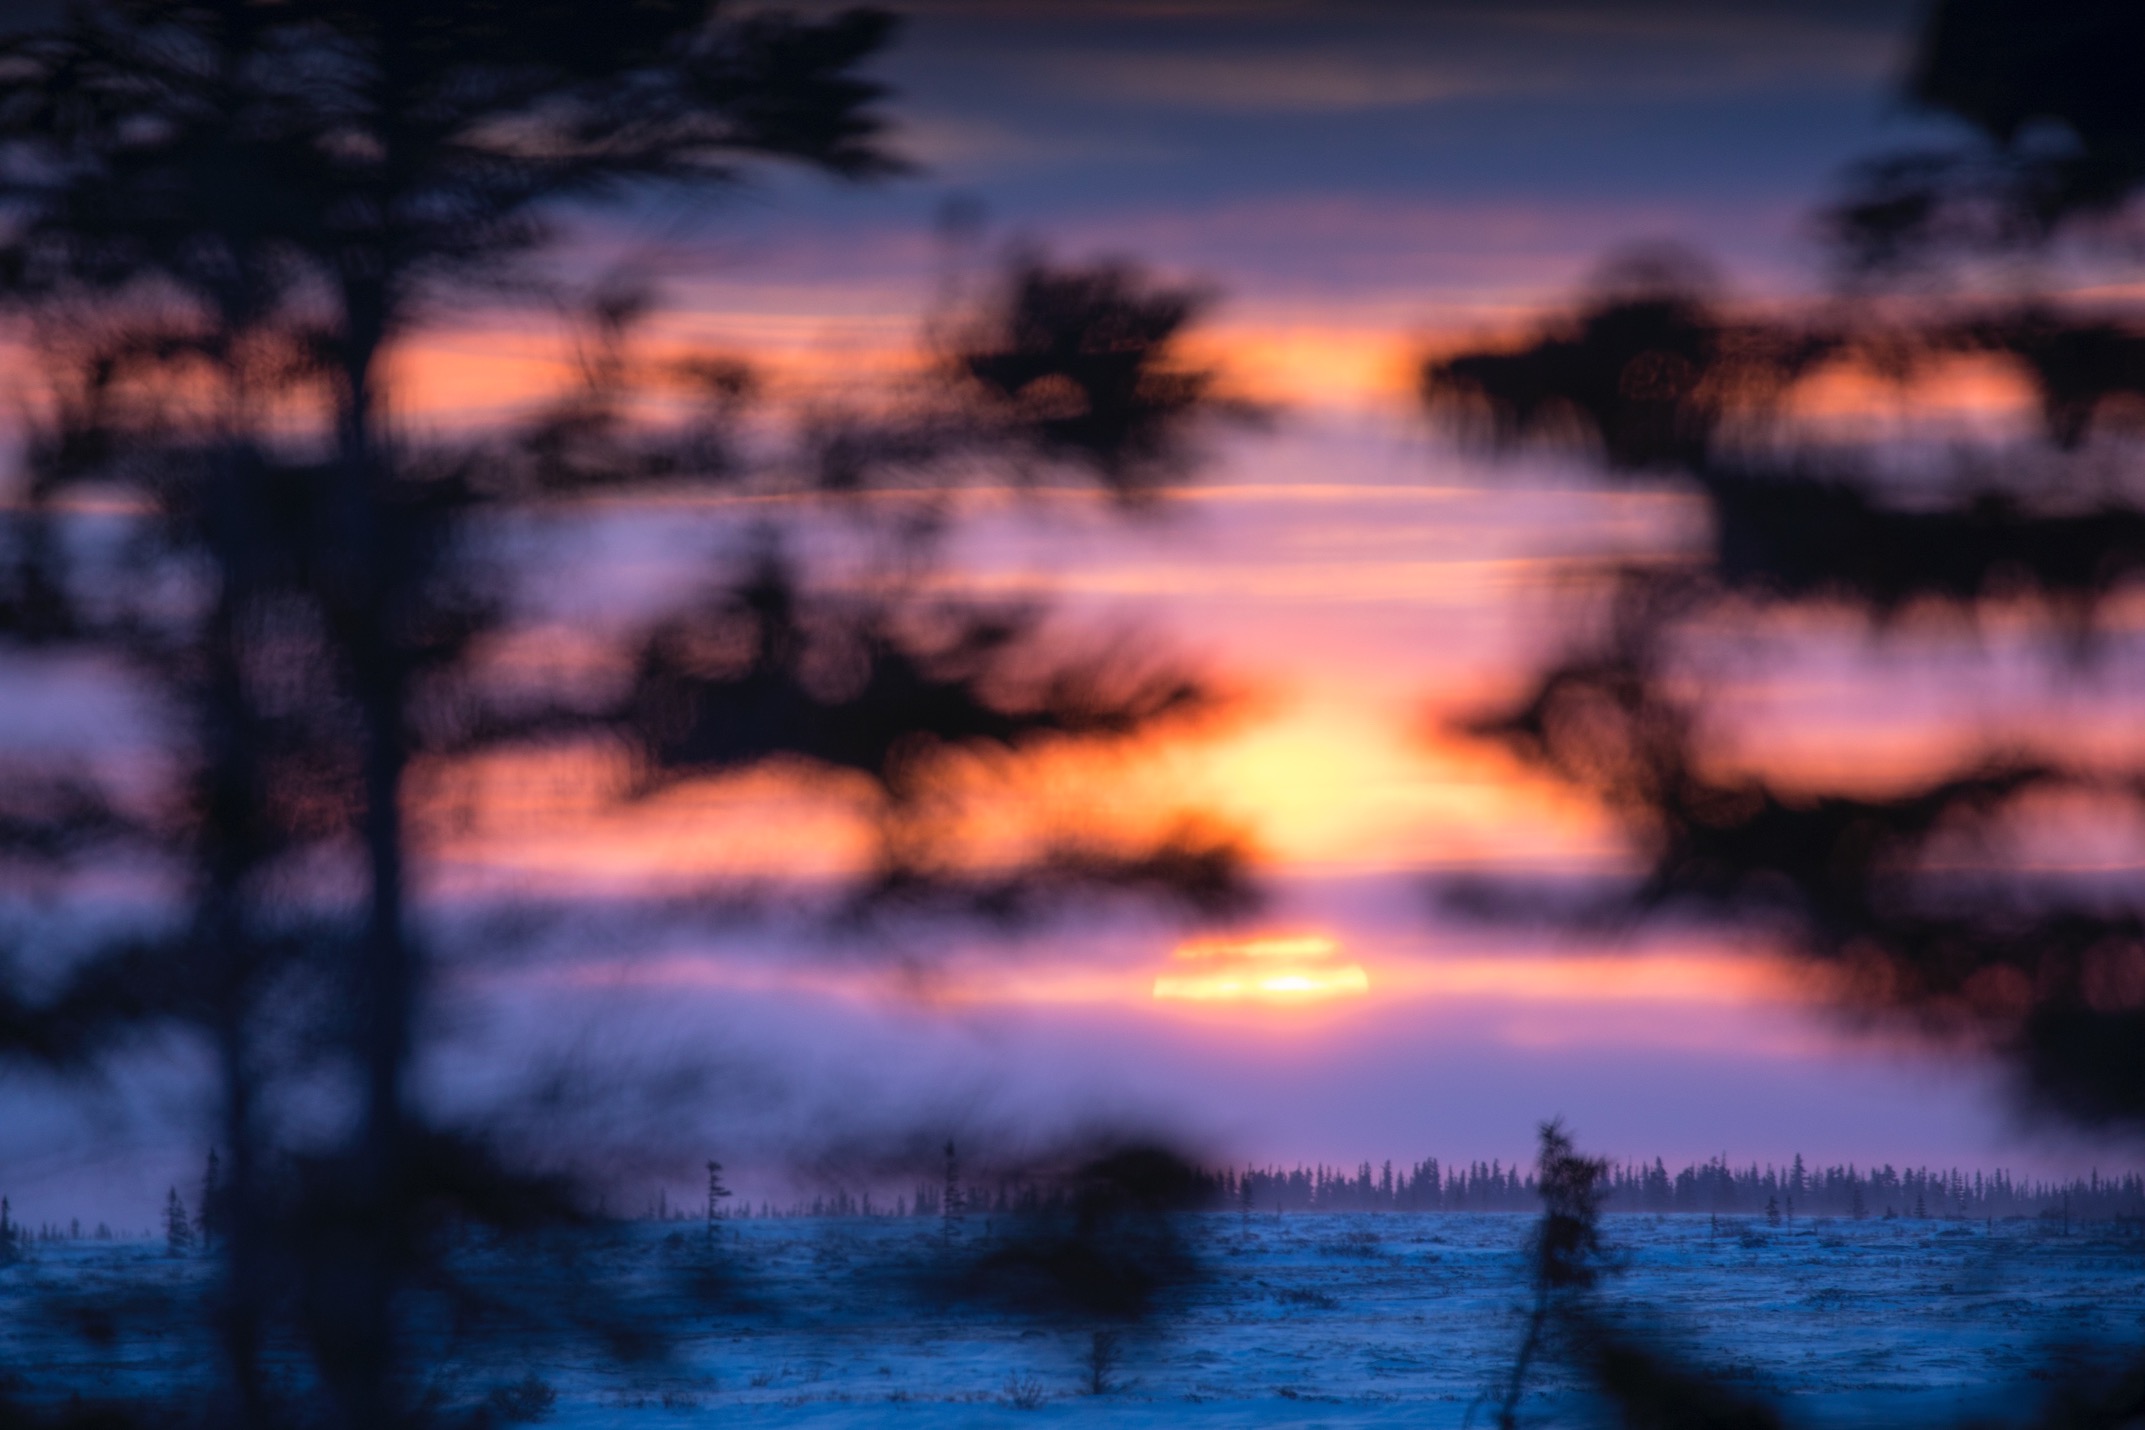
It’s also a great technique when you wish to “frame” your shot with something in the foreground. By blurring the foreground here, you minimize the distraction from the trees, but frame the sunset brilliantly.
I don’t shoot all my photos on portrait, but I tend to use it quite a bit, especially for people photos. And as a bonus, newer phones and operating systems will now allow you to quickly adjust your f/number to get the shallowest depth of field possible (f/1.4 being extraordinarily shallow, with that lovely background blur).
Notice how when I press the small “f” in the upper left the slider gives me a range all the way down to f/1.4. This shallow depth of field potential is camera gold!

And there you have it—loads of smartphone tips for your polar bear adventure!
As I said in the beginning, smartphones are fantastic tools and almost a necessity for travel these days. For photographers, they function as excellent second cameras, too. They’re getting so good that for things like landscape photos, people and cultural shots, and general travel photography they are some of the better options out there as far as point and shoots go.
Because their lenses are still somewhat limited a proper DSLR or mirrorless with a large telephoto is best when wildlife is distant, but I’m seeing more and more phones having super zooms built in, and software for digitally zooming getting better with each make and model.
So, when prepping for your polar bear trip, don’t forget your smartphone as it has the potential to get you some of the best, and even easiest photos of your trip!
Best,

Court
Leave a reply