Shot Settings (and gear) for Photographing Glaciers
Glaciers are no doubt some of the most alluring, stunning, and sought-after landscape features when on photo adventures in northern (and southern) areas like Alaska, Iceland, Greenland, and, yes, Patagonia in South America.
They also happen to be wildly photogenic, if you know how to photograph them properly.
Read on for a dive into your shot settings (and gear) for epic glacier photography no matter where in the world you might encounter these icy spectacles of beauty.
Capturing their Grandeur
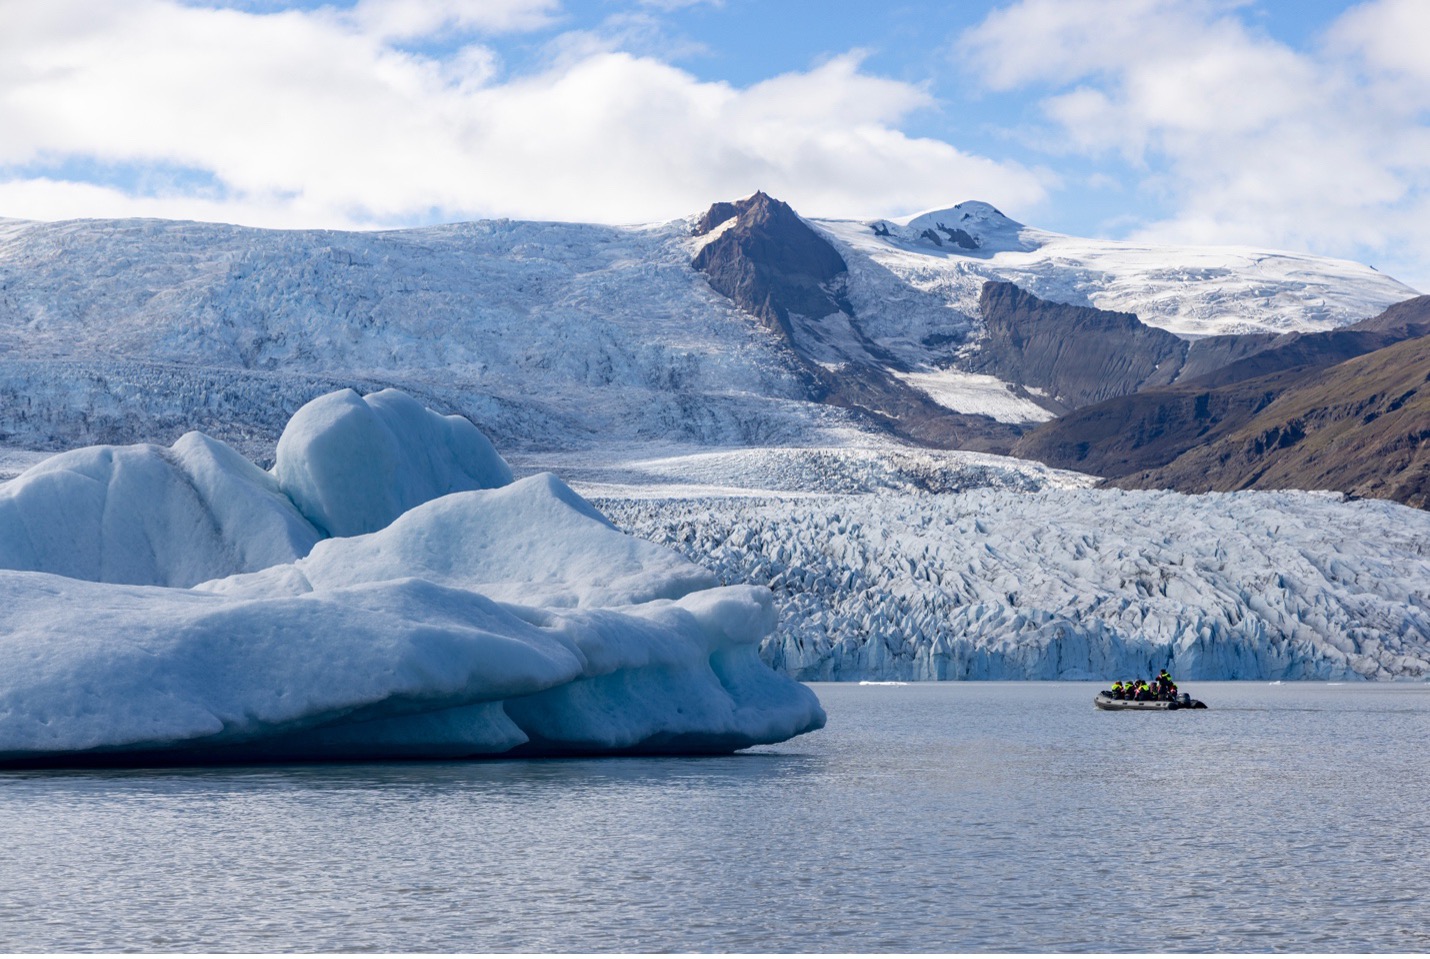
The first thing that comes to my mind when photographing glaciers is to showcase how impressive and massive they can be. Contrary to what you may be thinking, the best way to do this is actually to have a decently big telephoto lens to magnify your scene. Wide angles and smartphones are ok, but they usually result in photos like the below, which although are nice, don’t really capture the grandeur we’re aiming for.
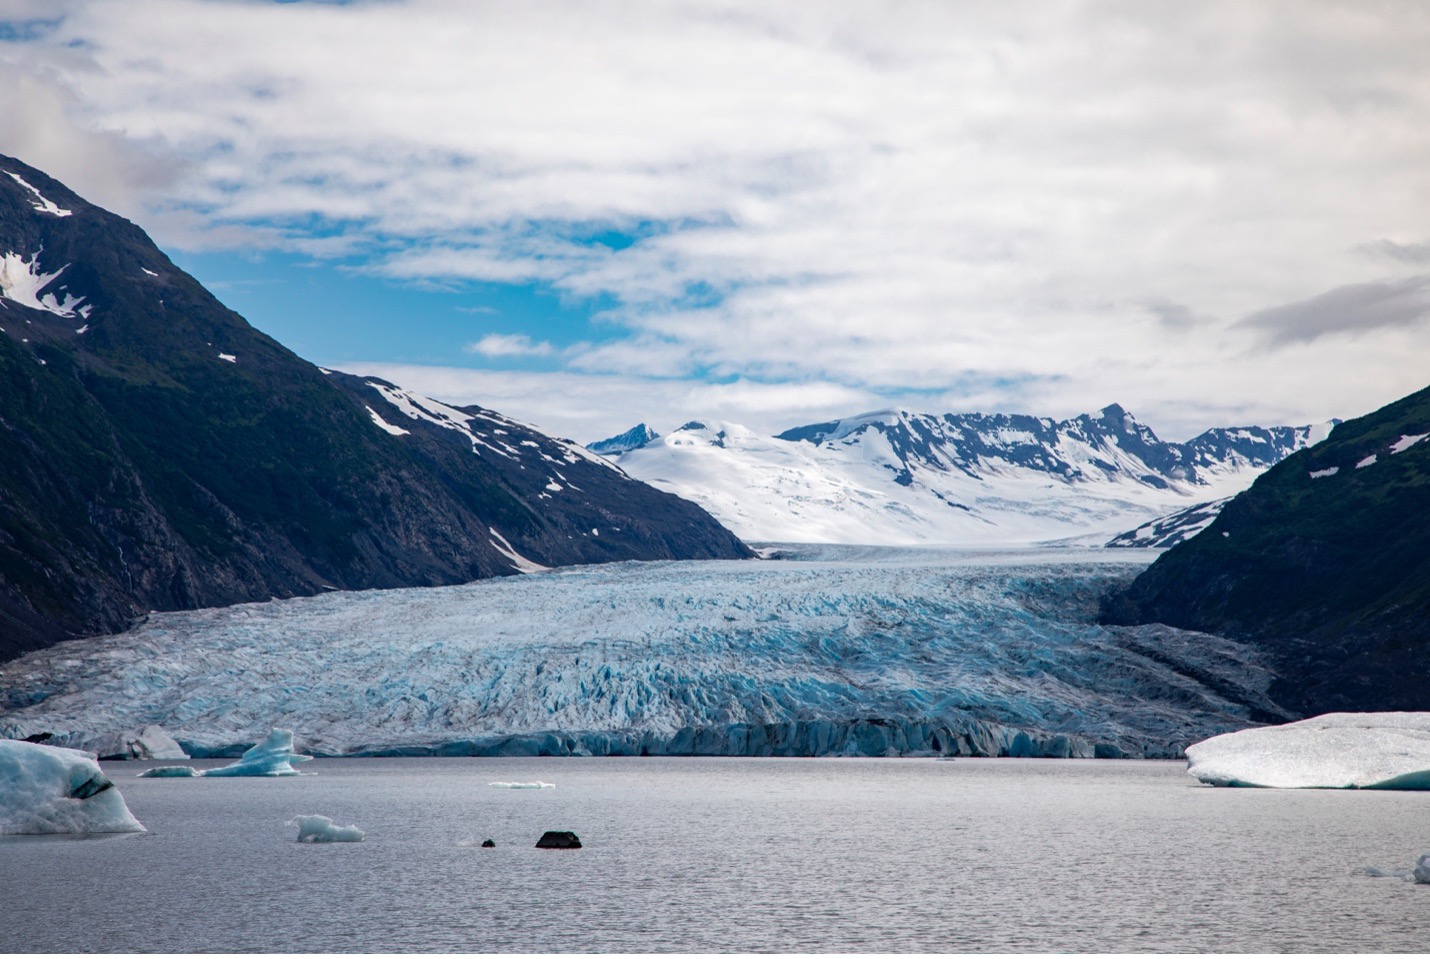
A bit too little emphasis on the glacier, right? A little zoom and telephoto goes a long way (something like a 4x or 8x zoom or roughly a 200 to 400mm lens is great).
As you’re composing your scene, use the undulations, cracks and crevasses like elements of any other landscape—place them in creative ways to follow traditional rules of composition like rule of thirds, golden ratio, and leading lines. In other words, just because they are only components of the ice doesn’t mean they shouldn’t get their own prominence in the scene.
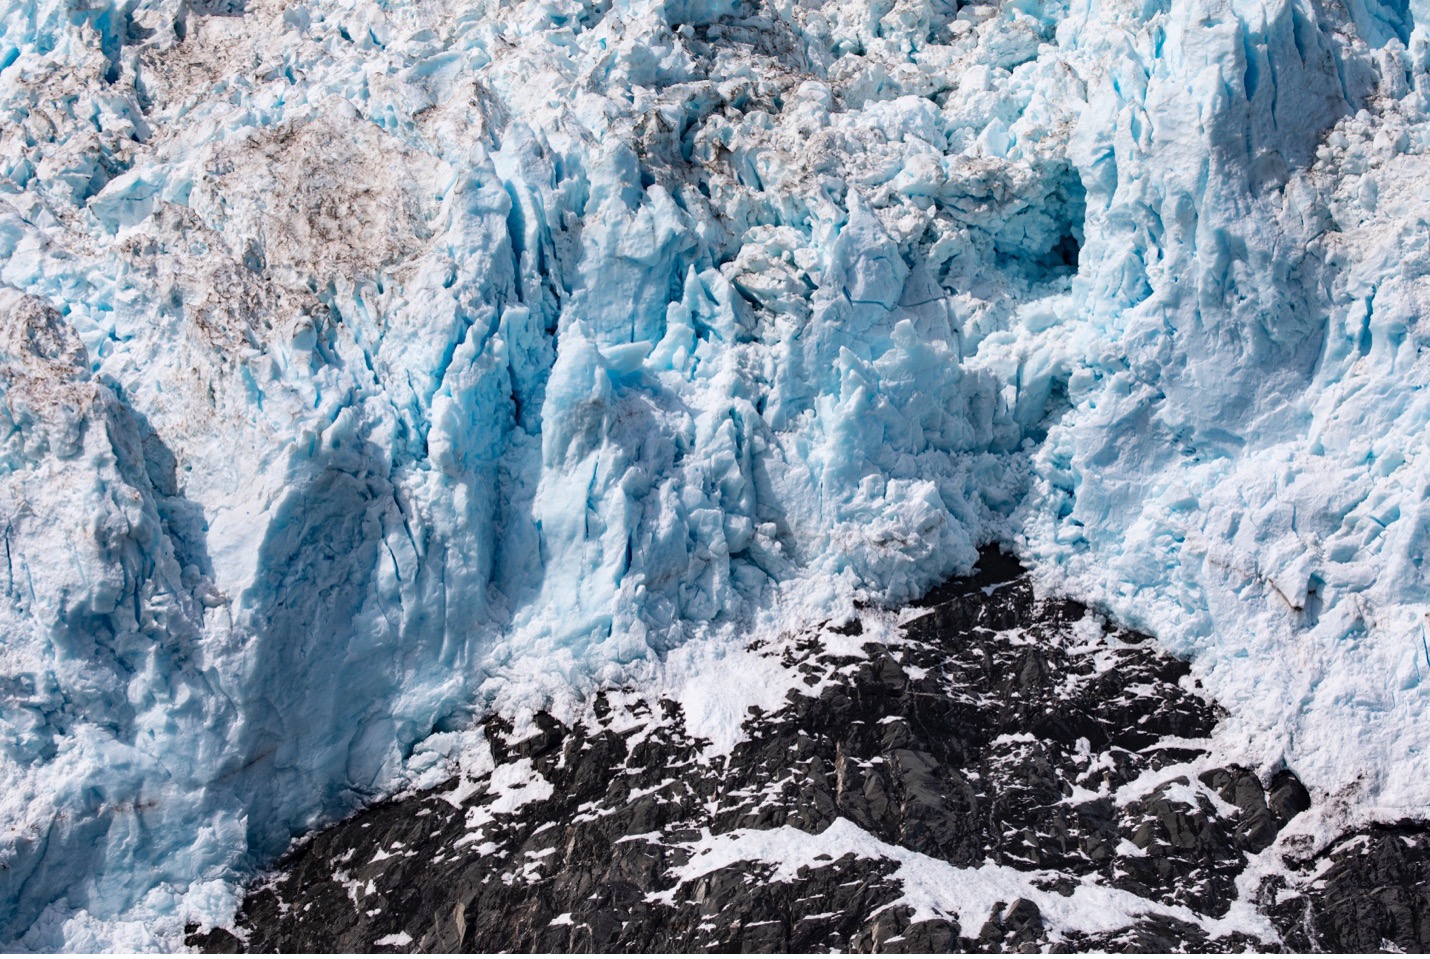
Bare rock, shadows, moraines (the lines of soil within the ice) and other elements allow for unending creativity of composition. A zoom lens, vs. a mere telephoto, is useful to compose your shot in-camera, but oftentimes a little cropping on the computer helps really finalize the shot and get the exact composition you’re after.
Classic Camera Settings
I say “classic” because we’ll diverge from this in an upcoming section when talking about calving glaciers.
But in general, when photographing glaciers you’re going to want a reasonable depth of field like an f/8 or f/11 in order to get as much focus as possible in the scene. We typically want as many textures and regions of the glacier in focus as possible.
But what about using a shallow depth to showcase size?
In some landscape photography situations, we may deliberately want to blur part of the background to further showcase the enormity of the scene. However, I’ve tried and tried various creative ways to do this over many years of photographing glaciers and it’s just never turned out. The issue (I think) is that you’d need a VERY shallow depth of field lens, combined with a telephoto (like a 400mm f/2.8) and this is something very few people have. And even then, the blurred background effect you’re going for may just not be dramatic enough, and result in your photo looking like you botched focus. And we don’t want that! We want tack sharp and dramatic.
Your shutter speed and ISO in this case are just a means to an end. In other words, there are no creative elements to either…just do what you gotta do. You want a low ISO, but that depends on weather and lighting. You also want a reasonably fast shutter speed if shooting hand held, but not so fast that you require bumping your ISO up to dangerous levels (1600 or 3200 depending on your camera). Something like a 1/500 (if using telephoto) and ISO 400 is usually a nice sweet spot for mid-day lighting.
Other Creative Elements
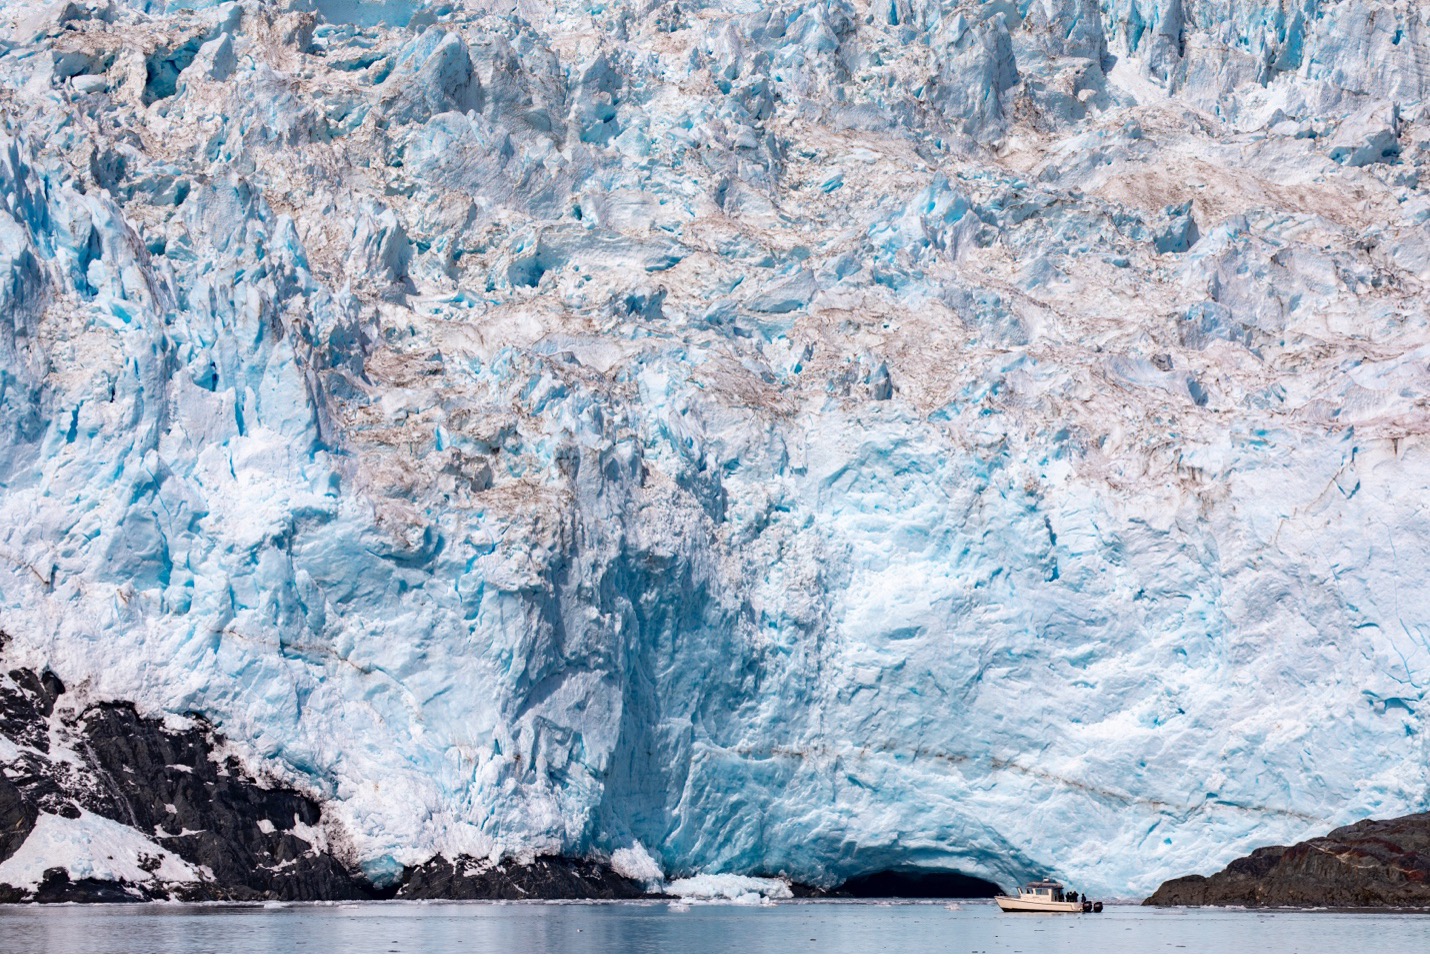
Sometimes glaciers are just so dang big that you won’t demonstrate the scale of the glacier unless you add something else in the photo, like a boat, fellow travelers, or in rare instances planes!
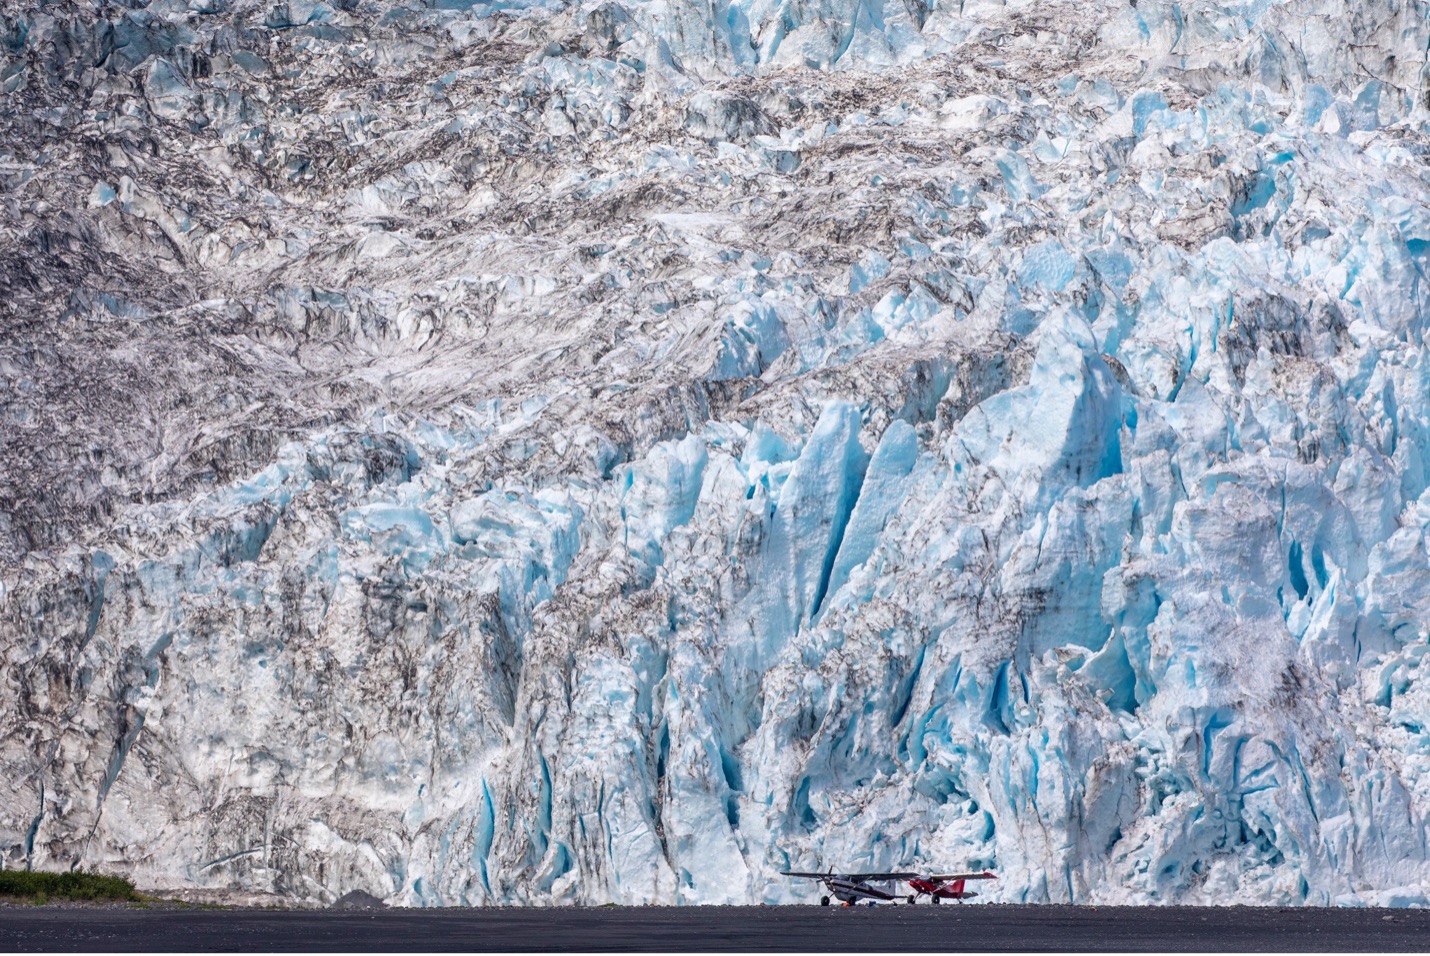
One of the first things I’ll do when I approach a glacier on a photo adventure is to survey the scene for such elements. Once I find them, I’m usually pretty quick to begin photographing, as they could move and the golden opportunity might go away.
You could aim for traditional composition by placing the person, boat or plane slightly off center, adhering to the rule of thirds. OR, you could exaggerate composition like I did in the above photo to really emphasize the size of the glacier. I personally like exaggerating composition when possible.
What about Calving Glaciers?
When glaciers start to crumble, which is a naturally occurring process as the glacier advances into what we call the “ablation zone,” it makes for a heck of a great photo. But be warned–it’s challenging!
To be honest, it is SO hard to capture that moment, as you usually don’t hear it until a few moments after it began, and looking at so much white-on-white makes it hard to detect movement. However, if you wish to capture it you best have your camera ready and settings dialed in.
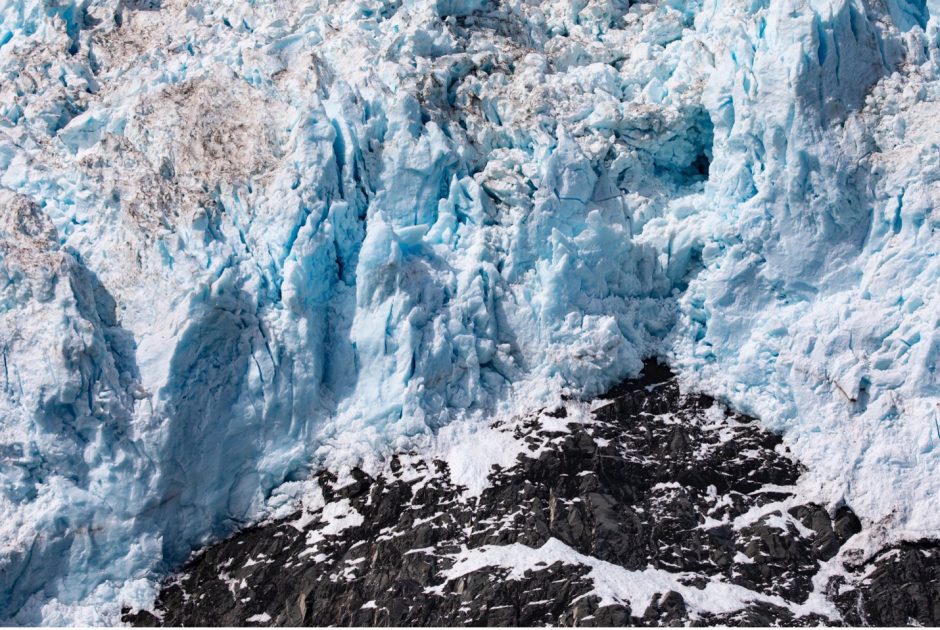
To me, the most dramatic way to capture calving glaciers is to actually have some slight motion blur in your photo. But not so much that you risk blur all over due to camera movement.
Thus, we’re actually going to stick with a rather similar shutter speed as for classic photos, but perhaps slightly slower…something like 1//125 or 1/160 is good (but please feel free to experiment). You’re looking for just a tad bit of movement in the water to really show what’s happening. Otherwise, frankly, if you just capture the descending ice, people viewing your photo won’t really be able to tell what’s going on.
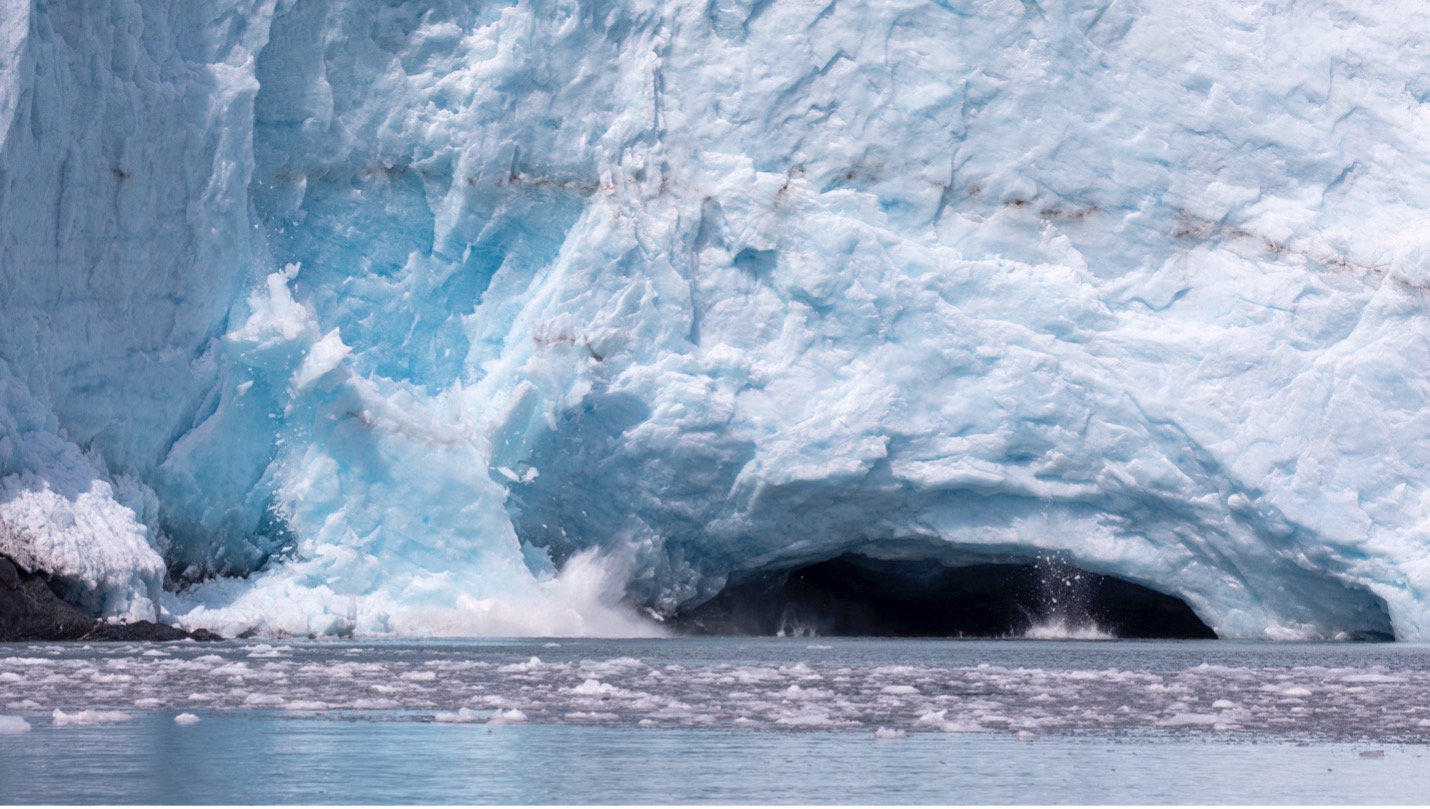
I wouldn’t say that my above photo is great at all, but you can tell what I’m talking about…the water is making a slight splash with a bit of motion blur. And the ice above it doesn’t really look much different…it blends into the background. If I were to repeat this shot (which was at 1/400) I would have slowed it down to 1/100 or 1/160 to try and get a bit more of the water splashing, instead of just that split second splash, which isn’t all that impressive. But, you really only have one take–that’s the challenge!
The other thing you’ll want to do is set your camera on “burst mode” to allow multiple photos per second. The difference between milliseconds can be the difference in getting the shot or just capturing the aftermath.
As a Final Note
You may wish to adjust exposure prior to taking photos of glaciers, as the preponderance of white and ice usually makes your glacier photos turn out more gray-colored than you’d expect. This has to do with how cameras meter and choose lighting conditions based on averages, and this is just a fact of camera life unless you’re shooting on full manual.
As a result, you may find that overexposing your shots by +1/3 or even +1 full stop helps get the lighting right in-camera. However, there is another school of thought that (correctly) feels that it’s better to brighten a “too-dark” photo than to darken a “too-light” photo. This is true!
So, overexposing these shots is a delicate balance and frankly you can probably correct most of the lighting mismatch in post-processing. In addition, it’s easy to forget to set your exposure back to even, or zero, if switching to photos including darker water, rocks, or sky.
And that’s about it! There is of course more we could talk about with regards to composition strategy and how different lighting conditions can change so much in the ensuing art you create here, but you’ll just have to join me on an adventure to Alaska or Iceland this coming summer to get more field instruction on how to photograph these magnificent formations. It would be a pleasure to shoot alongside you and I hope to see you out there!
Best,

Court
Leave a reply