Secrets to Lemur Photography in Madagascar
It is definitely no secret that I’m enamored with the wildlife of Madagascar. Some might say it’s my favorite wildlife photography destination, given the incredible variety, rarity, and general photogenic nature of our distant primate cousins.
While the tameness and curiosity of lemurs makes them relatively easy to photograph, getting top level shots is within reach of anyone with a camera, and thus you’ll want to bring your A-game to Madagascar to get truly award-worthy photos.
Read on to get some of my time-tested, now not-so-secret tips on photographing these animated animals.
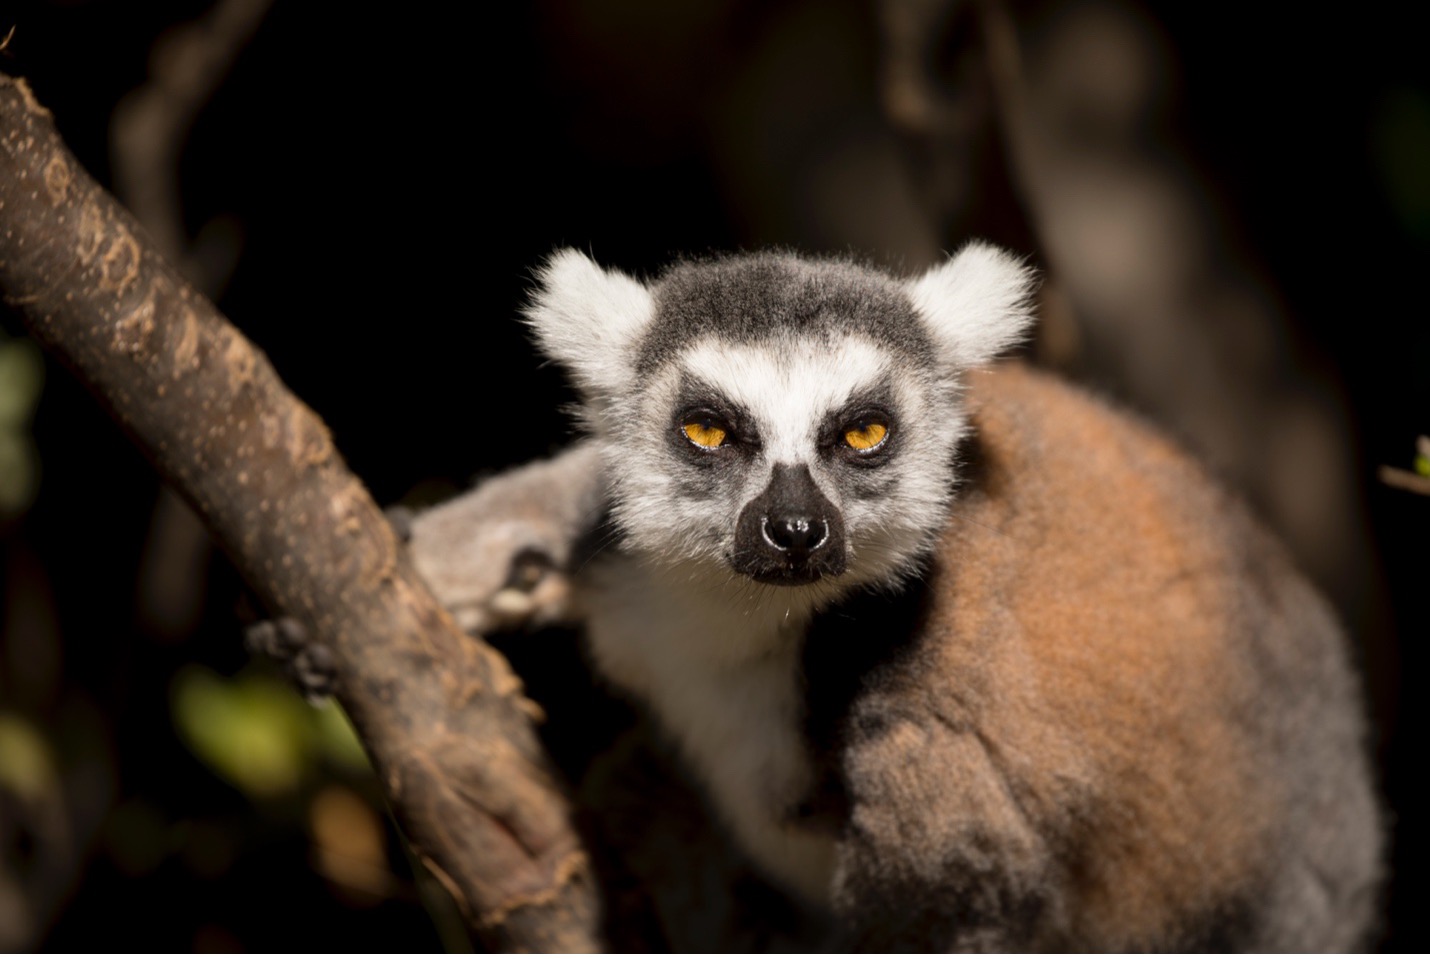
Do Your Best to Shoot at Eye Level
Lemurs are found everywhere in Madagascar. Some prefer the trees and some don’t hesitate to leap along the trails. Regardless, do your absolute best to photograph lemurs at eye level. Some shots will require you to photograph up into the trees, which is unavoidable. It’s better to have the shot than none at all. However, when you can reposition yourself, or be patient when a lemur looks to be moving down lower, or even find a lemur farther away yet at eye level, that’s usually the shot you want to go for.
While lemurs overhead are just as exciting to watch, they don’t make as good of photographs, largely due to the backlighting of the bright sky. Notice how in the below photo, it’s nice, but it lacks something special to get it really great…I’m shooting up and the canopy of the forest means the background is bright while the lemur is dark…sometimes we can’t avoid it, but if we can we’d like to.
When you absolutely must photograph overhead and/or high into the trees, try and choose your background to avoid as much of the sky as possible.
Choose Your Background
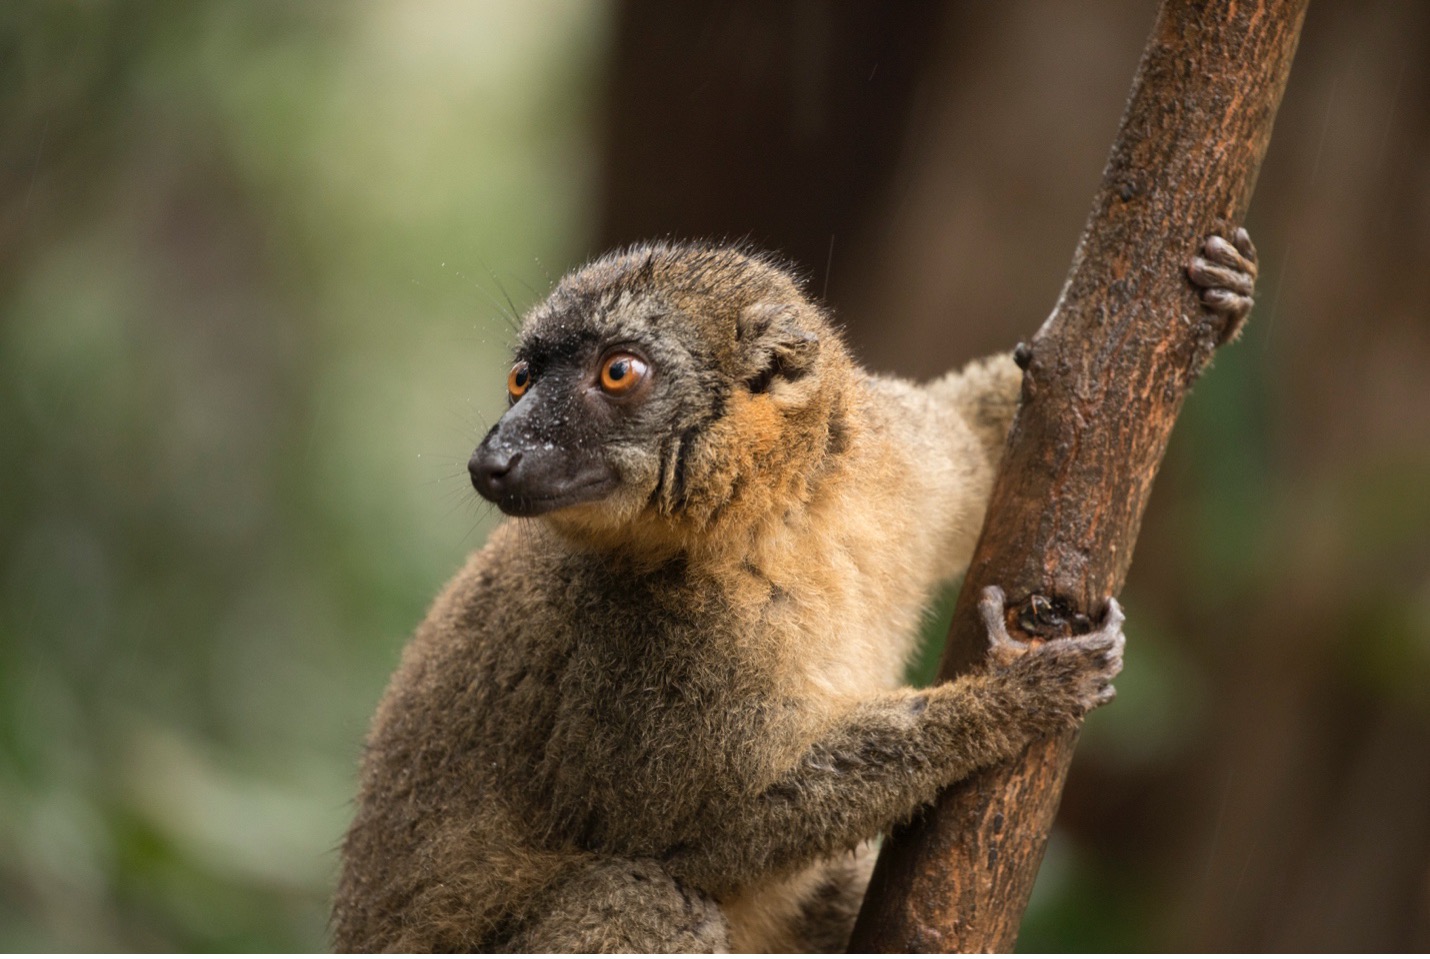
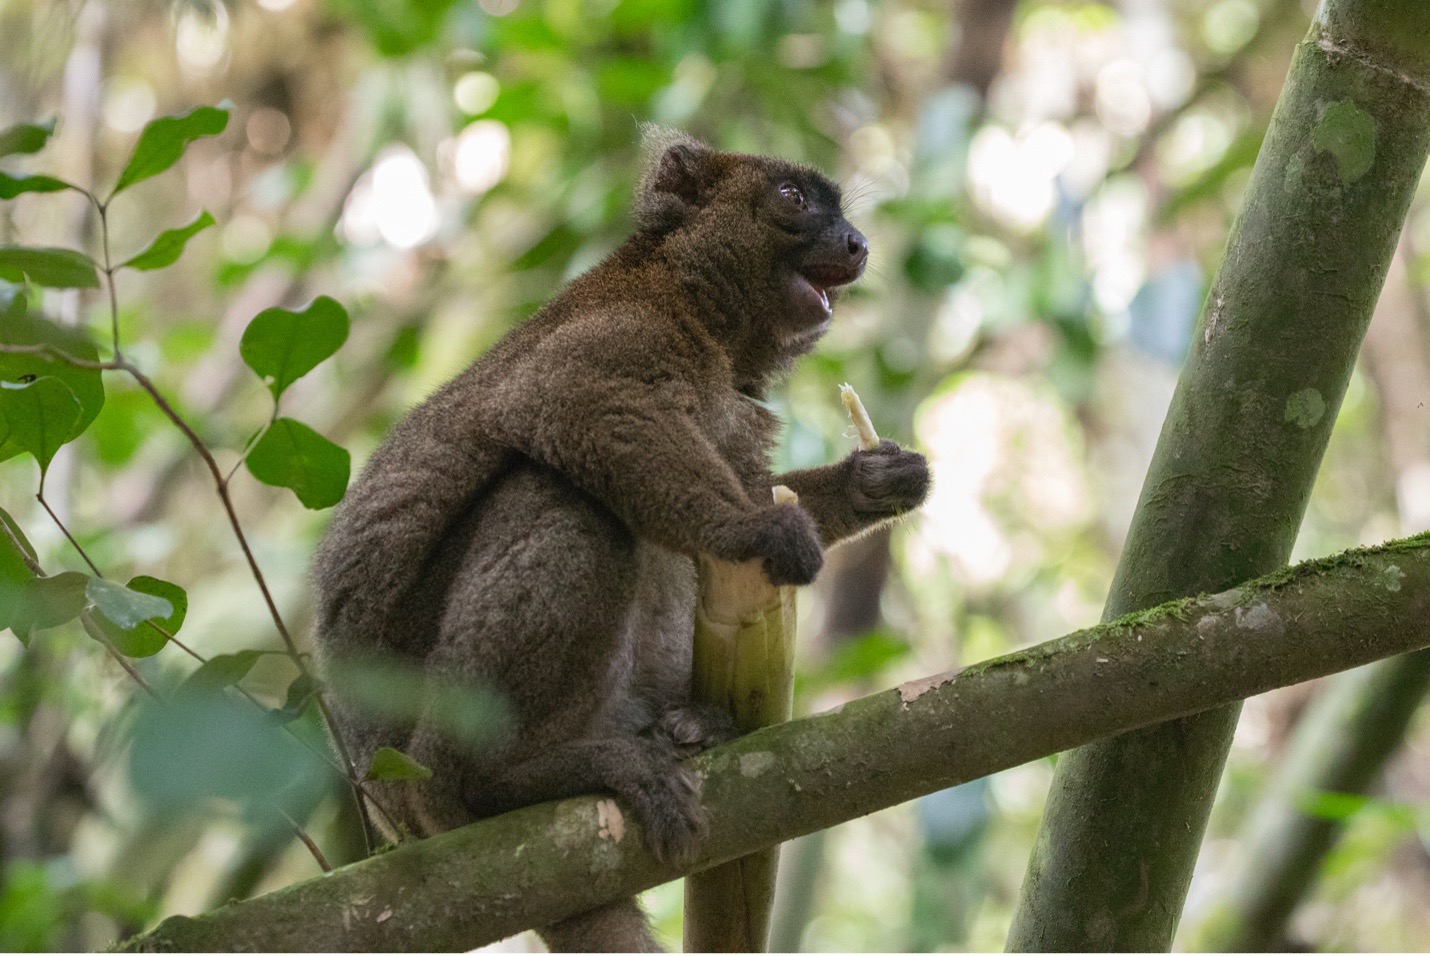
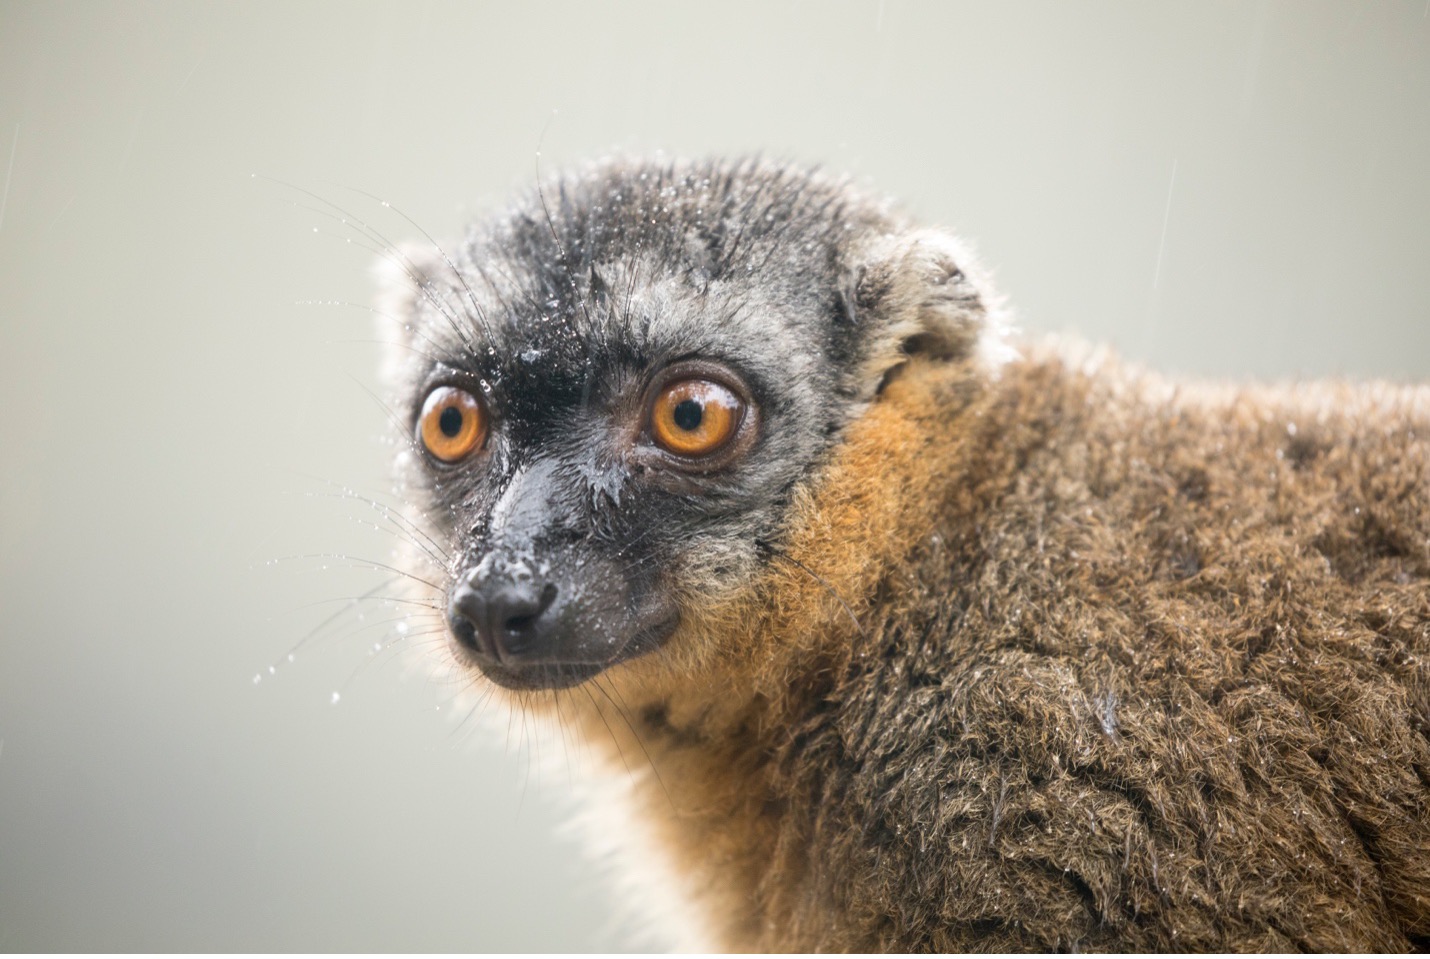
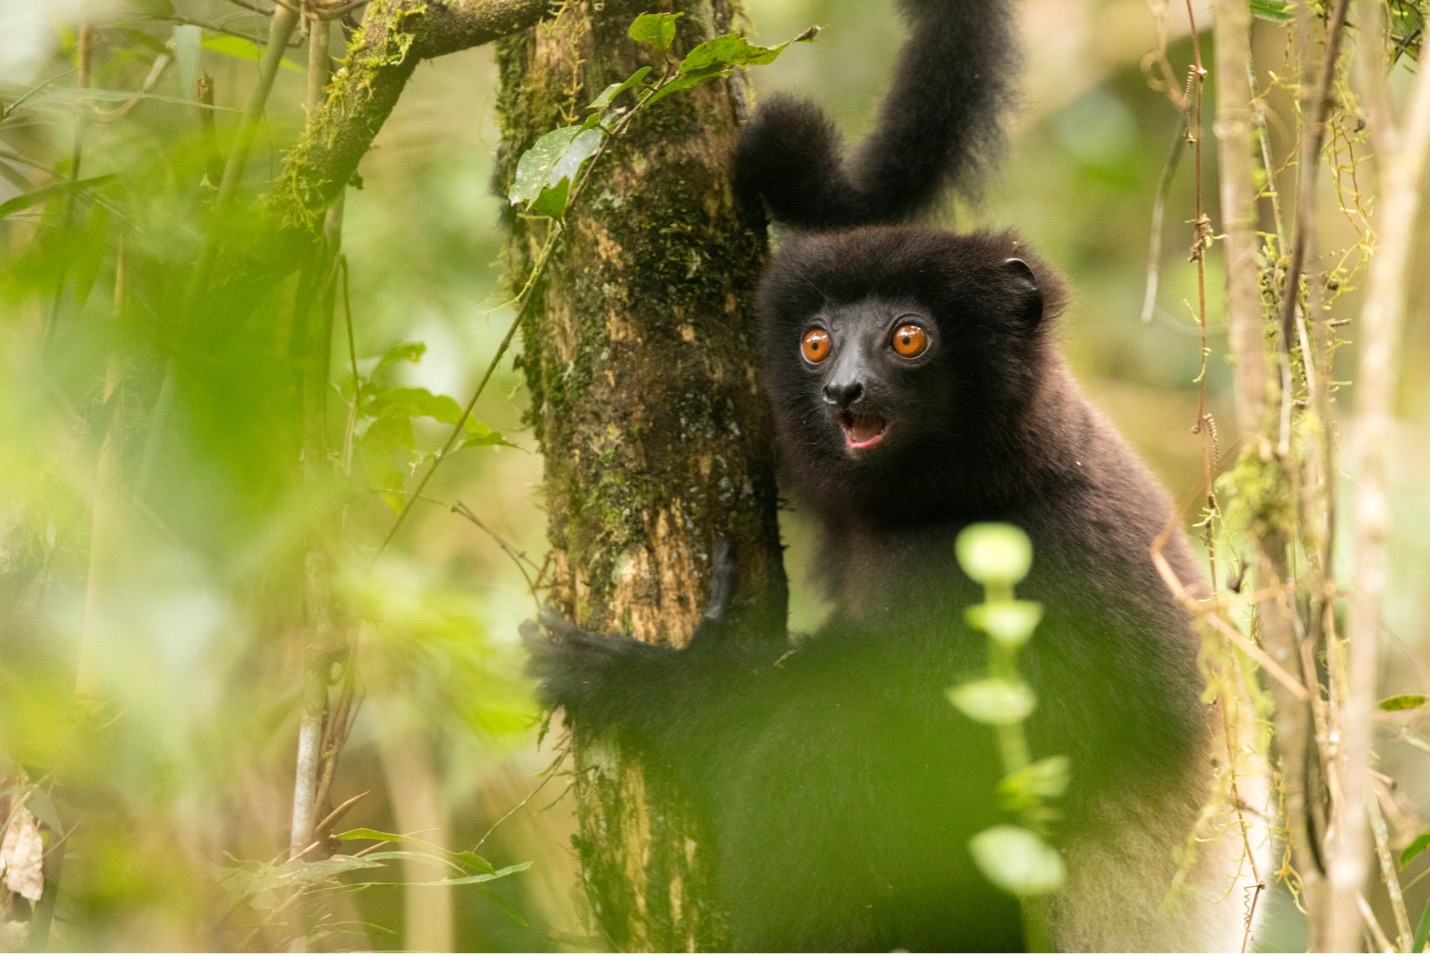
Choosing your background isn’t just limited to avoiding difficult shots, it’s a remarkable technique to add variety into multiple shots of the same lemur. It also can be the difference between a great shot and an exceptional one.
While wildlife go where they want, and we’d never want to usher them into our perfect photo scenario, we as photographers can pivot around the wildlife. This has the potential to change the color, texture, and distance in the background.

Notice how in the above three photos we’re looking at the same lemur in a very similar environment, but if we either rotate ourselves around the lemur, or maybe wait for the lemur to move slightly, we can get dramatically different scenes.
Oftentimes, in both forested and desert environments, the background can be quite variable, ranging from green, to sandy color, to browns, to oranges and yellows. Similarly, whether a spiny cactus or rock wall is behind the lemur you’re photographing can make a striking difference on the resulting photo.


One of the biggest differences the background can make has to do with how close the background is to your lemur subject. If you are closer to the lemur (which is oftentimes possible on Madagascar photo expeditions) than the lemur is to its background, you have the chance of getting a really nice background blur we call bokeh…this makes for stunning wildlife portraits
So, be sure to take a pause from photographing routinely so that you can scan the various backgrounds available to you if you simply pivot in either direction. You’ll be surprised at the possibilities!
Shoot at a Fast Shutter Speed
Lemurs can look calm and quiescent, but at any moment they are likely to turn their head, or leap from spot to spot. While you can gamble a little with a slow shutter speed, you are far more versatile if you are shooting at a faster shutter speed like 1/800 or even 1/1250 when action is likely.
A great skill and technique is to get really versed at switching back and forth between slow and fast shutter speeds. Slower shutter speeds for completely still lemurs, like 1/250 will allow a lower ISO and/or wider depth of field. However, as soon as they move, you’ll need to bump this up to the aforementioned speeds to be sure you can capture the shot without blur.
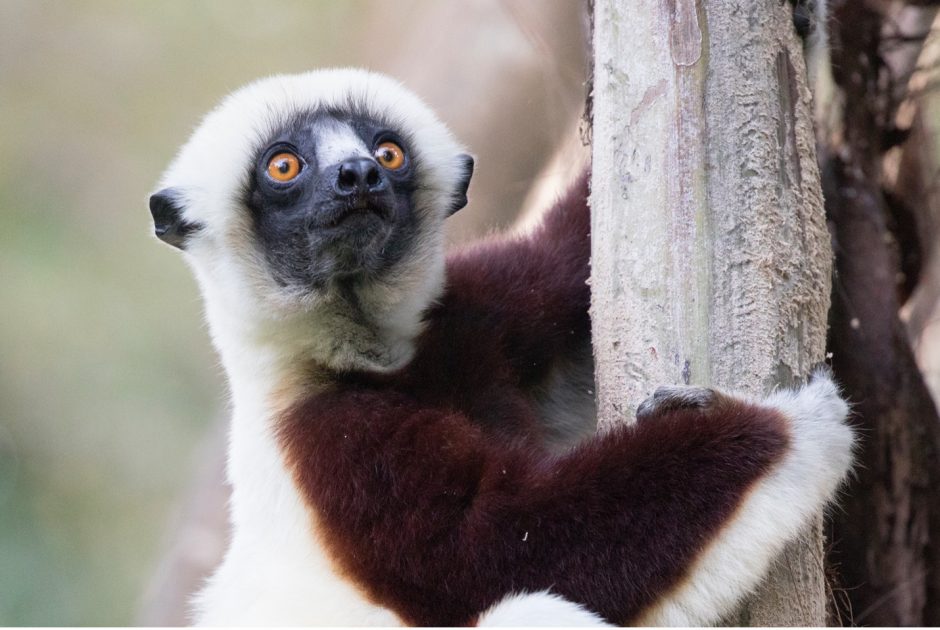
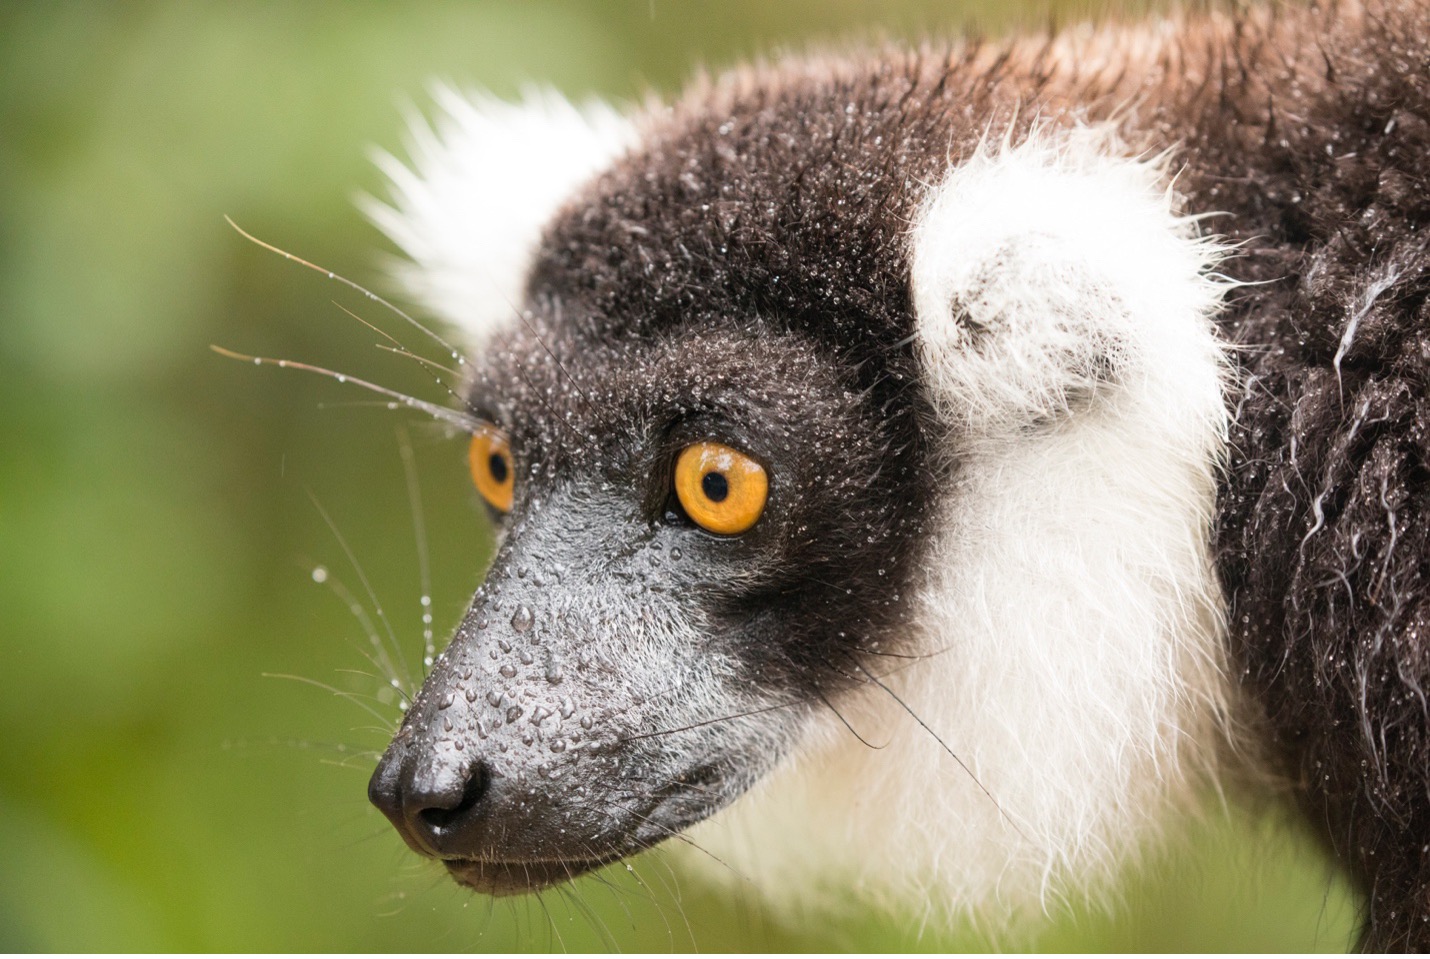
Decide When you Need More Depth of Field
Wildlife portraiture is so rewarding and getting stunning portrait shots of lemurs is something you’ll be doing each day of a Madagascar photo adventure! However, the classic thought of shooting with the shallowest depth of field your lens will give you isn’t always the right move. It will create that beautiful background blur, so iconic of great portrait photography, but it could result in the lemur being overly blurred.
In other words, you may get the eyes in focus, but the ears, nose, and other key features will be blurred. This may or may not be what you want—the important lesson here is to know when to think about increasing your depth of field for wildlife photography.
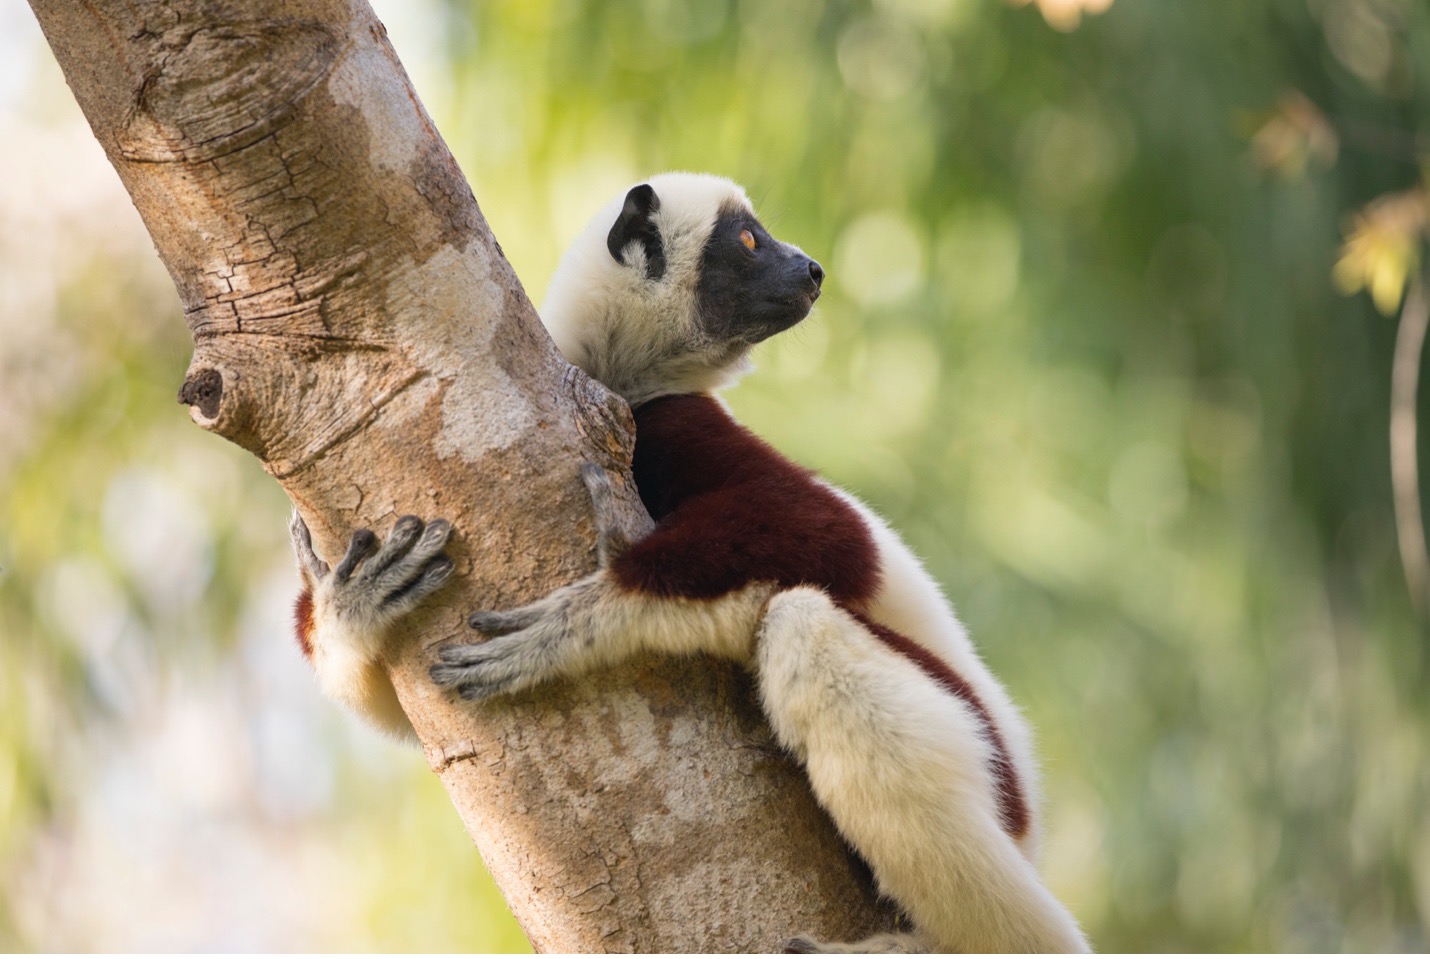
I love photographing lemurs as part of their landscape as they often reside in beautiful forests, spiny deserts, and even beachside transitional forests. Missing out on some great wildlife-in-landscape shots would be a big miss. This is one instance where a bigger depth of field is advisable…I’m talking about f/8 and above (above in this case being a bigger f/number).
The other time you’ll want to ramp up that depth of field is when shooting very close or filling-the-frame style photos of lemurs…again, of which there will be many!
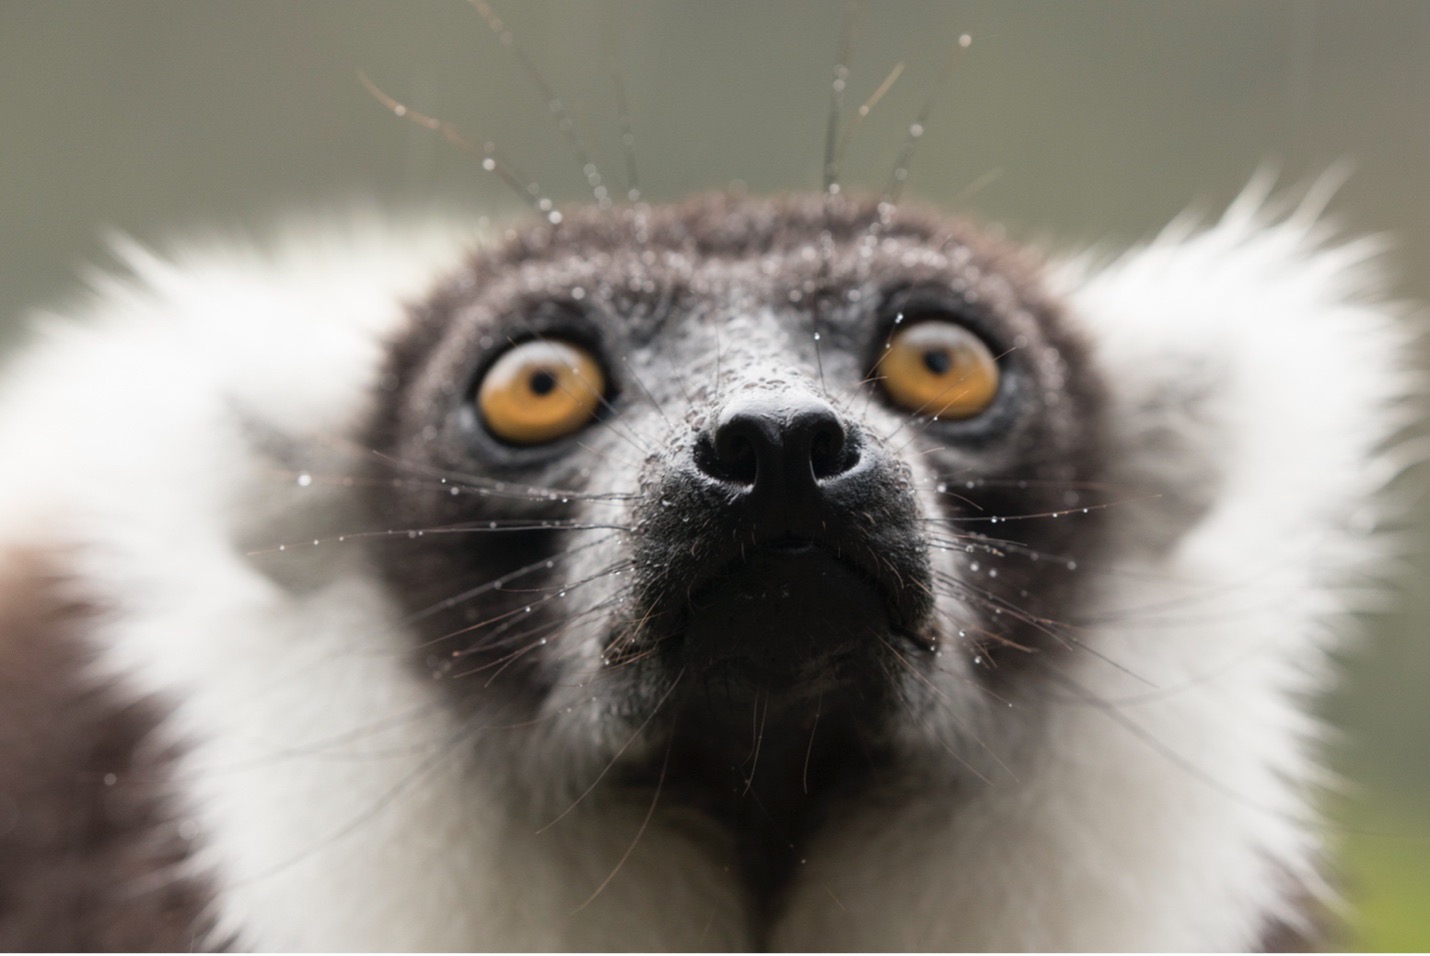
In those cases where the lemur, or even just the lemur’s face, may take up the entire frame, a wider depth of field will ensure that the lemur is in full focus and not risk key features being out of focus like the eyes, ears, nose, etc. See in the above shot the nose is in great focus, but the eyes are not—a problem indeed! This is a classic case when you should really bump up the aperture to f/8 or f/11 to maximize depth of field.
The below photo remedies this with a bigger f/number. Notice how the eyes and nose are in good focus? That’s what we’re aiming for.
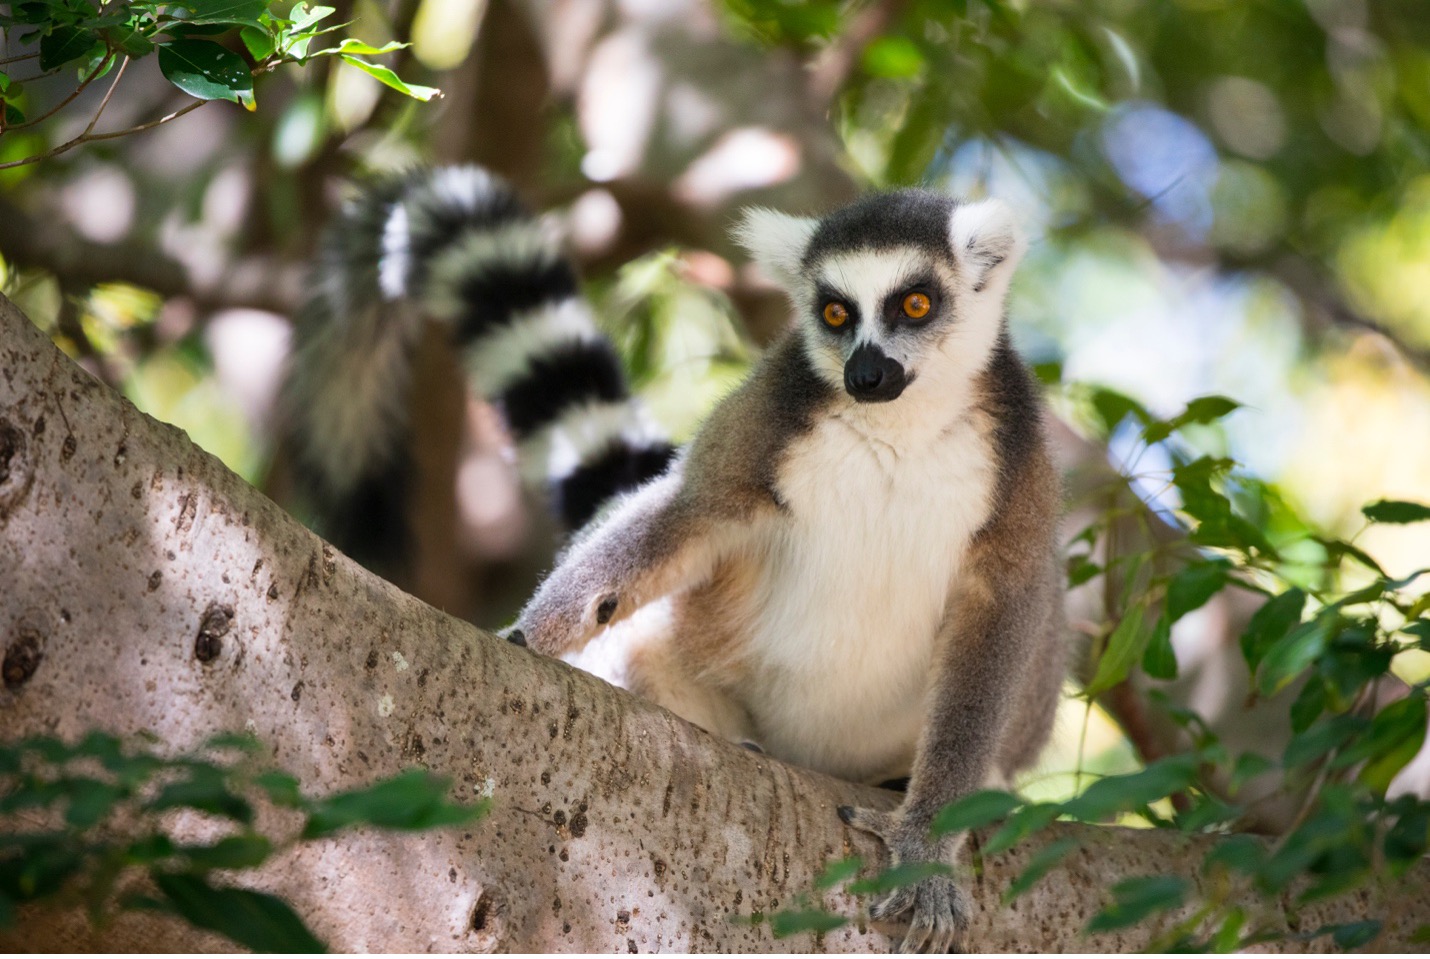
One caveat to this example is when the lemur is somewhat distant and you are unable to fill the frame with the lemur (whether by choice, or simply because of lack of telephoto reach).
If your lemur is less than 20% of the frame (use your best guess) you can start getting away with a shallower depth of field and lower f/number like f/5.6, f/4 and maybe even f/2.8. As long as the lemur is a small-ish part of the frame, the entire animal will be in focus, but those smaller f/numbers will force more bokeh in the background (and/or foreground) making a very pleasing effect.
Depending on the resolution of your camera, you can then crop in later to make the lemur take up more of the frame, but that pleasing bokeh from your small f/number remains…a really cool effect and tactic!
The above photo is indeed that tactic, where I photographed at a “moderate” aperture (like f5.6), knowing I’d crop in later so that I can get the lemur “bigger” in my photo, while getting the entire lemur in focus and ALSO the entire background out of focus.
If I had to choose just one group of animals to photograph for the rest of my life—it’d probably be Madagascar’s playful, inquisitive, and highly photogenic lemurs. I hope you will be able to add these to your repertoire of wildlife photography around the world and I hope my tried and true lessons from over the years—these “secrets” will be the secret sauce to your own sensational photos of lemurs in Madagascar.
Cheers!

Court
Leave a reply