Practice at Home – 5 Key Things to Learn from your Camera’s Manual
There’s no better time than now to finally sit down with you camera, and its manual, and start to learn the nitty gritty of what your camera is really capable of.
While “auto” mode is great, and it’ll give you the photo you want 70-80% of the time, I want you to get the shot you’re envisioning 100% of the time. This means you’ll likely need to move from “auto” to “program” mode (usually on your camera’s dial labeled as a capital P). But the great thing is this still lets you shoot on autofocus, auto aperture, auto shutter speed, etc. It just allows you to do a little customization.
If you’re already shooting on P, or perhaps already advanced onto Aperture or Shutter priority (Aperture Priority is my personal go-to), or maybe even full manual, you’re one step closer, and all of these tips are still entirely applicable.
Cameras are more advanced than ever, and therefore more capable of customization, AND more capable of taking better photos than ever before.
All it will take is a little time with your camera’s manual, and a guide (this list) to point you in the right direction for the most important camera menu settings to begin to be very familiar with.
One quick note is that the terminology and actual program names of each of these settings can differ between camera manufacturers, models, and even brands. Thus, I’m going to use the terms most familiar in the industry, but don’t despair if you don’t find the exact same term. While Sony might call autofocus something different form what Canon calls it, rest assured, they’re still the same thing.
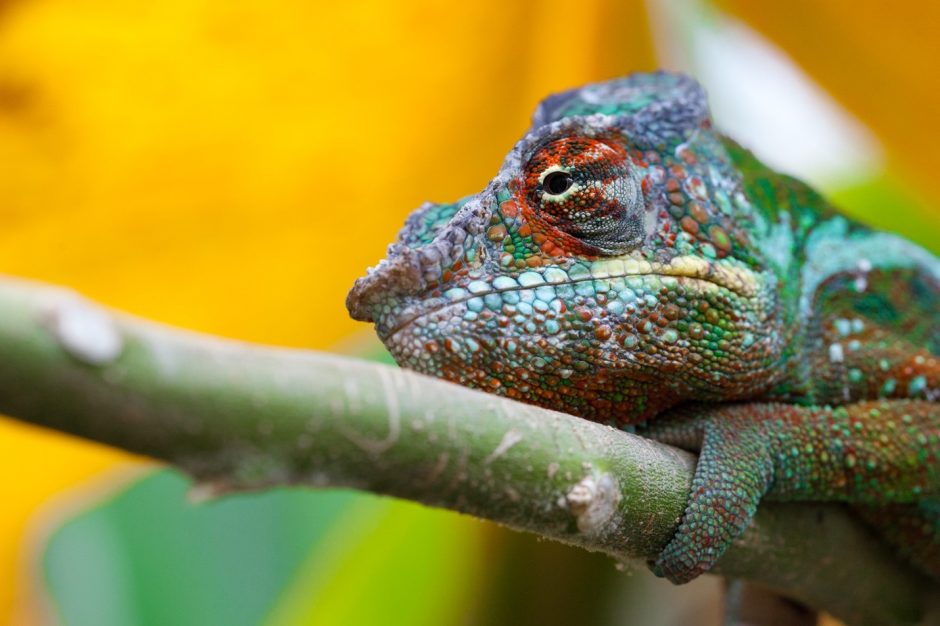
Servo Autofocus
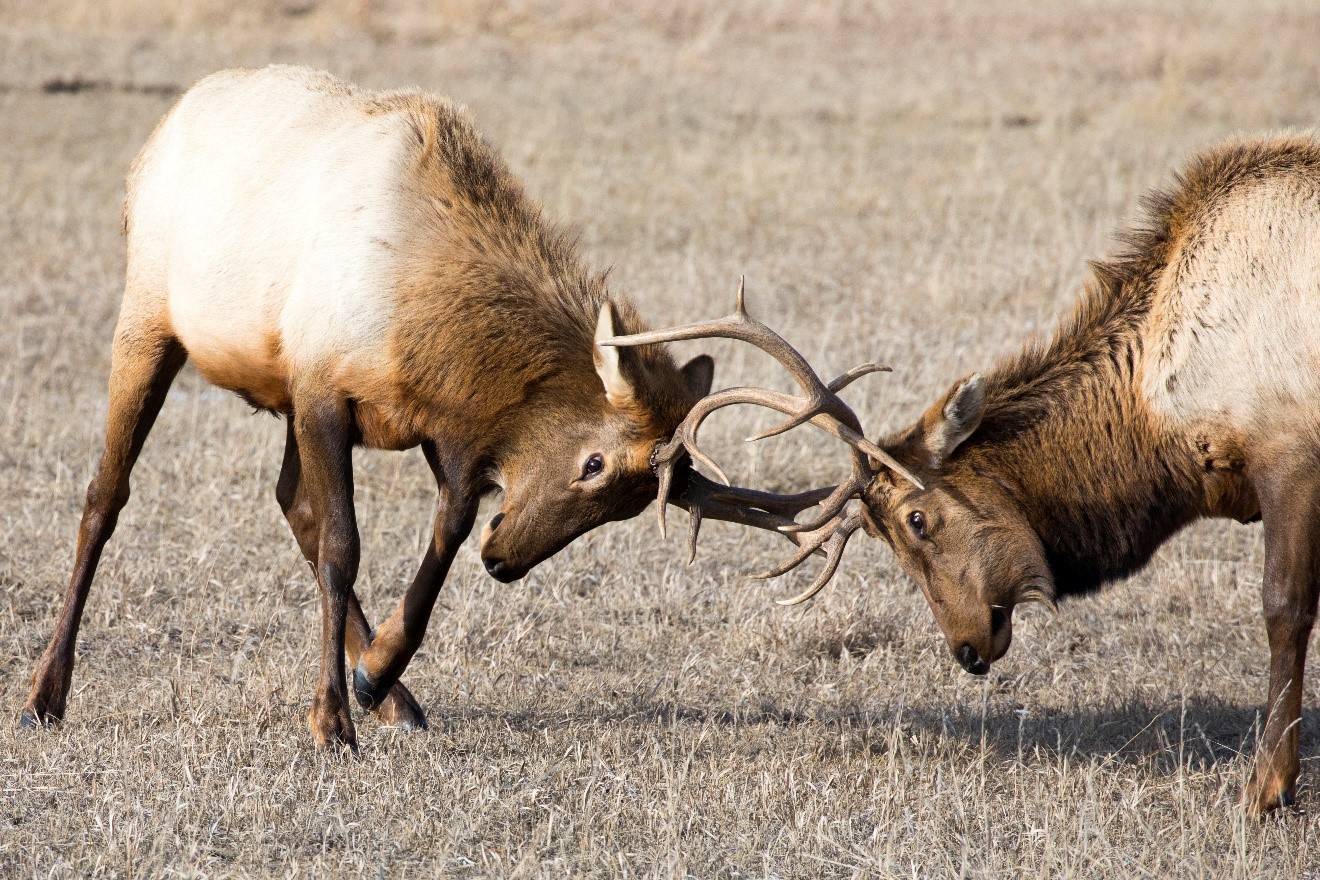
When it comes to wildlife photography, this is one of the biggest game changers, especially for moving wildlife that you need to track. By setting your camera on “servo” mode (sometimes also called “active tracking focus”) you are telling the camera to continually RE-focus to track the thing moving in your frame. Once you change your camera’s autofocus setting to this servo setting, you simply need to push the shutter button halfway to engage it. While you keep it pressed down, your camera will continually keep the thing in your focus point in focus, no matter how much it moves.
You’ll likely be able to tell it’s working because you’ll hear the focus motor constantly moving and re-focusing on your subject.
The benefit here is that you don’t need to waste time on re-focusing every split second to track and photograph moving animals. Not only does is save you hassle and time, but it makes your focus WAY more accurate, resulting in more shots that are in perfect focus.
In addition to learning how to turn this on and off by consulting your camera’s manual, take some time to practice in your home or backyard with moving objects. Have someone roll a ball on the ground, or ask someone to walk or run in front of you. With some practice, this will become your new best friend the next time you’re on a wildlife photo safari.
Exposure compensation
Have you ever taken a slew of photos only to start reviewing them and find they’re all too dark or too bright? Yep, very common for ALL of us!
Learning how to change your camera’s exposure compensation is perhaps THE single most helpful thing to learn if you don’t already know how. On most cameras this is called “exposure compensation” but I’ve also seen it as “exposure value” or “exposure levels.” Again, this exact term might be different on different cameras, but the idea is the same.

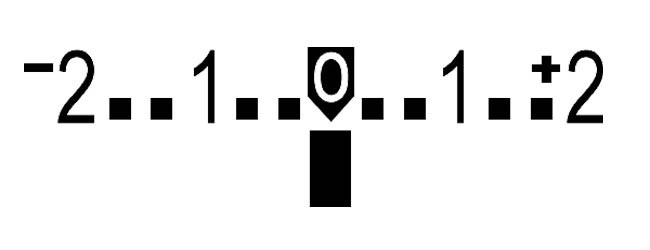
Typically, the menu setting and/or button setting on your camera will look like a small plus or minus sign, and the meter itself typically ranges from -2 to +2, with a number of increments in between.
The key is to learn from your specific camera’s menu of how to change your camera’s exposure to lighten or darken all subsequent photos.
Simply put, once you learn where this lives in your camera’s menu, if you dial your exposure compensation to the positive end, it lightens all future shots. If you dial it to the negative end, it darkens all future shots.
Generally, you will want to keep your camera set to neutral, denoted by zero (0). This will work the majority of the time. But again, we want to get you to perfection!
To give you an example, on a full day of photography, I’ll likely change my exposure compensation several times throughout the day.
My technique for when to do this is simple. First, I’ll take a test shot, and review in my camera’s screen to see if I need to adjust. Most of the time I do not, but in cases with really bright, intense sun, or strong, dark contrasts, you may indeed need to adjust.
Exposure Evaluation
This one is a little more complicated, but is nevertheless very important and something you definitely want to consult your manual on.
Essentially, the way your camera evaluates perfect lighting is closely related to the compensation technique I described in the previous section. Most cameras, from very basic to very fancy, have 3 or 4 ways they “evaluate” the amount of light in the scene you’re photographing.
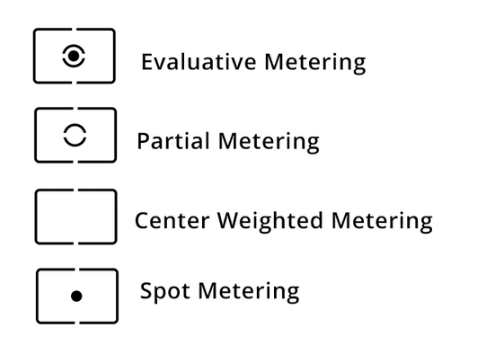
My preferred method, and the most common method that cameras default to, is the “evaluative metering” setting. Metering is just a fancy way of saying deciding on the right exposure. With evaluative, your camera’s internal computer aims to make the best decision on how light or dark to make the photo using all sorts of fancy software and algorithms.
Pro tip: I leave my camera on this 95% of the time, and then use the above-section’s “exposure compensation” to fix and adjust if not perfect.
The other 2 or 3 settings your camera likely has for exposure evaluation places more and more emphasis toward the center of the frame. Why, you may ask? Primarily this is when your subject (the animal, person, whatever) in the center of the frame might be very differently lit than the rest of the scene. Most applications are for people/model photography using lighting, flash, and that stuff. However, there is still a useful application for this with wildlife photography, too—the other 5% of the time for me.
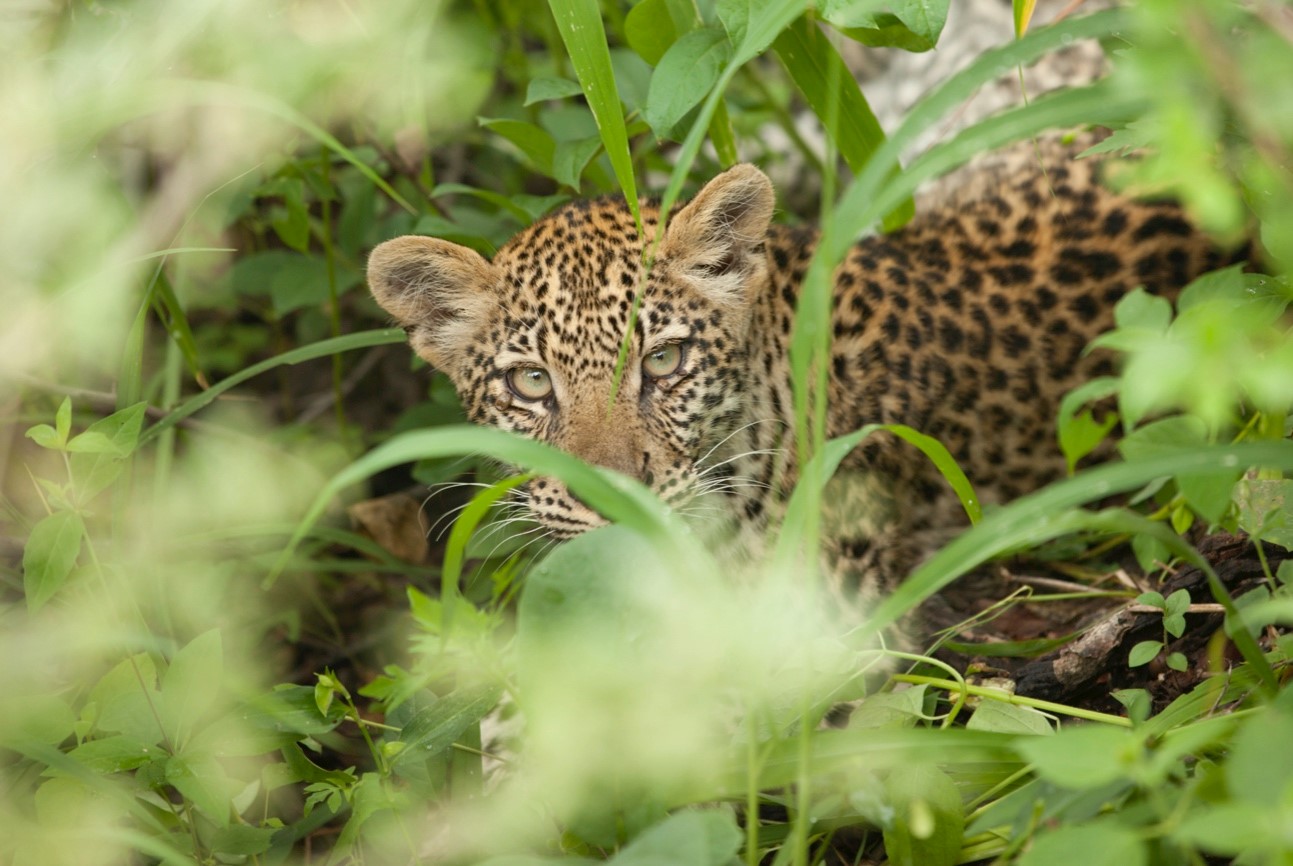
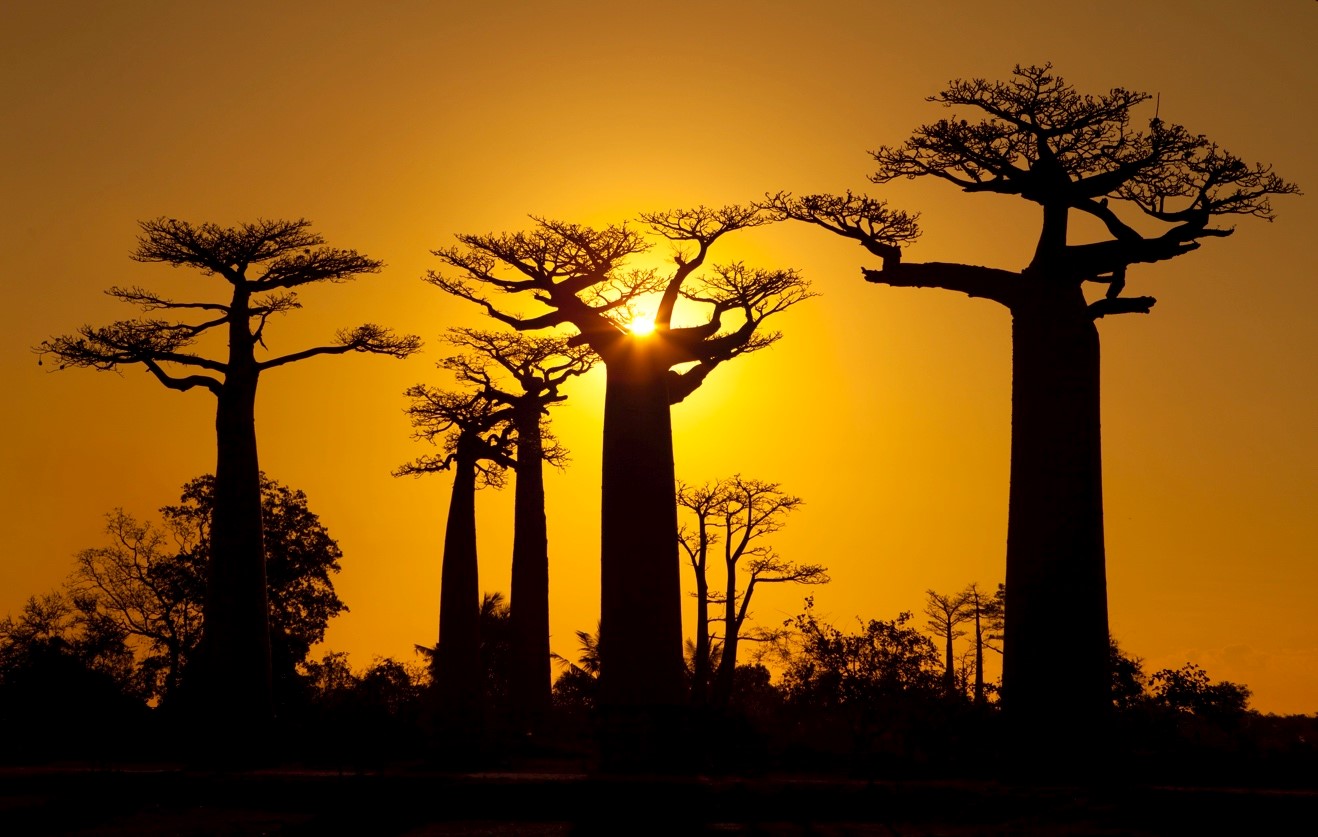
A classic example is when you have a bird perched in a tree, and the sky behind it is significantly brighter than the bird. If I were to use the normal evaluative metering setting, the bird would likely be way too dark, because the camera is exposing for the majority of the frame—the sky. However, if I were to use spot or center-weighted exposure settings (the names of the other two typical exposure settings) the camera prioritizes for just the center of the frame. In this case, the bird.
I’ve got a visual example above, with a leopard sitting within heavy brush. I was photographing this little guy for quite some time on a recent Botswana photo safari, and he was quite a bit darker than the closer vegetation, so spot metering was perfect.
When necessary, this is a brilliant trick, and if you’re a nature and wildlife photographer, I’m sure you’ve had the above example happen to you. Depending on the severity of the dark/light issue, I might START by trying to correct such a dilemma by using exposure compensation. However, if it’s not doing the trick, or I plan on photographing this particular subject a lot, I might do myself a favor and switch to one of the center-weighted exposure settings. This will save me time in the end, and get more perfectly lit photos each and every time.
But the most important part of this is that you must remember to set it back to evaluative, or you’re going to get a string of oddly lit photos when you move onto your next photo op, where you may not have the same lighting issues.
Change your ISO
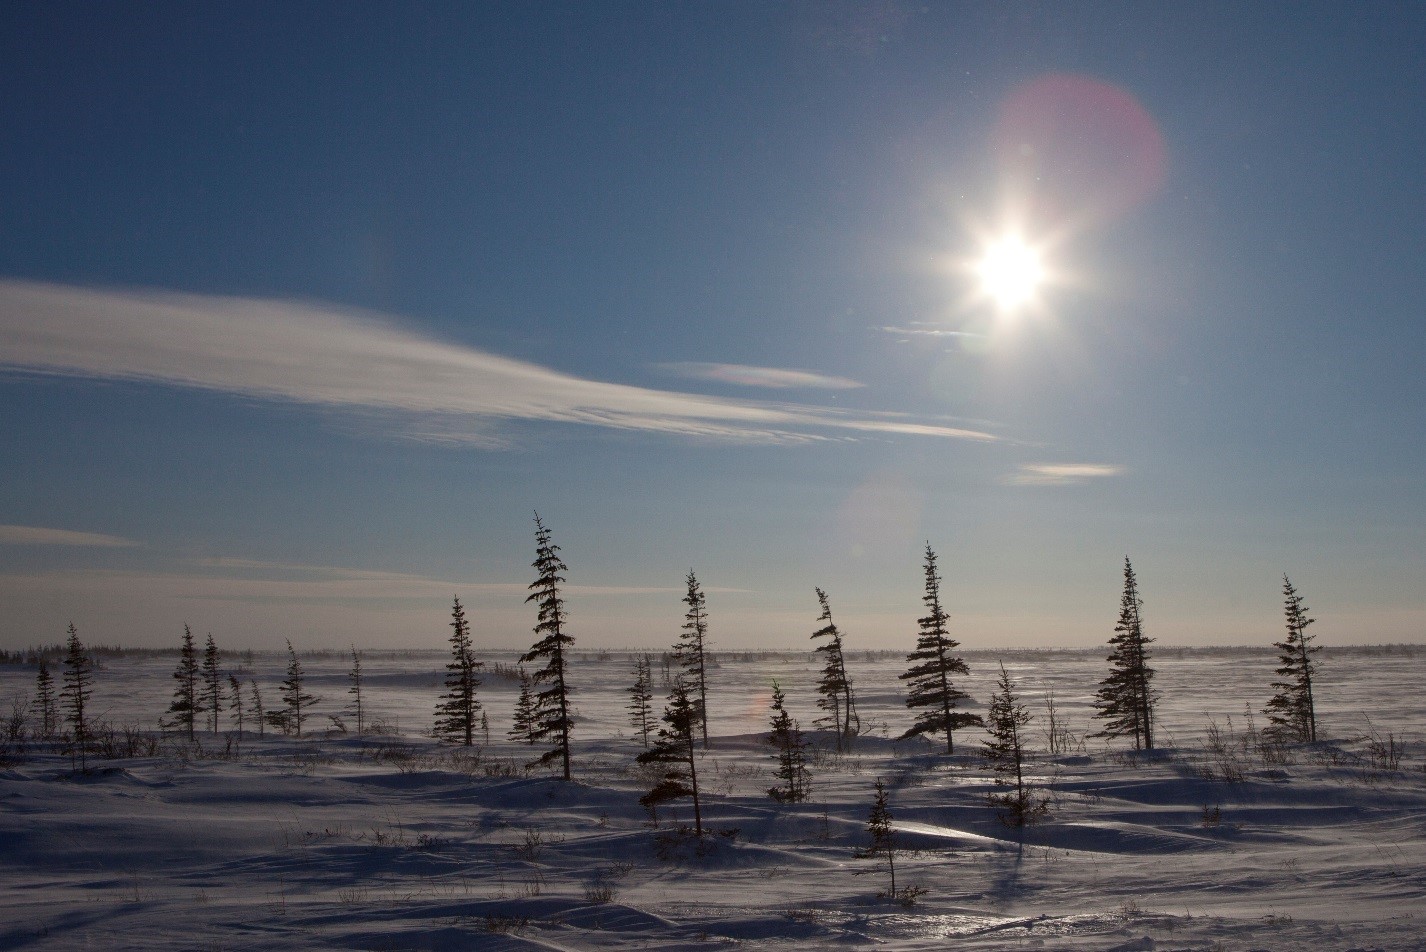
Wow, here’s a big topic! I would say this is perhaps the second most important in this list of five, juuuust under the exposure compensation tool. ISO is a complicated concept, but it is invaluable for photographing in low-light conditions, as well as boosting shutter speed for moving subjects. This is akin to ASA film speed back in the day.
The “normal” range today for cameras is from 100 to 3200. And simply put, the lower the ISO, the better the quality of the photo. However, the higher the ISO, the more light your camera lets into the sensor. So, when light is an issue (think, indoor birthday parties, concerts, landscape and wildlife photography at dawn and dusk) having the ability to go to a high ISO is paramount.
As with many of the above topics, the default setting for ISO is ok…but just ok. Most cameras start out with ISO Auto, and if you are shooting in full auto settings, you don’t have a choice of changing this. Allowing your camera to choose the ISO for you is fine, but you may be missing out on pushing the envelope with difficult-to-shoot scenes.
For instance, you may be lining up to take a photo of a group of people indoors, only to be told by your camera that there is not enough light, and it won’t permit you to shoot. Frustrating, to say the least. However, if you are able and willing to break out of the full auto box, and tell your camera what you want to do (shoot on a high ISO), it may be the difference in getting the shot vs. getting nothing at all.
If there is one thing a big fancy camera will get you, it’s staggeringly good ISO sensitivity.
On the opposite side of this, by allowing your camera to choose the ISO for you, you may be allowing your camera to use too high of an ISO for a situation where a lower ISO would suffice. The lower the ISO, the better the photo quality is—we call the byproduct of high ISO noise, or grain. You’ll notice it if you start to pay attention…it just looks like the photo was printed on sand paper (even if you’re looking on a computer) with a bit of grit underlying the entire shot.
Entire books are written on the subject of ISO, and where the perfect settings can and should be, so this isn’t really the time to go into the millions of examples. But, the first step is to understand how to change this in your camera’s menus system, and it will open up a world of possibilities for you.
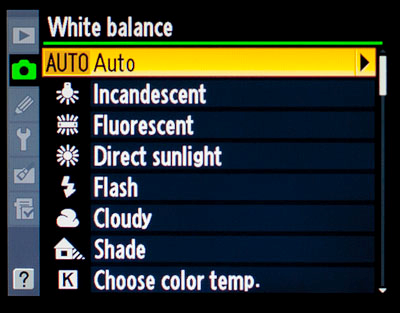
White balance
Just like the others, white balance has an “auto” setting, too. This is generally depicted as AWB, or Auto White Balance in your white balance menu. And also just like other examples, the camera gets it right sometimes, but not all the time.
Let’s step back for a second and talk about what white balance is…
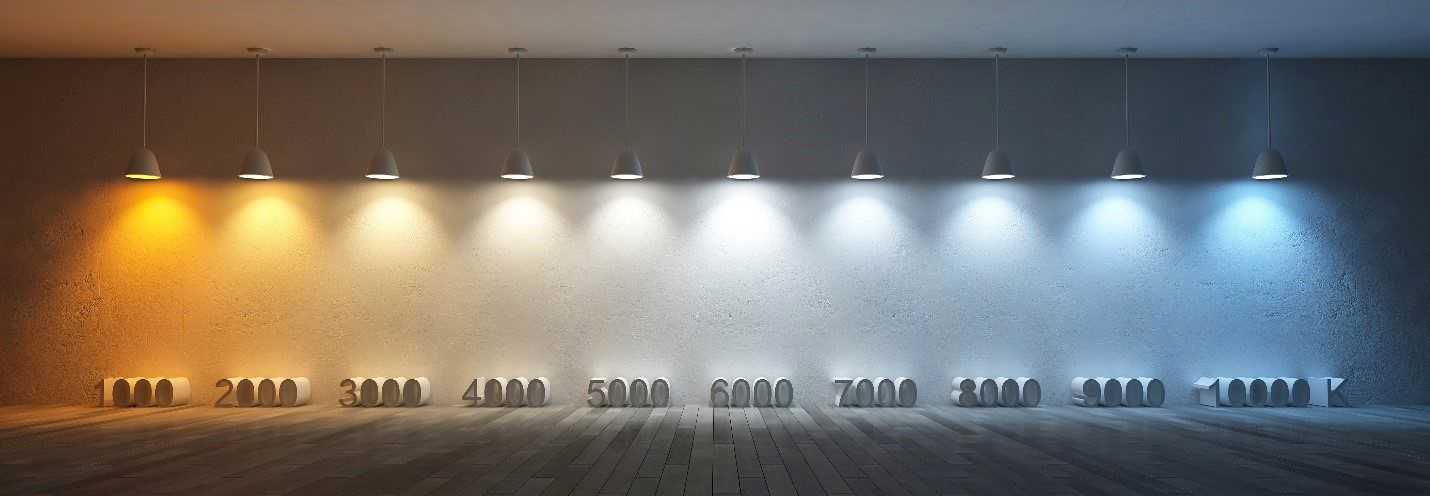
White balance is the way your camera perceives “pure white”, in order to set a baseline from which to calibrate all other colors. Thus, changing your white balance settings affects all colors in your photo. In other words, this is a big deal for the ultimate product of your photography.
In my humble opinion, auto white balance tends to err on the side of a “blue-ish” tint to photos. Don’t take my word for it…experiment a little, once you look up in your camera’s manual how to change this, of course!
Take a photo on auto white balance, then take a photo on “cloudy” then on “shade” and then on “daylight.” The warm or cool nature of each setting is very much a personal taste, so here’s where the artistry comes in. Do you like a warmer photo, or a cooler one? This is akin to putting warming or cooling filters on back in the day. Simply put, warmer photos have more of a yellow hue to them, while cooler photos have more blue. It’s one continuous spectrum…blue to yellow. How will you choose?
I hope these tips are helpful and open up new doors to you and your photography. I’m sure they will!
If you have any of your own personal tips and tricks for what we should all spend some time looking up in our manuals, please share in a comment below!
Go forward and give it a shot,

Court
Leave a reply