My Most Valuable Tip for Point-and-Shoot Photographers and Polar Bear Photography
Creativity knows no limits, and it’s absolutely remarkable how much you can do with point-and-shoot cameras these days—smartphones included!
However, to inject creativity into your photography, you’ll have to think, and act, a little outside the box. This might even mean that you have to slightly adjust your reliance on full-auto settings. But fear not. This new setting I’m going to tell you about is just as automatic, but allows some key creative control on your part to take your photography to another level…maybe to many levels beyond!
First, What Creative Control am I Talking About?
For this article specifically, and for automatic point-and-shoot lovers out there, I’m talking about three main creative elements you want to be able to control. These are your exposure compensation, white balance, and drive motor.
Exposure compensation is really just a fancy way of lightening or darkening your photo.
White balance dictates how your camera sensor perceives and deals with the color white. White can be quite different depending on whether it’s a cloudy day, sunny day, or at “golden hours” near sunrise and sunset.
Your drive motor is basically how many photos your camera can take in a row as you hold the shutter down. In general, your point-and-shoot will be set at one photo at a time if you are using full manual.
How to Take Creative Control
In order to be able to change these three things, you simply cannot be on full auto. The camera simply won’t allow you to make these changes.
Thus, and drumroll please, the biggest tip I have for gearing up for Polar Bear Photography is to set your camera to P Mode, which stands for Program Mode.
Instantly, an entire new world will open up to you as you now have the ability to a) adjust exposure, b) change white balance and c) take rapid photos.
Here’s why…
When and how to use Exposure, White Balance, and Drive Adjustments
Your camera’s exposure is one of the most important aspects of photography. Is your photo too bright, too dark, or just right? While P-Mode still auto focuses and still chooses your primary camera settings like shutter speed, aperture, and ISO, it may not always “predict” the exposure properly.
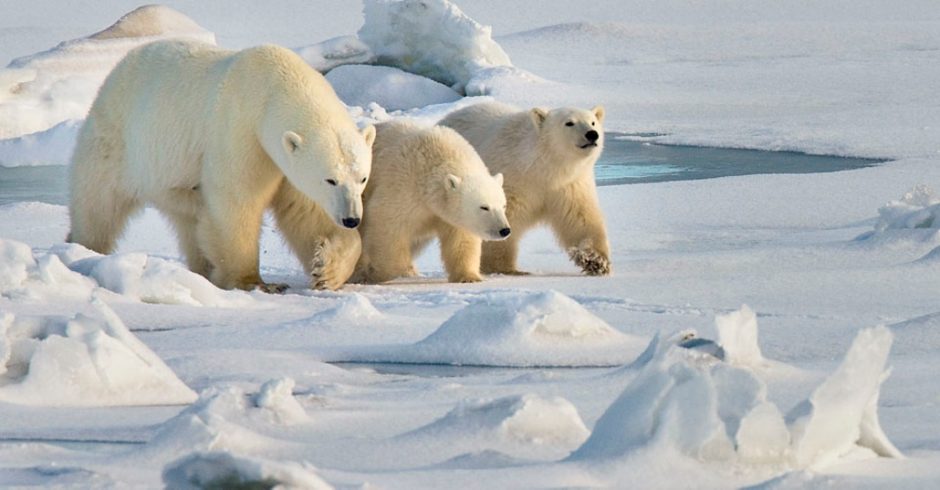
This is particularly common with Polar Bear photography.
When photographing anything that is predominantly white or black, your camera’s little computer can’t calibrate quite right, as it doesn’t “realize” that you may actually what a big white bear to be, well, big and white. Instead, it just thinks that the scene is too bright and it thus needs to dim your photo. This ends up giving you a gray bear that is darker than what you saw in real life.
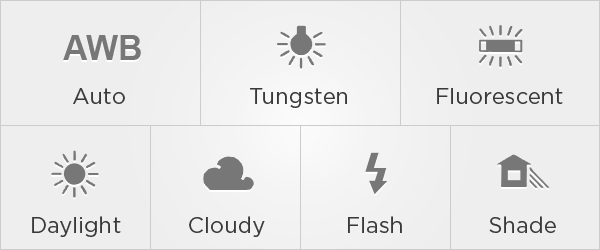
If you’re the kind of person to edit your photos, you can usually adjust this in photoshop or lightroom, but if you want it “correct” right out of the camera, simply navigate to your exposure compensation button, which usually looks like this:

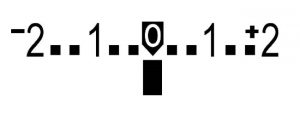
And use your camera’s dial to increase exposure slightly. I recommend starting with 1/3 and going up from there after you review your photos. This just adds a touch of brightness that can make a big difference in the resulting photo. Not bright enough? Go up to 2/3s (another notch). Too bright? Go back down to 0, or darken it further by going into the negatives.

Remember, your camera is already trying to get the exposure right by adjusting settings like aperture and shutter speed, so you need not adjust exposure simply because it’s bright out or dark out.
Needing to adjust exposure is even more important when the white bear appears on white snow.
Experiment a little ahead of your trip and see how it goes!
White Balance
Your camera calibrates its colors in part by how it perceives white light. Again, light from a golden sun makes the color white appear more yellow, while a cool dusky evening makes white look more blue. White balance is designed to temper this range of light “temperature” by compensating for such colors and injecting the reciprocal into the photo.
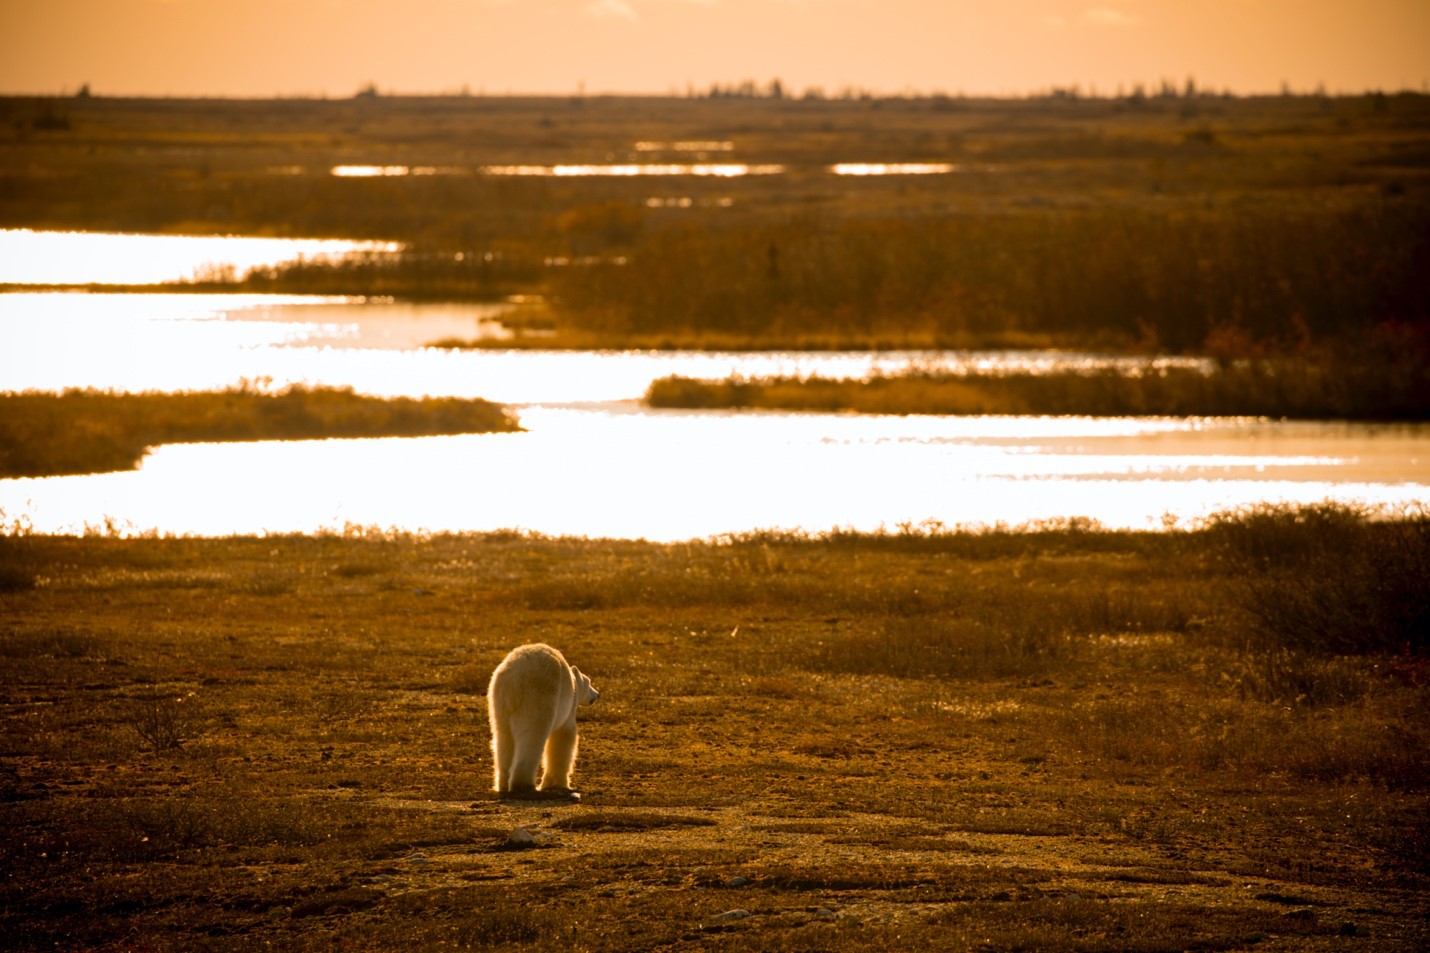
For example, if you have strongly golden light, your camera will actually adjust to inject more blue into the scene so that it balances the color temperature. However, sometimes you will want to preserve that golden light, as you can see from the below.
Most of the time, people will have their white balance set on Auto (AWB for Auto White Balance) and if you shoot on full automatic mode, you are stuck with Auto White Balance.
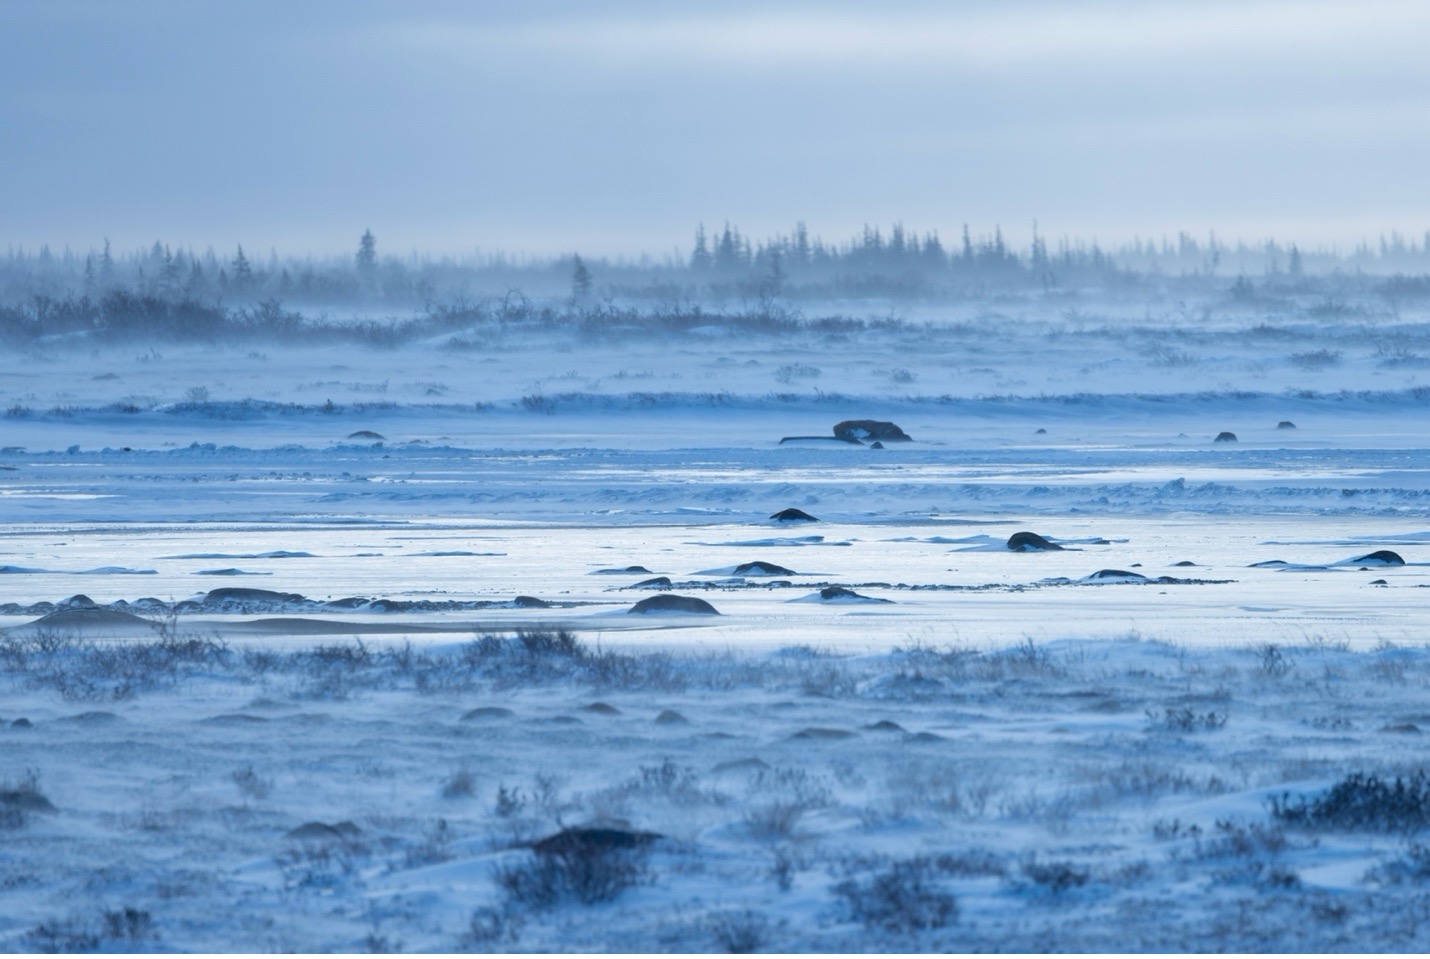
However, it gives you SO much creative control if you can switch between white balance modes. For example, if you set your white balance to cloudy, you’ll notice that your scene will appear more “warm” or yellow. If you set it to daylight, watch how a cool blue tone washes over your scene—something that I LOVE for cool arctic photography.
There is no “right” way to customize your white balance—the key thing is to know that you have the creative control over the tones in your image. If you keep your camera on fully automatic, your camera decides, and it recalibrates for every shot, meaning that you have no creative control and very little consistency.
Try toggling between cloudy and daylight white balance at home and see the difference!
Drive Motor
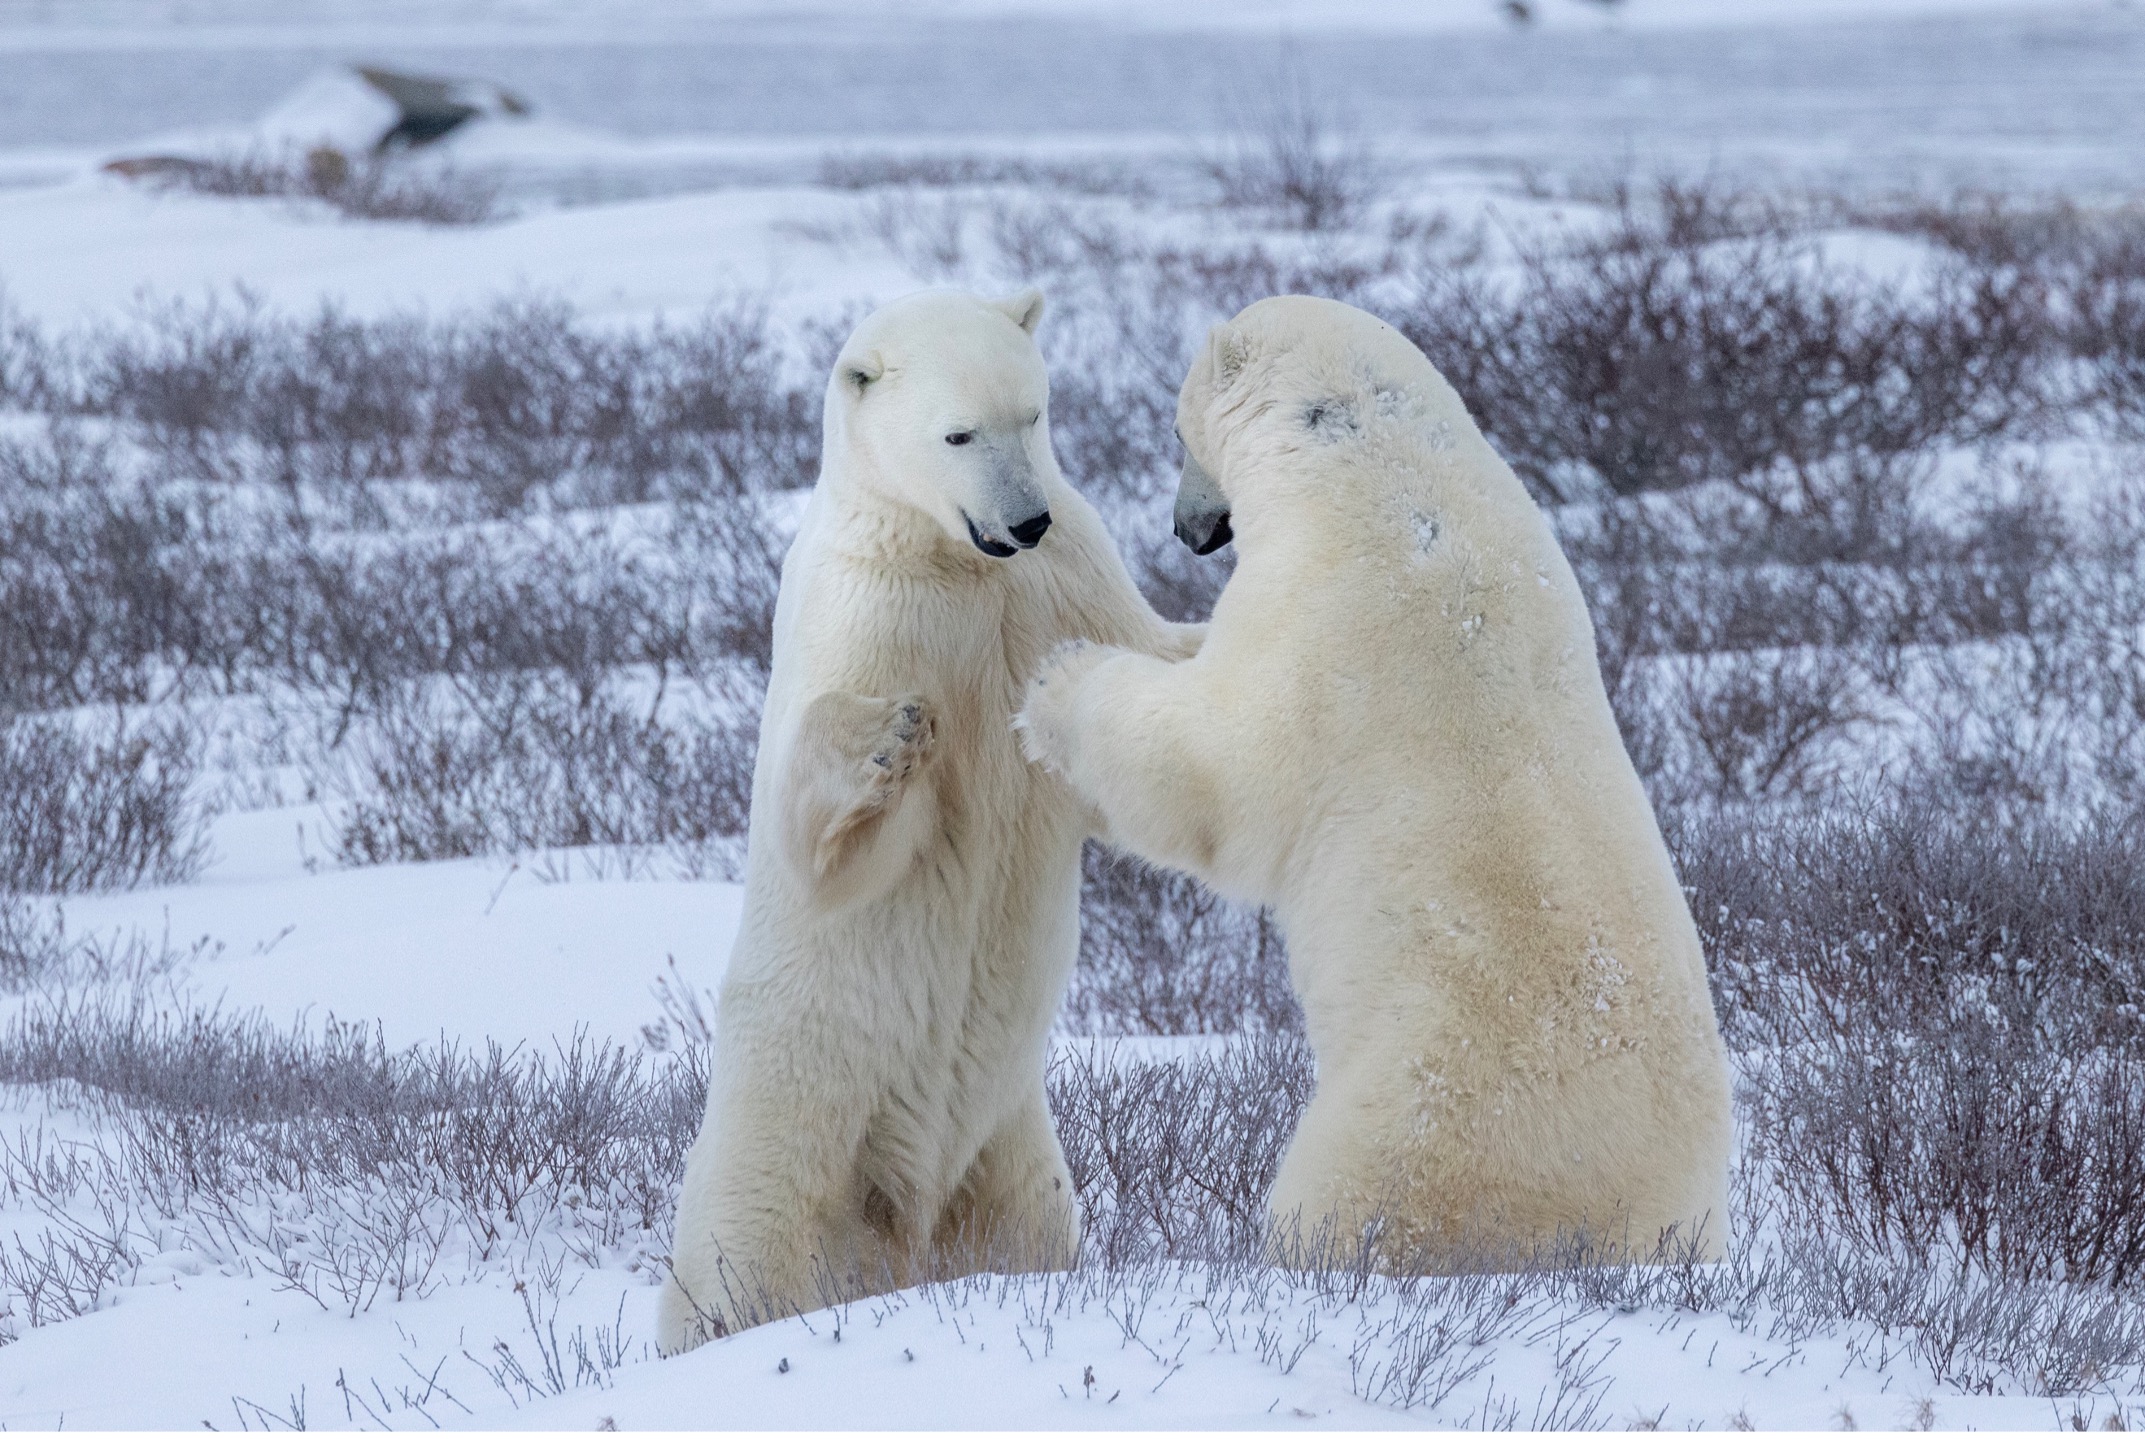
Being able to take multiple photos in quick succession is vital for great wildlife photography. The difference in an animal’s expression or behavior from split second to split second can be remarkably different. Whether it’s wrinkling its nose, looking at you vs. just to the left, or in a playful stance that makes the photo jump out from the screen.
When photographing wildlife, especially polar bears, I recommend setting your camera on a fast drive motor, which means that you can shoot several photos per second as you hold the shutter button down. Exactly how many per second completely depends on your camera, but point and shoots, even at the intro level, can often fire off 3 to 5 per second, which can make a major difference to nailing the shot.
Putting it all Together
Whether you are new to photography or have been in it for years, creativity is at the heart of taking great photos.
I’m a big advocate of automatic settings in certain cases, so don’t let me steer you away from those. Instead, I’m recommending you go with “automatic plus” setting, otherwise known as Program mode.
Everything will remain under automatic, camera-run control (focus, aperture, shutter speed, ISO, etc.) except for these highly creative elements.
Whether you are joining an upcoming polar bear photo expedition or are going to some other far-flung corner of our world to photograph wildlife, give this technique a try and I am sure you’ll come away with sensational photographs. And what’s more is that I bet you’ll be a permanent convert!
Go forward and give it a shot,

Court
3 Comments

Tina Schreiner
September 27, 2024 at 3:35 pm

Margaret Crockett
September 27, 2024 at 3:46 pm

Court Whelan, Ph.D.
October 9, 2024 at 9:15 am
Awesome! Thank you for posting this!
This was really great for me. I’m coming to see the polar bears October and I bought myself a new camera which I am learning but this information in the blog, about going away from Auto mode was really helpful for me. I have now found out where how to change the settings you mentioned. I’m going back to the manual to find out how to change the number of shots per second.
I could really use you standing next to me. I have just over 2 weeks before I arrive in Churchill so will be practicing some of these techniques so I cm ready to use them with the bears and landscape up there.
wonderful to hear, Margaret!! Happy to help! Wish I was up there photographing, too–it’s a magical place and a magical time of year!