Mastering Shutter Speed for Alaska Photography
Alaska is the big one—it’s a big state, of course, but it’s an even bigger photographic opportunity. I often say that African safaris may be the holy grail of wildlife photography, but Alaska has something unique—it’s a close second in terms of wildlife, plus it has over-the-top majestic scenery making it perhaps the best combination of wildlife and landscape photography on the planet.
If you are headed there, you’ll want to brush up on your shutter speed skills to make sure you come home with your best possible photos in this land of endless beauty.
Understanding Shutter Speed
Shutter speed is truly a core tenant of all photography. Knowing when to shoot fast and when to shoot slow (and when it doesn’t really matter) is key to taking the best possible photos.
Shoot too fast and you may be sacrificing quality because of a lower-than-needed f/number or a higher-than-needed ISO. Shoot too slow and you are likely to get blurry photos (when you don’t want them to be blurry).
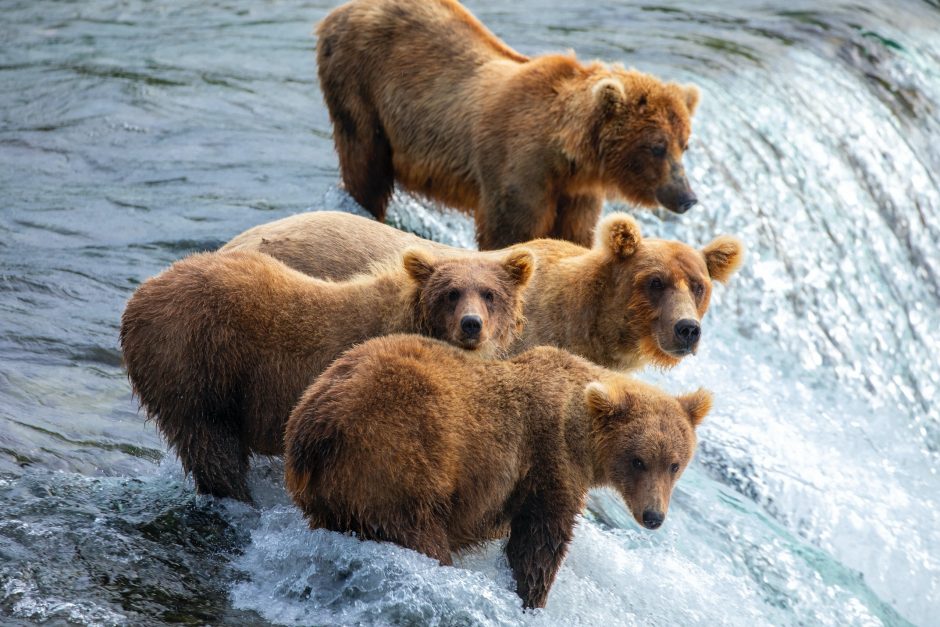
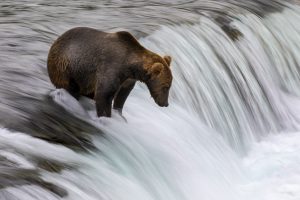
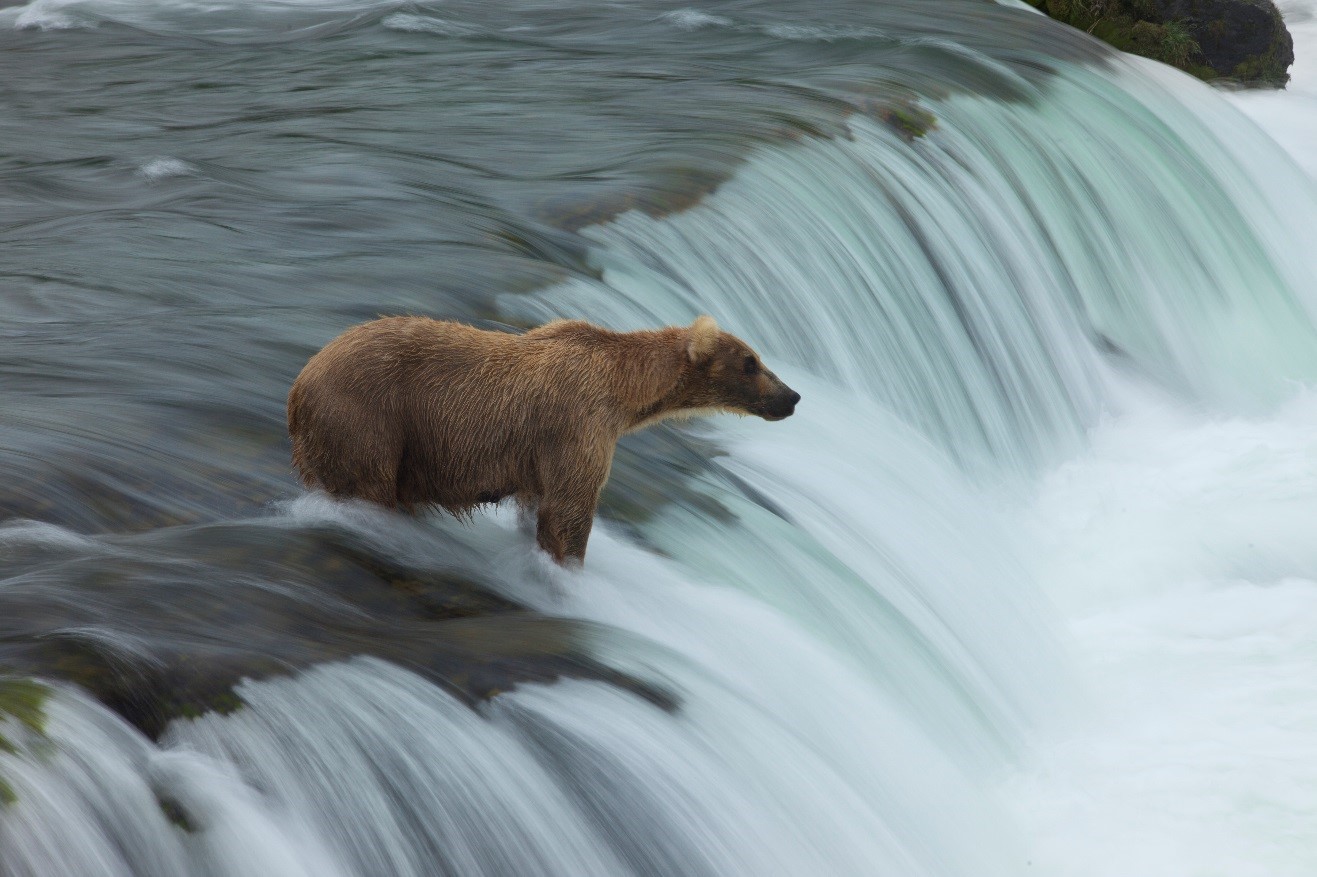
What about those opportunities when you want to intentionally blur the scene, like the iconic brown bear at waterfall image at Brooks Falls? That’s all about shutter speed.
Shooting at fast shutter speeds
When you want to shoot fast, you want to a) freeze hand motion and b) freeze wildlife motion. To freeze hand motion, the most fail-safe technique is to use the inverse focal length rule, which says you should shoot at a minimum of 1/focal length of your lens. Thus, if you’re shooting at 300mm, you should really be at least at 1/300th of a second.
However, if you have image stabilization (aka vibration reduction) in your camera body or lens, you can usually slash that in half one or two times. That is, if you are shooting at 300mm, you can probably safely shoot at 1/100th of a second, as long as the camera is a newer model from the past few years (meaning that it has the latest in image stabilization tech).
This being said, when I’m shooting with telephoto lenses, I’m usually aiming for something like 1/640th of a second (at least), because I’m also trying to freeze wildlife movement. More on that in a moment.
It’s worth mentioning that this same “inverse focal length rule” doesn’t work particularly well when photographing at wide angles. That is, if you are shooting at 24mm, you shouldn’t expect to be able to shoot at 1/24th of a second and get a tack-sharp photo. My rule of thumb for wide angle shots is to shoot at least at 1/50th of a second, but in reality most of the time I shoot at 1/160 or faster, just to make absolutely sure I’m freezing hand motion.
Honestly, the faster the better, but as I mentioned at the get-go, too fast means that you’re sacrificing on ISO and/or f/number. And you probably know by now, we’d like to be at f/8 and even f/11 for landscape photos to get a nice depth of field.
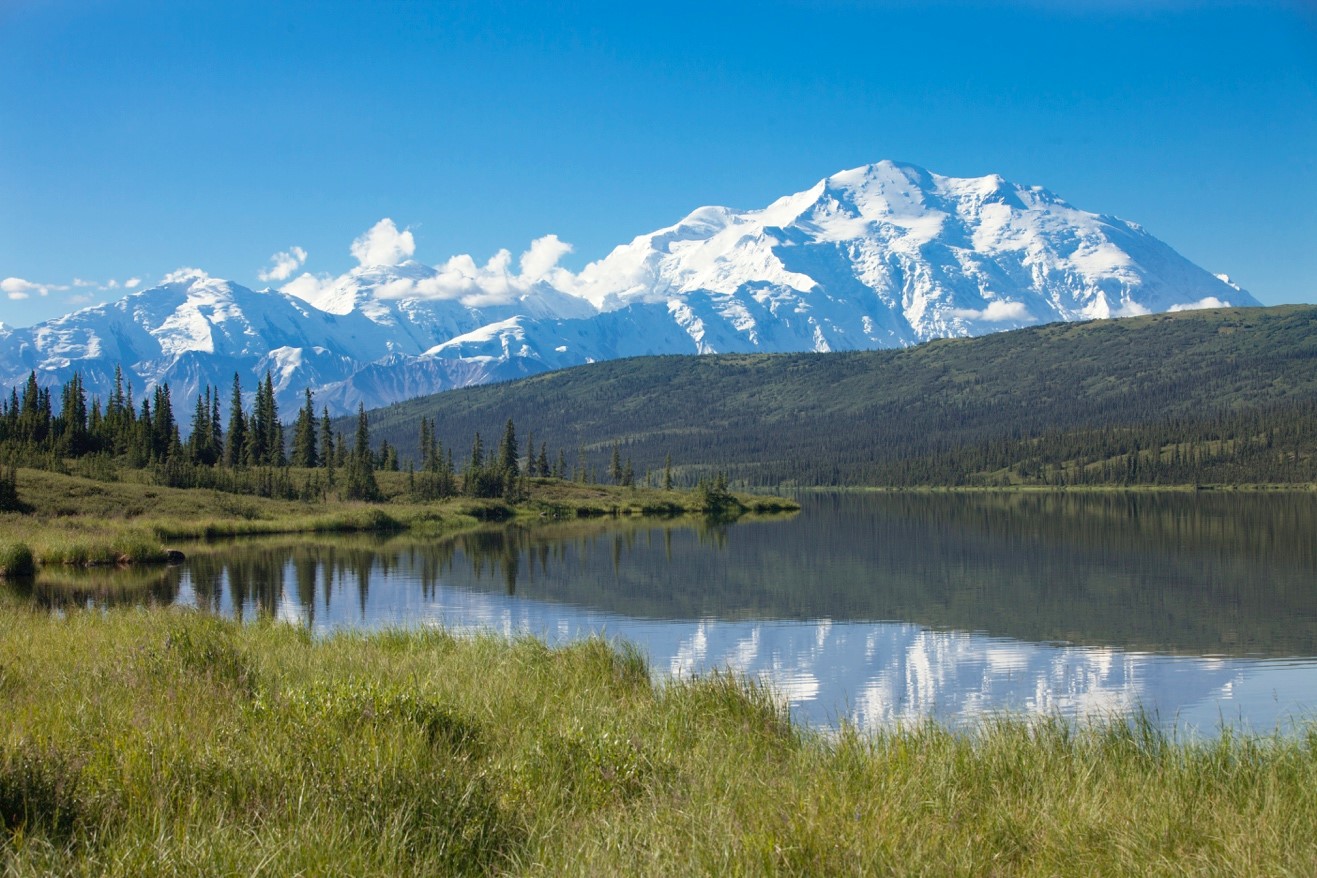
So, as a golden rule for landscape photos, I typically set my aperture first, then use a moderate shutter speed like 1/160th of a second, and then see what sort of ISO my camera gives me (I use manual mode plus auto ISO—a technique I’m in love with after 20+ years of experimentation). If my ISO is 100 or 200, that means I can safely double my shutter speed and this gives me the peace of mind that my shutter speed will not contribute to blurriness.
If instead I’m seeing that my camera gives me ISO 800 or 1600, I know that I should not increase my shutter speed any more. And depending on my tolerance for noise and grain, I may even want to slow down my shutter by one half…down from, say, 1/160 to 1/80 to get a lower ISO.
When it comes to a golden rule for telephoto shots and shutter speed, here is where things get interesting…
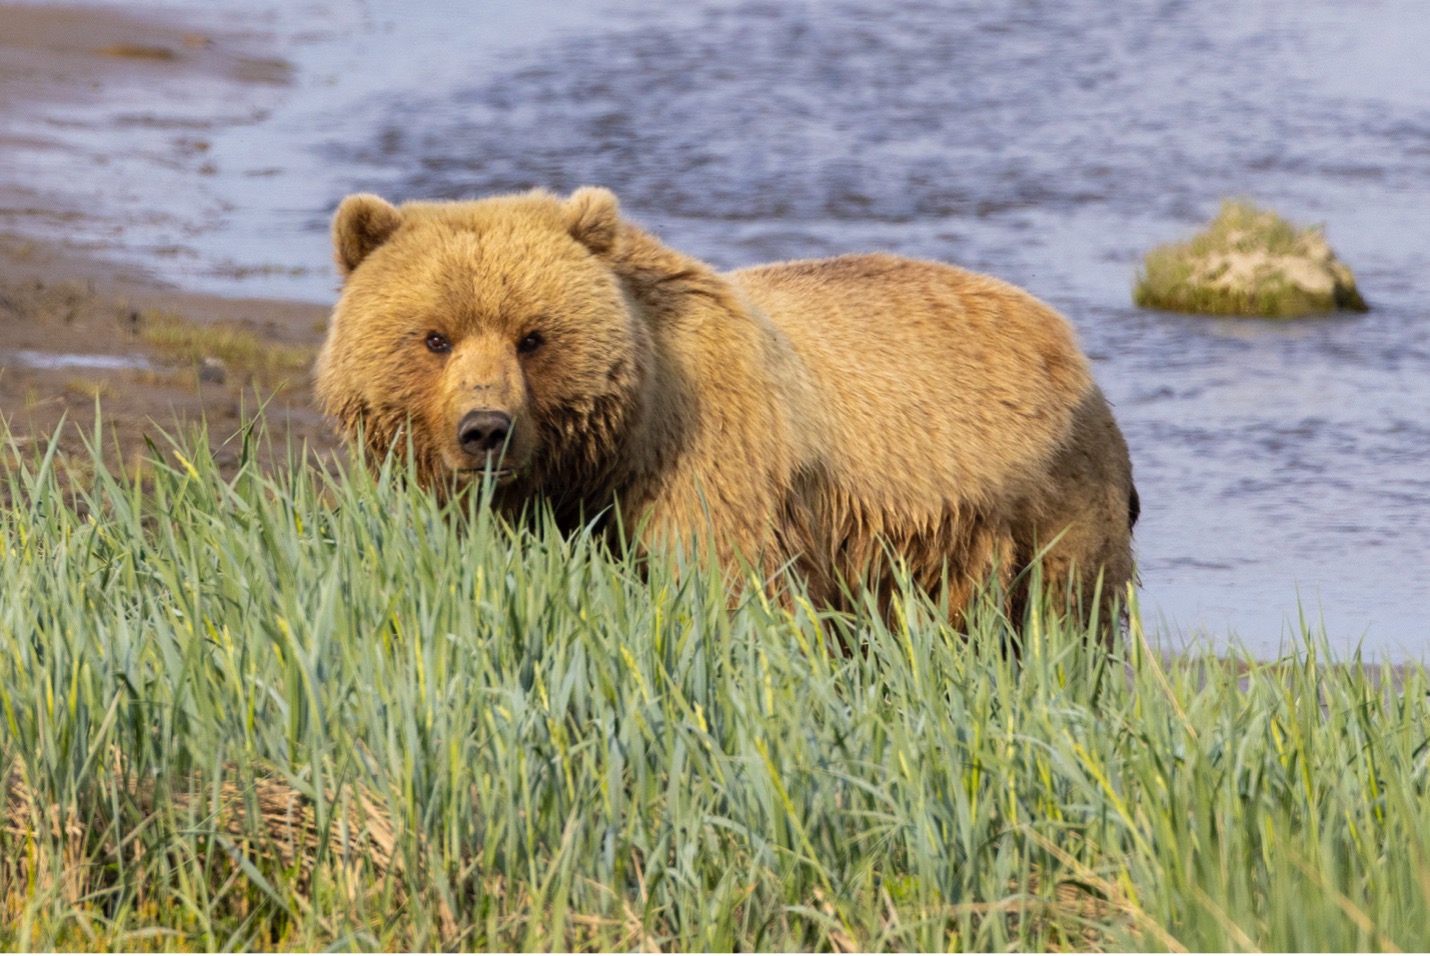
Freezing wildlife movement with telephoto
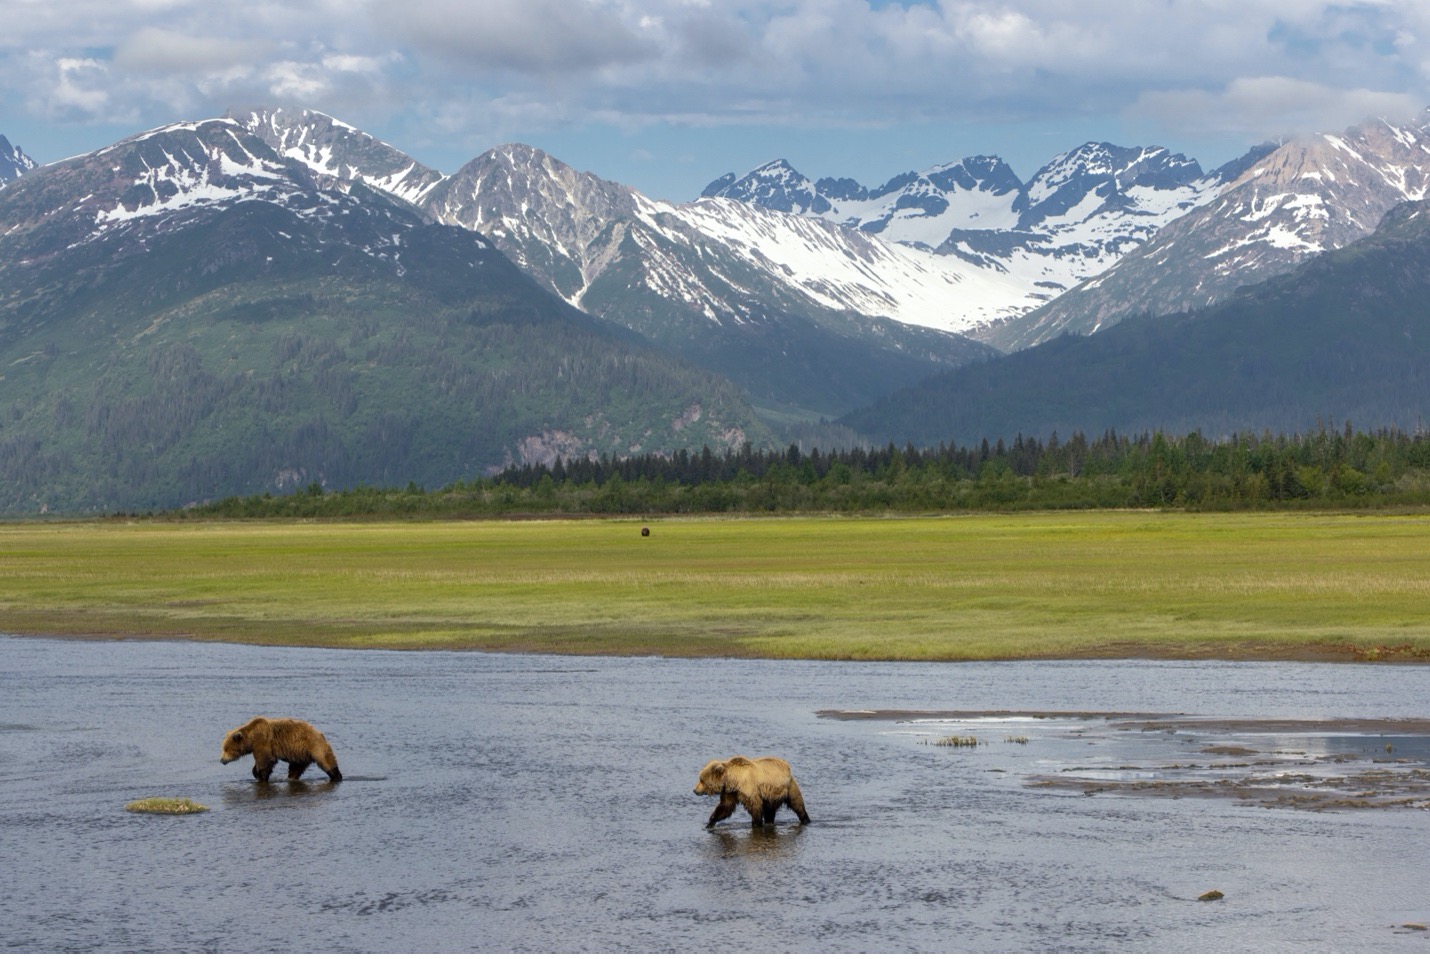
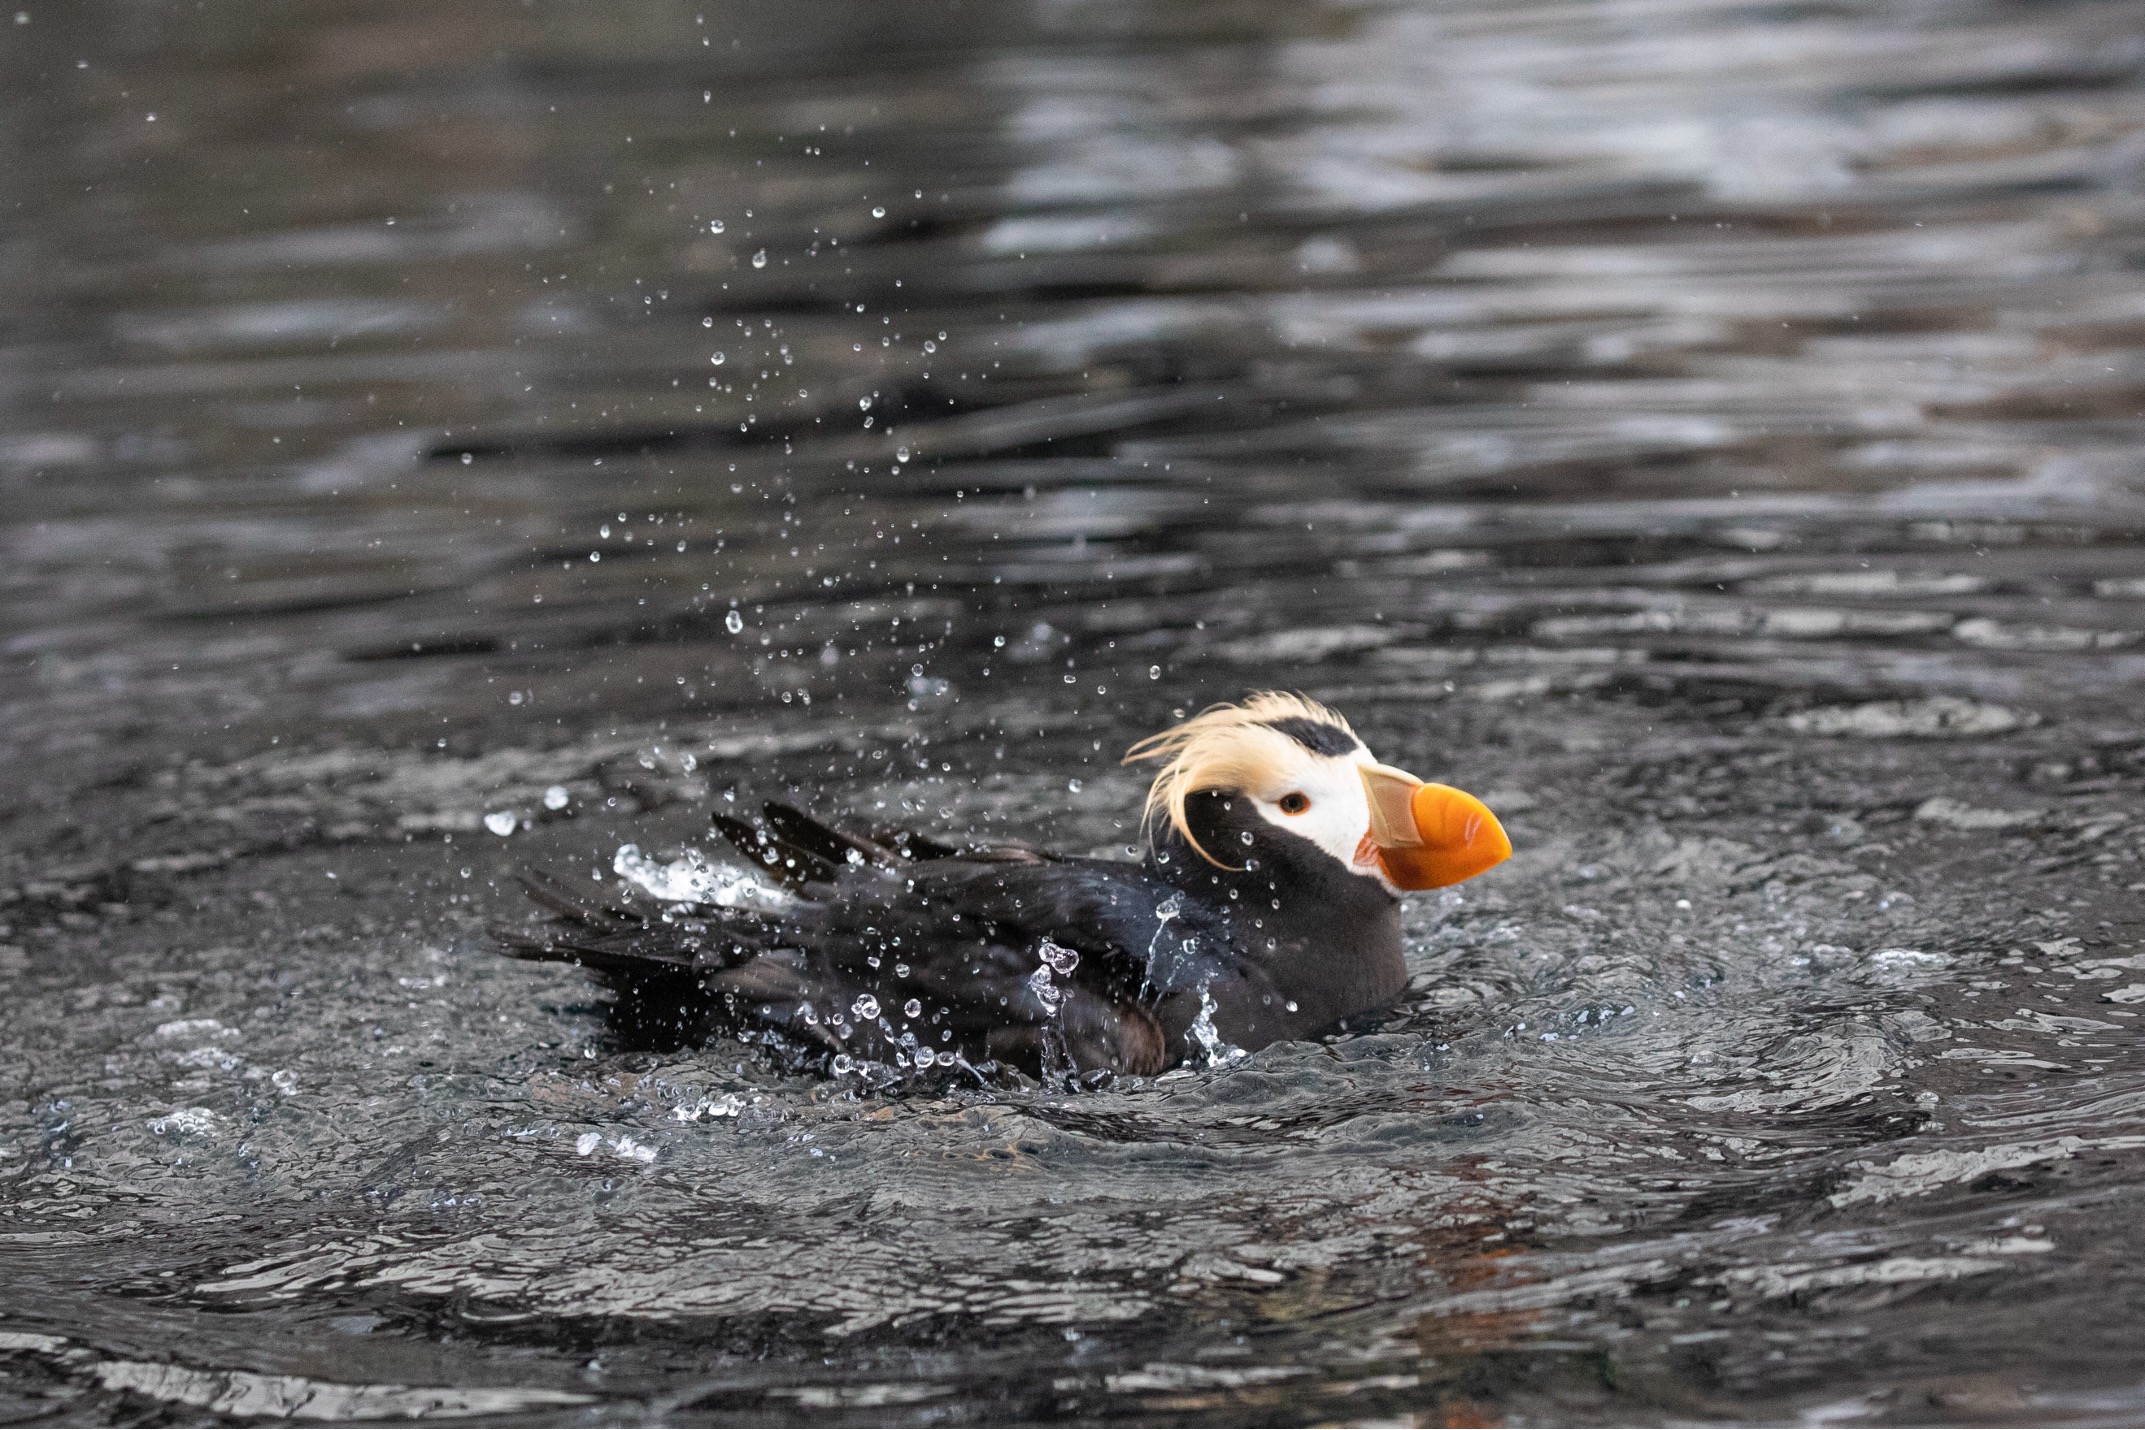
While the inverse focal length rule is excellent for approximating a starting point, it has nothing to do with freezing motion other than your own. In other words, this doesn’t do anything to freeze a bear running across a meadow in Denali National Park, nor does it freeze the motion of a puffin as it splashes in the water.
To freeze motion of wildlife you have to consider an entirely different set of rules. Fortunately, though, you almost always will be shooting much faster than what the focal length rule says, so you can actually disregard that rule in favor of these standard settings for freezing wildlife movement.
Now, what I’m about to note below is quite subjective and is by no means a guarantee that all motion will be frozen perfectly at each shutter speed. To be frank, the only way to guarantee absolutely no motion blur is to shoot at something crazy like 1/2000 or 1/3200th of a shutter speed for each and every shot.
However, we all know that this is impossible, as it just doesn’t let in nearly enough light. Except if you are shooting at ridiculously high ISOs (making the photo very grainy) or directly into the sky or super-duper bright conditions.
So, it’s a compromise.
The below are rough approximations of the minimum speed you’d need to freeze each particular movement.
Wildlife resting…motionless. 1/80th of a second
Wildlife resting, but small movements. 1/160th of a second
Wildlife moving slowly, but not yet walking. 1/200th of a second
Wildlife walking slowly. 1/320th of a second
Wildlife walking purposefully. 1/320th of a second, but safer at 1/500th of a second
Wildlife on the move, not quite a full run. 1/750th of a second, but safer at 1/1250th of a second
Wildlife running. 1/1250th of a second, and safer at 1/1500th of a second.
Wildlife in ludicrous mode, or birds flying. 1/2000th of a second, safer at 1/2500th of a second
Again, with the above list, the only safe way to get every shot is to shoot wildly fast. And these can be quite subjective (and I’ll admit that I change my tune on exactly how fast each category should be from time to time). However, these are great ballparks for starting points and if you find that you can shoot faster than these while still at the aperture and ISO you need for a great shot, by all means faster the better.
Now let’s talk about the other side of shutter speed…when we are photographing in Alaska and want to shoot intentionally slow.
Slow shutters for bears in water
There aren’t many places in the world where slow shutter speed and wildlife photography combine to make an immaculate result. However, bears in Alaska, more specifically in coastal areas of Alaska, deliver in a way that makes every photographer want to get there and spend their days photographing, and marveling at, this extraordinary spectacle.
In order to get this type of shot, we are indeed going to use a slow shutter. However, you may be surprised at how “fast” we actually are shooting—especially if you are used to slow shutter night photography for things like aurora borealis.
The exact speed that we’re going to use for this shot really comes down to how fast the water is moving.
Frankly, we want to shoot as fast as we possibly can, because we are very beholden to bear movement. In other words, if the bear moves at all while our shutter is open, the bear becomes blurry like the waterfall, which is not what we want.
Typically when I begin taking these photos I’m starting at 1/40th or 1/50th of a second. Fortunately the water is absolutely rushing by so there will still be quite a bit of motion at these shutter speeds, which are relatively fast for slow shutter photography. But, this reduces the chance of bear movement in that split second, vs. a full-second exposure, which will almost guarantee some bear movement. Even if minute, bear movement is bad for the shot.
In the above photo, you can always go the opposite route and shoot very fast, freezing all motion. This still produces a great photo of bears at Brooks Falls!
The great thing about starting at 1/40th of a second is that you can begin with hand holding your camera. However, the next thing I’ll suggest is that you start whittling your way down to 1/30th, 1/20th and 1/10th of a second. At these speeds, you will likely need to brace your camera on the railing to steady your shot as much as possible. To be honest, these slower speeds will look better, but it’s going to come down to whether you’ve found a patient bear.
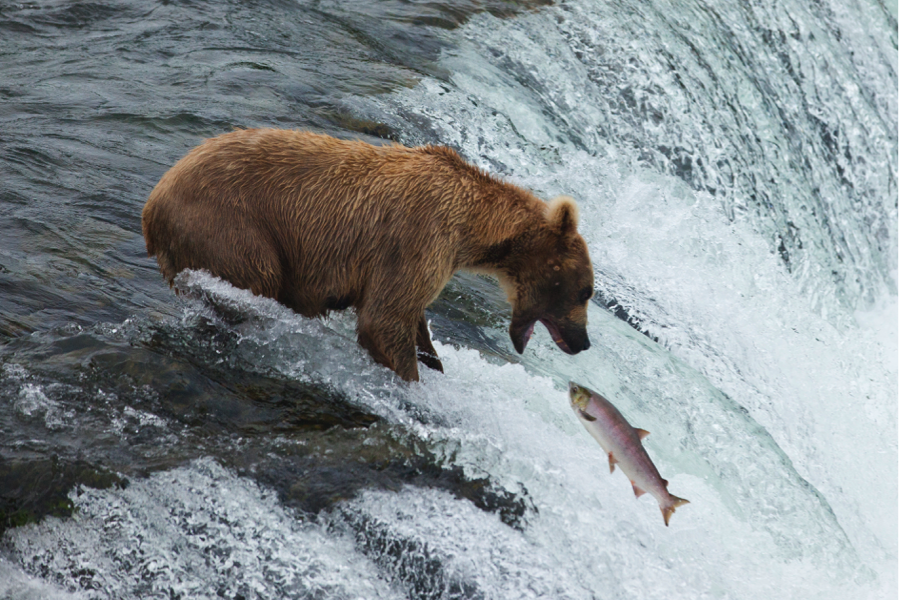
A patient bear is usually the lone bear at the top of the waterfall, and he or she is easy to spot. She’s laser focused on where the salmon are jumping from and she may indeed pause her movement for moments in time. It’s your job to compose your shot, dial in these settings, and take LOTS of photos to try and get a few where the bear is perfectly still, but the water of course is still rushing.
Putting it all together
Shutter speed is a funny thing, as it usually is just a means to an end. That is, we just need to shoot fast enough to freeze our own hand motion, as well as the motion of our wildlife subject. However, it’s far from black and white, and there are other times when slowing your shutter down can be fantastic, whether it’s to increase depth of field for a landscape shot, or going full tilt and blurring water motion for that iconic Brooks Falls bear photo.
If you’re headed to Alaska to photograph all these things and much more, like on one of my personal favorite Alaska Photo Itineraries, I wish you the absolute best out there—you’re going to love every single moment.
Cheers!

Court
Leave a reply