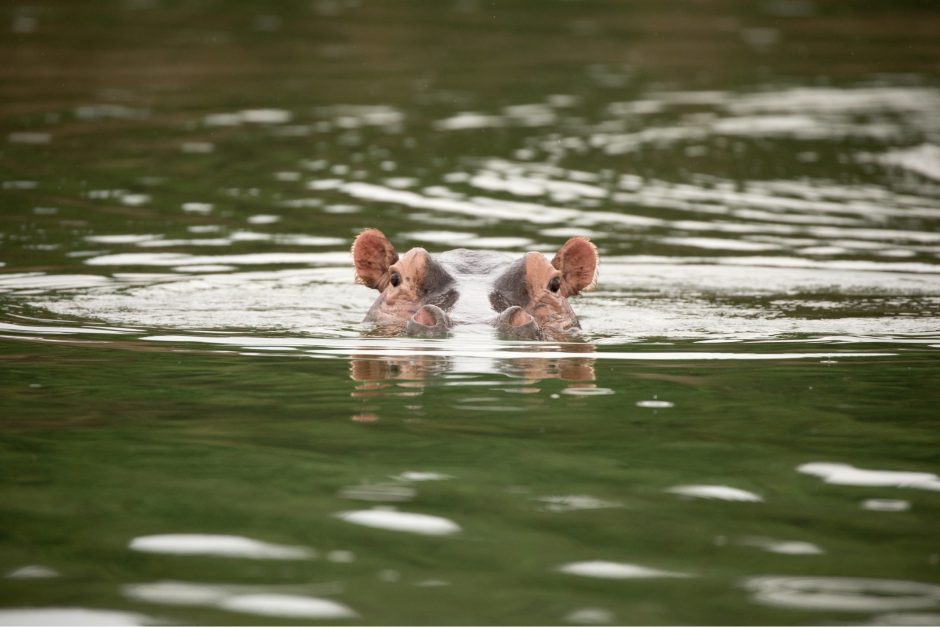
How to Photograph Hippos at Waterline
Photographs of hippos are deceptively challenging. Not because it’s hard to find them, necessarily. Nor is it because they aren’t photogenic or found in beautiful, wild habitat. Mainly, it’s because it’s hard to show them off, where they look as immense, powerful, and glorious as how they look in real life.
There are of course many ways to photograph any animal, but I find that this particular technique is not only achievable, due to their behaviors and habitat, but also a great way to highlight their personality and, well, their essence.
If you are headed to Africa on a photo safari and wish to come home with some compelling photos of hippos, read on to get a play-by-play for this style of photo!
Setting up for the Shot
As you’ll quickly notice, these photos are from a boat. Nope, I’m not swimming in those waters!
To do so, you’ve got a couple of options of where and how. East African safari regions, like Uganda, Kenya, or Tanzania are fantastic in all ways and hippos are very likely sightings throughout the course of a wildlife photo safari. But Southern Africa, particularly Botswana, is exceptional, too, largely because of the preponderance of water access via the Okavango delta. The more time you have on the water in a particular itinerary, the greater the chances of getting shots like you see here.
Your Shot Angle
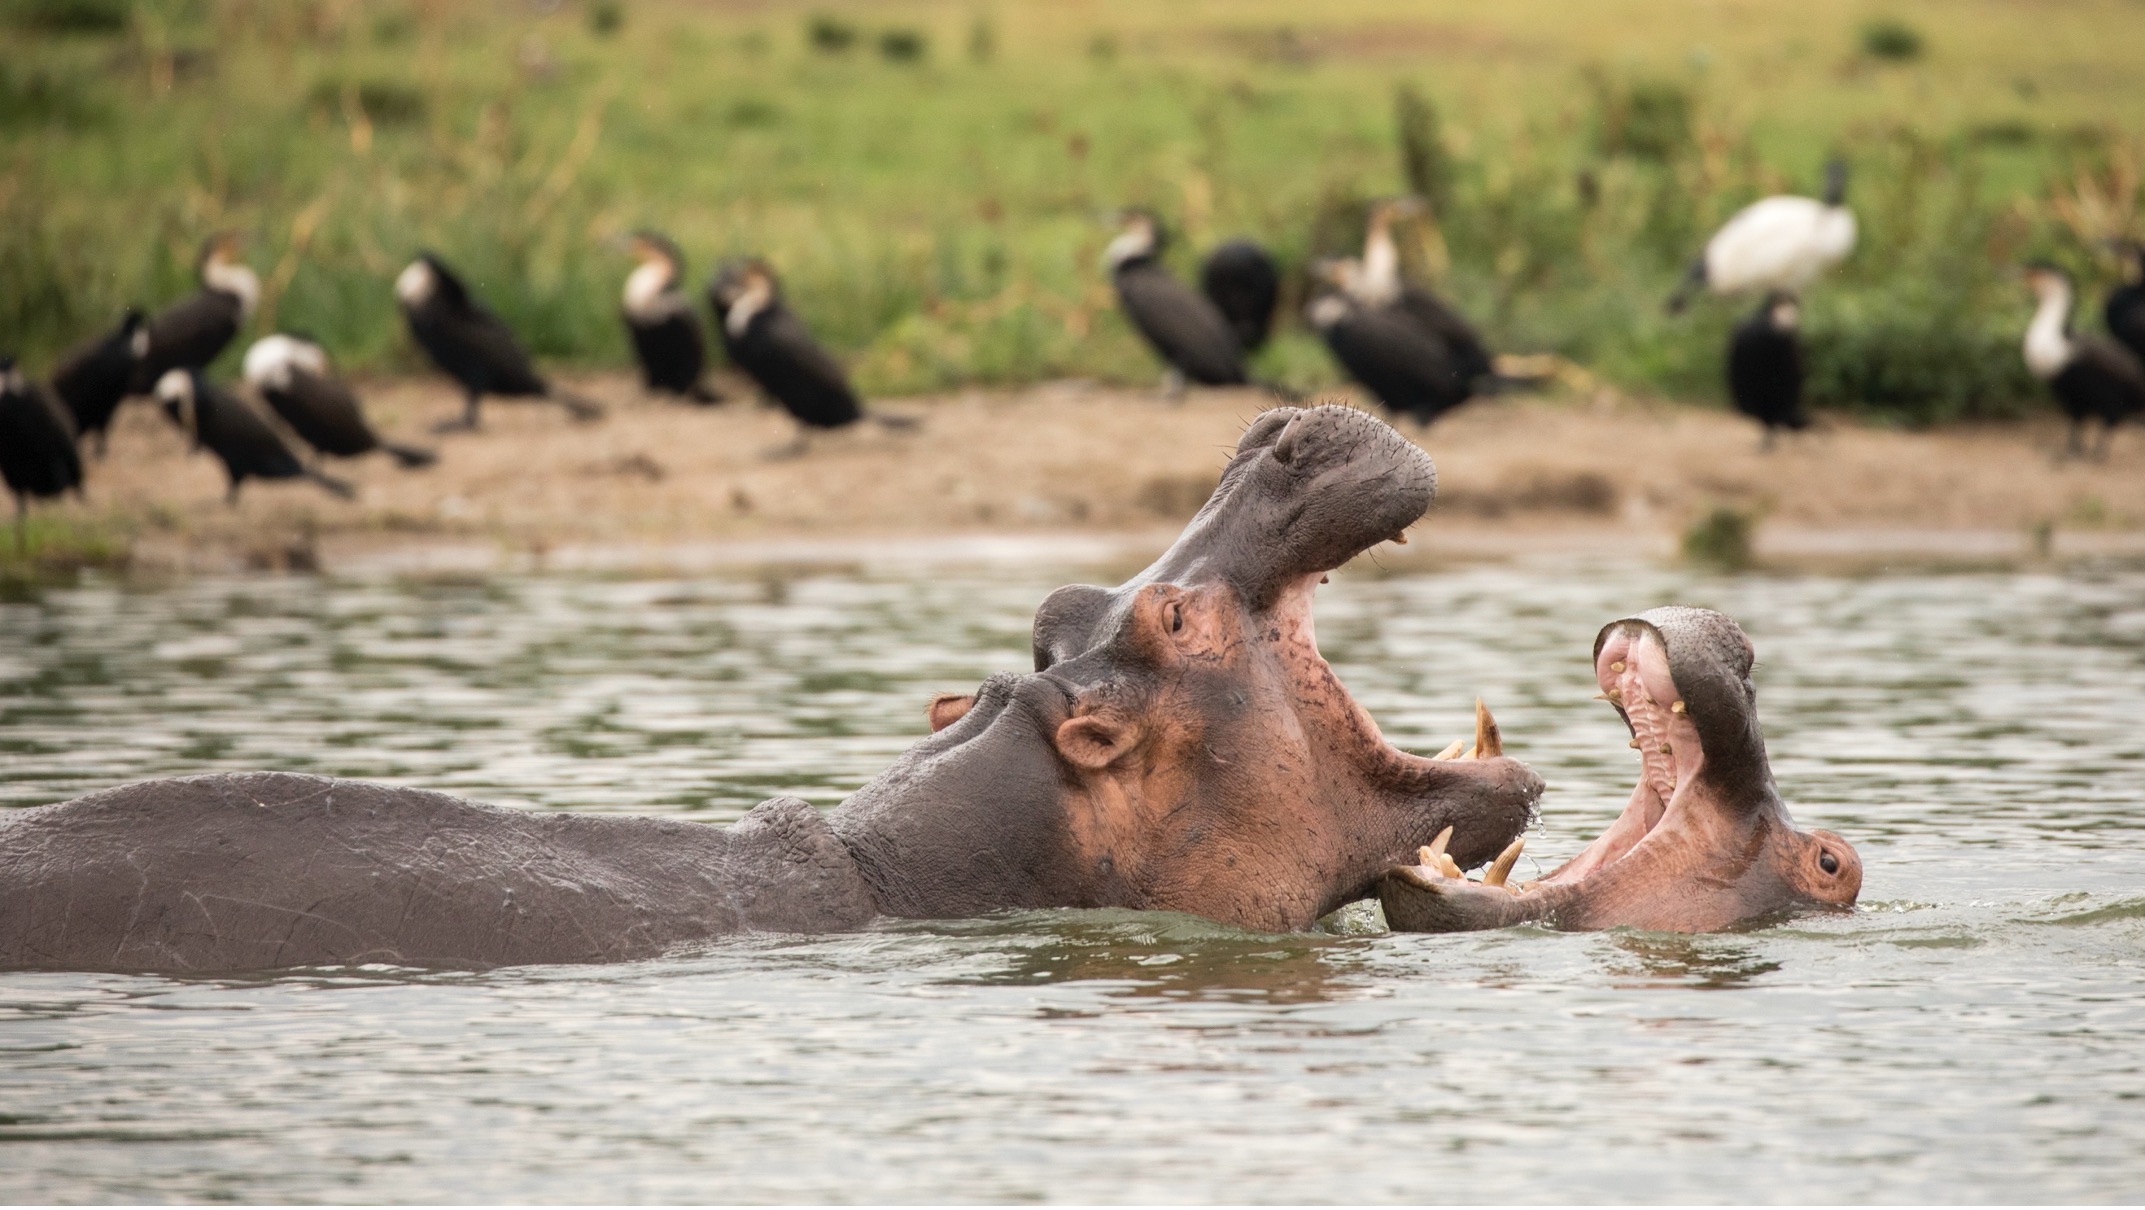
This is no doubt the most important part of the photo. To put it simply, you want to have your camera as close to the water as possible to give that nice effect of a) blurred water in the foreground and b) a feeling that the viewer is in the water with these animals! It’s much more dramatic when it feels immersive.
There are definitely times when you can be too close to the water (hippo ambush jokes aside) when you don’t get quite the right framing or perspective. I like to angle my viewfinder so that I can peer at it from above, I then lower my camera while looking at the camera itself (to make sure I don’t go too low into the water) and then gradually raise it up toward me while looking at my framing. If I can, I might even put my camera on burst mode so that I take multiple photos as I slowly draw my camera back up toward me–that way I have the choice of various heights, even if only inches difference.
Your Shot Settings
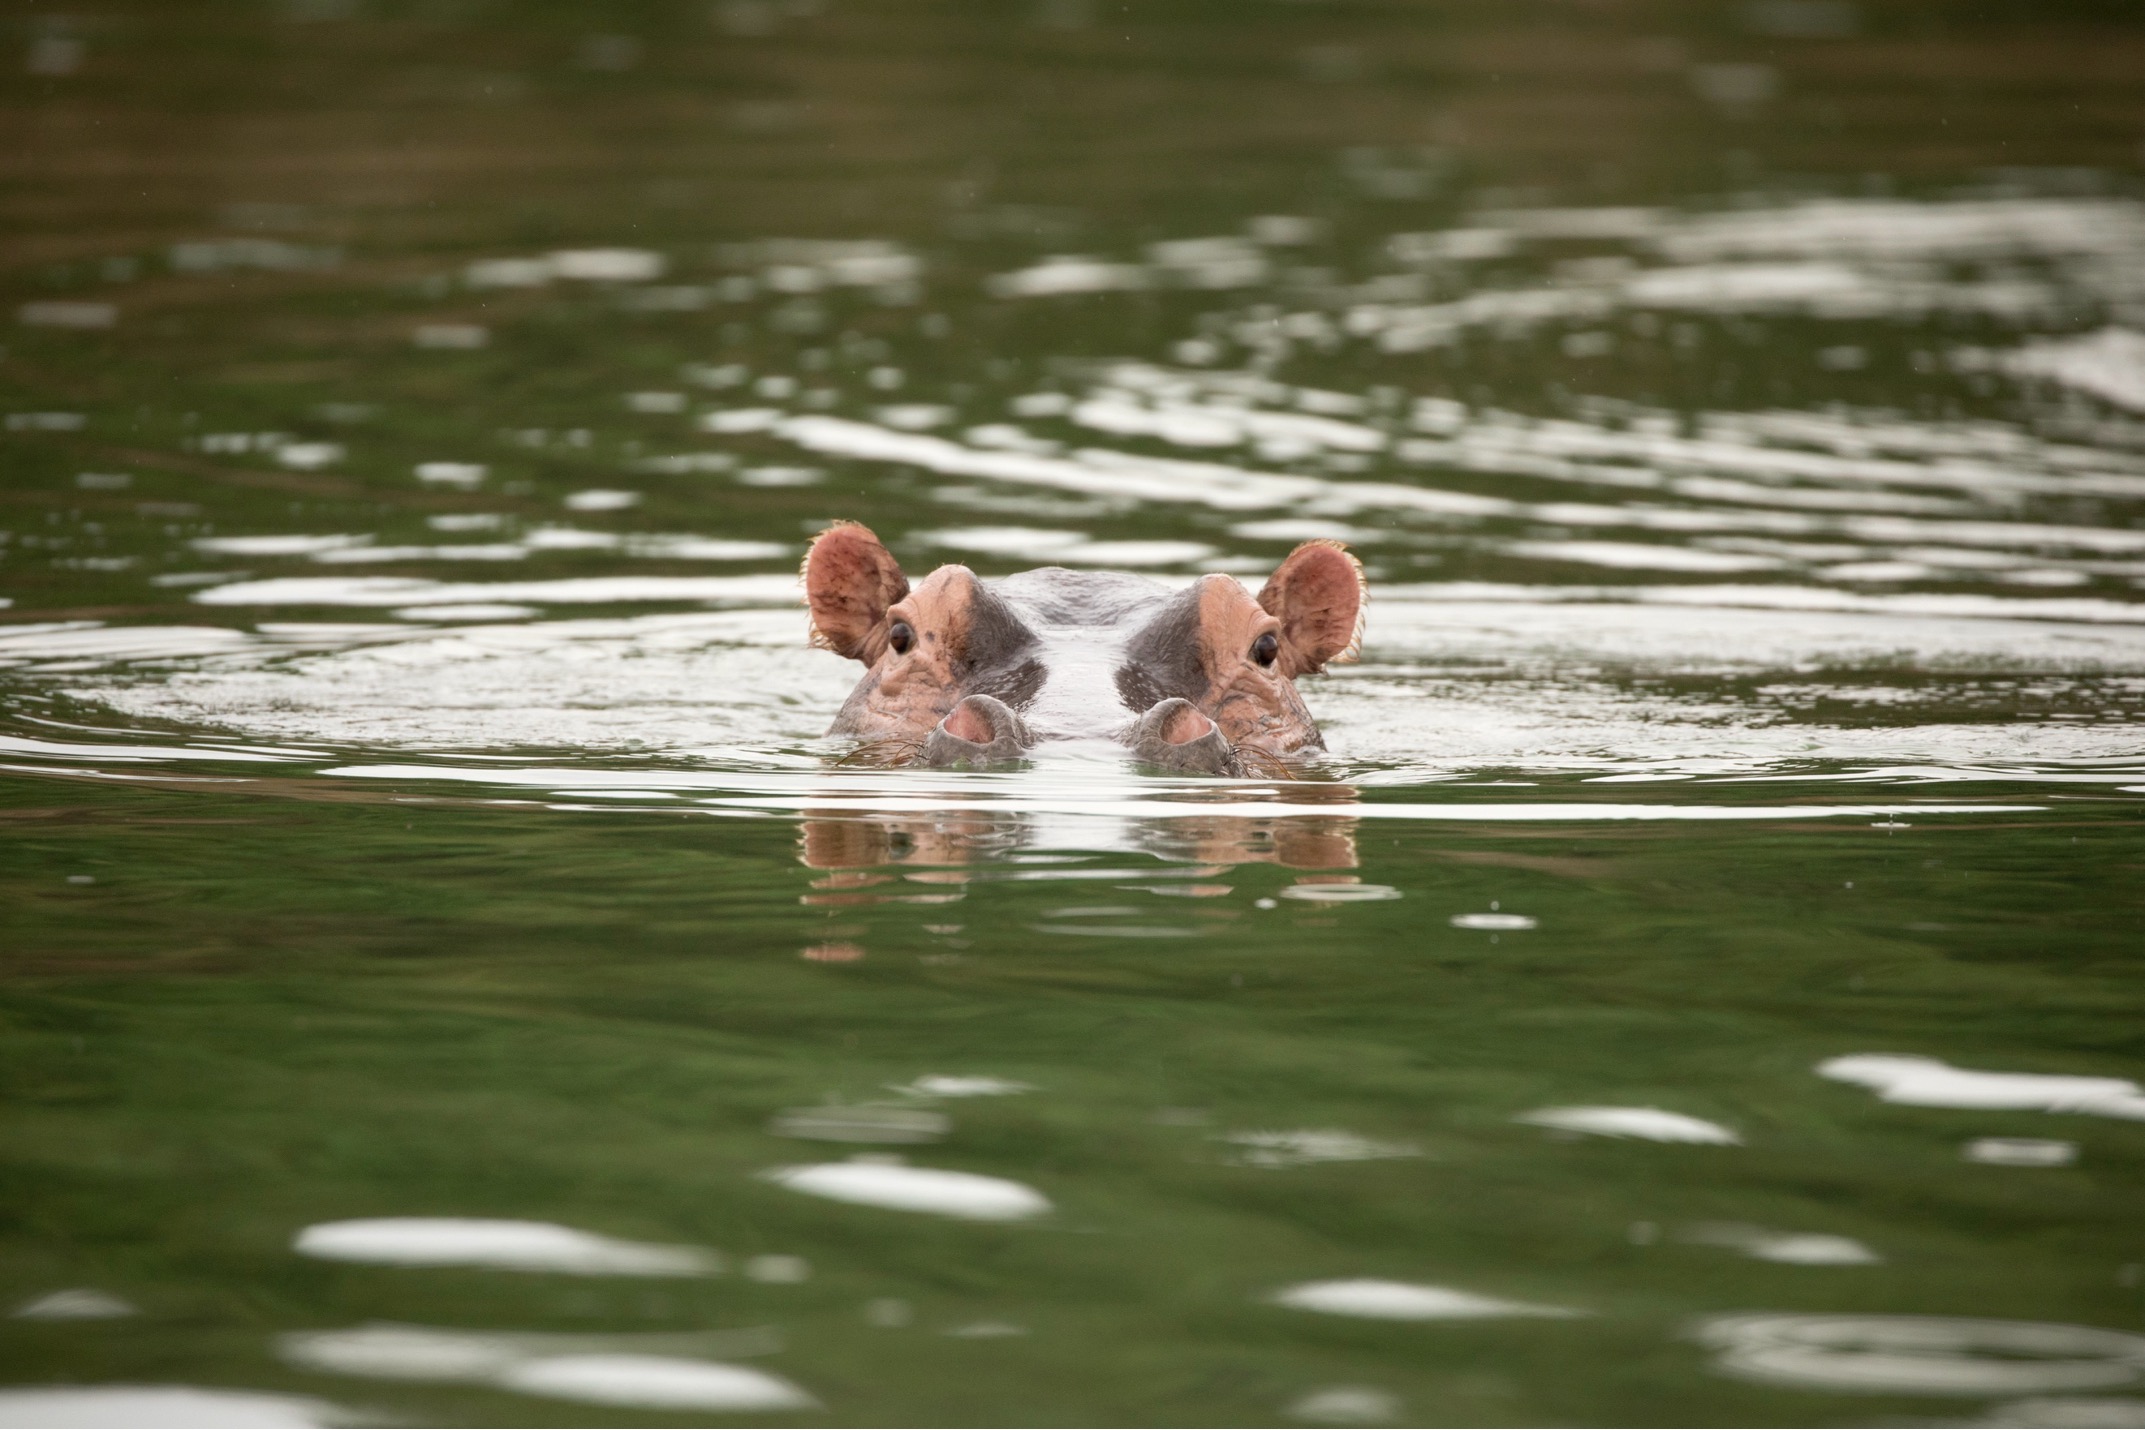
Framing and composition is going to be the biggest factor here, but your actual settings do matter. In my opinion, the most compelling shots are those that blur out most of the scene except for the hippo. Thus, we’re looking at small f/numbers like f/4, maybe even f/2.8 if you have such a telephoto lens. If you can’t go below f/5.6 that’s ok, but anything more and you probably won’t get the effect you’re looking for.
With the small f/number, you can likely get a good and fast shutter speed, and this is important. Hippos are moving, you are moving, and as I describe above, you are likely shooting as you are bringing your camera up toward you. So, shooting at 1/800 is a good starting point, but 1/1250 or even 1/1600 is better. Depending on the time of day, you may need to bump your ISO up a little, but nowadays noise reduction in photoshop/lightroom will handle grain from ISO 800 or 1600 just fine (if you even need to adjust…many cameras handle that fine, too).
Editing for the Finish
Editing your hippo photos will take a photo from good to great pretty quickly. In addition to basic cropping, you may wish to try out a non-traditional crop/aspect ratios, too. Because these photos lean into the minimalism in the photo, something like the below can be quite compelling.
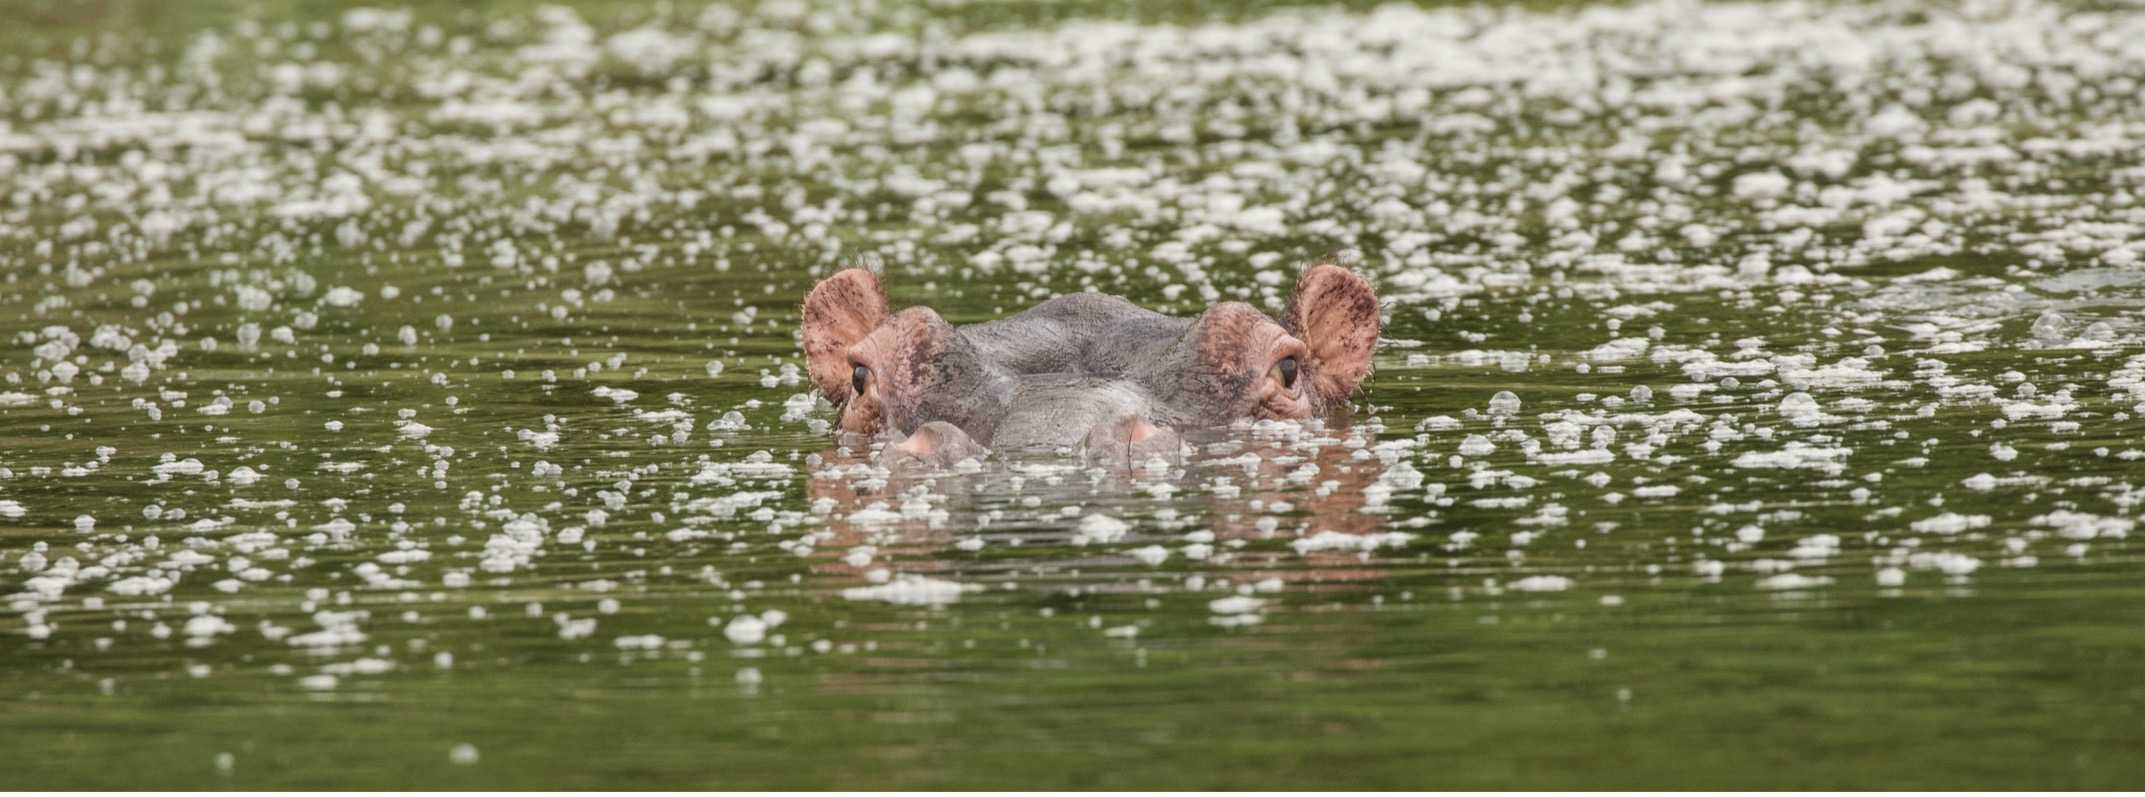
Don’t be afraid to set your cropping to “freeform” and just go with what you think works and looks best!
Other edits could help isolate your subject from its watery background, like selecting the water and lightening or darkening as you see fit. Notice how in the photo below the water looks a little lack luster? The first photo is the original and the second is the edit. I selected the water and brightened it, while keeping exposure of the hippo unchanged. Thus, it helps the subject pop and create a bit of artiness in the shot.
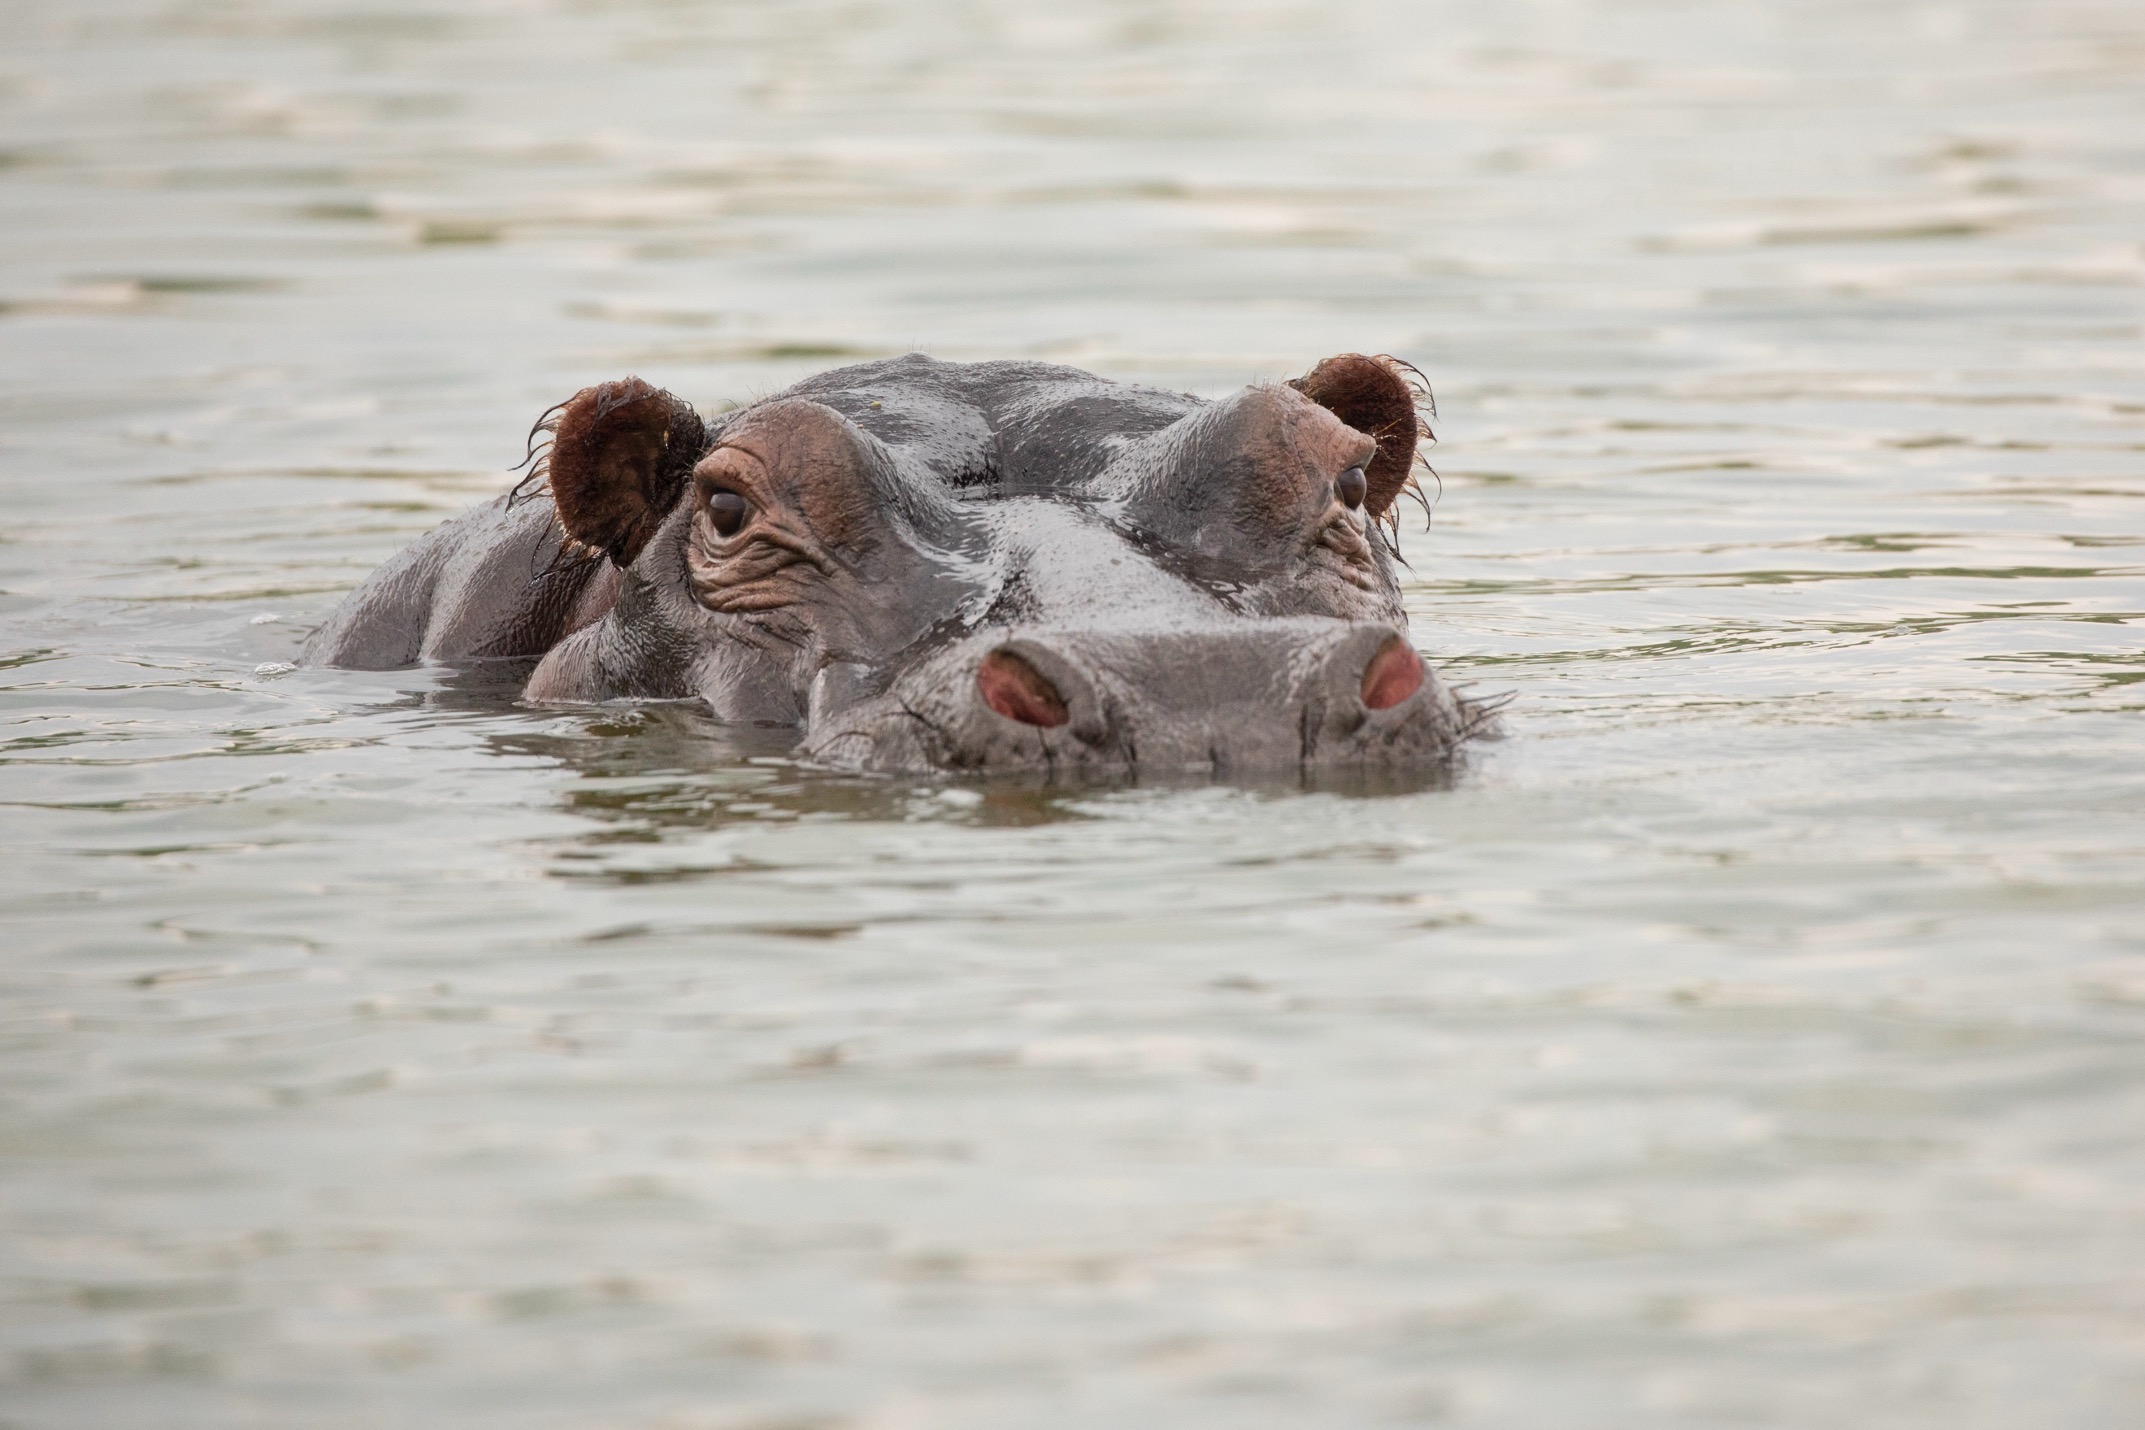
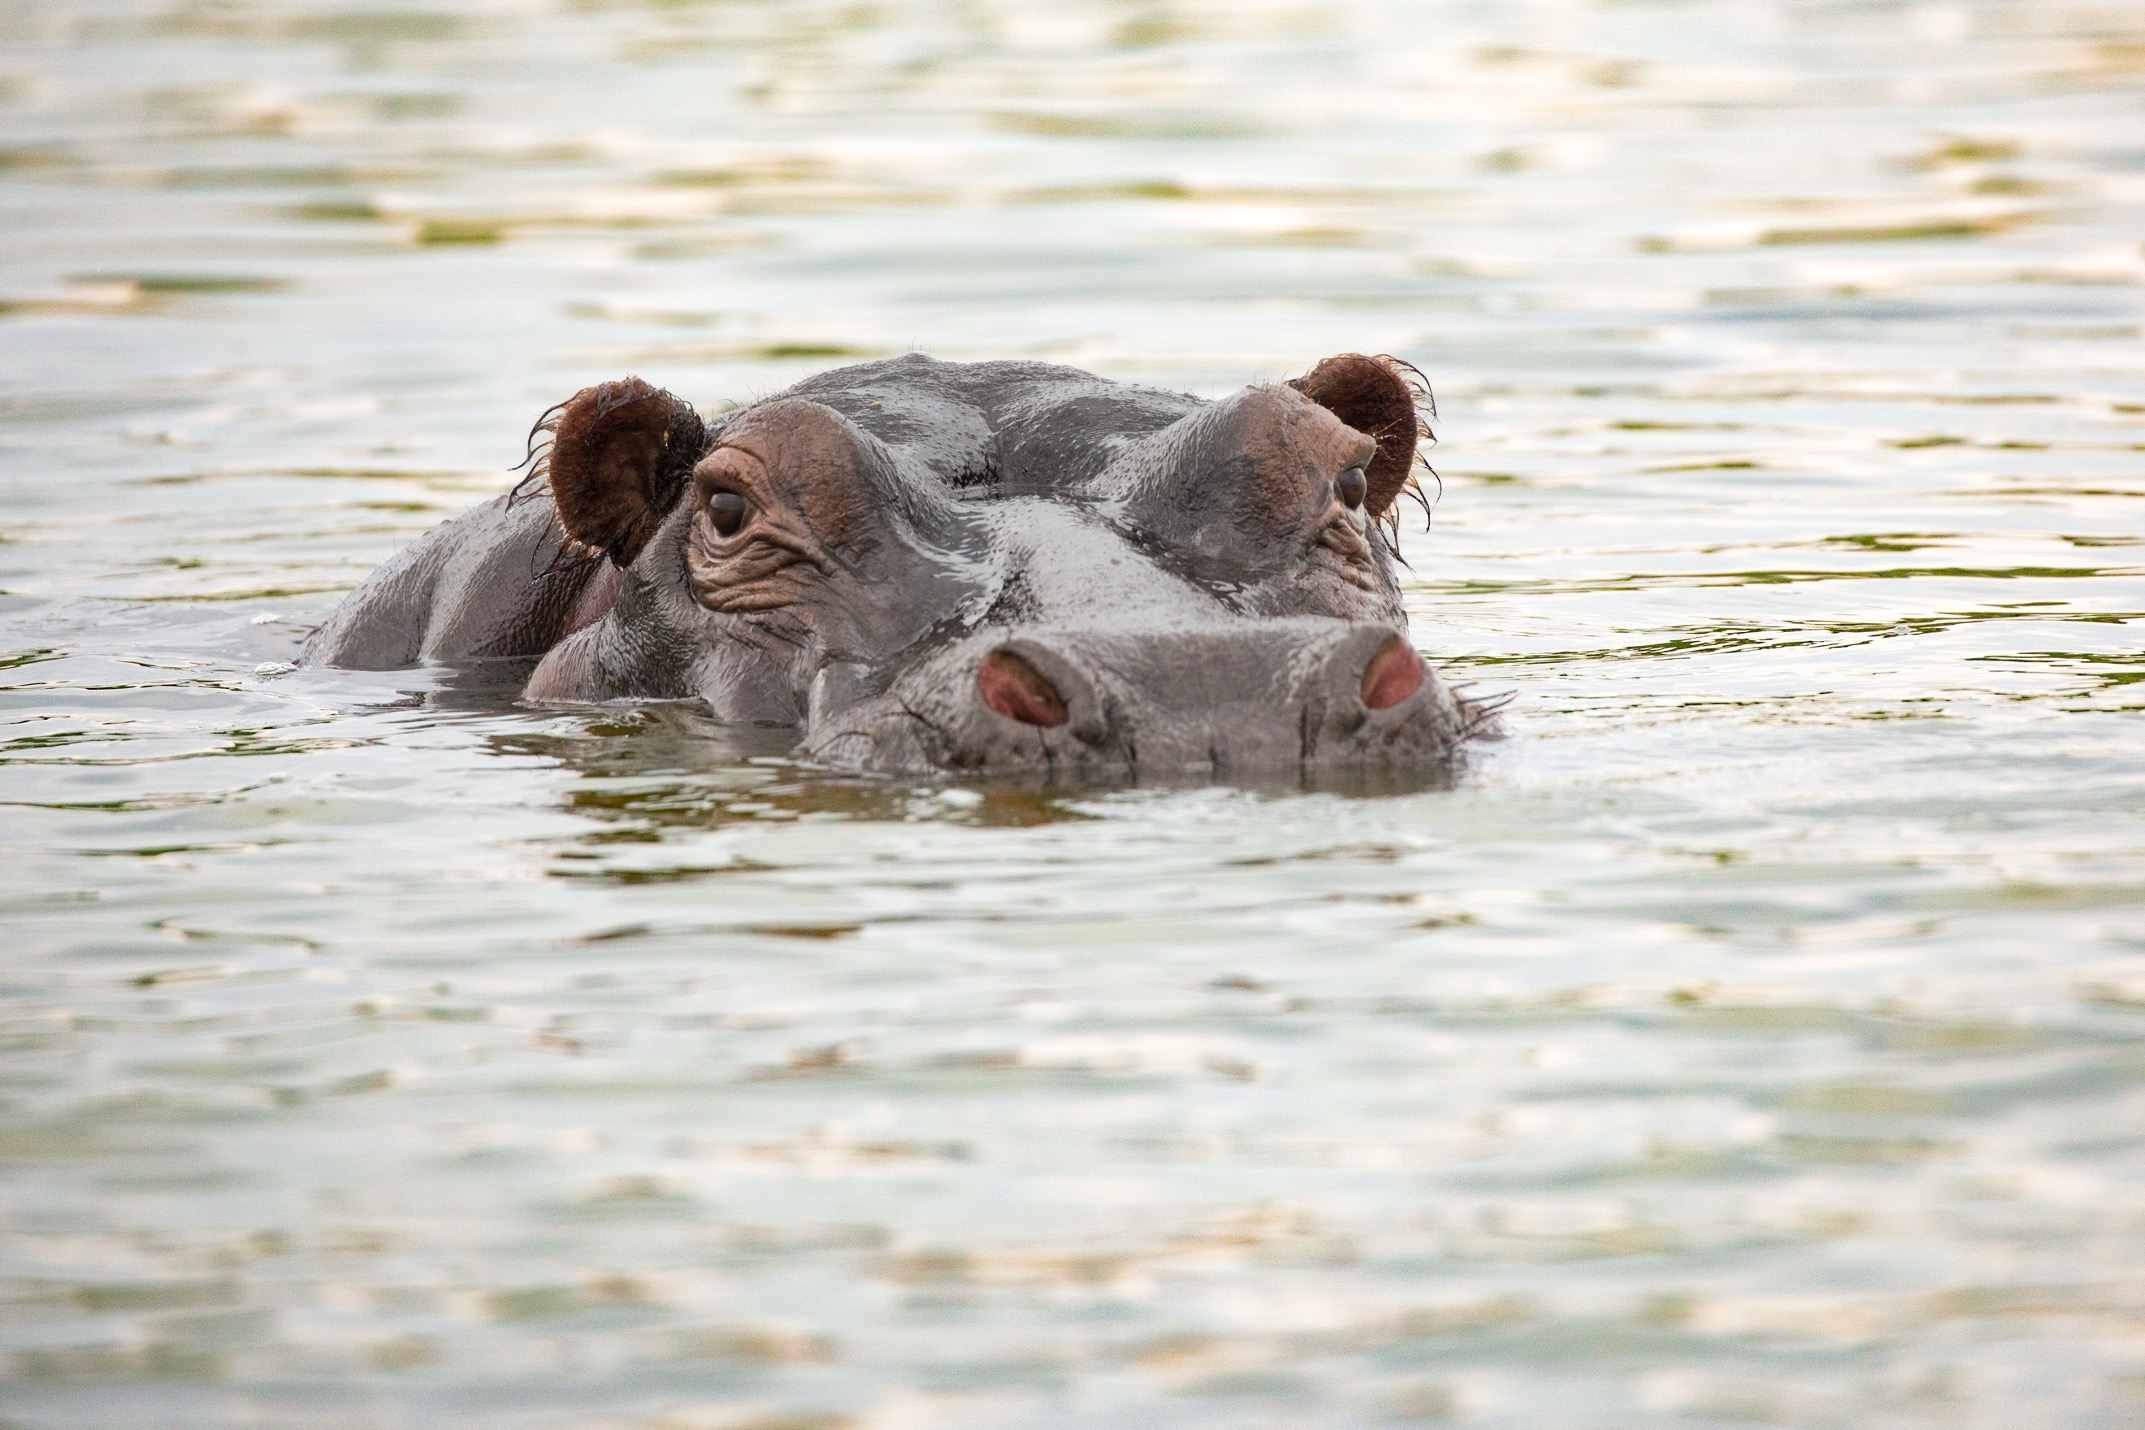
It’s important that you really look at the surroundings and analyze whether the hippo is in brightly lit water, or if you can find some in darker water, perhaps in the shade. As you’ll see, the angle of the sun and whether the hippo is in the sun or shade can make a big difference for the overall vibe and color scheme of the shot.

Ultimately, the primary technique here is getting yourself in their environment, first and foremost, and showcasing that immersion by shooting close to water level. This must be done in a boat while on safari, so choosing your wildlife photo safari wisely is key! Then, you can see that there are a number of creative elements to experiment with! And in some cases you may even get some interaction between hippos, which can really round out your sequence!
I hope these lessons come in handy on your next safari in Africa–and perhaps more importantly, you are indeed headed on your next safari soon!
See you out there,

Court
Leave a reply