
How to Get This Shot – Starry Night in Bryce Canyon
Astrophotography is so rewarding when everything goes right. The challenge, though, is that there are a number of things that need to go right simultaneously, and any error can botch the shot.
Follow along here to get a play-by-play for astrophotography, not just the famed Bryce Canyon National Park, but for truly any place in the world known for great dark sky photography.
The Ideal Place Setting
The place, season, and time of day are the major ingredients here.
This photo was shot in Bryce Canyon on a special Canyons of the SW Photo Expedition, which stacked the deck in my favor. However, if you are looking to photograph the milky way elsewhere, simply finding some dark skies isn’t enough.
You’ll need to be at elevation and low humidity, in addition to being remote and away from light pollution. This is why places like Bryce Canyon and Grand Canyon are rated so highly in dark sky charts—it’s the perfect combo of ingredients to create the perfect setting.
The milky way is most visible during the late spring, summer, and early fall of the northern hemisphere, so you’ll want to plan your trip accordingly.
The Ideal Camera Settings
Once you get in the right physical area, you’ll need to have the right camera setup and settings.
Let’s start with a good tripod—this is key.
Next, a camera that allows you to take long exposures at reasonably high ISOs. Any DSLR or advanced mirrorless camera will work, but specialized equipment like full frame cameras and super-fast and wide lenses, like 15-35mm f/2.8 and 14mm f/1.8 lenses are ideal. Between needing wider vs. faster, it’s an even split in terms of benefits—you need both, hence why something like a 14mm f/1.8 is stupendous.
Read here to get further details on tripods.
In regards to physical settings, this is actually quite straightforward.
You’ll need to be at the smallest f/number possible, like f/2.8 or f/1.4, a 20 to 25 second exposure, and a starting ISO of 3200. The only thing that’s going to change across your shots is your ISO. If you find it’s too bright, dial the ISO down to 2000 or 1600. Too dark? Try bumping it up to 4000, 5000, or even 6400. You do want to try to avoid such high ISOs (over 3200) but the truth is that you can’t always avoid it. Yes, you can lighten your photo a bit in post processing like photoshop, but that only can go so far.
If you want to give yourself maximum versatility, try shooting the same photo at several ISOs to give yourself maximum versatility when editing. In other words, you may find that a darker photo and lower ISO actually is more editable than a brighter photo and higher ISO. This isn’t always the case, but “bracketing” your ISO is a big help.
Taking it from Good to Great
There is a big difference in just documenting the milky way vs. making something beautiful and artistic out of it.
Generally, the biggest x-factor here is finding something in the foreground. In this case, I hiked down from the Sunset Viewpoint in Bryce Canyon National Park just a few minutes until I found this special structure, in perfect position to have the milky way prominently streaming above it.
However, when you’re in very dark conditions, which is a necessity of course, it’s often hard to get any sort of color or dramatic texture of the foreground element because it’s usually just a silhouette. Silhouettes are still fantastic, but there is something truly special if you can have a soft light gently illuminating part of the foreground.
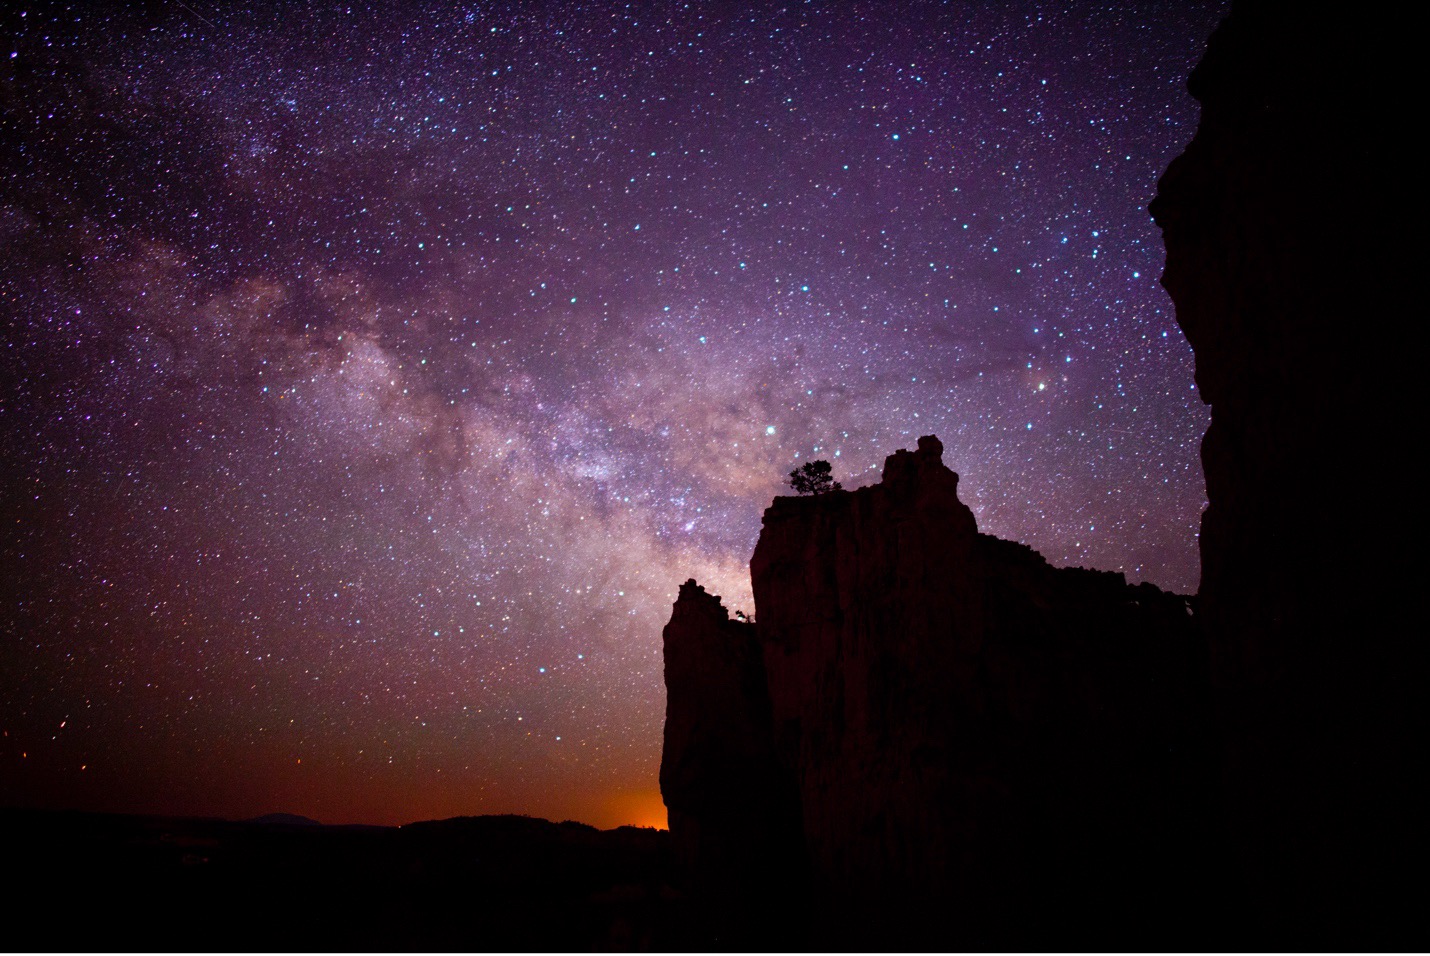
As you can see from the above, the lack of light and color on the face of the rock isn’t a deal breaker, and the nicely defined silhouette of the tree at the top adds some neat texture, but it’s not quite as eye-catching as one that has a little light.
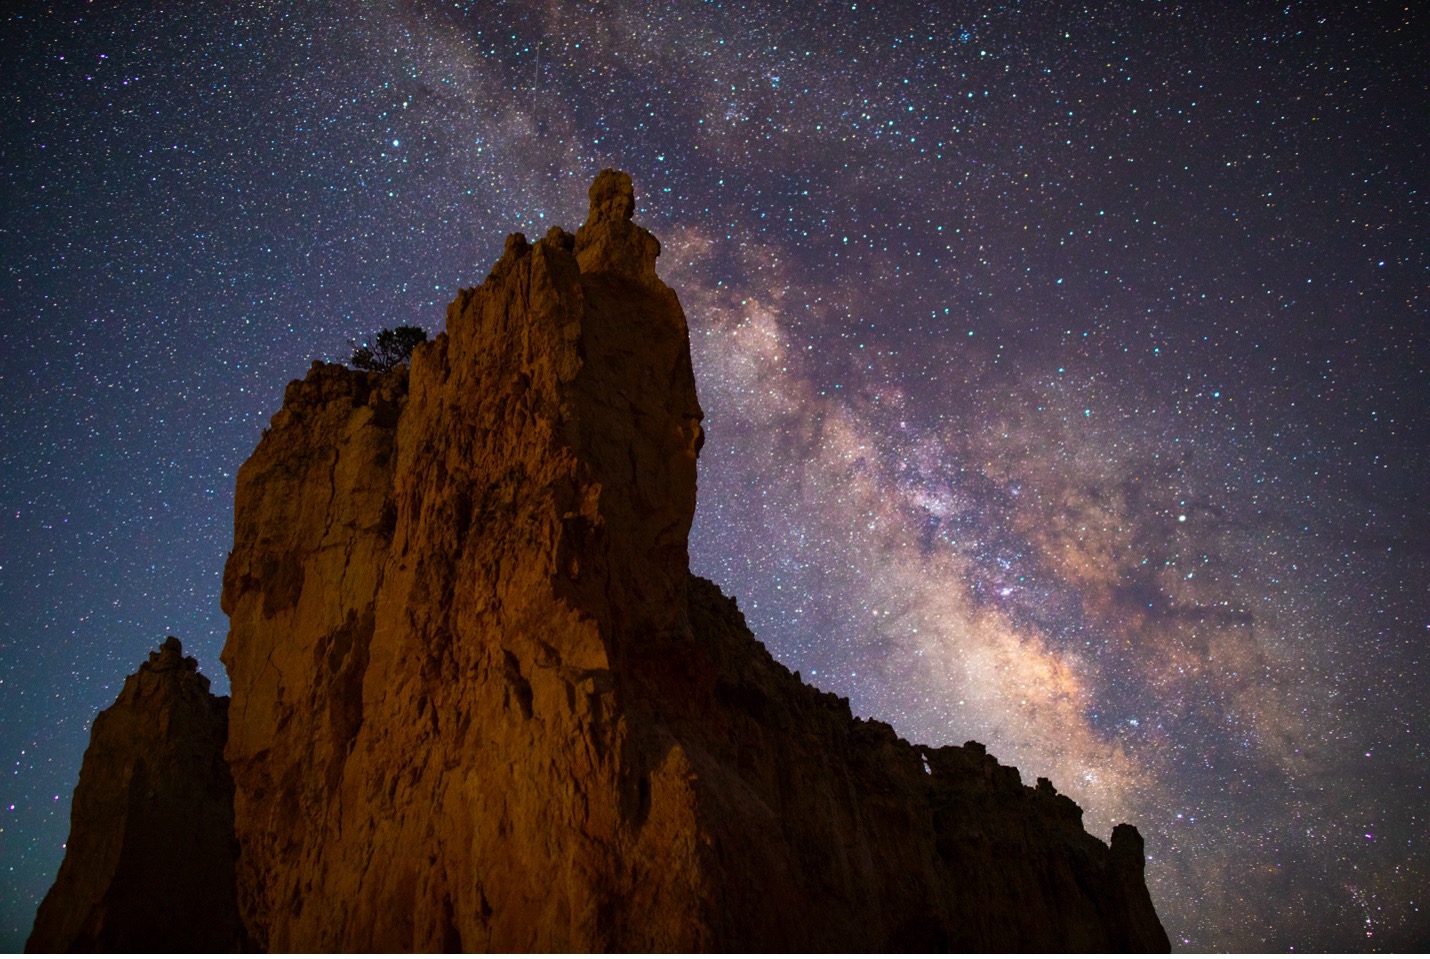
This light can come from photoshop by editing some brightness and reducing shadows after you take the photo. Or, you can bring a small light with you and gently illuminate the rock—even from far away. It’s amazing how a small light can produce a big effect when on a 20 second exposure, so don’t feel the need to bring an ultra bright flashlight. Something small is just fine.
And if you want to get bonus points here, try and find a dedicated “video light” that allows you to change the color temperature of the light. Consider this–if you’re shining a yellow light it’s going to caste a strong yellow hue, whereas many LED lights nowadays emit blue light, which will add a cooler, blue hue to your foreground.
There is no perfect way to do this—just be cognizant of the light’s effects.
Nail the Focus and Repeat, Repeat, Repeat
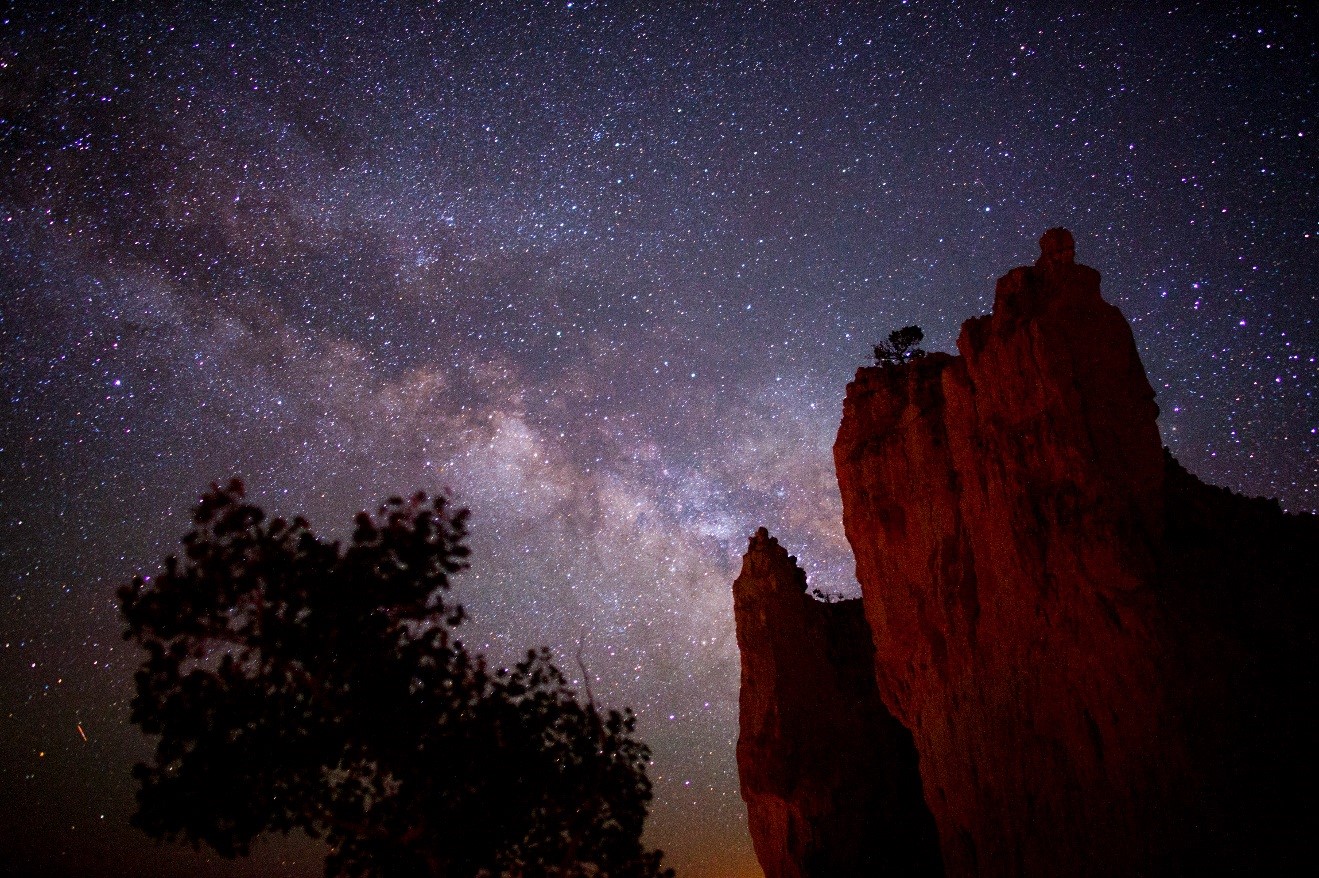
One of the trickiest aspects of this style of photography is choosing where to focus. To be frank, this is why I love adding foreground elements and gently illuminating them. It makes it so easy to focus on something!
However, if you don’t have a foreground element in your scene or don’t see one in the area, don’t be so quick to just set your lens to “infinity.” Infinity is shockingly fickle and a fraction of a millimeter makes a big different. Thus, I advocate for focusing on a foreground element that is some distance from you, such that it is in great focus, but even at shallow depths of field your background (stars) are in reasonable focus, too.
However, if you absolutely insist on focusing on the stars, I highly advocate for using your viewfinder screen to zoom in 10x to a star and use manual focus that way, vs. just using infinity focus on your lens focusing ring.
Once you nail focus, I advise keeping your lens in manual focus mode for at least the next 6 or so shots, as you want to take slightly different compositions but maintain the same focus so you don’t have to re-focus each and every time. It can become quite arduous to refocus multiple times in the dark!
Edit for Glory
It’s becoming a near-necessity to use a program like photoshop or lightroom to edit your photos. This goes for all photos but especially night photos.
You’ll be surprised how much light you can bring out of these scenes, thus taking a dark, obscure photo and turning it into something instantly recognizable, clear, and beautiful. Thus, I do recommend experimenting with your exposure, white, brightness, and shadow sliders on each and every astro-photo.
In addition, I feel that the milky way lends itself to some saturation or vibrance to bring out some of the jaw-dropping colors. Because it’s so other worldly, it’s as if you really can’t over saturate it. Experiment a bit with extremes.
Astrophotography can be wildly fun, even if challenging. However, because of the very straightforward settings, simply finding the milky way in a wonderfully dark sky tends to be the limiting factor. Its for this reason I do highly recommend seeking a proper photo expedition to “canyon country” to maximize chances.
If you’re headed to this glorious part of our world, I wish you the best and hope you come away with the photos you’ve always dreamt of!
All the best,

Court
1 Comment

Tina Schreiner
August 15, 2024 at 9:25 pm
Awesome article!