How to get that “Sunburst” in your Photos
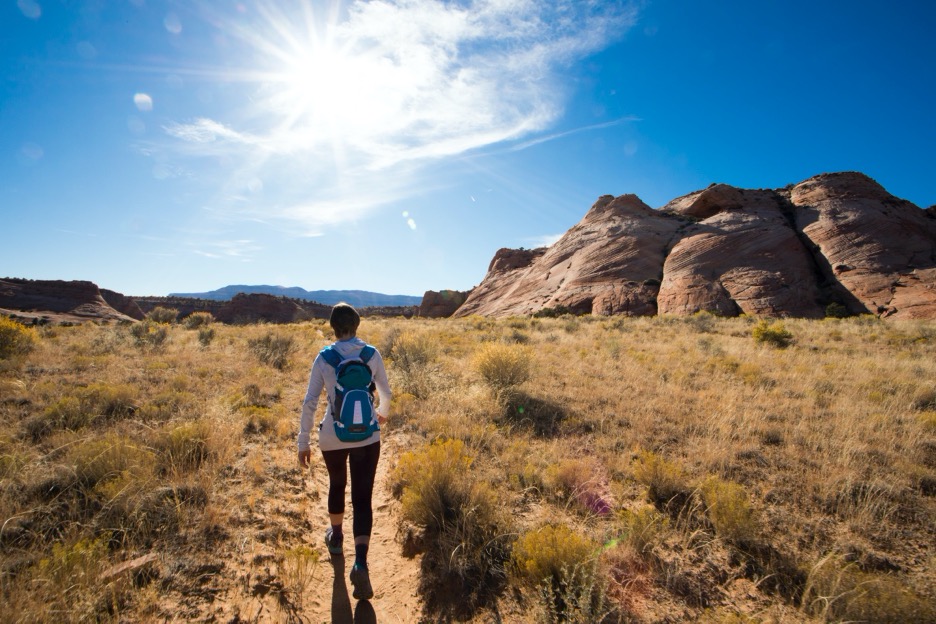
Have you ever seen those pro-level photos of landscapes with those scintillating sun beams radiating out in all directions? If so, you probably have some envy–they certainly are great looking! The good news is that it’s not too complicated to do, and with just a little practice you’ll nail it each and every time. You’ll probably notice in the ensuing photos, but this technique is particularly good for big landscapes found in places like canyons of the SW deserts, or really anywhere you find great landscape photography.
The Ingredients Needed
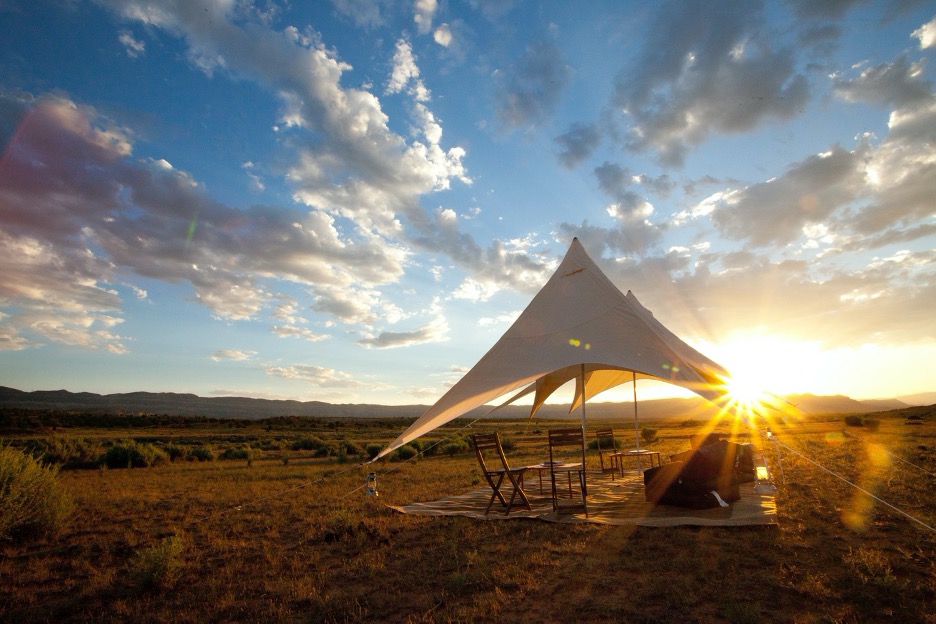
First things first–what are the “right” conditions to get this kind of shot? Well, basically, you need a full, bright sun, but more importantly you need something in the foreground to obscure the sun slightly as you set up your position. Usually I try and find some sort of landscape feature, but it works equally well with made made structures like tents, buildings, etc.
Remember, the sunburst effect, like many cool camera techniques, is a bonus to the photo…a cherry on top. It’s always wise to start with something compelling to photograph, so don’t short change the overall quality of the photo in the first place.
This being said, one fo the fun things about featuring a sunburst in your photos is that you can turn a lukewarm photo into a really great one. Simple elements can become very compelling.
The Technique
You’ll need a camera that is capable of a very high f/number. Unfortunately point and shoots usually top out at f/8, and that’s just not going to cut it. What we’re looking for is f/22…plain and simple. It has to do with optical physics, in that we need an extremely small aperture opening…the kind that f/22 will give us.
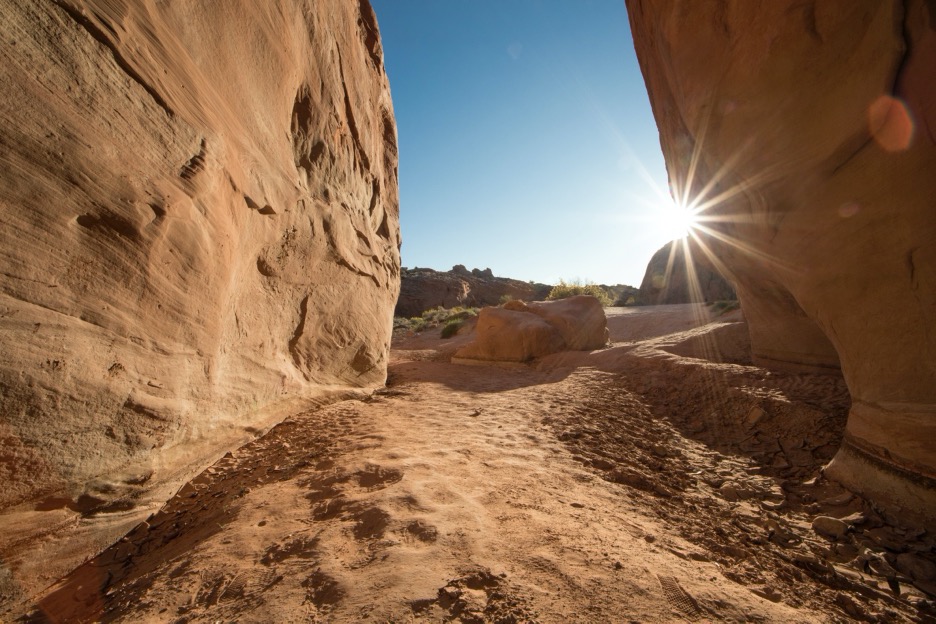
Once you line up for the shot and have your camera set to f/22 (aperture priority mode is a good way to go here), you want to move your body such that the sun is just behind whatever foreground element you’ve found to obscure the sun. Then, slowly move your body (or just your camera) such that the sun begins to gently appear from behind that object. When the sun is about 50% obscured and 50% visible, snap the shot.
Quick word of warning…be CAREFUL when doing this, as the sun is just as damaging through an optical viewfinder as with your naked eye…protect your eyes and don’t look directly at the sun as it comes into view. This takes some practice. In fact, this is then entire thing you should practice on.
Try some photos with the sun 90% obscured and 10% visible. You’ll still see the sun rays, but they won’t appear quite as long nor as pronounced. And try a few percentages in between. The trick to nailing this technique is getting that perfect balance. You want the sun rays big and pronounced, but the scene shouldn’t be too bright. You may need to adjust your exposure meter / exposure compensation as you take test shots.
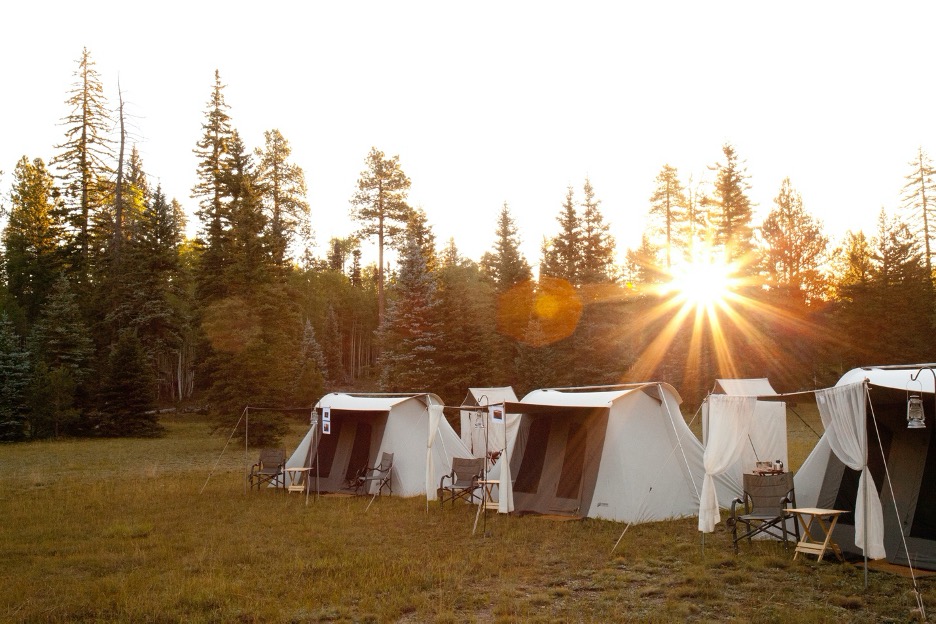
One quick pro-tip…you can also use clouds to obscure the sun, too. This is great for sunrises and sunsets, but even at mid-day if you get that perfect cloud. In addition, if there are patchy clouds AND a foreground element you’re using to obscure, the 50/50 rule may need to be adjusted, as the sun is already slightly obscured by the clouds.
The Problem Areas
As I mentioned, the biggest issue here is repeatedly staring at the sun. Digital viewfinders have a leg up here, as you aren’t looking directly at the sun but instead a screen of it. Nevertheless, be safe here. With practice, you’ll be able to move and reveal the sun while squinting or closing your eyes just as you take the shot.
The other problem area is various lens aberrations or dust on your sensor.
Because you are shooting into direct light, you may cause a bit of reflection within your lens barrel, and this can be expressed as little prisms or other distracting lights. To me, some of these can look rather interesting…almost cinematic. However, it’s worth noting that these things do happen.
In addition, if you have any microscopic dust on your sensor, it could show up on the photo. One more reason to try and keep your sensor as clean as possible. I’ve left these spots of dust on the example photos in this article to show you what it looks like, but these can be removed in post-processing.
In Summary…
This is a wonderful technique that will really differentiate your photography. In addition, it allows you to take photos of less-than-stellar scenery, while still giving you a beautiful, compelling result. It’s a great photography tool to have in our bag of tricks!
To recap, simply get your camera on f/22, find a good scene where you have that obscuring foreground element, and practice with how much of the sun is revealed vs. hidden behind that element. And remember, this obscuring element doesn’t always have to be right in front of you…distant cliffs, and even clouds can yield equally fantastic results!
Best of luck, and let me know how it goes. If you have any other tips on photographing sunbursts, please do leave a comment here!
Cheers, and be well,

Court
Leave a reply