Get to Know your ISO
Understanding ISO is one of the quickest and easiest ways to elevate your photography. And the great thing is that you can do this with ANY camera, and you are ready to start exploring ISO even if you’ve shot on full auto settings to date. There are so so many benefits to understanding ISO and using it to your advantage. You can photograph fast-moving wildlife much better, photograph in low light conditions, and also master a slow-shutter technique by knowing whether you need a low, medium, or high ISO.
What is ISO?
Let’s start at the beginning. ISO is very akin to ASA back in the days of film speed. For the sake of this crash course, you can view them as equal. When you changed film from ISO (ASA) 200 to 800, it’s very similar to changing your digital camera’s ISO from 200 to 800. The biggest difference is what it’s actually doing in and to your camera. In film days, the film was simply more sensitive to light. In digital days, the sensor in your camera actually gets slightly charged, electrically, so that it becomes more sensitive to light. Thus, shooting at the same settings, (let’s say… f/4 and 1/100th of a shutter speed) at ISO 400 lets in more light than the same settings at ISO 200. In fact, it lets in exactly TWICE as much light. We’ll get to this later.
The gist is that increasing your ISO makes your camera more sensitive to light, thus effectively letting in more light to your camera’s sensor when taking the shot.
Why should YOU change ISO?
If you are accustomed to shooting on full auto, you are letting your camera make a lot of the decisions for you. That is, a little computer tries to figure out how much light is available, what shutter speed will get the shot, and then pick an ISO that’s safe. If you’ve read a lot of my articles by now, you’ll know that I’m not in favor of giving the camera too much decision-making power. Yes, it gets it right 60 or 70% of the time, but if I make these choices, I’m usually getting it right 95 to 100% of the time. Generally the pitfall with letting your camera decide is when the camera is too conservative with the settings and tries to keep the ISO lower or higher than you really need.
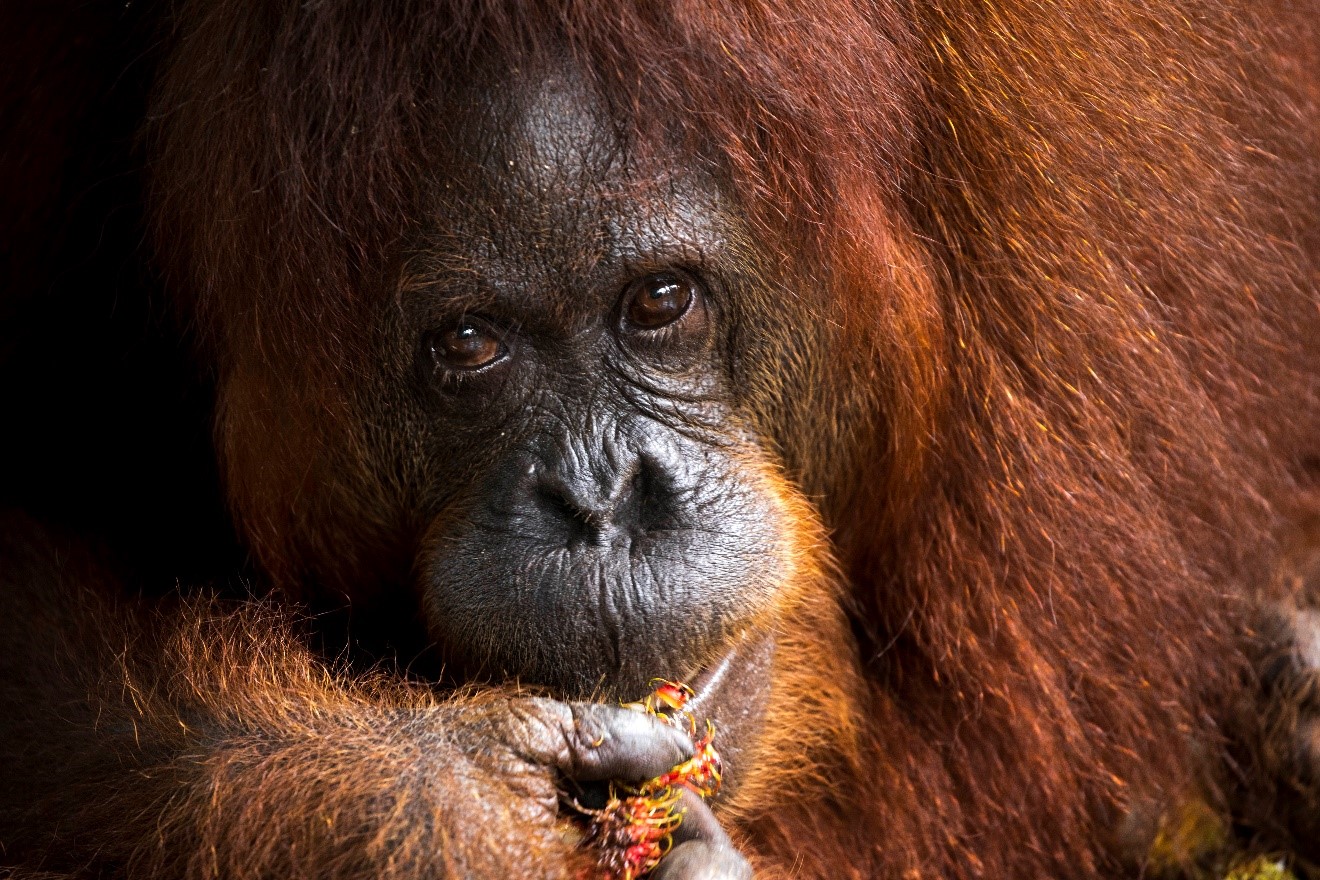
Dim rain forest conditions is a great time to set your own ISO. While our eyes adjust to the low light, our cameras must rely on increased ISO settings.
When should you change ISO?
The instances are many, but in short, if you’re willing to start setting your ISO manually, you should be changing it a few times during each photo shoot. That is, if you’re in, say, Galapagos Islands and you start off at mid-day and are photographing at ISO 200, but then carry-on into the evening, you’ll likely need to increase your ISO to something like 400 and then 800 (and maybe even 1600) as the sun sets. Or, say you’re photographing in Kenya and are starting out early in the morning in search of wildlife, you’ll likely start out with a higher ISO like 800, but then drop it down to 400 once the sun is fully up, and then maybe even 200 when it gets to be mid-morning. But then what if you’re photographing a river crossing of wildebeest–these things are fast! You may need to increase it back to ISO 800 to allow for a faster shutter speed.
OK, so let’s pause for a minute, because I just threw a lot of examples out there. Let’s summarize.
Times you want to increase your ISO:
- When light levels are falling, like approaching dusk or maybe even if thick clouds come over to block out a lot of light.
- When light does NOT change, but you must prioritize for the fastest shutter speed possible–like moving animals (or if you are moving like while riding in a boat or car and wish to shoot out the window and “freeze” the motion). Check out my article on One Key Trick for Photographing out of a Moving Vehicle or Boat to learn more on this topic.
Times you want to decrease your ISO:
- When light levels increase, like after clouds pass or after dawn–when everything gets significantly brighter.
- When you no longer need to prioritize for a super fast shutter speed.
You may be wondering now, why would you ever want to decrease your ISO if it is such a silver bullet? It seems to just be able to give you MORE abilities, right? Well, yes. However, as you increase your ISO, you are always lowering the quality of your photo. Simply put, the lowest ISO your camera will go to (usually ISO 100, but some will have an ISO 80, 50 or even “low” setting) is the very best quality your camera can produce.
Thus, a mantra is that you always want to shoot at the lowest ISO possible. I’ll say this one again, as it’s paramount. You ALWAYS want to shoot at the lowest ISO possible.
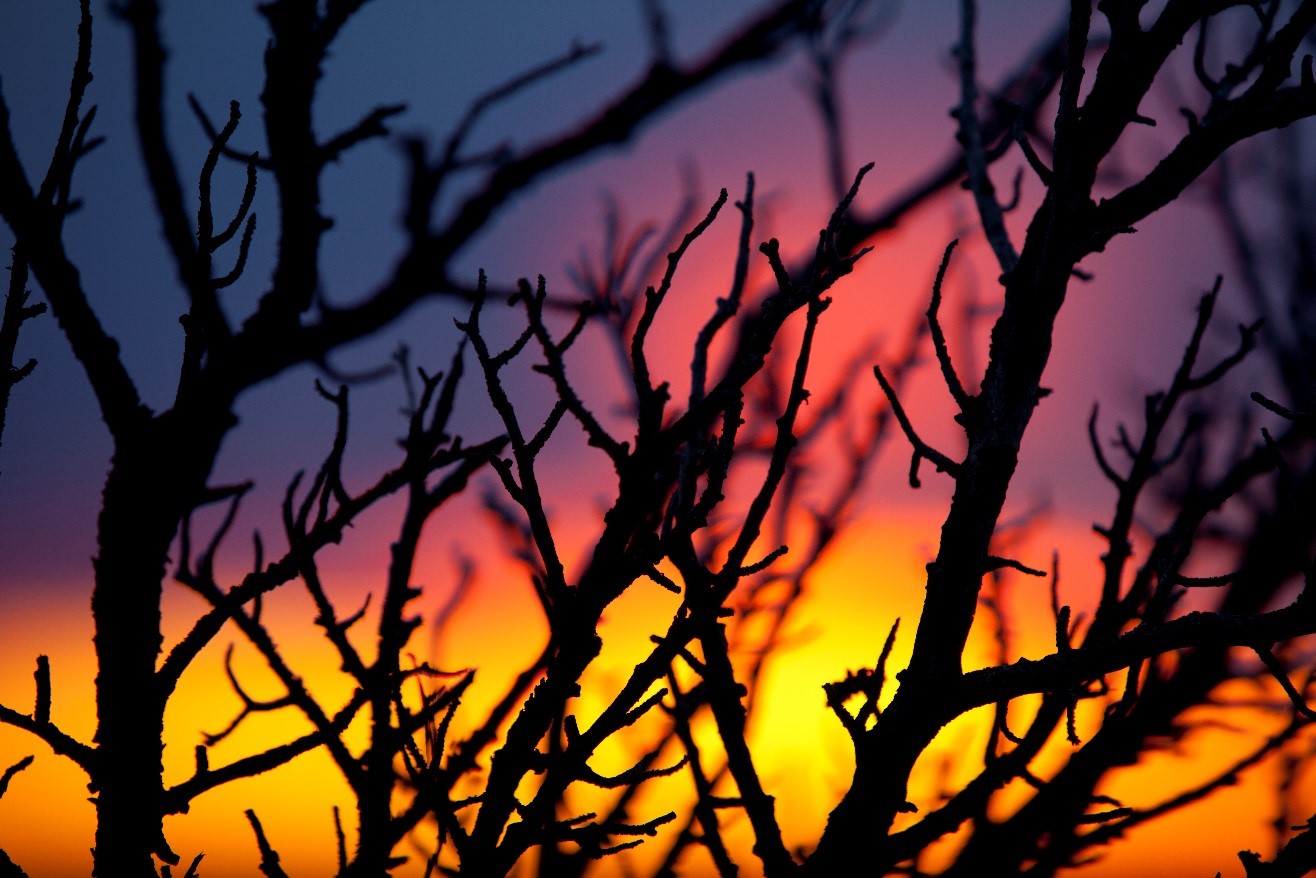
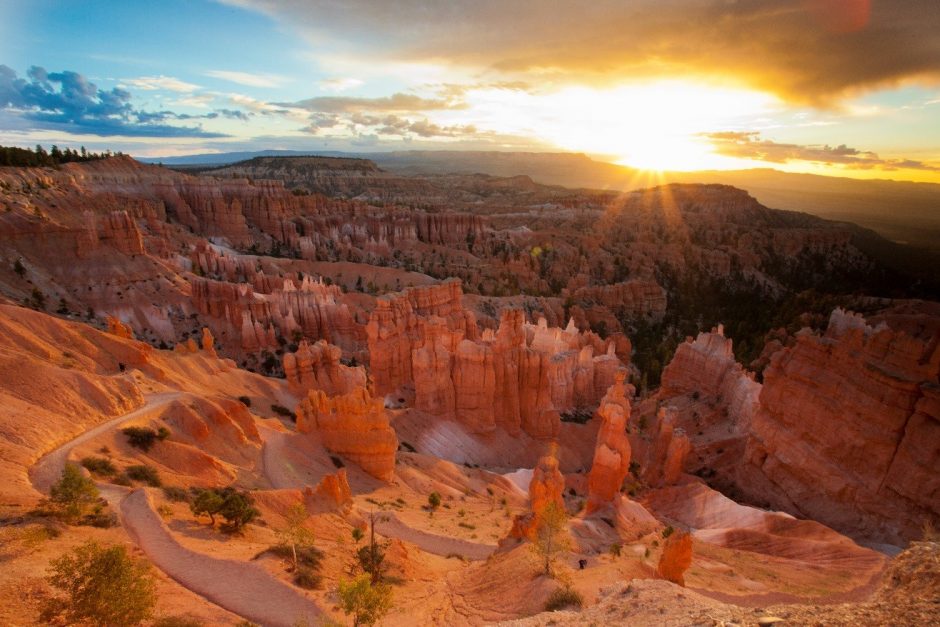
Sunset is one of the key times of day you’ll want to have the perfect ISO. Too low and you won’t get the right shutter speed to shoot hand-held. Too high and you’ll start to notice grain in the soft features of the photo.
What is considered low ISO? And what are the thresholds?
This is when it gets to be a little subjective. Generally speaking, ISO 200 is perfectly acceptable, and you really don’t need to go lower than this for a typical day. The difference between ISO 100 and ISO 200 isn’t all that much difference in quality. Folks photograph at ISO 100 really only when they have a tripod, plenty of time and or light, very little movement in the scene, etc. Basically, high-end landscape photography.
Going up from ISO 200, though, is when it gets tricky. Your basic point-and-shoot cameras can handle ISO 400 pretty well, and ISO 800 in a pinch. But then as you go up in camera quality, you’ll notice that the upper threshold at which the photo begins to look “grainy” is higher and higher. An intro DSLR or mirrorless camera generally can do ISO 800 pretty well, and ISO 1600 when absolutely necessary. But anything beyond this gets very grainy or noisy in the photo.
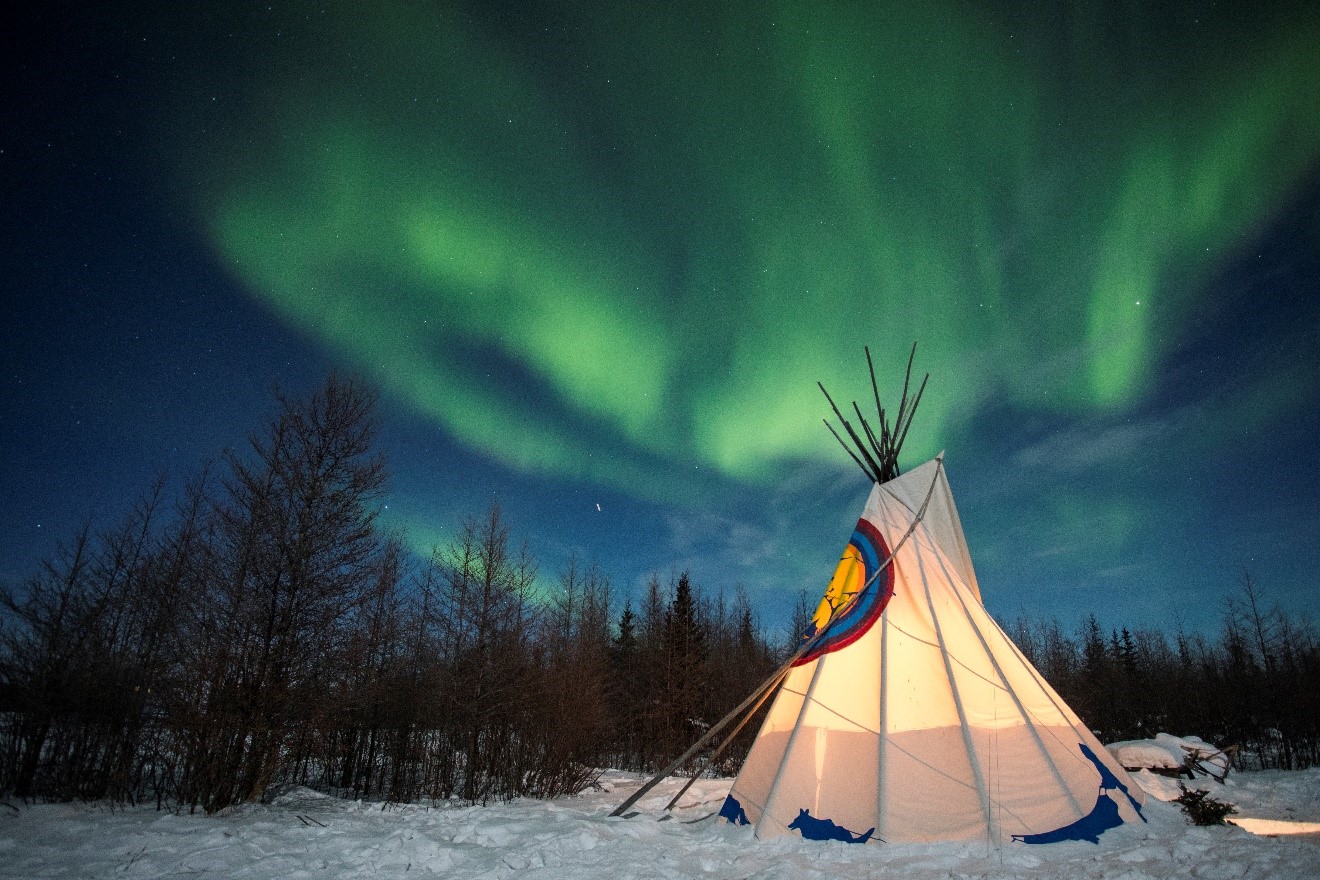
Take a look at the below photo for an example–notice how there is a bit of texture to the entire photo…like a fine grain? That’s what we’re trying to avoid. In this particular case, shooting in the dead middle of night doesn’t allow us much choice, but for most other times of day we have the ability to minimize this with conscientious ISO settings.
When you get into your higher end cameras, basically anything considered “full frame”, whether DSLR or mirrorless, you can actually push it quite a bit. In some cases, you may even be able to go to ISO 3200 and 6400 before the photo becomes “unsatisfactory” to you. But notice how I word this–it really comes down to your own threshold of what you feel is ok and not ok.
What’s with all the numbers?
As I round out this article, I did want to touch on why the 200, 400, 800, etc. Notice how I’m really only talking about things in multiples of 2? Many cameras will indeed have incremental settings, like ISO 640, 1000, 1250, etc. However, the main thing to know/realize/memorize is that every time you double your ISO (e.g., from 200 to 400) you’re letting in twice as much light. It isn’t just adding 200…it’s double. So, going from 800 to 1600 lets in twice as much light, just as 3200 to 6400 would. Don’t worry about the units and the why (not a helpful correlation), just memorize this as a fact when it comes to setting ISO.
How to change the ISO on your camera
Hopefully this has been helpful and if you aren’t already setting your own ISO, maybe you’ll think about experimenting. Every camera is different, and I certainly recommend that you consult your manual or look up the details online.
However, generally speaking, you must be sure to not be on full auto (usually a green “auto” or green box setting on your camera). If you want to let your camera still choose your shutter speed and aperture, but give yourself control over the ISO, I generally recommend the “P” setting, which stands for Program. It keeps auto-focus, and auto-aperture and auto-shutter speed, but you can now go into your camera’s menu and change the ISO. For advanced point and shoots, and nearly all DSLR and mirrorless cameras, there is an ISO shortcut button somewhere on the camera.
The trick to mastering ISO is of course first to learn about it, and hopefully the above has helped with that. But the next step is to experiment. And while you’re experimenting, also check your photos on your computer, especially when it comes to finding your camera’s threshold for when the photos begin to get noisy/grainy. Go out a do a little practice shoot, taking 5 photos at ISO 100, then 5 at 200, 5 and 400, and so on. Then put them on the computer and check out the detail.
You’ll be a master in no time as you get to know your ISO!
Cheers,

Court
Leave a reply