Shot Setting Tips for Fast-Moving Animals
When it comes to nature and wildlife photography, wanting to capture a distant animal amidst, in dense foliage, all while both you and the animal are moving, is a common scenario you’ll face while on a specialized photo expedition. It’s not an easy shot to get, but with the proper technique and some practice you’ll have the tools to make the most of every opportunity.
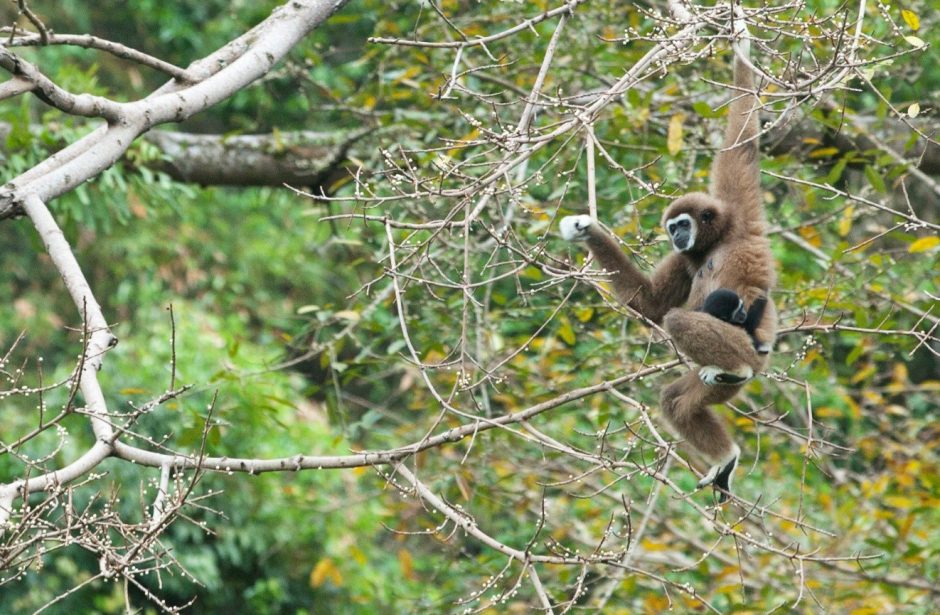
- It goes without saying that you need to put yourself in a position to find such a photo, or go with a guided expedition, that will put you in range of such a shot. Rarely are you extremely close to primates like this White-handed Gibbon in Khao Sok National Park, Thailand, but it’s reasonable to think that you’ll be in photographic range at least one point on the trip when in their natural habitat.
- Once in range, you have to be ready with your telephoto lens. Something at least 300mm is necessary. If shooting on a full frame camera, a 400mm or greater is rather helpful. However, it should be noted that the above photo was taken with a 70-200mm lens on a full frame Canon 5Dii. Because of the quality of the lens and camera body, I was able to crop the photo in substantially. The downside, though, is that this photo cannot be blown up beyond screen size (might be ok for a magazine as long as it’s not a 2 page spread).
- With camera and lens ready, you’ll need to have the right settings dialed in and ready to go on your camera. While the “auto” setting should give you a good photo, it’s worth setting it on an aperture priority setting to make it a great photo.
At this point, you must ask yourself, do you want to have the entire scene in focus, or prioritize for just the subject? In most cases, you will want to prioritize only for the subject’s focus, meaning that you’re tolerant of some blur in the scene away from the subject. In this case, it’s actually best if the background is indeed blurred, as it helps direct the viewer’s attention to the subject and away from the background, which is not the main subject of the shot – only an accessory.
- If you go with my recommendation of prioritizing focus on the subject and away from the other elements of the photo, you want to dial in a small aperture number, which translates to a large aperture opening. This will result in whatever you focus on (the gibbon in this case) to be in sharp focus, with the rest of the scene being slightly blurred. A side benefit of this is that it allows in a fair amount of light, too, when shooting with a wide open aperture. This means that your camera will shoot with a faster shutter speed, allowing you to freeze the motion of both the moving gibbon, as well as any camera shake from you, the photographer, moving as well. Something in the range of f/3.2, f/4 or f/5.6 is ideal. Note: for those of you familiar with custom aperture settings, you may be wondering why not shoot at f/2.8 if your lens is capable of it. If you are spot on with your focus, this is fine. However, there is a strong chance that you’ll need to have a slightly wider depth of field when both you and your subject are moving. That is, more difficult to get perfect focus, so you ought to “buffer” your focal point by having a slightly greater depth of field than f/2.8.
- If setting your camera on an aperture priority setting (usually denotes as “Av” or “A” on your camera’s dial), you will also be able to set a custom ISO. The ISO that you set is entirely dependent on the speed of the movement of the subject. However, erring a bit on the higher side helps, so ISO 400, 800, or even 1000 is best. But be careful, shooting at higher ISO settings may look fine on the camera screen, but you’ll notice a drop in quality when putting it on your computer’s larger screen.
- Lastly, in order to get good focus, be sure to shoot the photo immediately after your camera locks focus on the subject. If you wait more than a split second, and the subject moves, you will lose focus and the image will be soft (ie, out of focus). Thus, it’s best to focus and shoot all in one push of the shutter button. If you’re close enough to actually be able to focus on the eye, remember that the eye is the best place to focus on for nearly all wildlife shots (unless of course you’re really REALLY close and trying to feature a different part of the animal for effect).
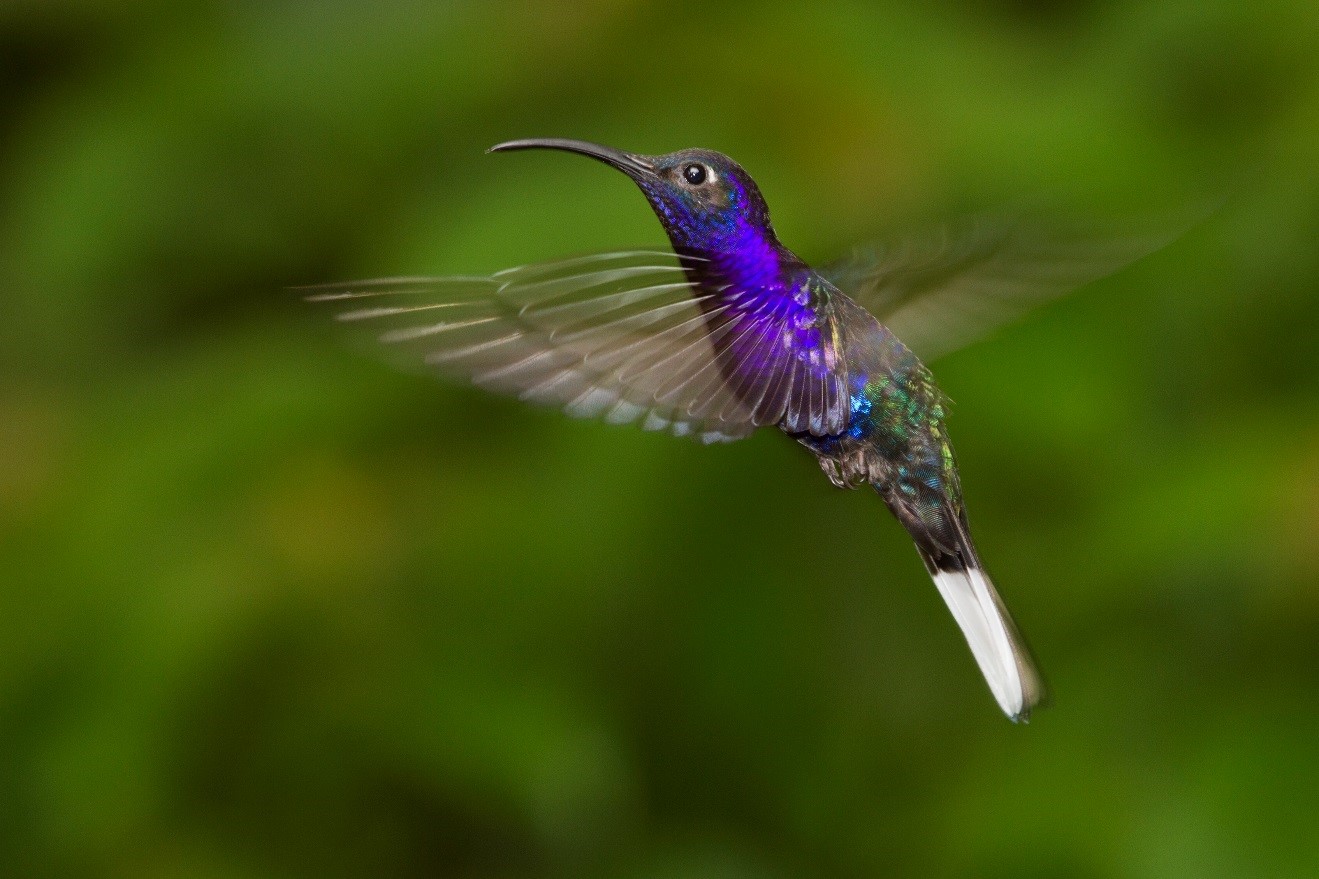
With these tips, you’re now ready to go out and shoot not only swinging gibbons, but really any moving animal. These tips are relatively universal, whether it be birds in flight, running animals in Africa, or leaping lemurs in Madagascar.
Go forward and give it a shot,
1 Comment

Millie Hue
May 6, 2019 at 7:01 pm
Thanks for pointing out that we can focus on the subject first to ensure that the lighting is good. I will keep that in mind now that I plan to book a tour to Madagascar. This is to collect photos to show in my profile so that I will be able to become a successful photographer in the future which has been my dream ever since I was a kid. https://www.nickigeigert.com/about/index