Camera Settings for Photographing Whales
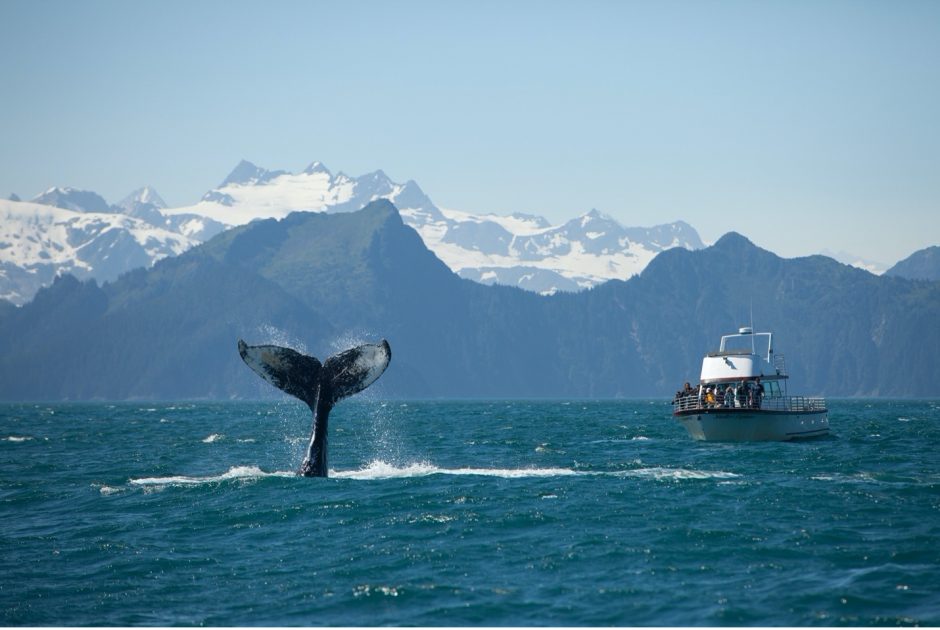
Whales can be some of the more challenging animals to photograph, but also the most rewarding when you really nail the shot. The simple fact that you cannot see the whale just before the photo op becomes feasible makes it a requirement that your settings are perfectly dialed in and you are at the ready. In other words, you need to stack the deck in your favor.
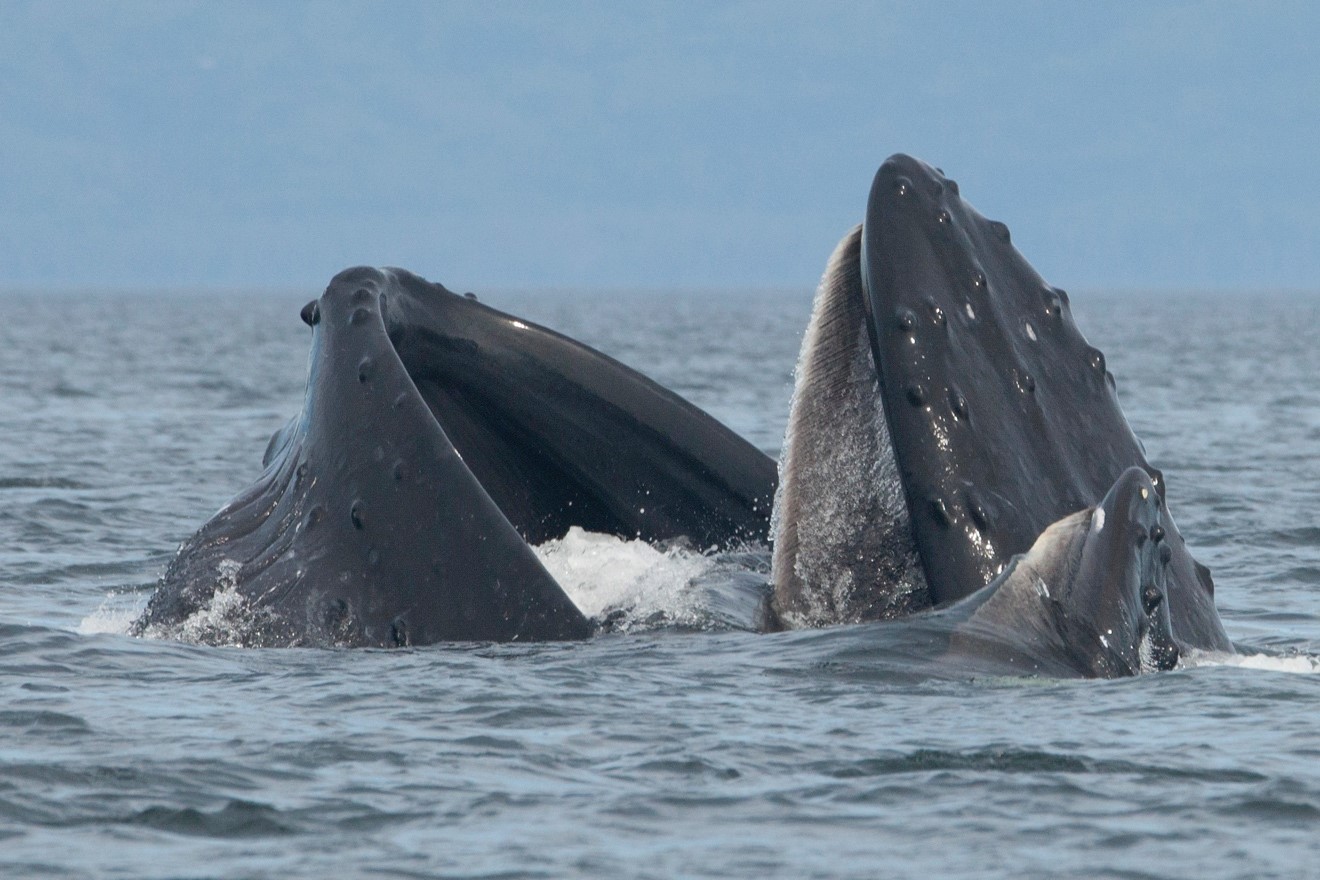
But when it all comes together, it can be glorious.
Focus Settings
How your camera focuses is one of the most important components to great whale photography, whether it’s gray whale’s in Mexico’s Baja Peninsula, or humpbacks in Alaska and beyond.
Whale photography is one rare instance when I use my camera’s full autofocus feature and allow the camera to choose the focus point.
See, normally I have my camera set to center-point autofocus, such that I can place the single focus point over that which I want in focus, minimizing the camera’s decision making. However, as you can imagine, doing this with animals you can’t really see or track just before they make their appearance can make it so difficult for this to work. You’d have to be super quick to the draw—within milliseconds—to get the shot if it’s up to you to place the center focus point squarely on the whale as it comes up to breach or up for air.
Thus, I will find the autofocus setting that allows the camera’s focus computer to choose which part of the frame is in focus. This works especially well when photographing whales for two reasons.
First, they are usually against a relatively uniform background—the water—and therefore the focus mechanism is very accurate and very fast. If we were in a jungle photographing a small bird, it’d be an entirely different story.
Second, the only thing my brain needs to do when it sees the whale is have the whale somewhat in my frame and press the shutter button all the way to focus and shoot in an instant.
For this reason, I often zoom out a little more than I should in order to make it easier to get the whale in the frame. The more telephoto you have the bigger the whale will be in the frame, but the harder it will be to lock the camera on the whale because of the narrower angle of view.
Trust me—zoom out.

Depending on your camera system, you may also be able to set your autofocus on subject-tracking. I highly recommend this, as it speeds up the focusing process even more.
The other aspect to focus settings is whether you focus for just one shot, or continuously focus while the shutter is pressed (or the autofocus button is pressed).
Typically, I like to have my camera on one-shot, so that I can lock in focus, recompose the shot, and then take it. However, with whale photography, I can set my camera to continuous autofocus (sometimes referred to as “servo” for some reason with Canon) and no matter how much the whale is moving or I’m moving, the focus is adjusted so that the subject is as sharp as possible.
So, as a recap—set your camera to autofocus across the entire scene, allowing your camera to choose. And then set your camera to continuous focus so that when it does choose your focus point, it continuously maintains focus as you shoot.
Drive Mode
You want to take as many photos as possible in order to increase the chances of getting that perfect shot. This is where your drive motor or drive mode comes in. This basically dictates how many photos your camera shoots per unit time.
Typically cameras are set to a single photo at a time, or a slow speed drive motor so that it takes three or so photos per second. But most cameras have an ability to take many, many more per second. Modern cameras are clocking in at 10-20+ photos per second.
The reason this is a big deal is that the whale is likely only above water for 1-2 seconds. Thus, it’s only in the “sweet spot” for a photo for a very short amount of time. To have 5 or 10 photos to choose from is gold.
Thus, make sure to go into your drive motor and set it to fast or high drive. Each brand has a different way to word it, but it all refers to the fact that it will increase your frames per second rate.
Shutter Speed
The third critical setting in this trifecta is your shutter speed.
It’s vital that you shoot at a fast shutter speed to freeze the movment of the whale as it emerges from the water. Typically I am looking at something 1/1000 at least. You are much safer with a 1/1500 and frankly a 1/2000 is a great target.
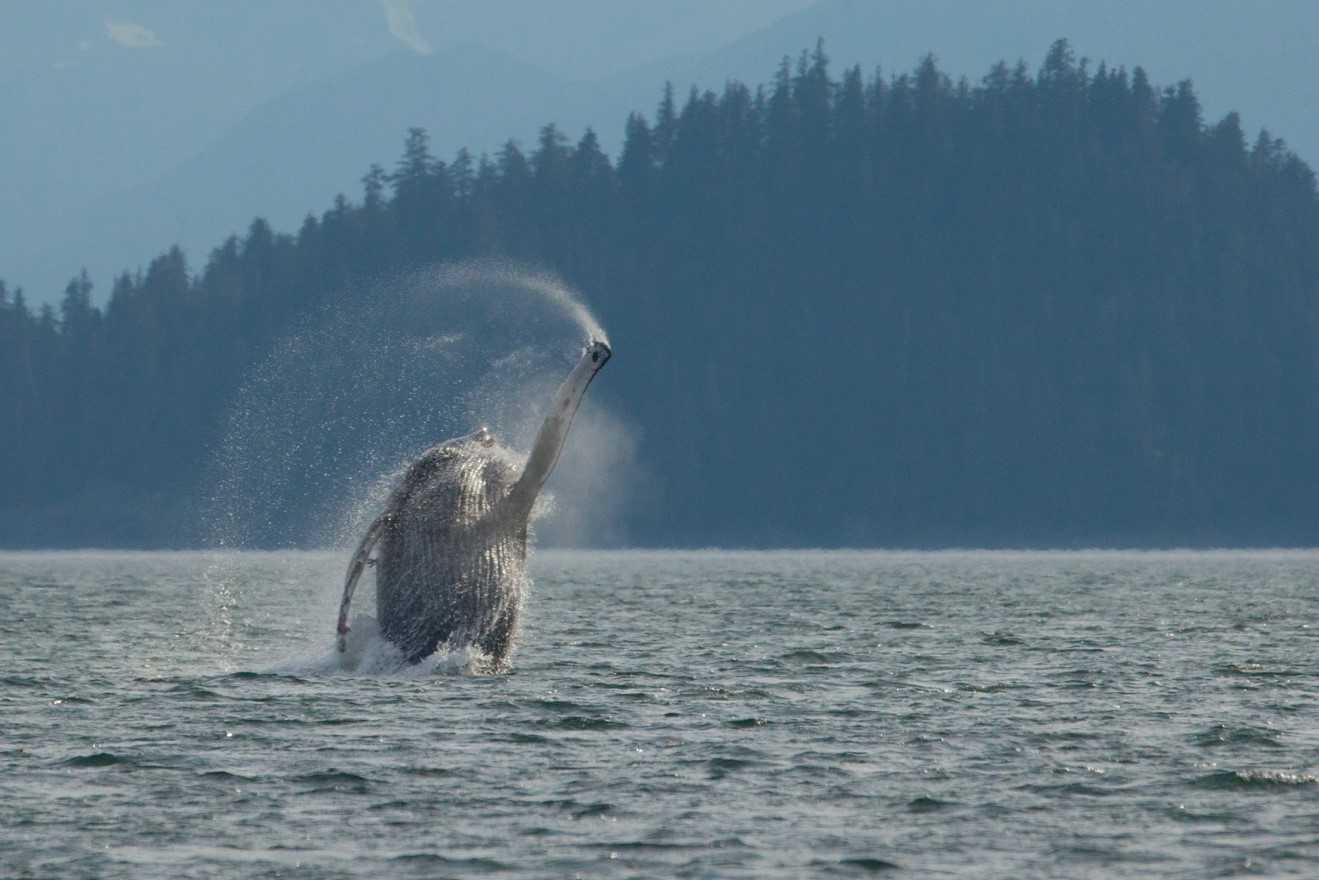
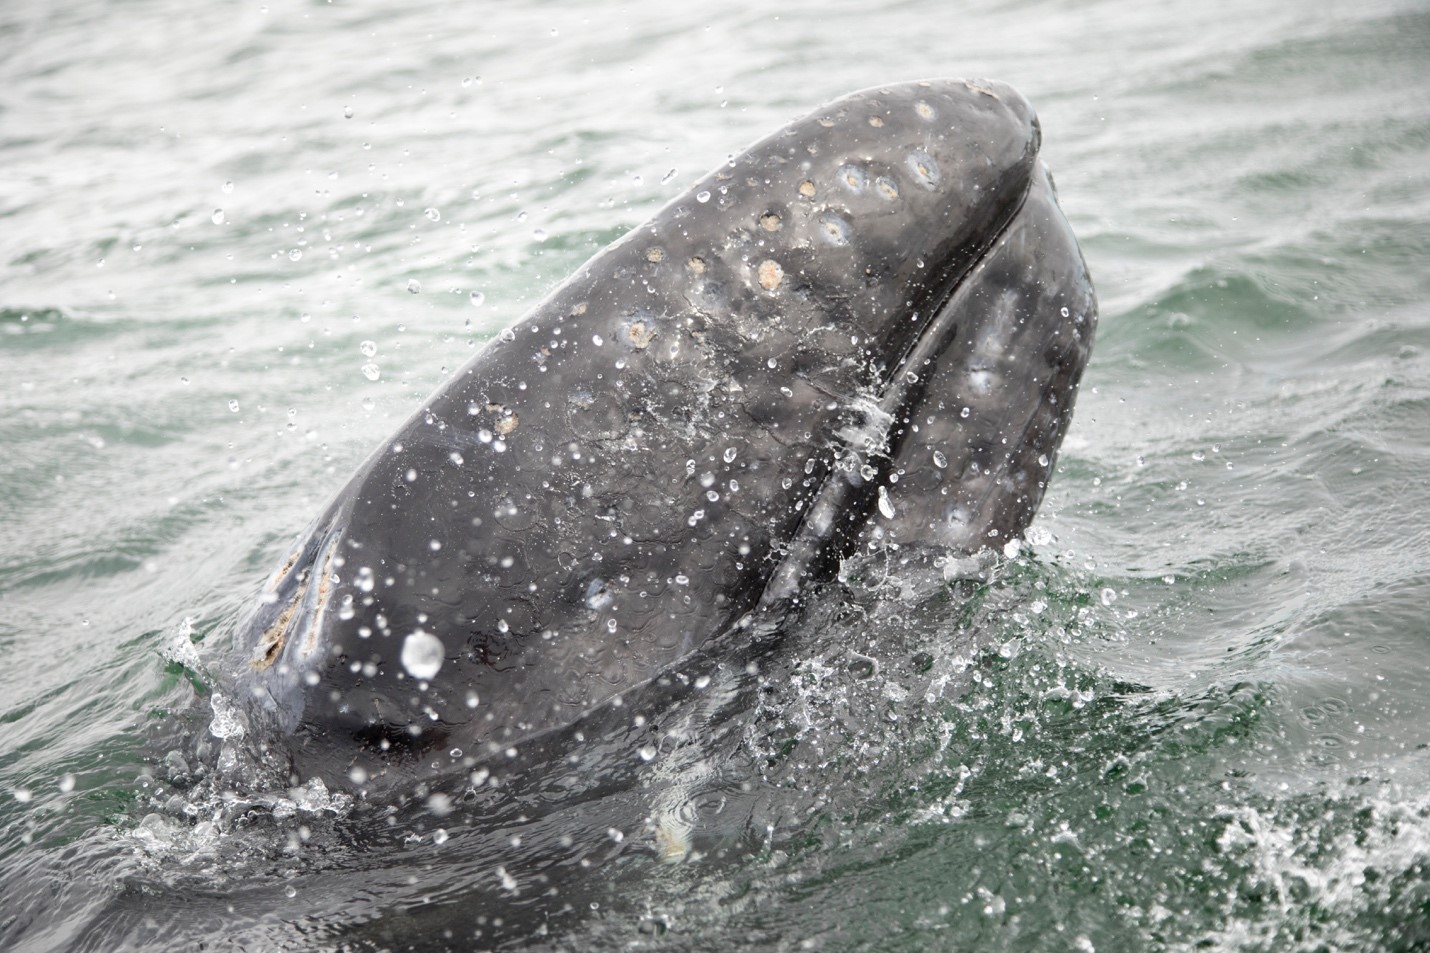
The speed you choose very much depends on what the whale is doing. If it’s a slow bob up from the water, like a spyhop that gray whales do in Baja, you can go toward the slower end. If it’s a full-on breach like humpbacks are known to do in Alaska and elsewhere, you’ll need to be at the faster end of the spectrum.
You can also accomplish this with a point and shoot by dialing to the little “running man” icon that symbolizes “sports photography.”
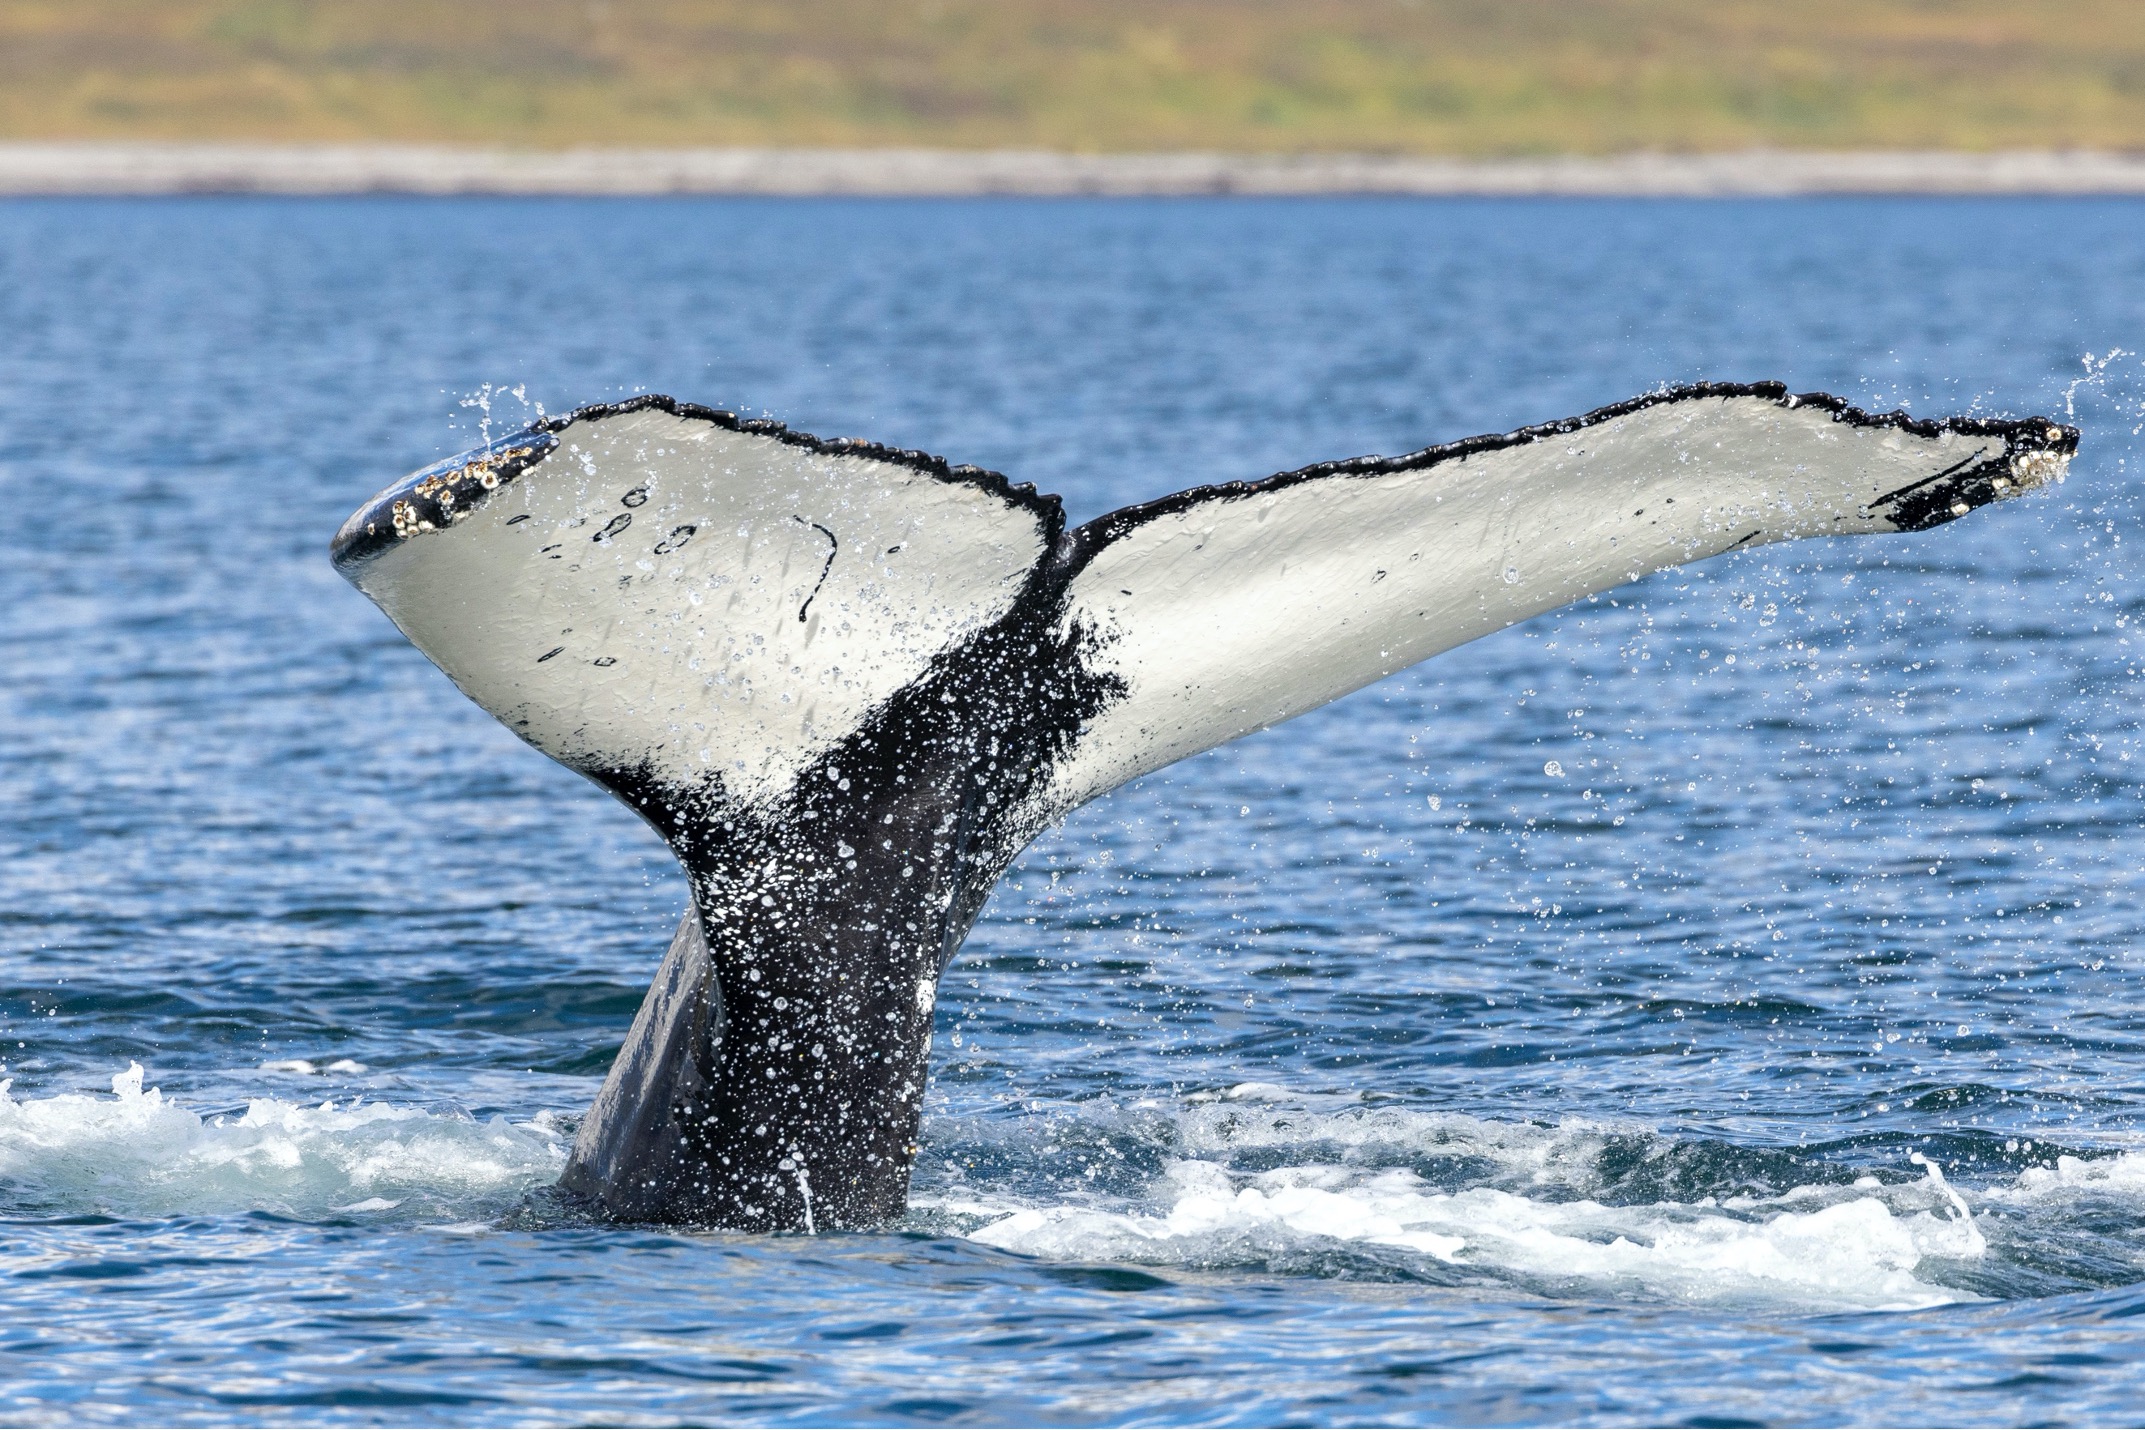
While not as important as shutter speed, it’s worth mentioning aperture, too. I typically try and get to an aperture of f/8 or f/11 if possible, as I want the whale to be in focus even if I botch the focus slightly. For instance, if the camera focuses on the fin and we’re really close, the head could be out of focus if shooting at f/4 or f/5.6.
Fortunately, newer cameras will allow you to literally set a “focus on the eye” autofocus setting that tracks the eye and holds focus on it. Game changer!!
When it All Comes Together
It may take some practice to really get this technique. I’m fortunate for having guided many whale watching expeditions with Natural Habitat Adventures over the years, but some backyard practice can go a long way. Photographing your pets, or neighborhood birds or even kids’ sports can be great training for this type of photography. Whale photography is harder but it’ll at least get you to become comfy with the settings and technique needed.
If you are headed on an adventure to see and photograph whales, I hope you have an extraordinary time and that these tips come in handy to get you extraordinary photos!!
Best,

Court
Leave a reply