A Pro Tip on Photographing in Snowy Environments
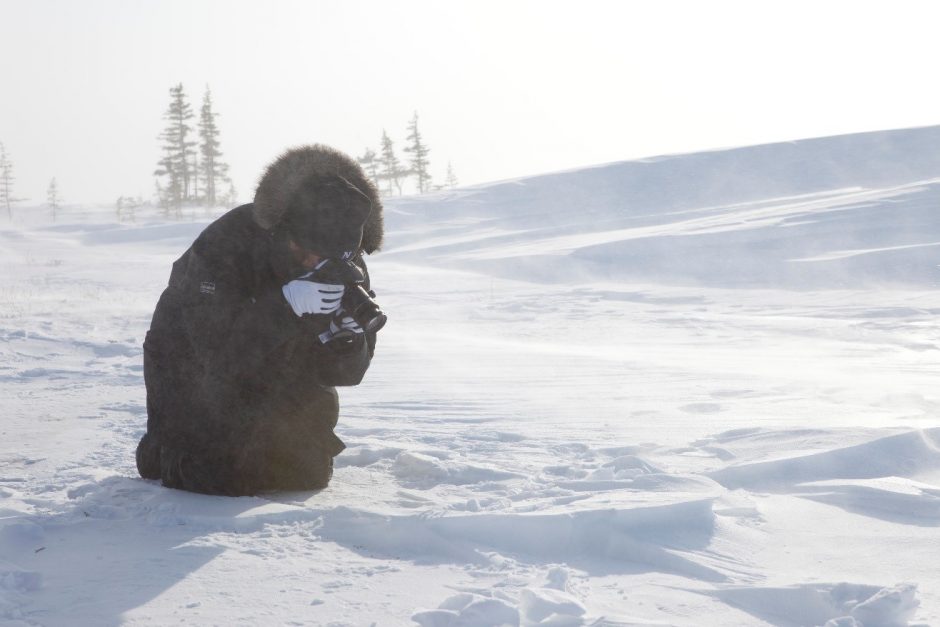
If you’re a keen photographer, you very likely have or will shoot in snowy environments at some point. In addition, photographing in the snow isn’t just confined to winter anymore, as expeditions to arctic environments push the envelope for when, where, and how you photograph “winter wonderlands”.
Thus, it’s more important than ever to understand one basic trick for photographing in wintery conditions.
It may seem counter intuitive, but it’s often quite essential to overexpose your shots. That is, allow a bit more light in each of your photographs. The reason? Well, cameras by default try to “meter” or gauge light to balance for 18% gray in each shot taken. This is when your exposure value is at zero.

Allowing the camera to choose your exposure is best for most of your shots. However, when your scene has a preponderance of white (ie, snow), your camera will still try and adjust for 18% gray in the photo. What does this mean? Basically, it means that your white snow will be a little bit more gray that you are actually seeing with your eye. The camera doesn’t know that you’re shooting snow and actually want your shot to have that much white, so it tries to compensate by darkening the photo.
The workaround for this is to artificially overexpose your shot, by dialing your exposure meter to the right (towards +1). You likely don’t have to go all the way to 1, but 1/3 or 2/3 of the way there will help put just a touch more light in the photo. And again, the ultimate idea is that you are trying to make the white snow look just as white as you see with your eye.

Of course, no solution is perfect for every shot in every scene. But again that’s the magic of digital photography – you can check to see what the photo looks like instantly, and make adjustments accordingly.
Go forth and give it a shot,
Leave a reply